25 Easter Crafts That Make Spring Decorating a Joy
Introduction
The best spring decorating rarely starts in a store. It starts at the kitchen table with paint, paper, yarn, and a pile of eggs waiting for color. These easter crafts turn simple supplies into wreaths, garlands, centerpieces, and mantel pieces that make the whole house feel like the season just walked in.
Most of the projects here use what you already own: leftover ribbon, egg cartons, jars, fabric scraps, and a few fresh or faux flowers. Pick three or four favorites for this weekend and save the rest for next year. Handmade pieces mix happily, so there is no need to match everything.
A quick safety note before you start. If you decorate real eggs that anyone will eat, use only food-grade dye, keep the eggs refrigerated, and do not leave them out for more than two hours. For hunts and long displays, use plastic, wood, or paper eggs instead. That one habit keeps the fun and the food separate.
1. Paint a Speckled Egg Bowl Centerpiece
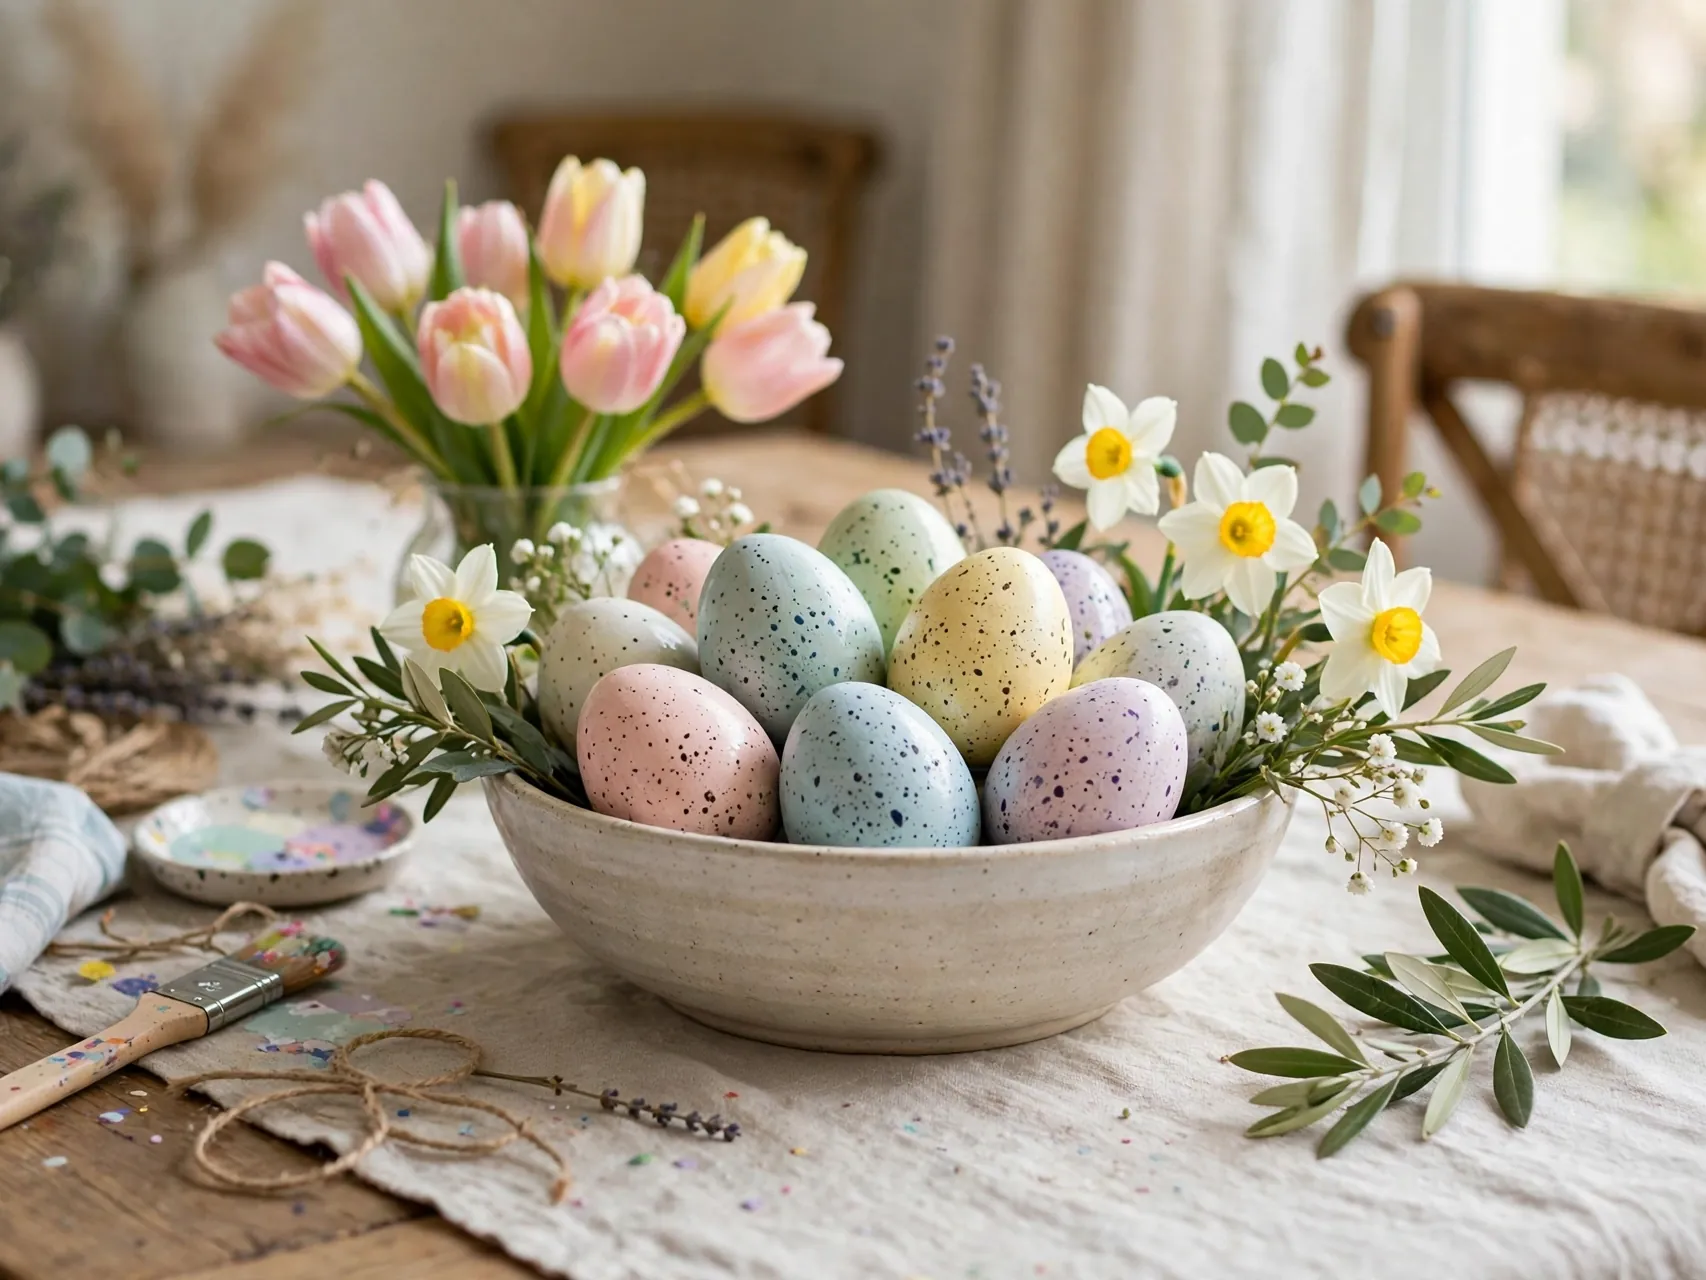
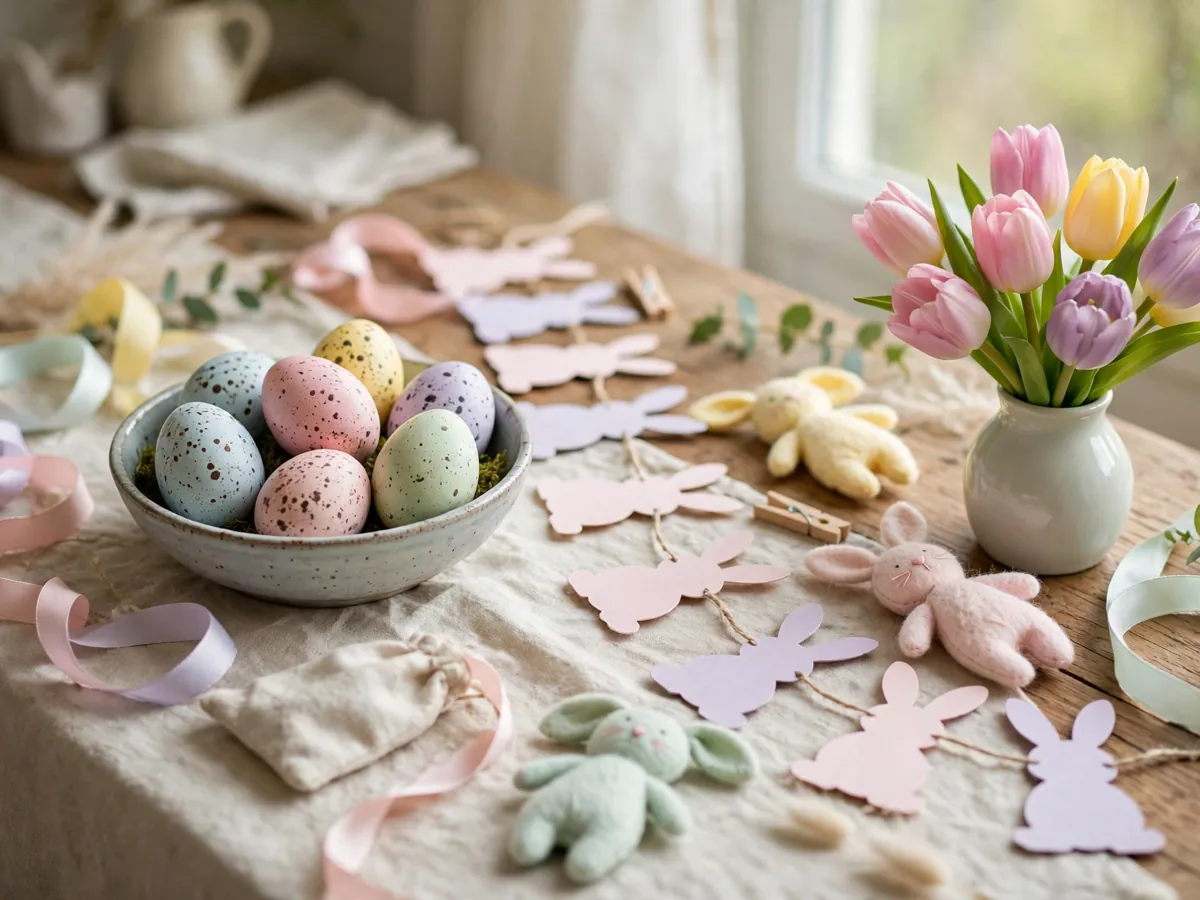
Paint wood or plastic eggs in soft cream and pastel chalk paint, let them dry, then flick thinned brown paint over them with a stiff brush for a speckled finish. Pile the eggs in a shallow bowl with a little moss or shredded paper underneath.
This centerpiece takes an afternoon and stores beautifully for next year. Because the eggs are decorative, there is no clock on them, and you can leave the bowl on the table or entry console all season without a second thought.
2. Make a Paper Bunny Garland

Cut bunny silhouettes from cardstock in white, blush, and pale gray, add a small cotton ball tail to each one, and string them on twine with mini clothespins or a needle. Hang the garland across a mantel, window, or bookshelf.
Paper garlands are among the easiest easy easter crafts to scale. Make a short strand for a small apartment or a long one for a stair rail. Store it flat between sheets of tissue so the ears stay crisp for next spring.
3. Dye Eggs With Natural Kitchen Colors

Simmer red onion skins for rust, turmeric for gold, red cabbage for blue, and strong coffee for warm brown, then soak hard-cooked eggs in the cooled liquid with a splash of vinegar. The colors come out soft, uneven, and completely charming.
Use only food ingredients if the eggs will be eaten, wash hands before and after handling eggs, and return dyed eggs to the refrigerator promptly. Eat them within the week and discard any with cracked shells. For pure display, do the same dye bath on blown eggshells instead.
4. Build a Tulip and Egg Front Door Wreath
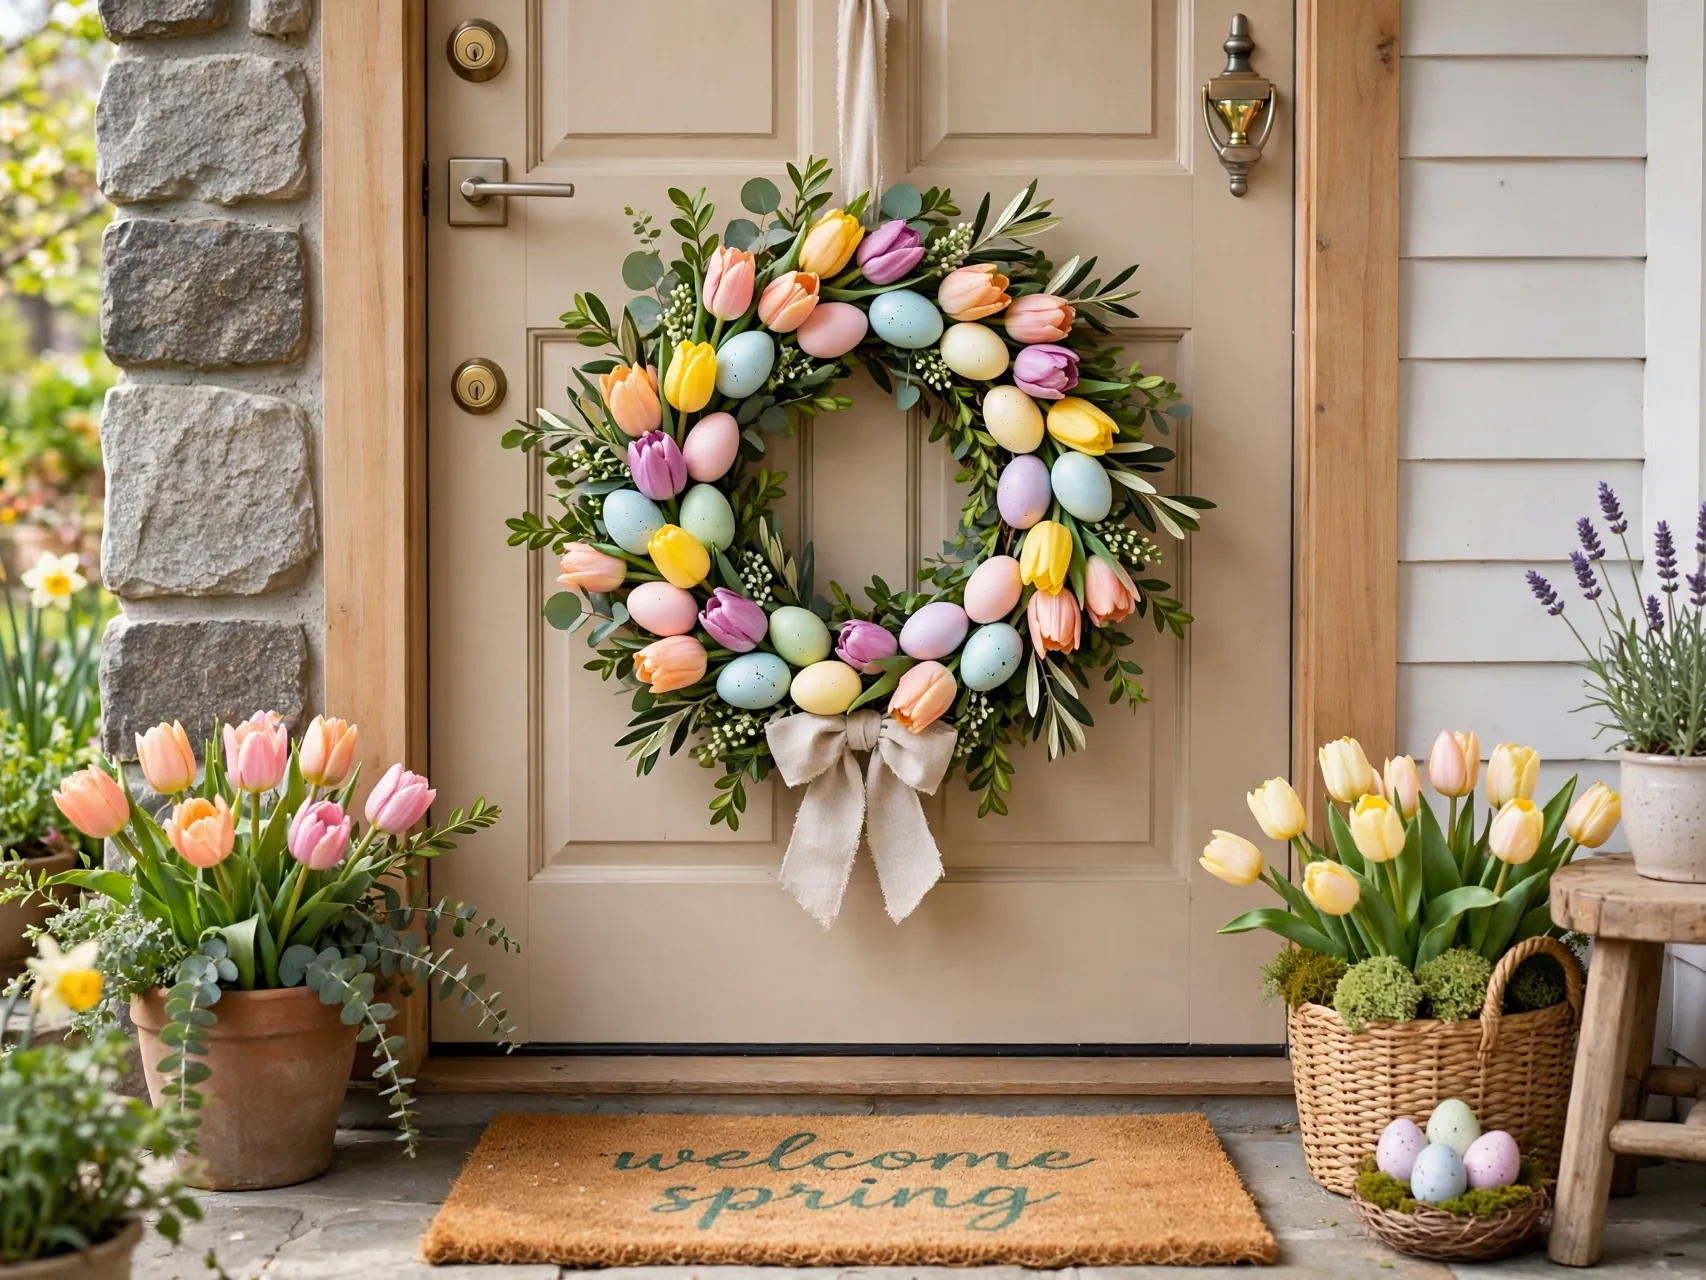
Start with a grapevine base, tuck in faux tulips and greenery with floral wire, and wire in a few pastel decorative eggs near the bottom third. Finish with a wide linen or burlap bow at the top or side.
Faux flowers make this wreath reusable and weather tolerant on a covered porch. Keep the egg cluster small so the wreath reads spring first and Easter second. That balance lets you hang it in March and leave it up well past the holiday weekend.
5. Turn Egg Cartons Into a Daisy Bouquet
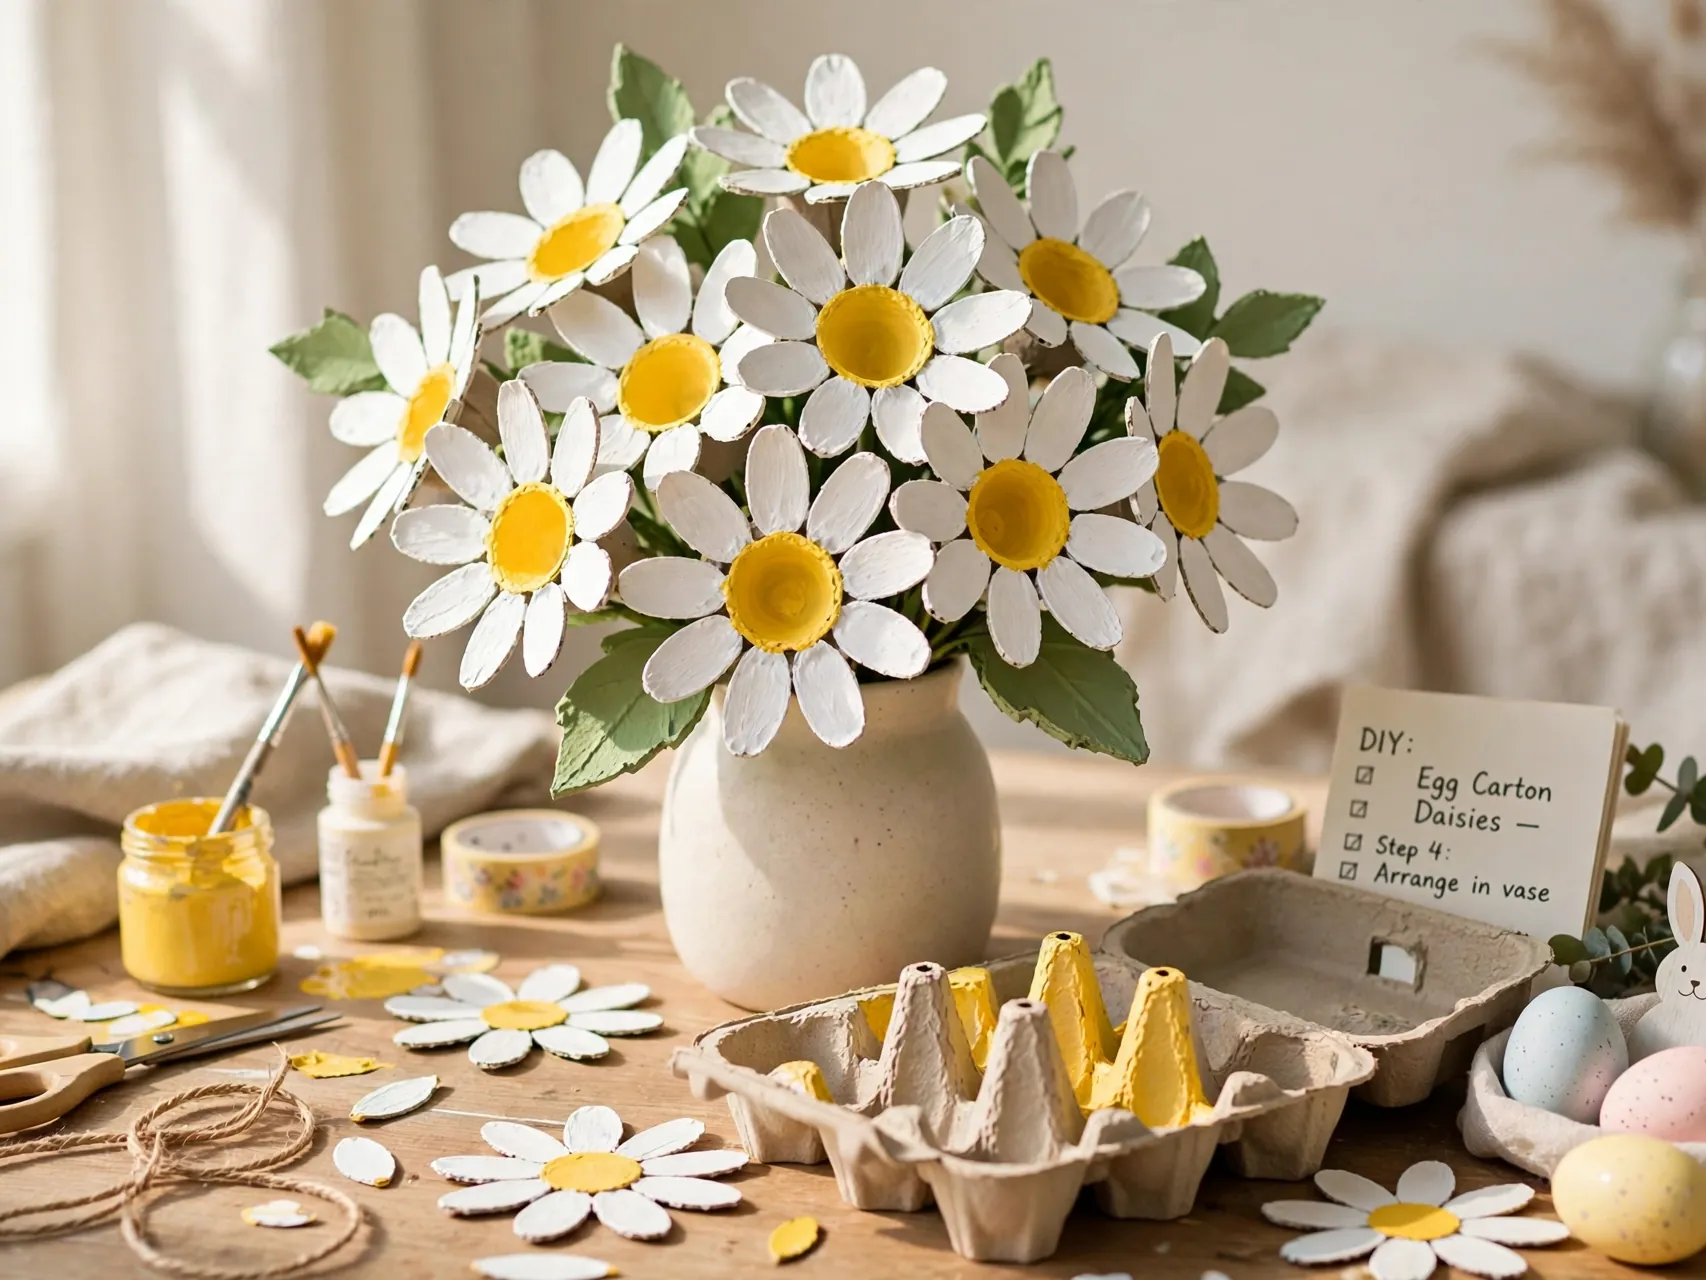
Cut single cups from a paper egg carton, snip each cup into petals, and paint them white with yellow centers. Thread the flowers onto floral wire or green pipe cleaners and stand them in a small vase or jar with moss.
It is a satisfying use for a carton headed for recycling, and the flowers never wilt. Paint a few in pale pink and lavender too, then mix the colors for a bouquet that looks gathered rather than matched.
6. Sew or Glue Simple Felt Bunny Ornaments
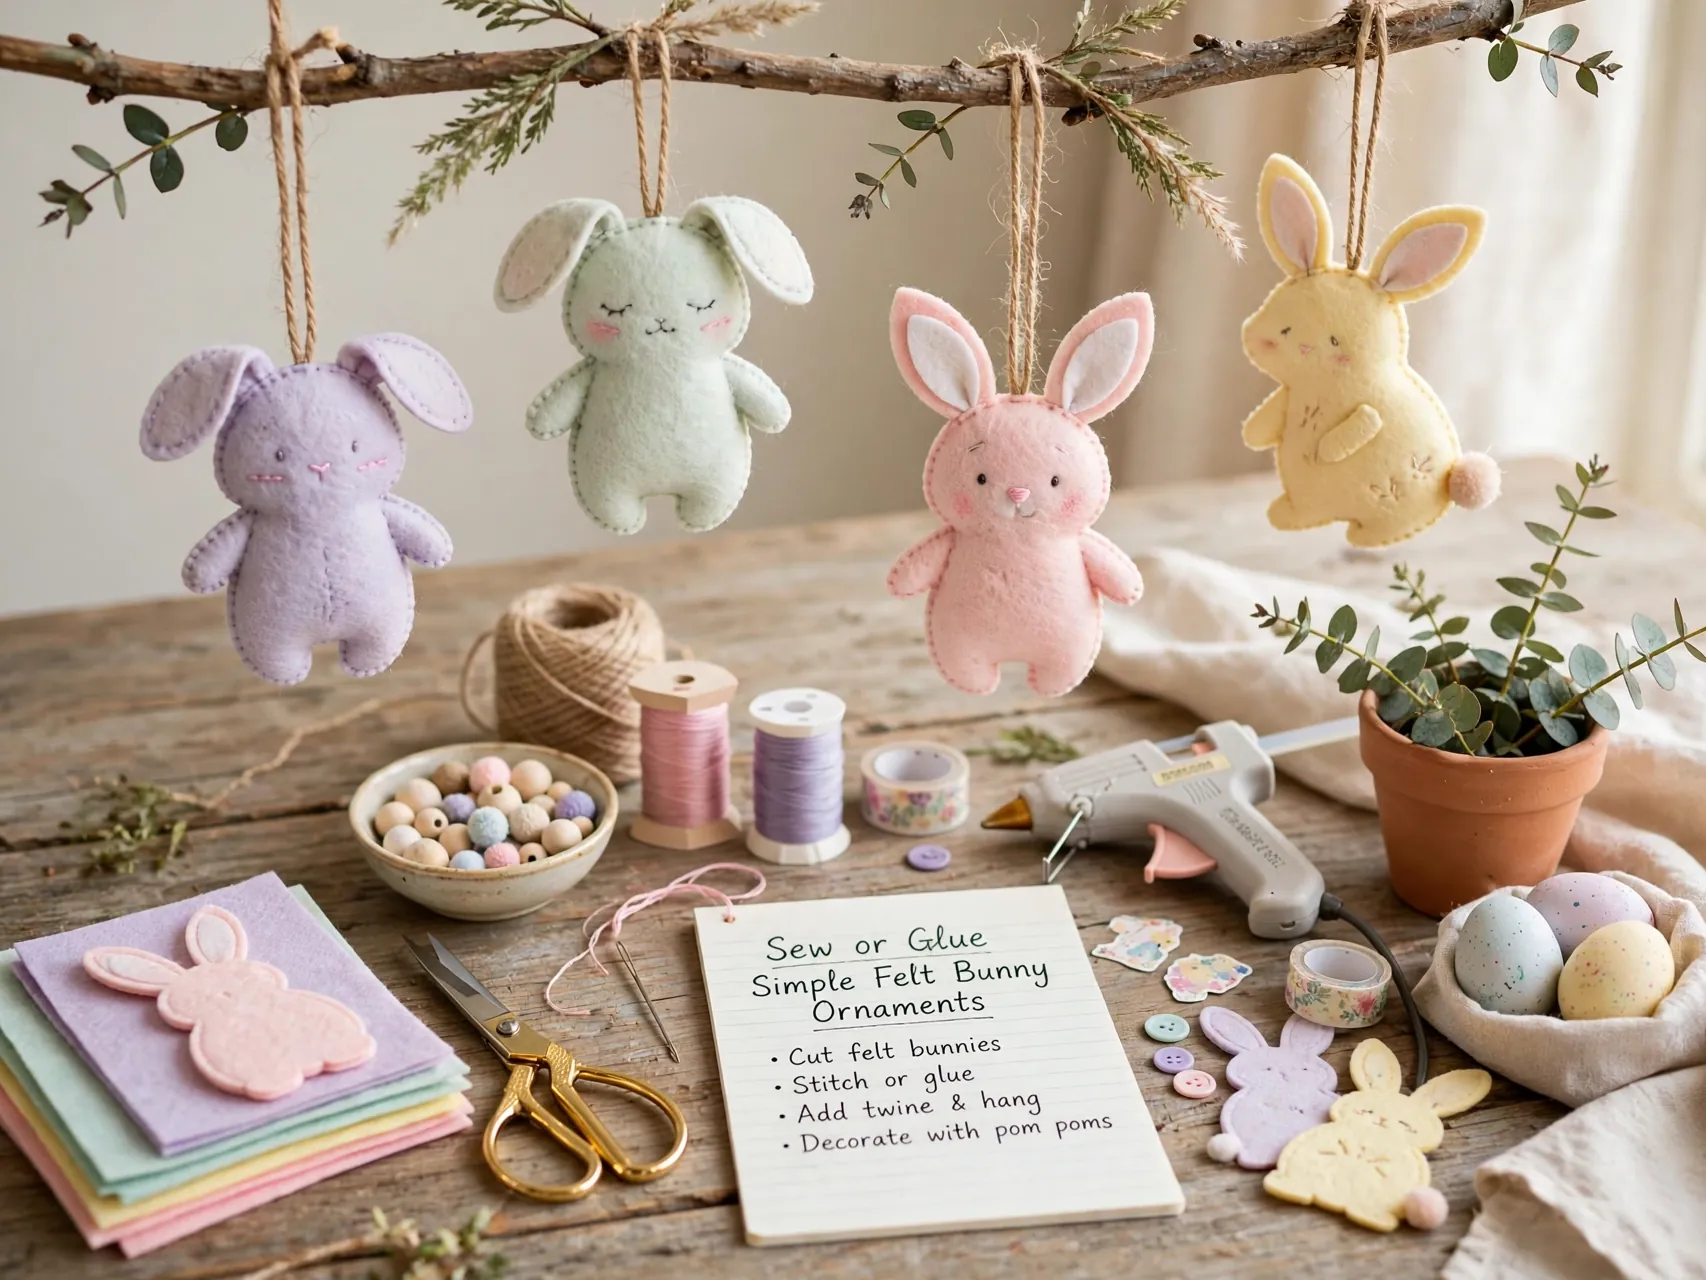
Cut two matching bunny shapes from felt, glue or blanket stitch the edges, and add a pinch of stuffing before you close the shape. Add a stitched face, a tiny ribbon bow, and a loop for hanging.
Hang these on an Easter branch tree, tie them to napkins, or tuck them into baskets as a handmade extra. Felt is forgiving for beginners, needs no hemming, and comes in every pastel you could want. Make a set in one sitting and they will come back out every year.
7. Decoupage Eggs With Paper Napkins
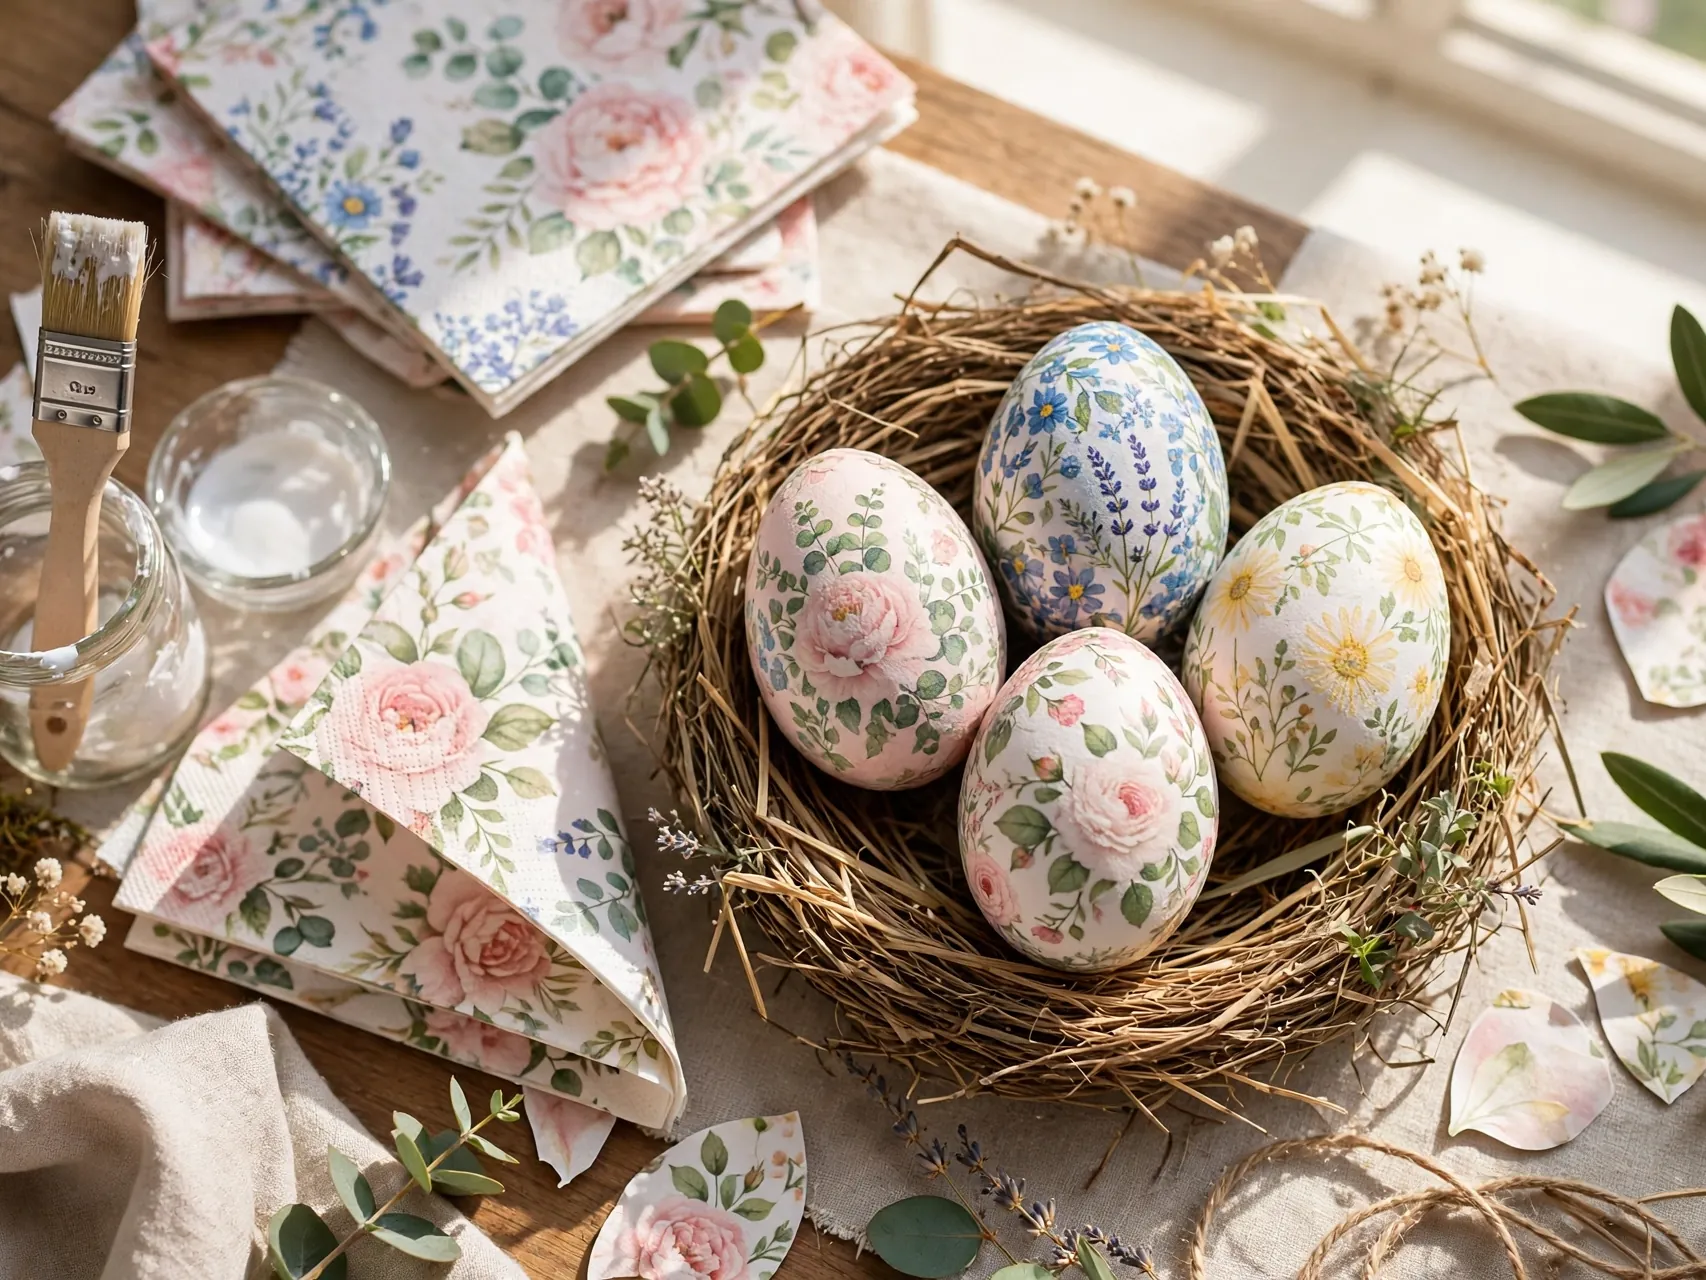
Separate the printed top layer of a pretty paper napkin, cut out small flowers or sprigs, and brush them onto wood, plastic, or blown eggs with a thin coat of craft glue. Smooth gently so the paper hugs the curve.
The result looks hand painted with almost no painting skill required. These eggs are for decoration only, so keep them separate from eating eggs. Display them in egg cups, under a glass cloche, or scattered down the center of the table on a bed of moss.
8. Craft Pom Pom Chicks and Bunnies

Wind yellow yarn around a fork or pom pom maker, tie, trim, and fluff two pom poms for a chick body and head. Add tiny felt beaks and drawn eyes. Do the same in white or gray with long felt ears for bunnies.
Pom pom animals perch happily on shelves, wreaths, and place settings. Use non-toxic craft glue and keep finished pieces with small glued parts away from children under 3. Older kids can trim and fluff while adults handle the tying and cutting.
9. Paint Garden Rocks as Eggs and Bunnies
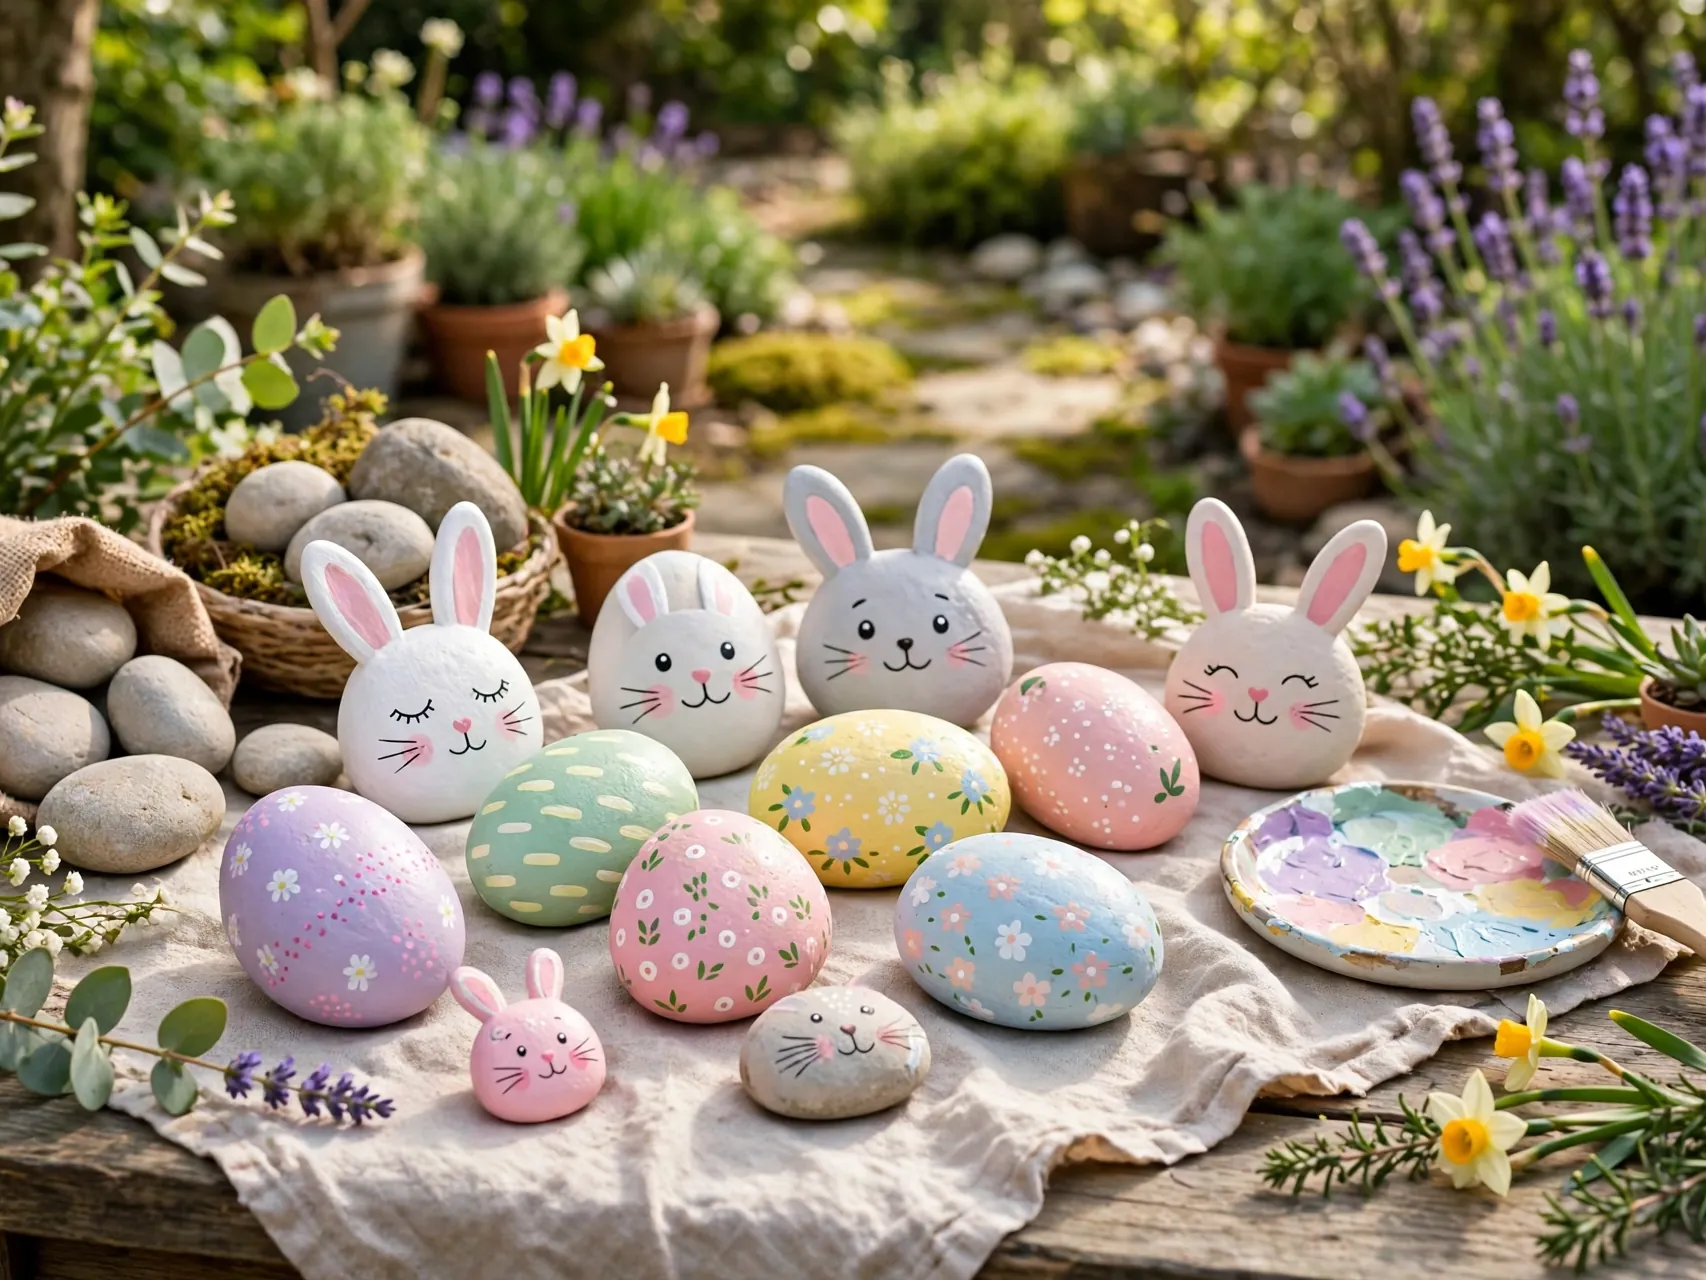
Wash smooth, flat rocks, let them dry fully, and paint them as striped eggs, bunny faces, chicks, and spring flowers with acrylic paint. Seal outdoor rocks with a clear outdoor sealant once the paint is dry.
Line them along a garden path, tuck them into planters, or hide them for a rock hunt that can be repeated all week. Painting rocks suits every age at the table, and simple dots and stripes look just as good as detailed art.
10. Make a No-Sew Sock Bunny
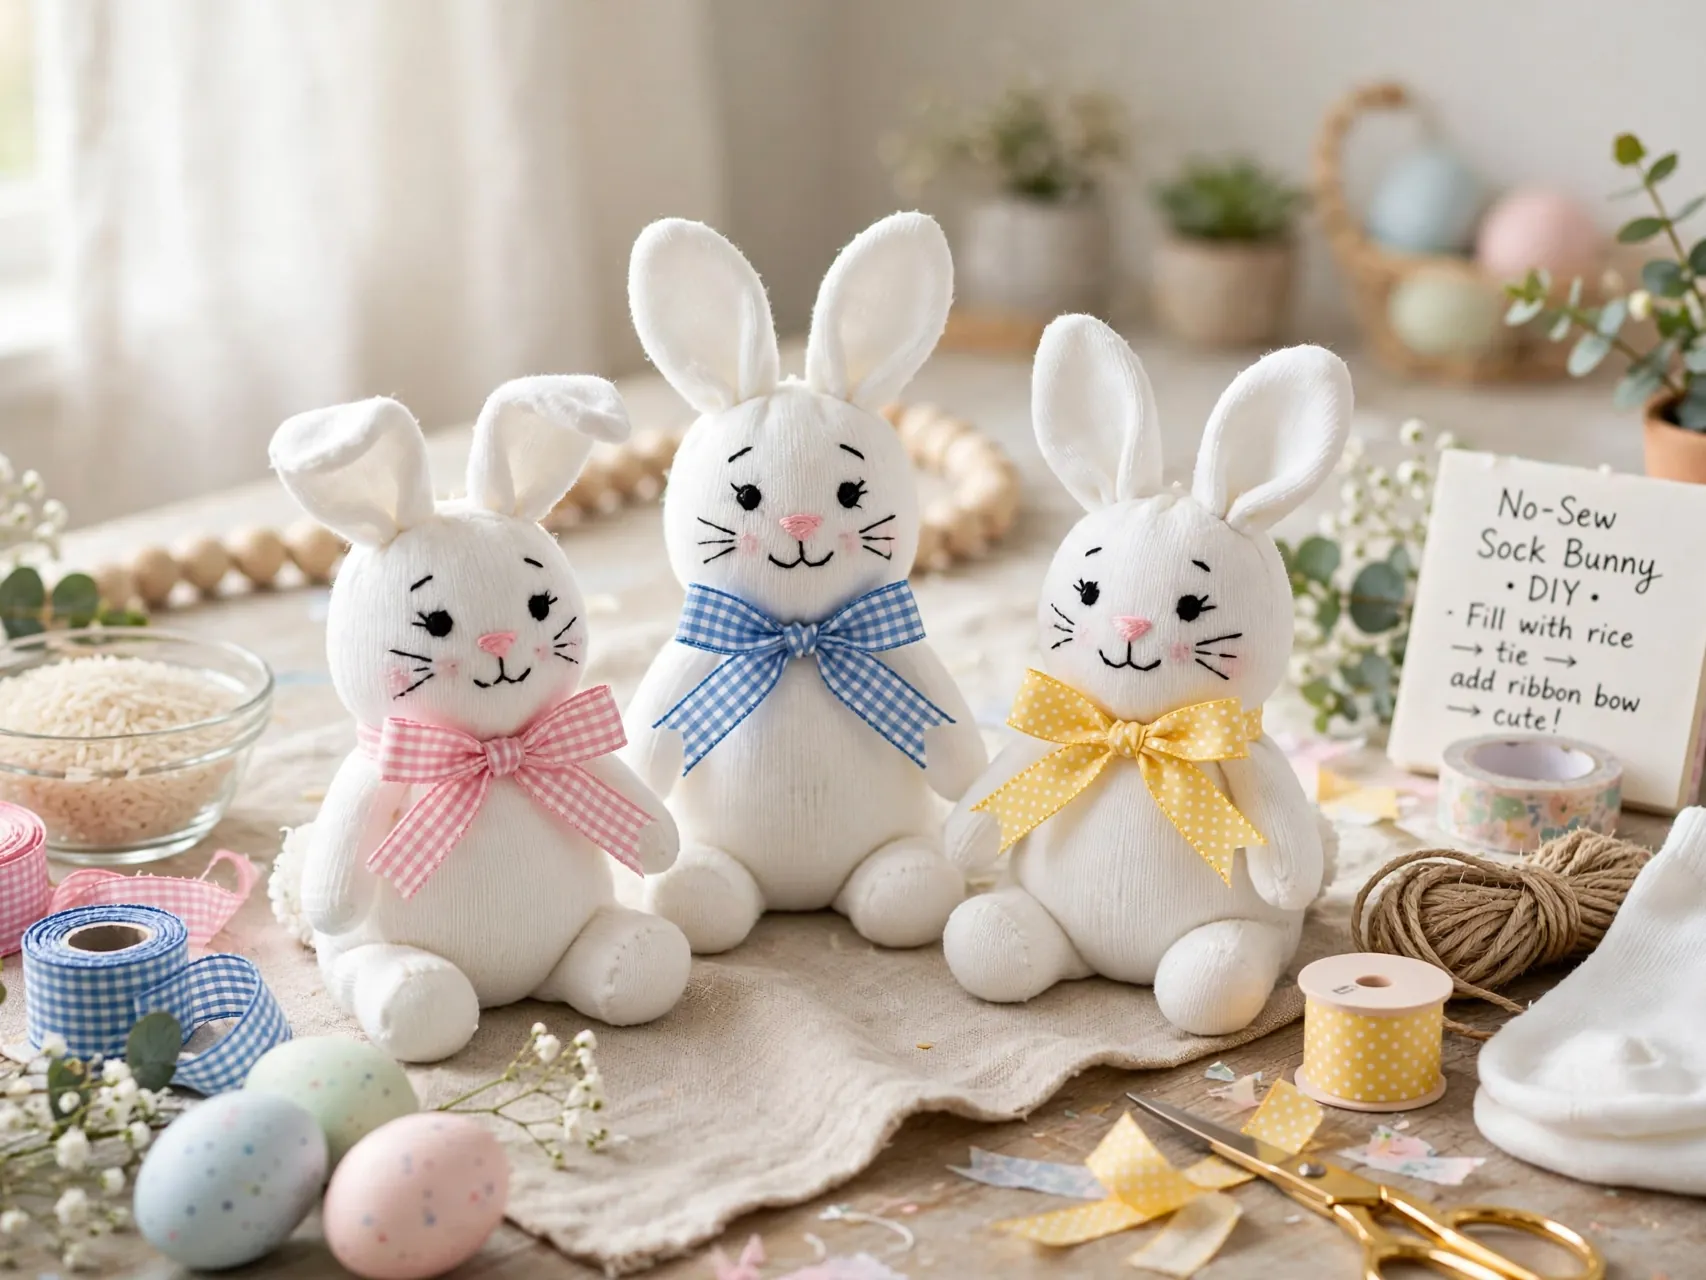
Fill a clean sock with rice or dried beans, tie off a smaller head section with string, and cut the cuff above the tie into two ears. Draw or glue on a face and tie a ribbon around the neck.
Sock bunnies sit well on mantels and shelves because the filling gives them weight. Make them from outgrown or single socks in soft colors. Keep them as decor only, and place them where young children cannot pull them apart and reach the filling.
11. Create an Easter Branch Tree Display
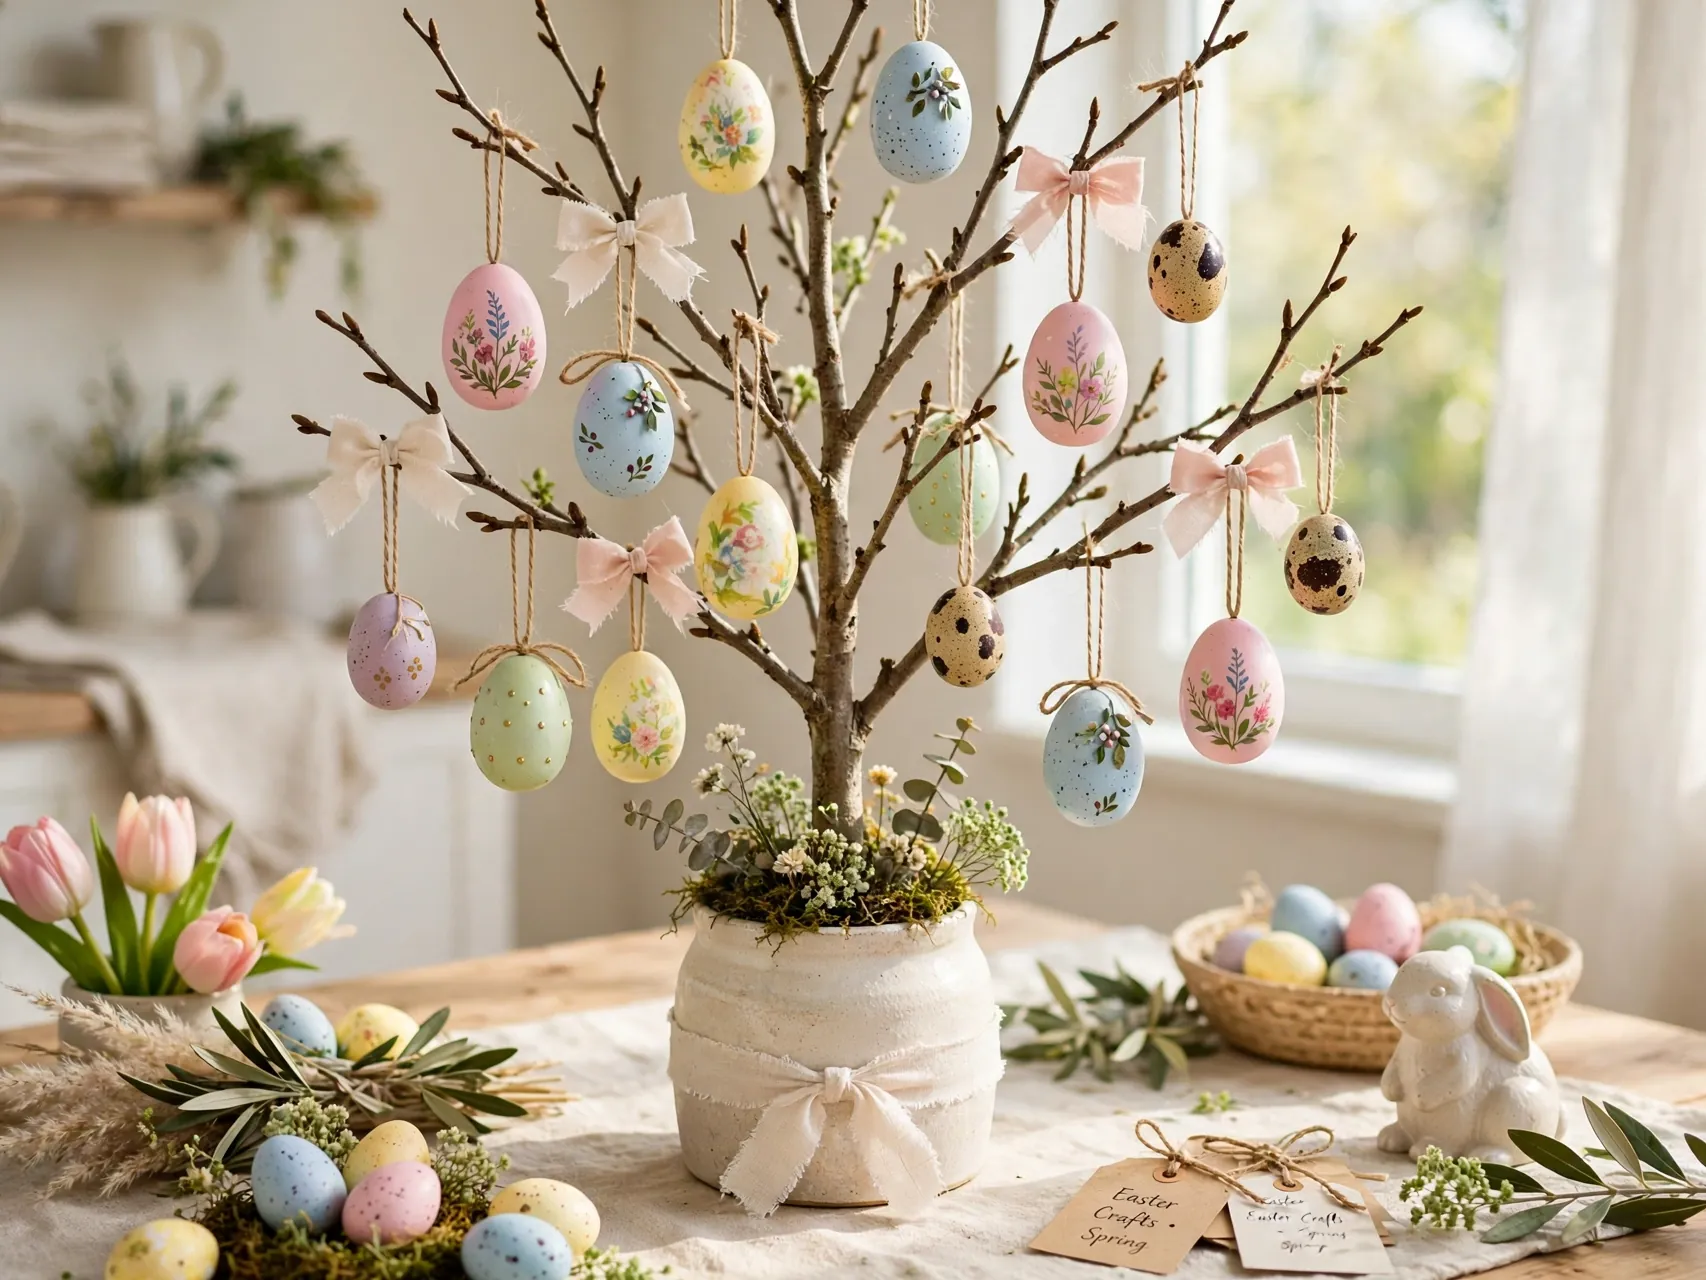
Set a few bare branches, pussy willow stems, or curly willow in a heavy vase with stones for stability. Hang lightweight paper, felt, or decorative eggs from the branches with ribbon loops.
A branch tree gives you a tall centerpiece without taking much table space, and it changes with whatever you hang on it. Keep the vase steady and out of walkways, and use only light ornaments so branches do not snap. It is a classic DIY easter decorations project that costs almost nothing.
12. Stamp a Spring Table Runner

Cut a potato in half, carve a simple egg or tulip shape, and stamp a plain cotton or linen runner with fabric paint. Or use a bunny or egg cookie cutter dipped in paint for a cleaner outline.
Let the runner dry fully before you set the table. Homemade runners forgive imperfect stamps, in fact the slight variation is the charm. Wash on a gentle cycle and store rolled rather than folded to keep the painted shapes from cracking.
13. Fold Origami Bunnies for Place Settings
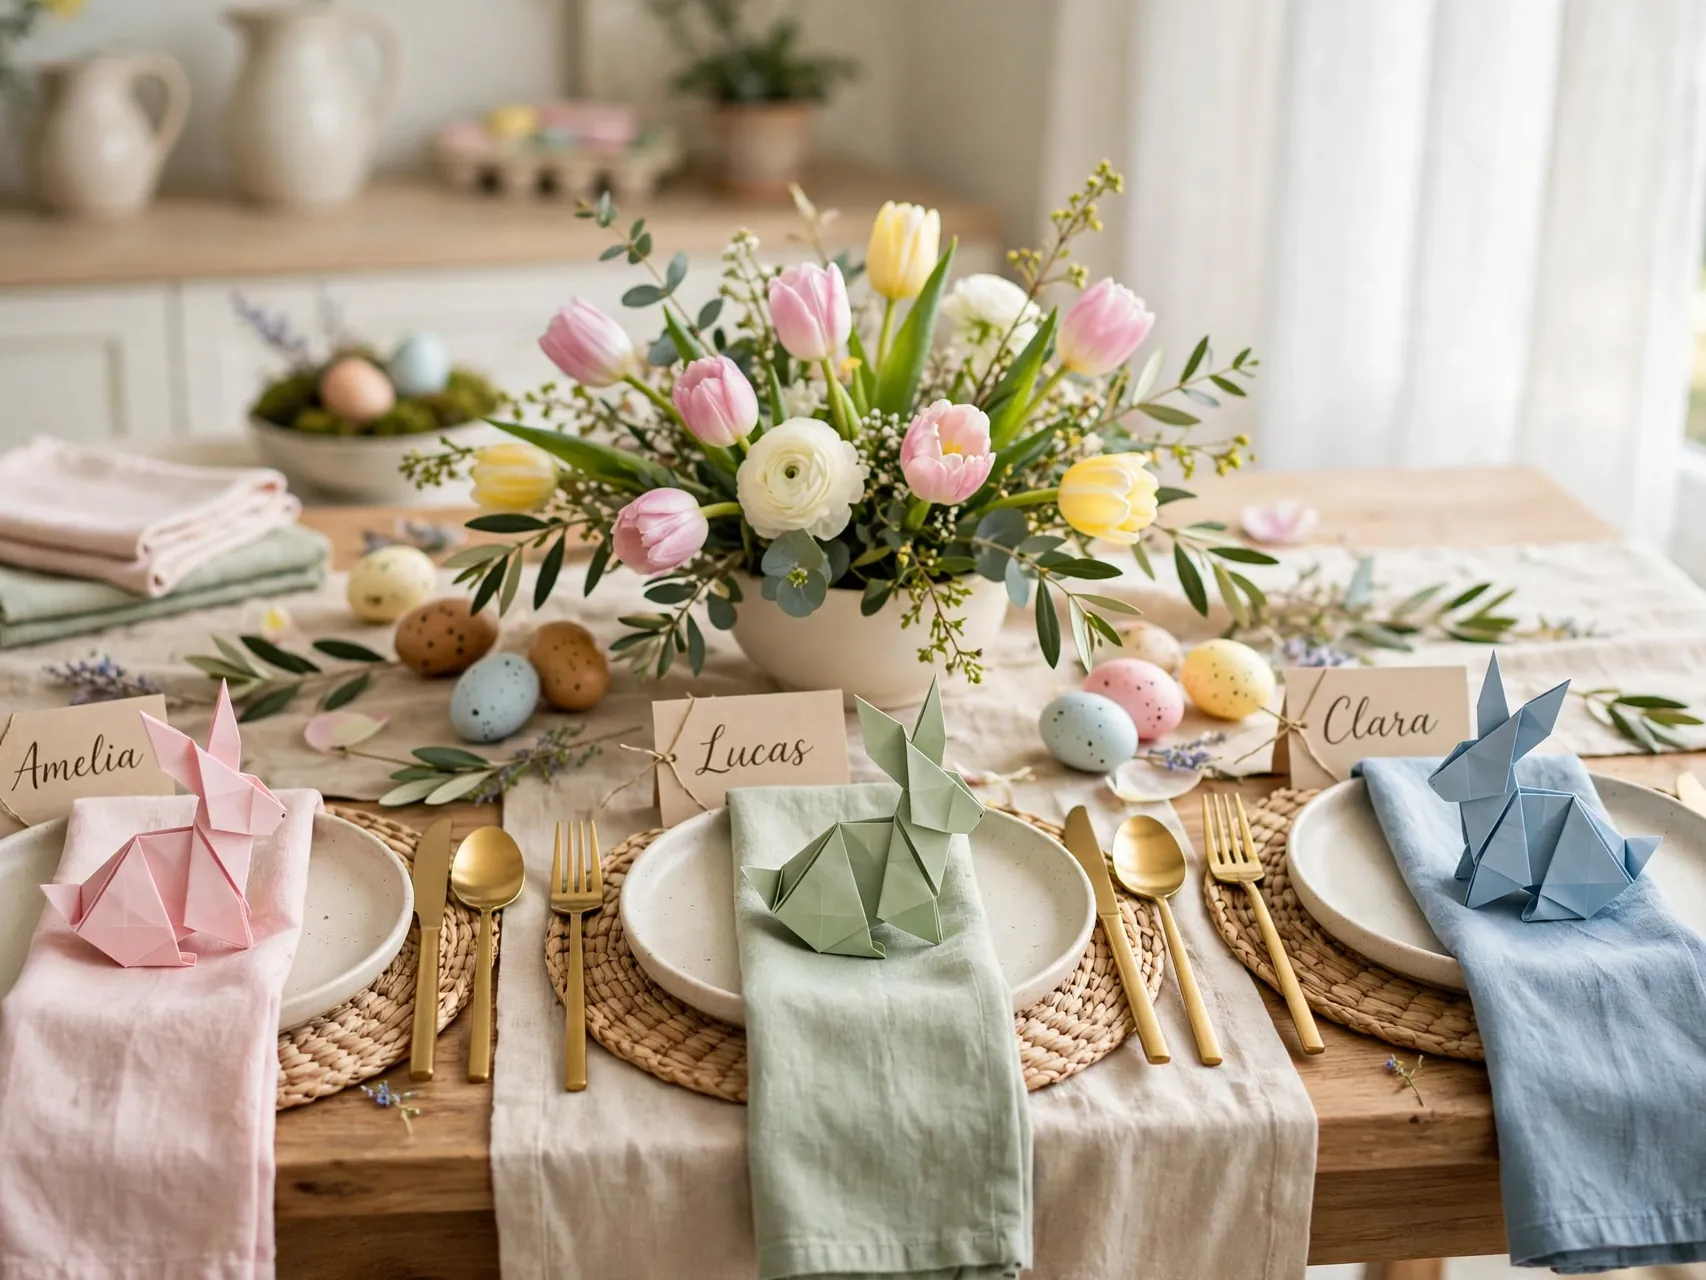
Fold square paper into simple origami bunnies, draw on tiny faces, and set one at each plate with a name card tucked beside it. Pastel origami paper or plain white with colored ears both work well.
This is a calm, mess-free craft for the night before guests arrive. Make a few extras for the mantel or a windowsill. If folding is new to you, practice on scrap paper first, then use your good paper once the steps feel familiar.
14. Assemble a Moss and Egg Table Tray
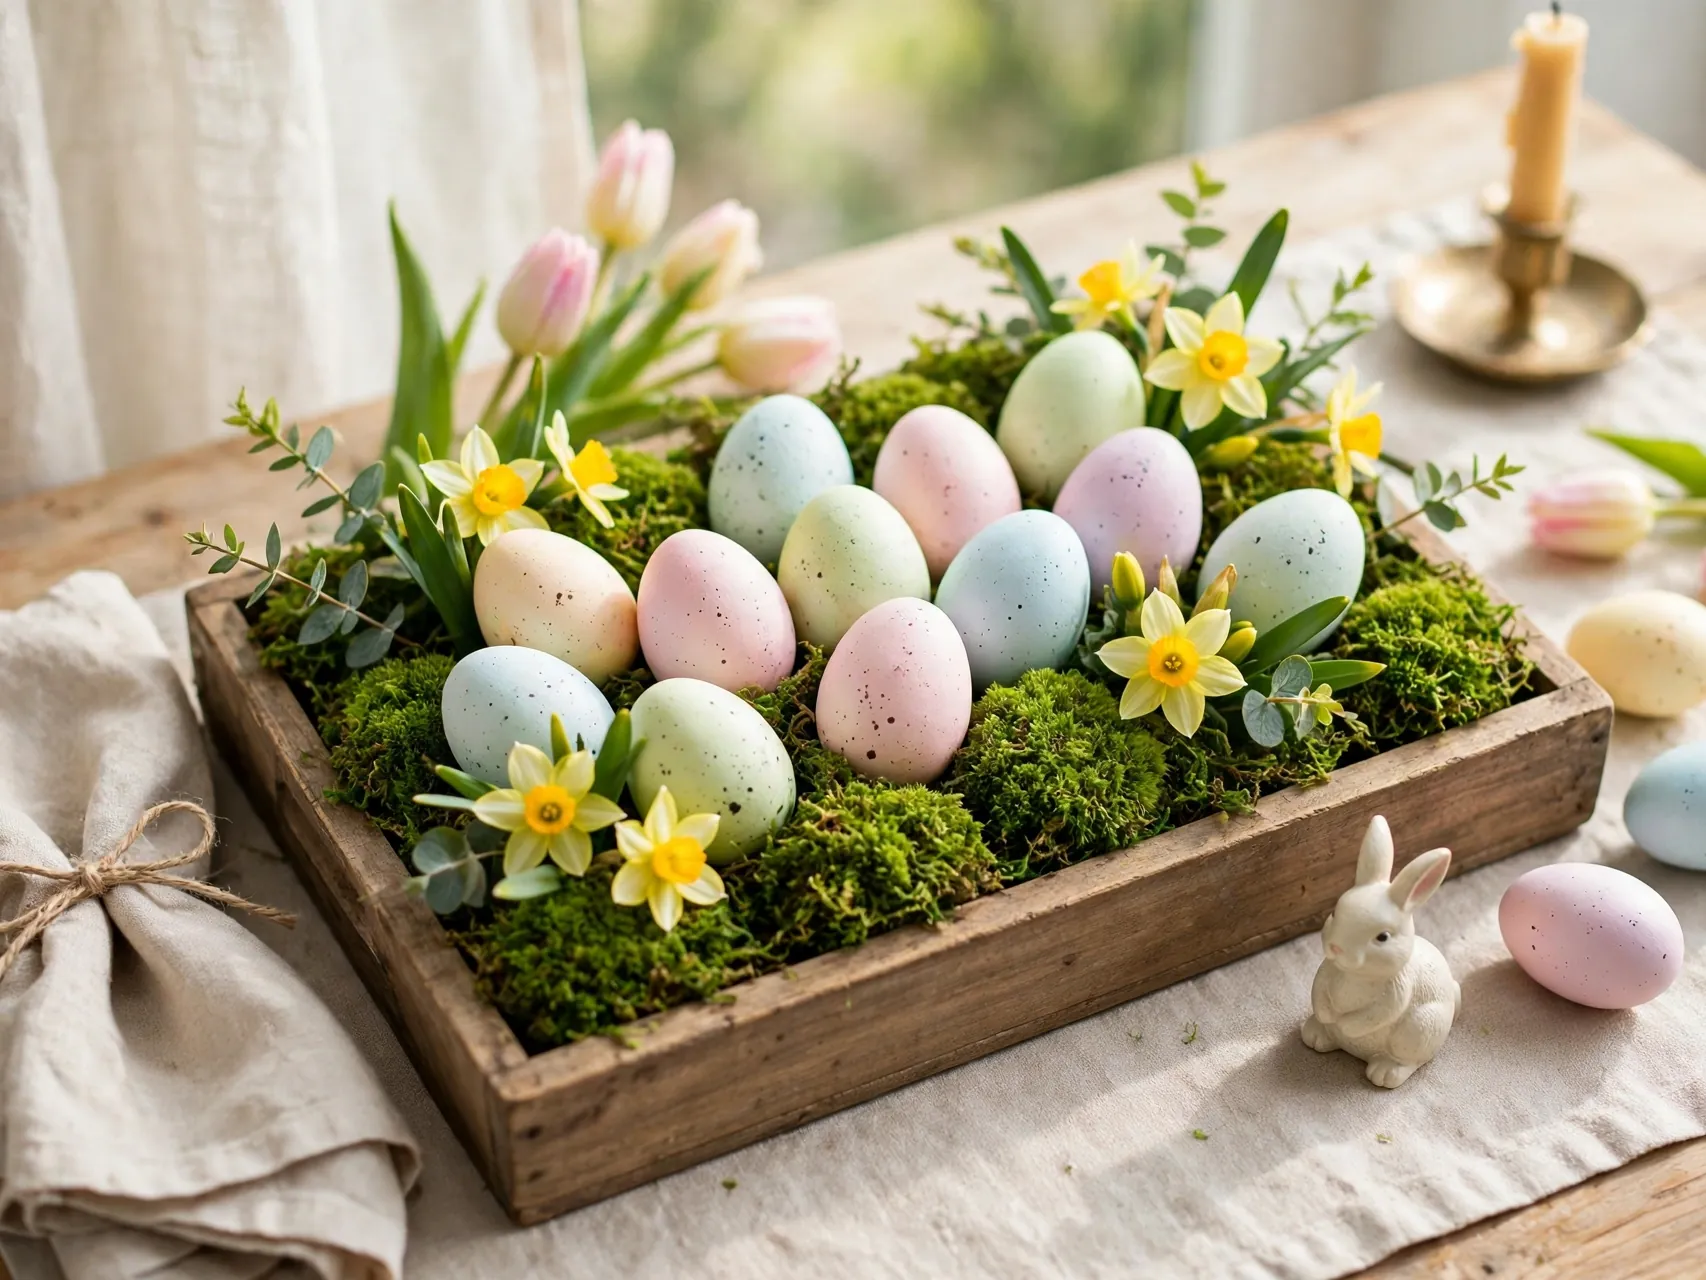
Layer a wood tray with preserved moss, decorative eggs, a small potted plant or faux tulips, and a ceramic bunny if you have one. Keep the tallest item at one end so the tray reads like a little garden scene.
Trays are the fastest way to make a centerpiece feel finished, because the edges contain the arrangement. You can lift the whole tray away when you need the table for serving. Swap the eggs for lemons or greenery later and the same tray carries you into summer.
15. Make Salt Dough Egg Ornaments
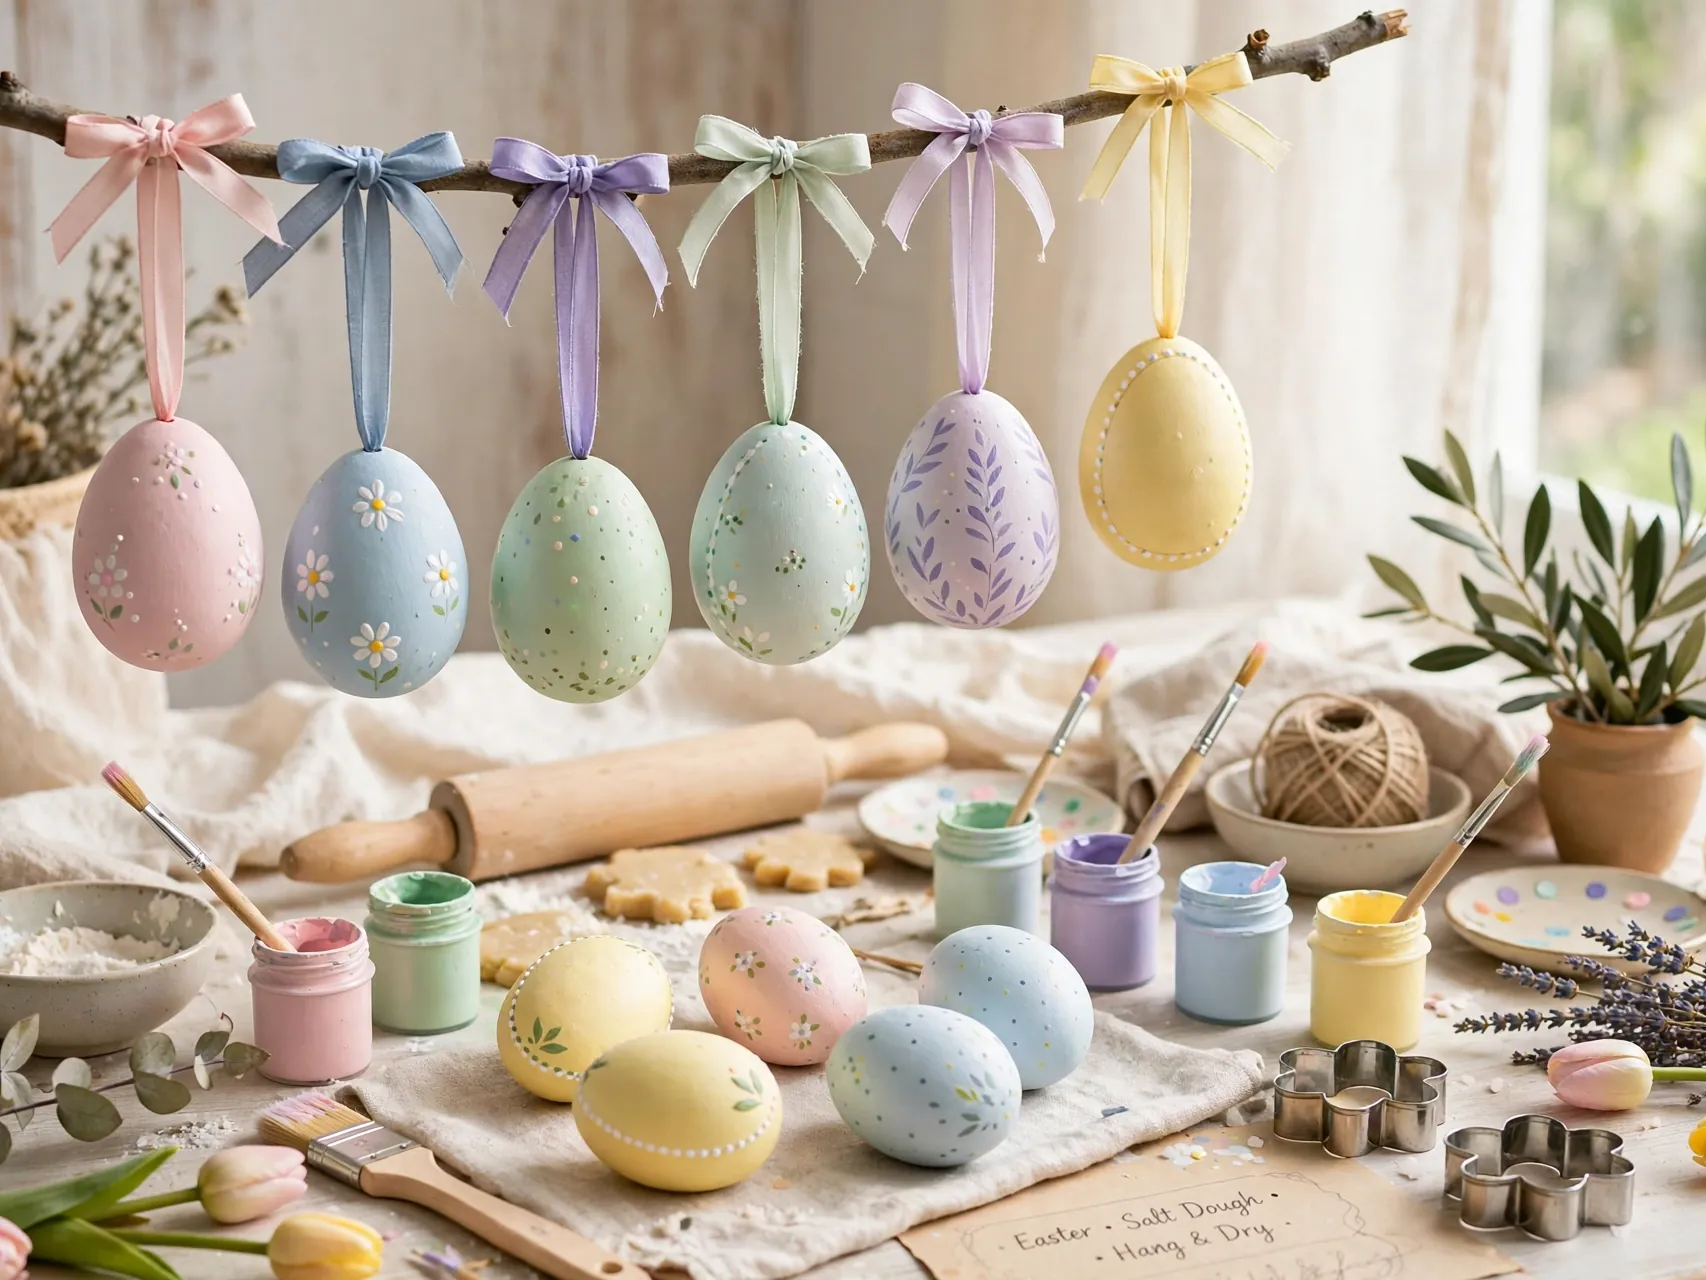
Mix flour, salt, and water into a firm dough, roll it out, and cut egg shapes with a cookie cutter. Poke a hole at the top before baking low and slow until hard, then paint and seal the cooled ornaments.
Salt dough ornaments are keepsakes, especially with a name and year painted on the back. They are not food, so label the storage box clearly and keep them dry between seasons. Hang them on the branch tree or tie them onto gift wrap and baskets.
16. Paint Terracotta Pots With Spring Faces
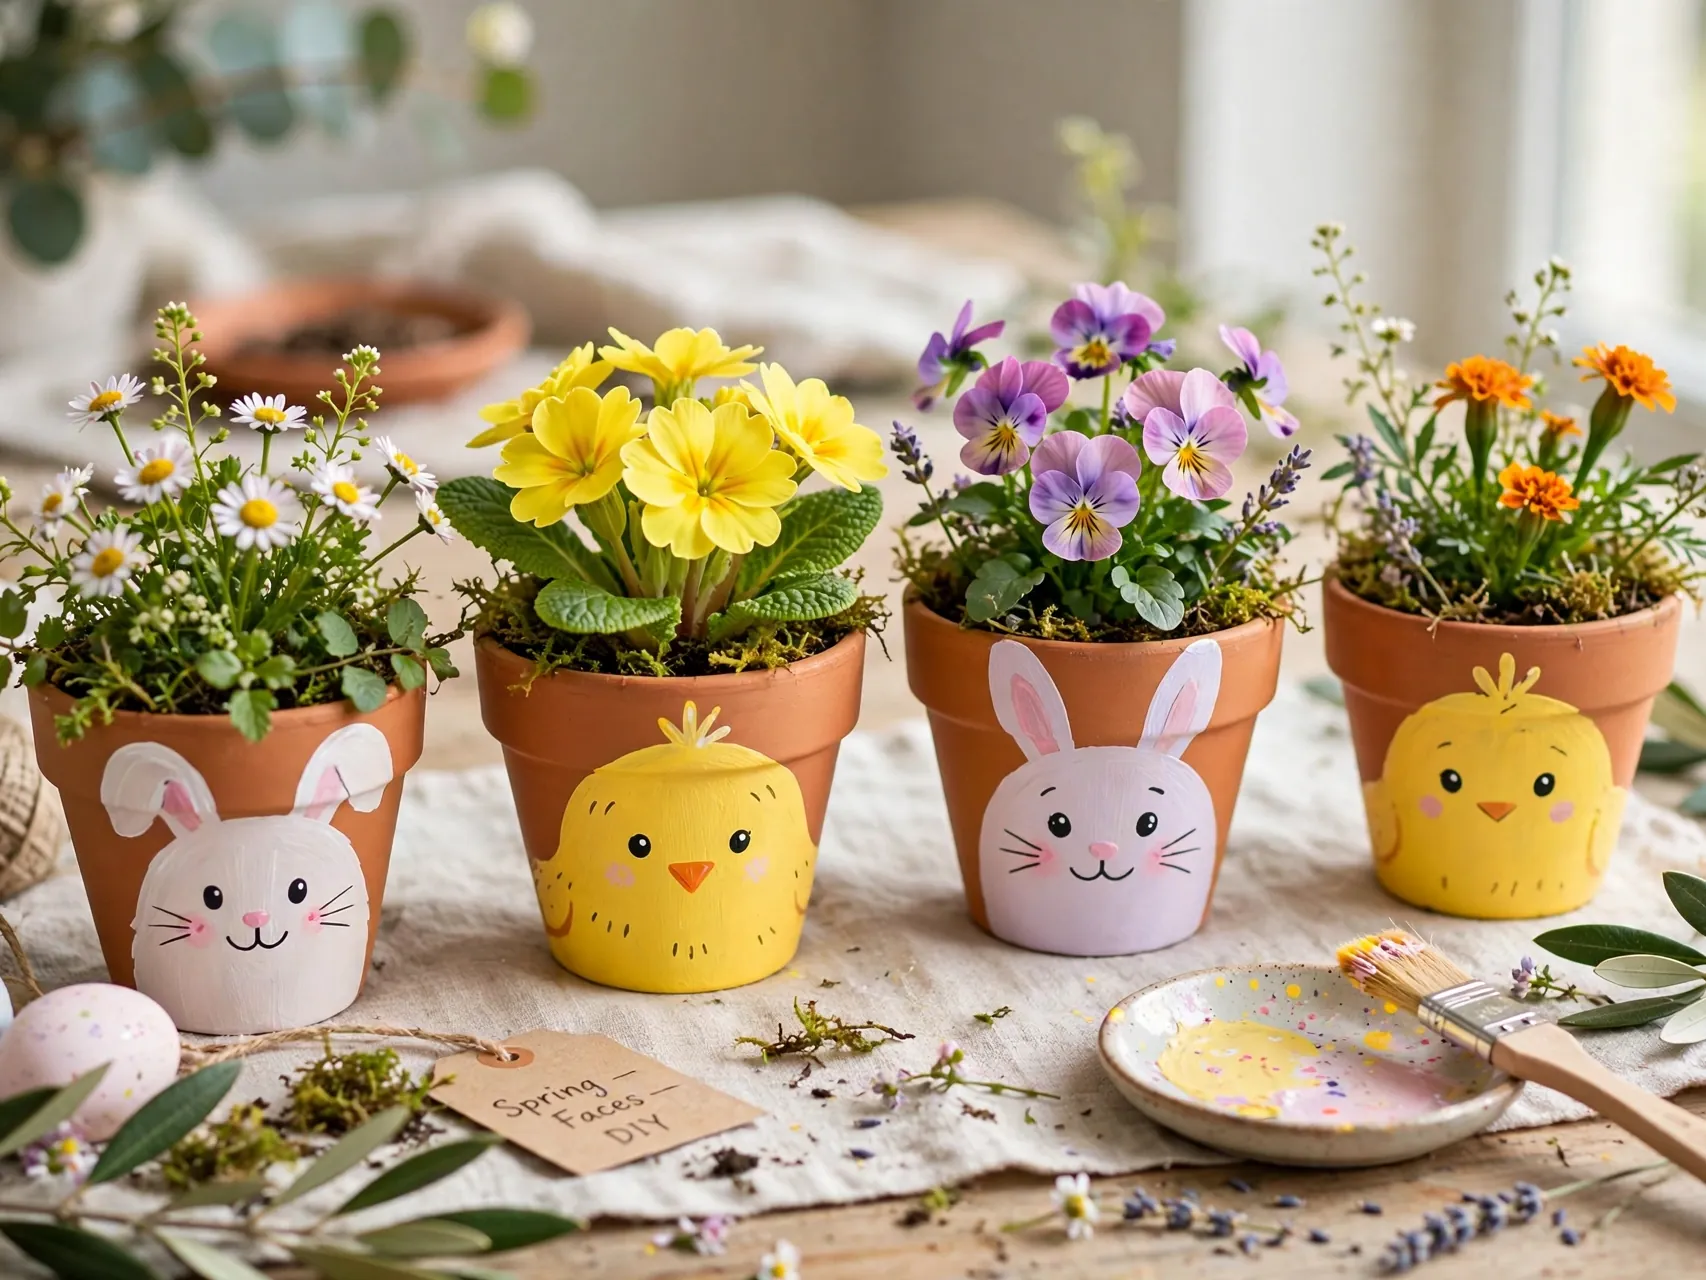
Paint small terracotta pots white, yellow, or pastel, add bunny ears or chick faces, and plant a small herb, pansy, or faux flower in each one. A row of them on a windowsill is instant spring.
Terracotta is porous, so a quick coat of sealant inside helps if you will water real plants often. These pots make sweet hostess gifts and party favors. Use non-toxic paint and let pots dry fully before adding soil and plants.
17. String a Paint Chip Egg Garland
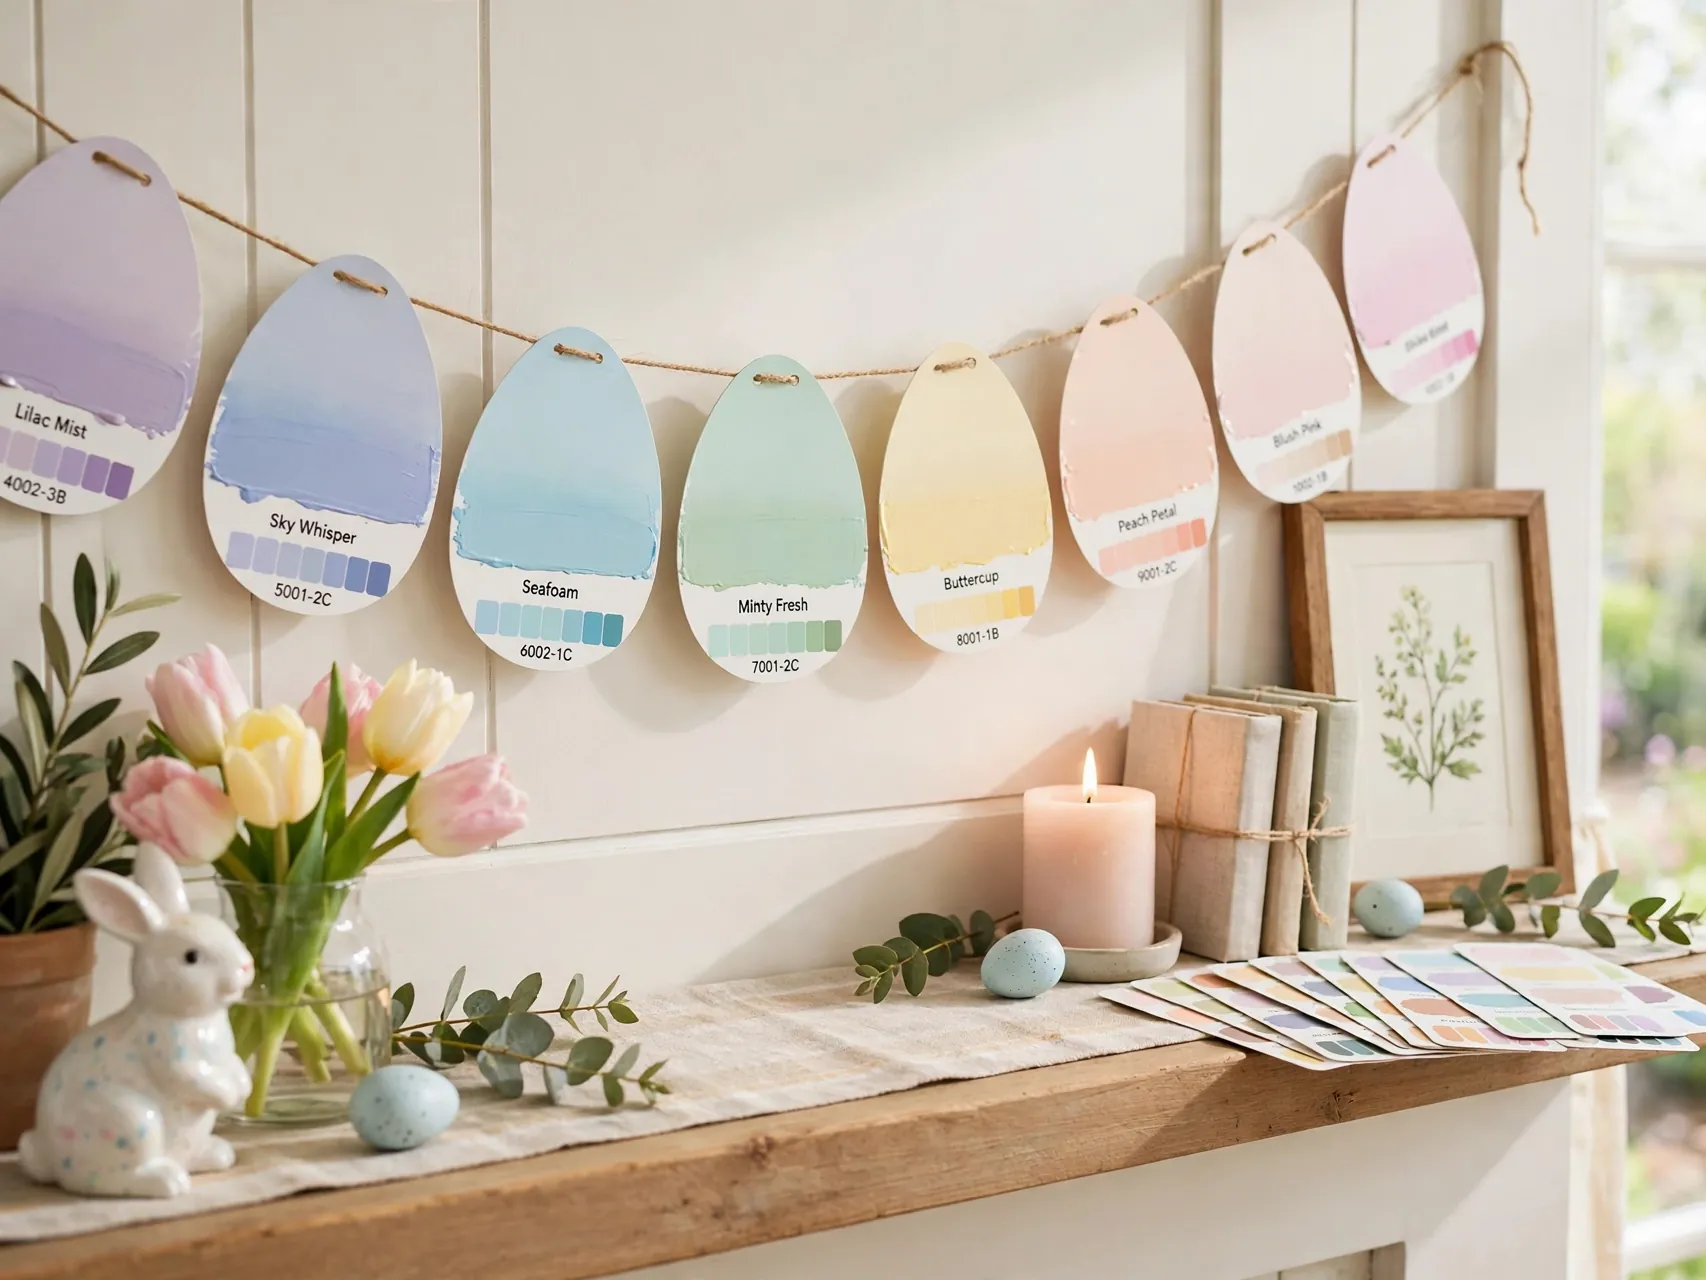
Cut egg shapes from paint sample cards in graduated pastels, punch two holes at the top of each egg, and thread them onto twine or thin ribbon. The ombre effect comes free with the sample cards.
Hang this garland over a doorway, mirror, or mantel where light catches the color shifts. It is lightweight, flat to store, and a good use for leftover sample cards from a painting project. Keep the palette within one color family for a softer, more grown up look.
18. Make Eggshell Planters With Wheatgrass
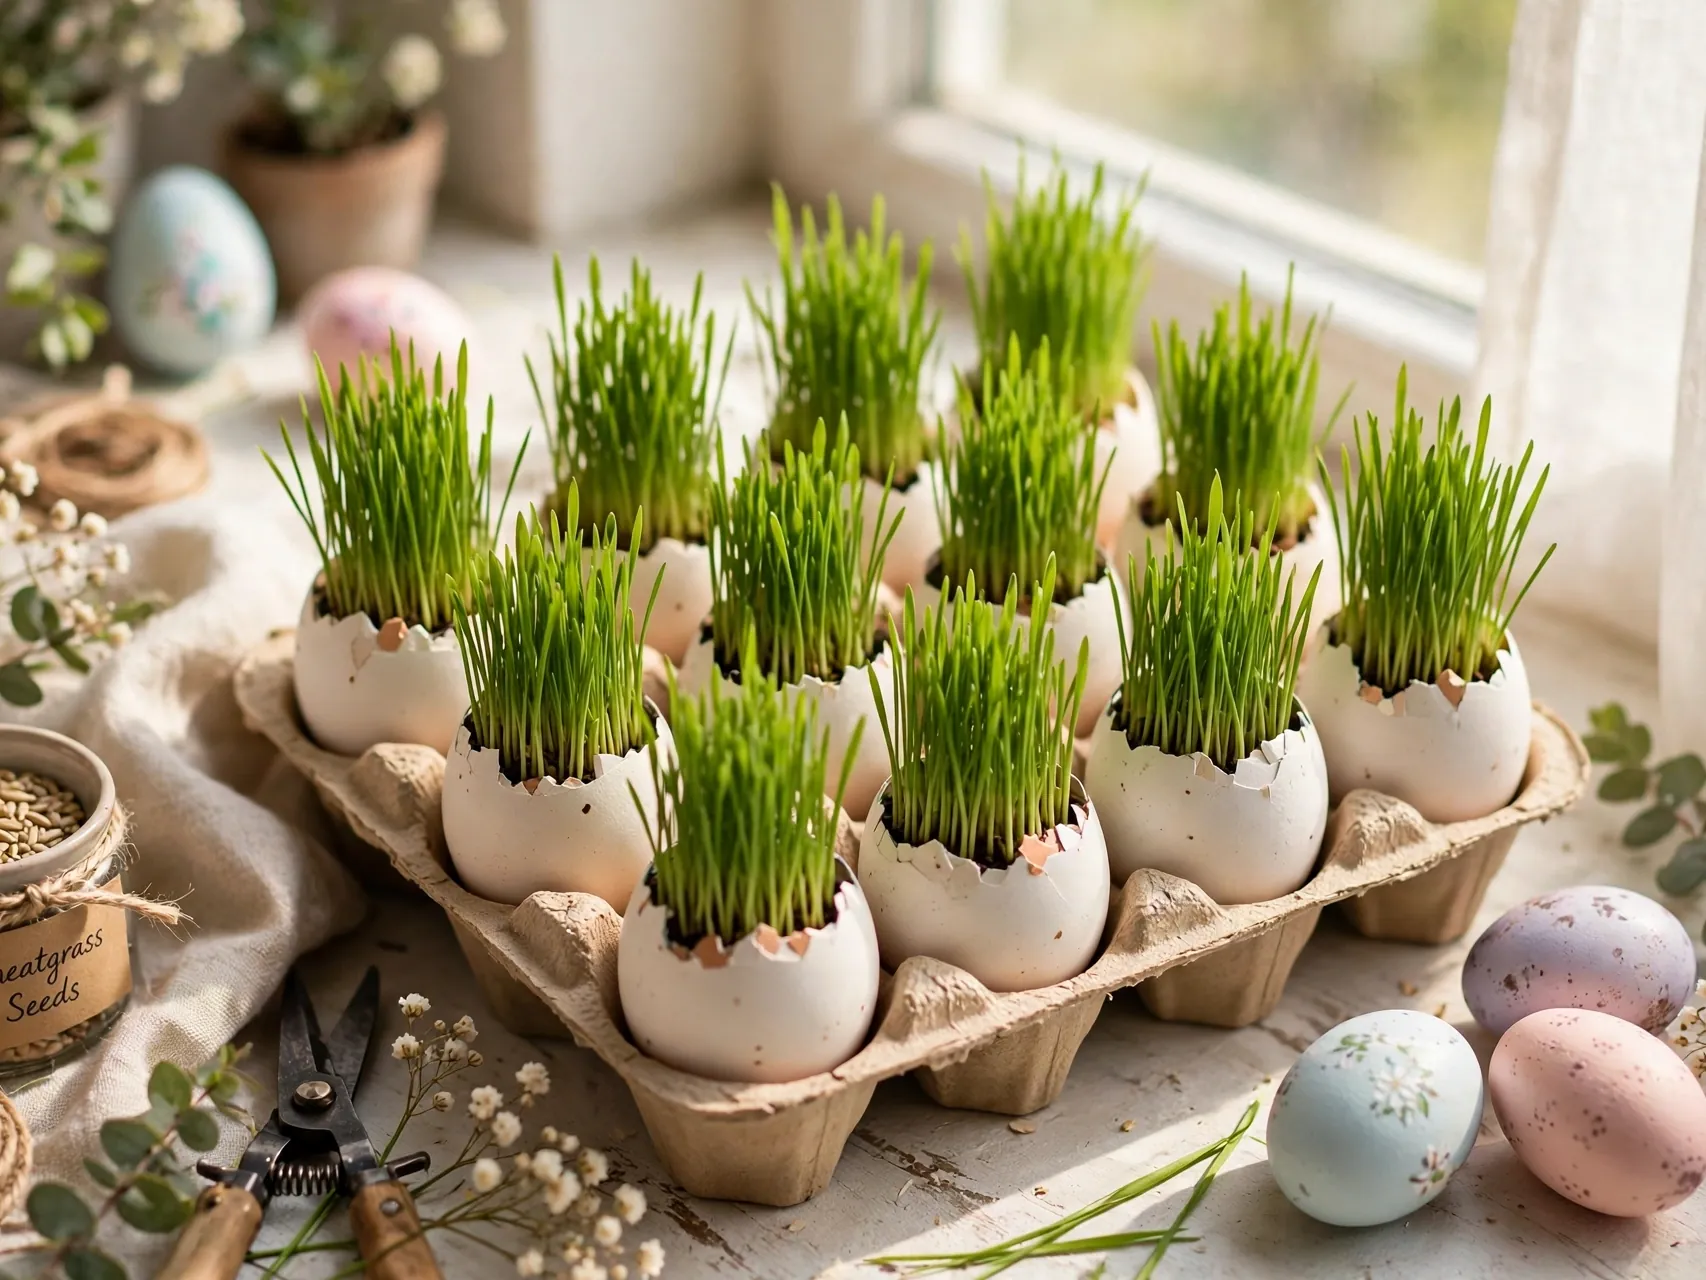
Save rinsed eggshell halves from cooking, set them in an egg carton or egg cups, add a spoonful of soil, and sprinkle wheatgrass or cress seeds on top. Mist daily and soft green shoots appear within days.
This living craft is best started about a week before you want the display. Keep shells that held raw egg for planting only, never for serving food, and wash hands after handling them. Line the finished shells down the table for a fresh centerpiece guests always comment on.
19. Craft a Bunny Ear Napkin Fold
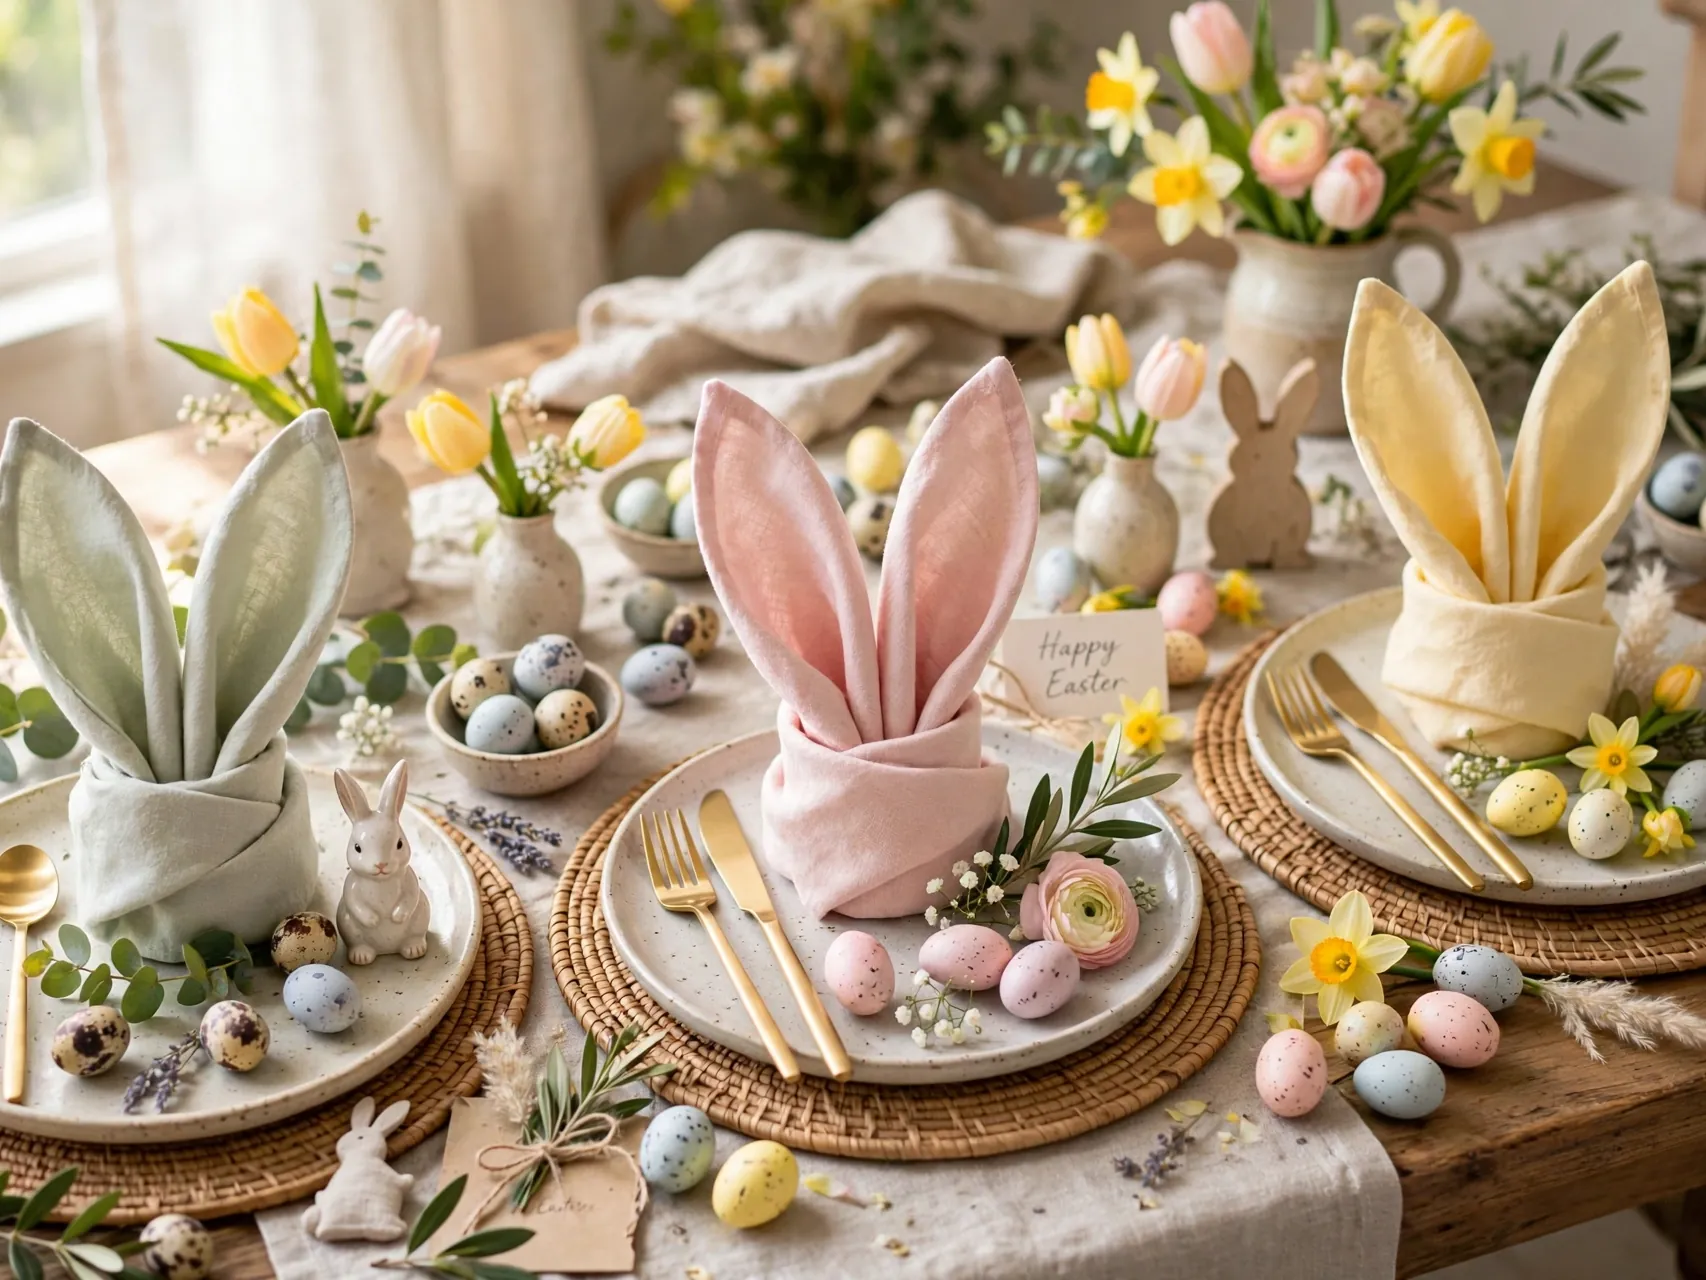
Fold cloth or sturdy paper napkins into bunny ears around a decorative egg or a rolled napkin, and secure the base with twine or a small ribbon. Set one at each place before guests sit down.
It takes a little practice, so fold them the day before and store them upright in a basket. Cloth napkins in white or pale pink show the shape best. This tiny detail makes a simple table feel planned, and kids love finding the egg in the middle.
20. Build Wood Bead Bunnies and Carrots
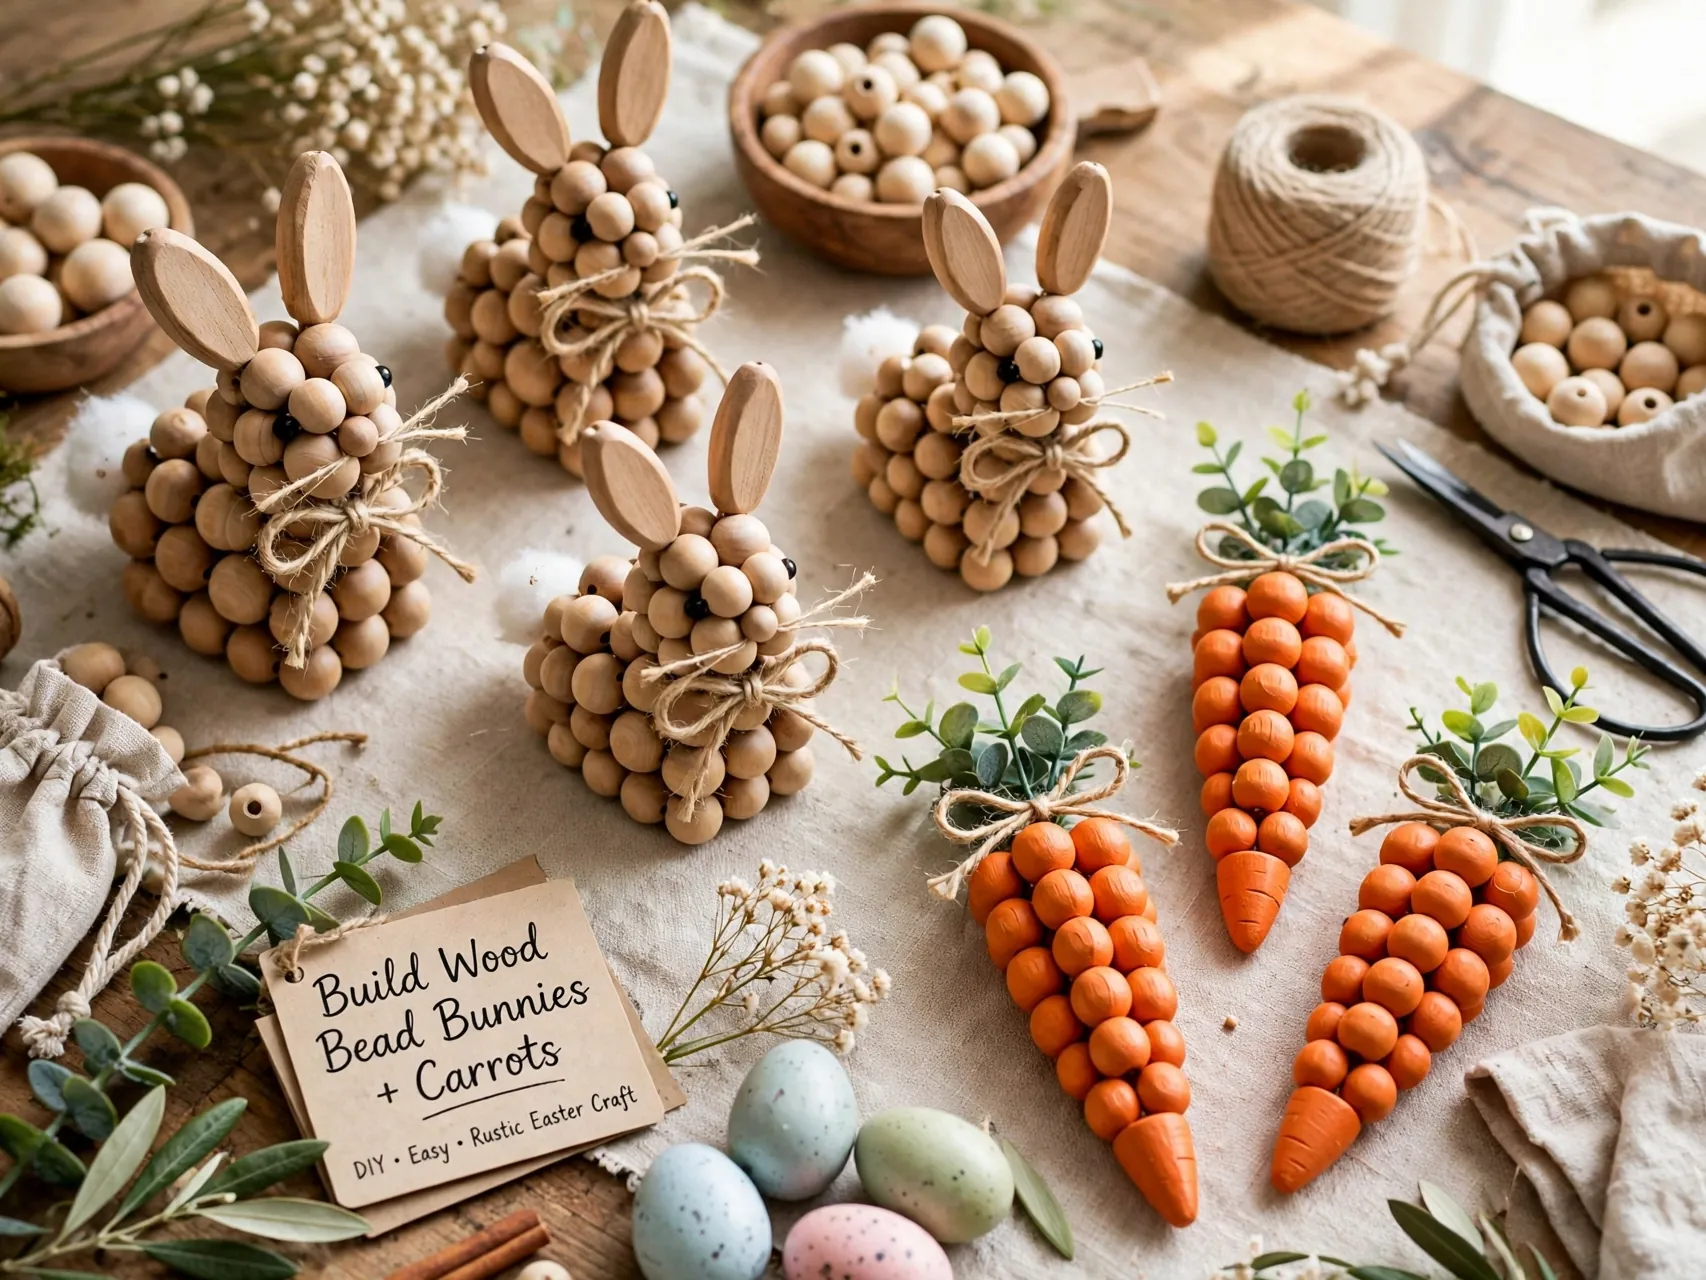
Thread unfinished wood beads onto wire or twine to form bunny shapes, add felt or twine ears, and paint a few beads orange and green for matching carrots. A dab of glue at the joints keeps the shapes firm.
Wood bead crafts suit farmhouse and neutral decor, and they store without fading. Display a small group in a bowl or hang singles as ornaments. Keep bead pieces as decor and away from children under 3, since beads are small parts.
21. Make Tissue Paper Hyacinths and Tulips
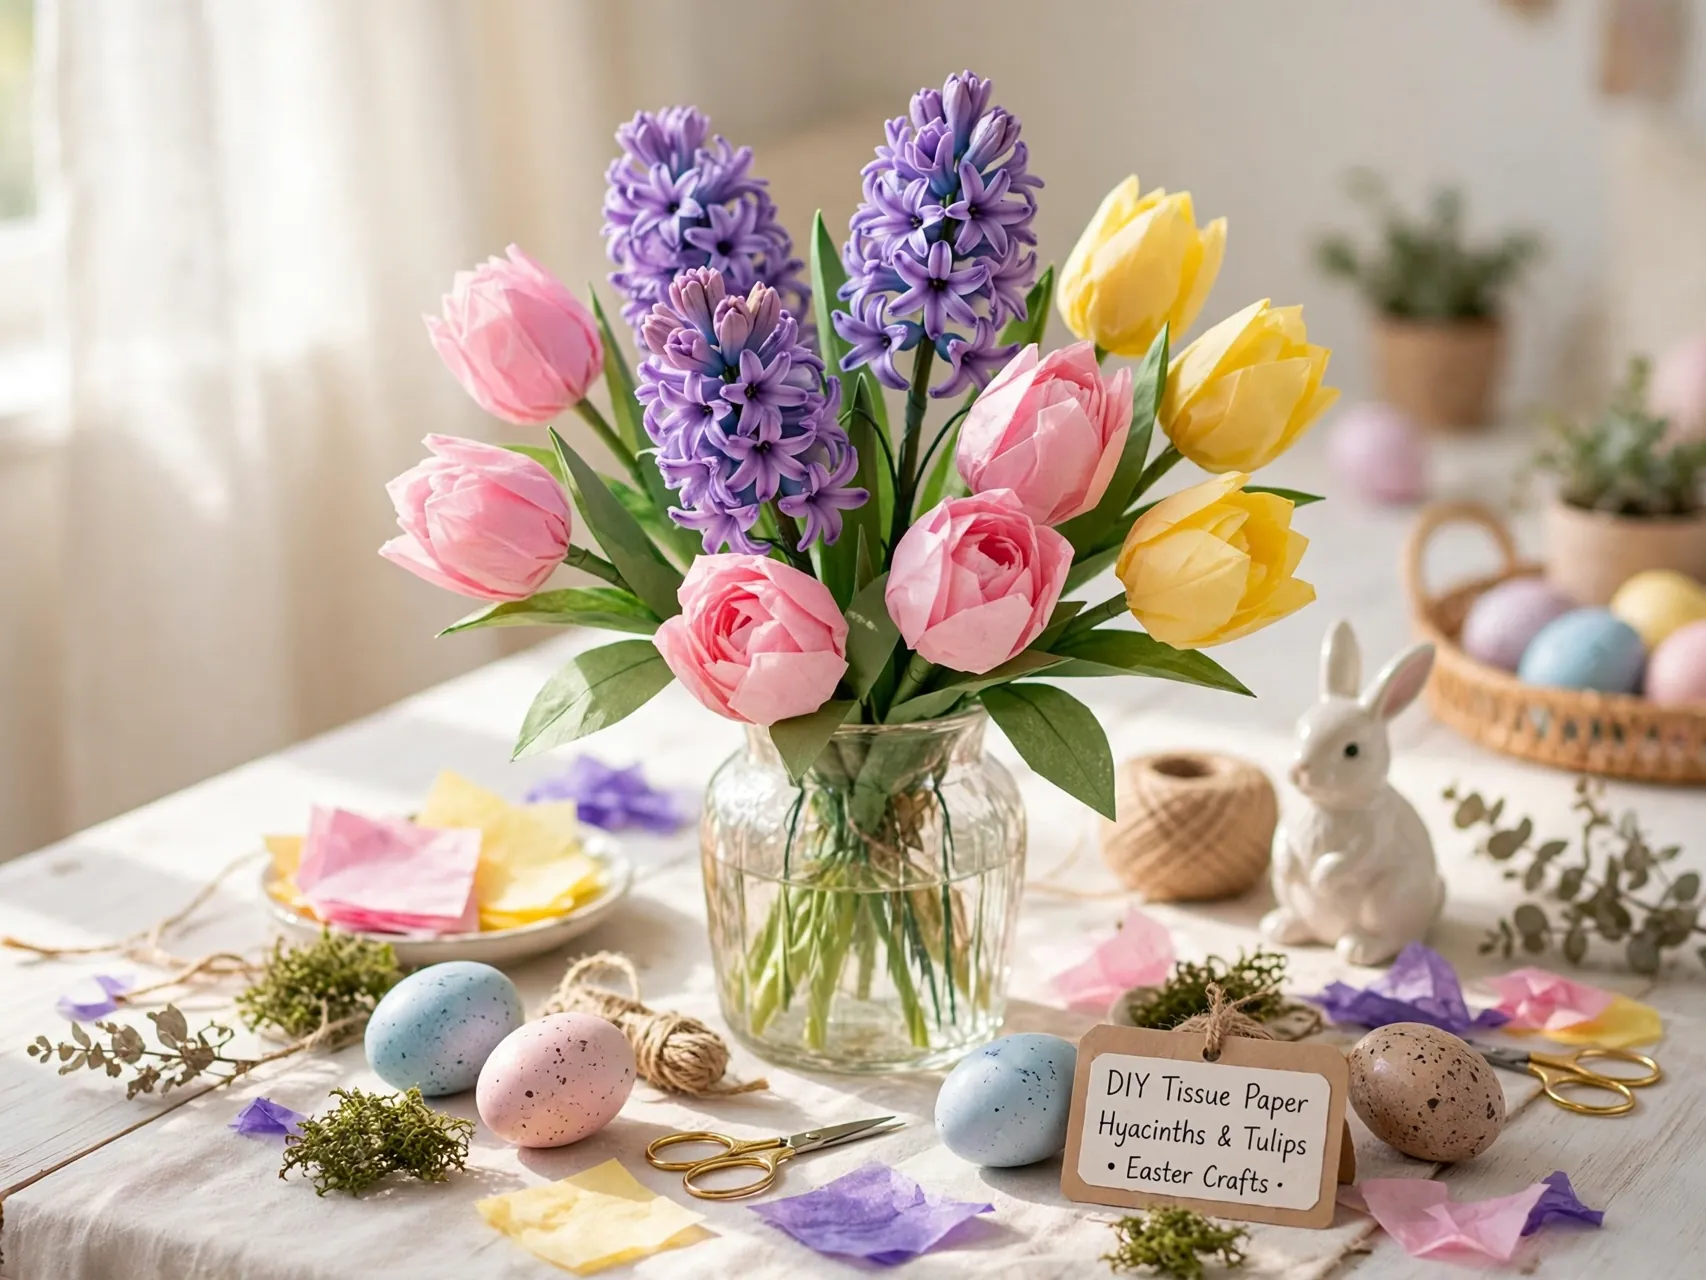
Fringe strips of purple, pink, and white tissue paper and roll them around a green pipe cleaner stem for hyacinths. For tulips, cut petal shapes, layer them around a stem, and secure with floral tape.
A jar of tissue flowers brightens a bathroom, desk, or bedside table and never needs water. This is a good easter crafts for adults evening project, detailed enough to be satisfying and simple enough to chat through while you work.
22. Decorate a Foam Wreath With Yarn Eggs
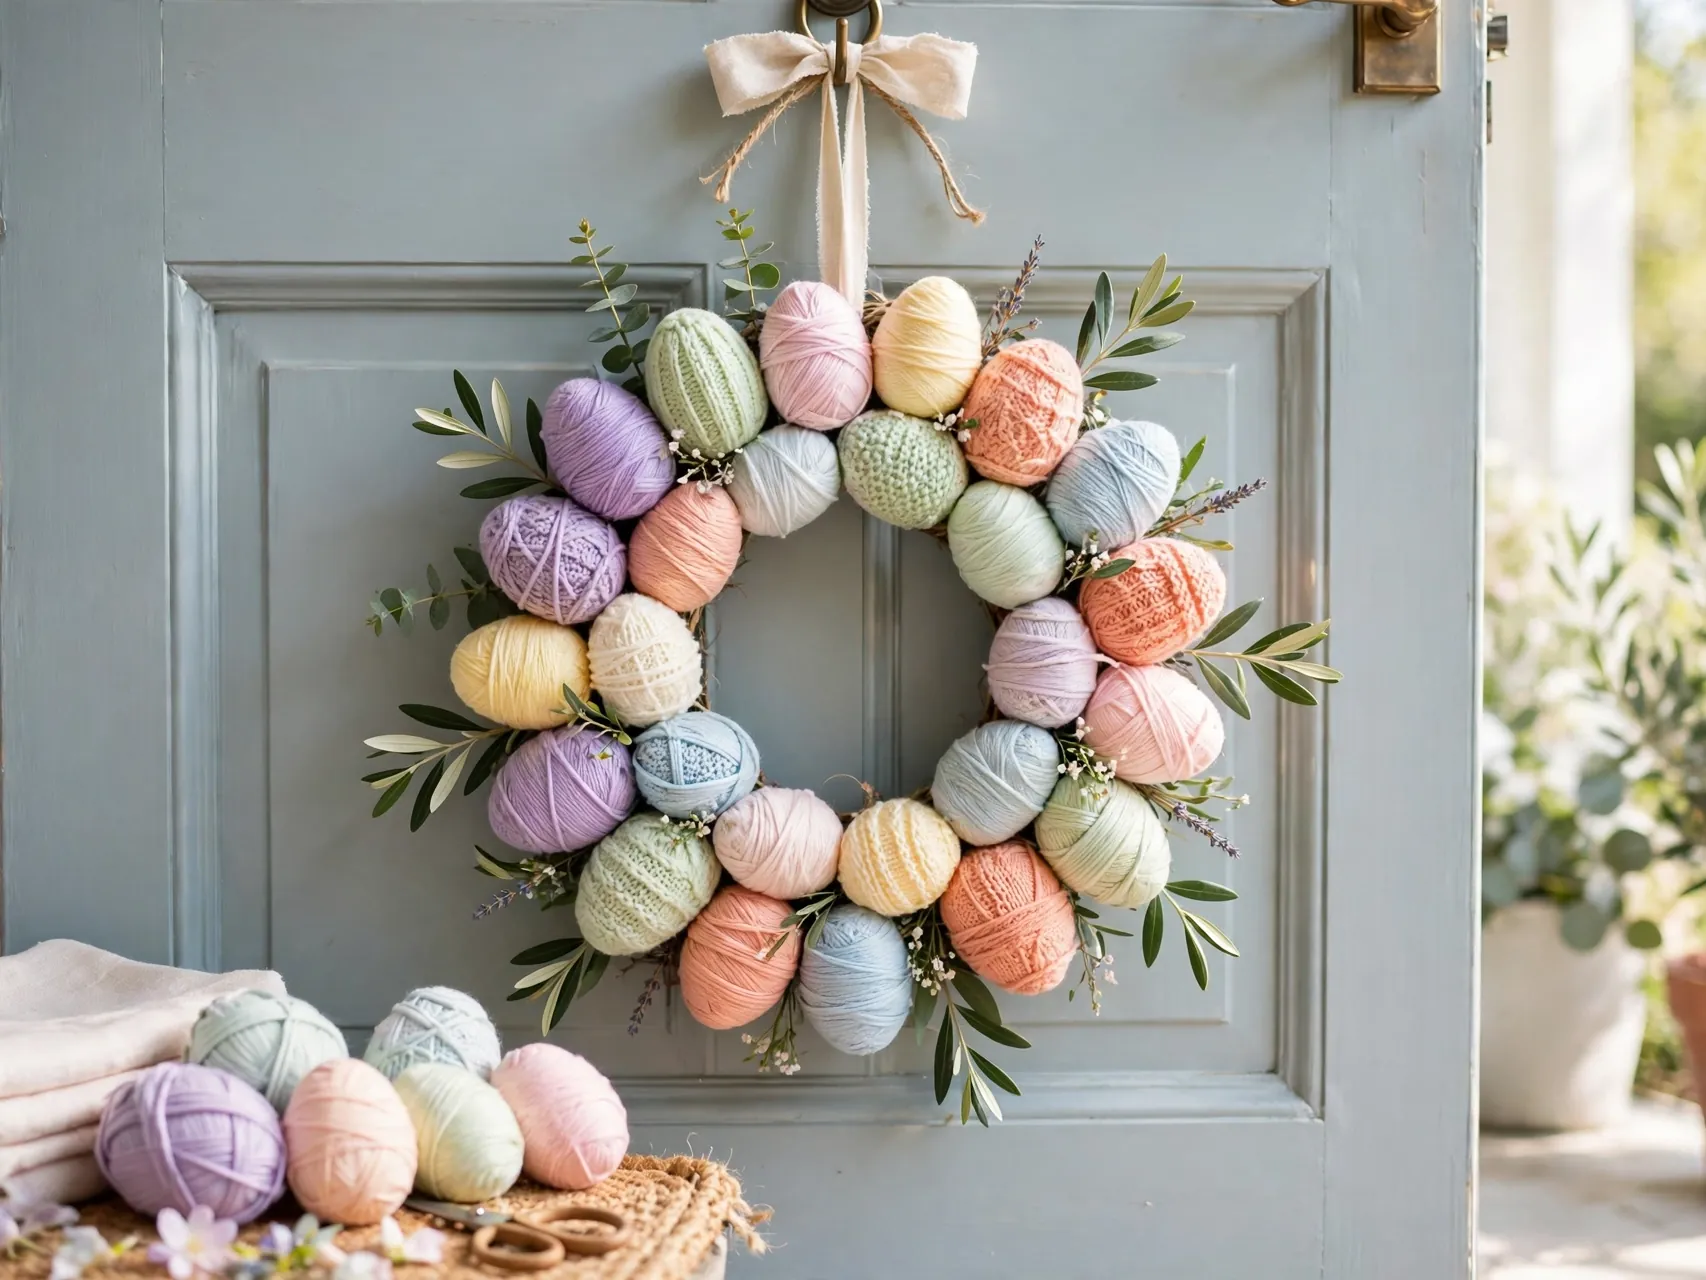
Wrap small foam eggs in pastel yarn, securing the ends with glue, then glue or wire the finished eggs around a foam or grapevine wreath with a little greenery tucked between them. Add a simple bow.
Yarn eggs use up leftover yarn from winter projects and give the wreath soft texture. Work in odd numbers of each color for a balanced look. Hang the wreath indoors or on a covered door, since yarn and glue do not love spring rain.
23. Create Framed Bunny Silhouette Art
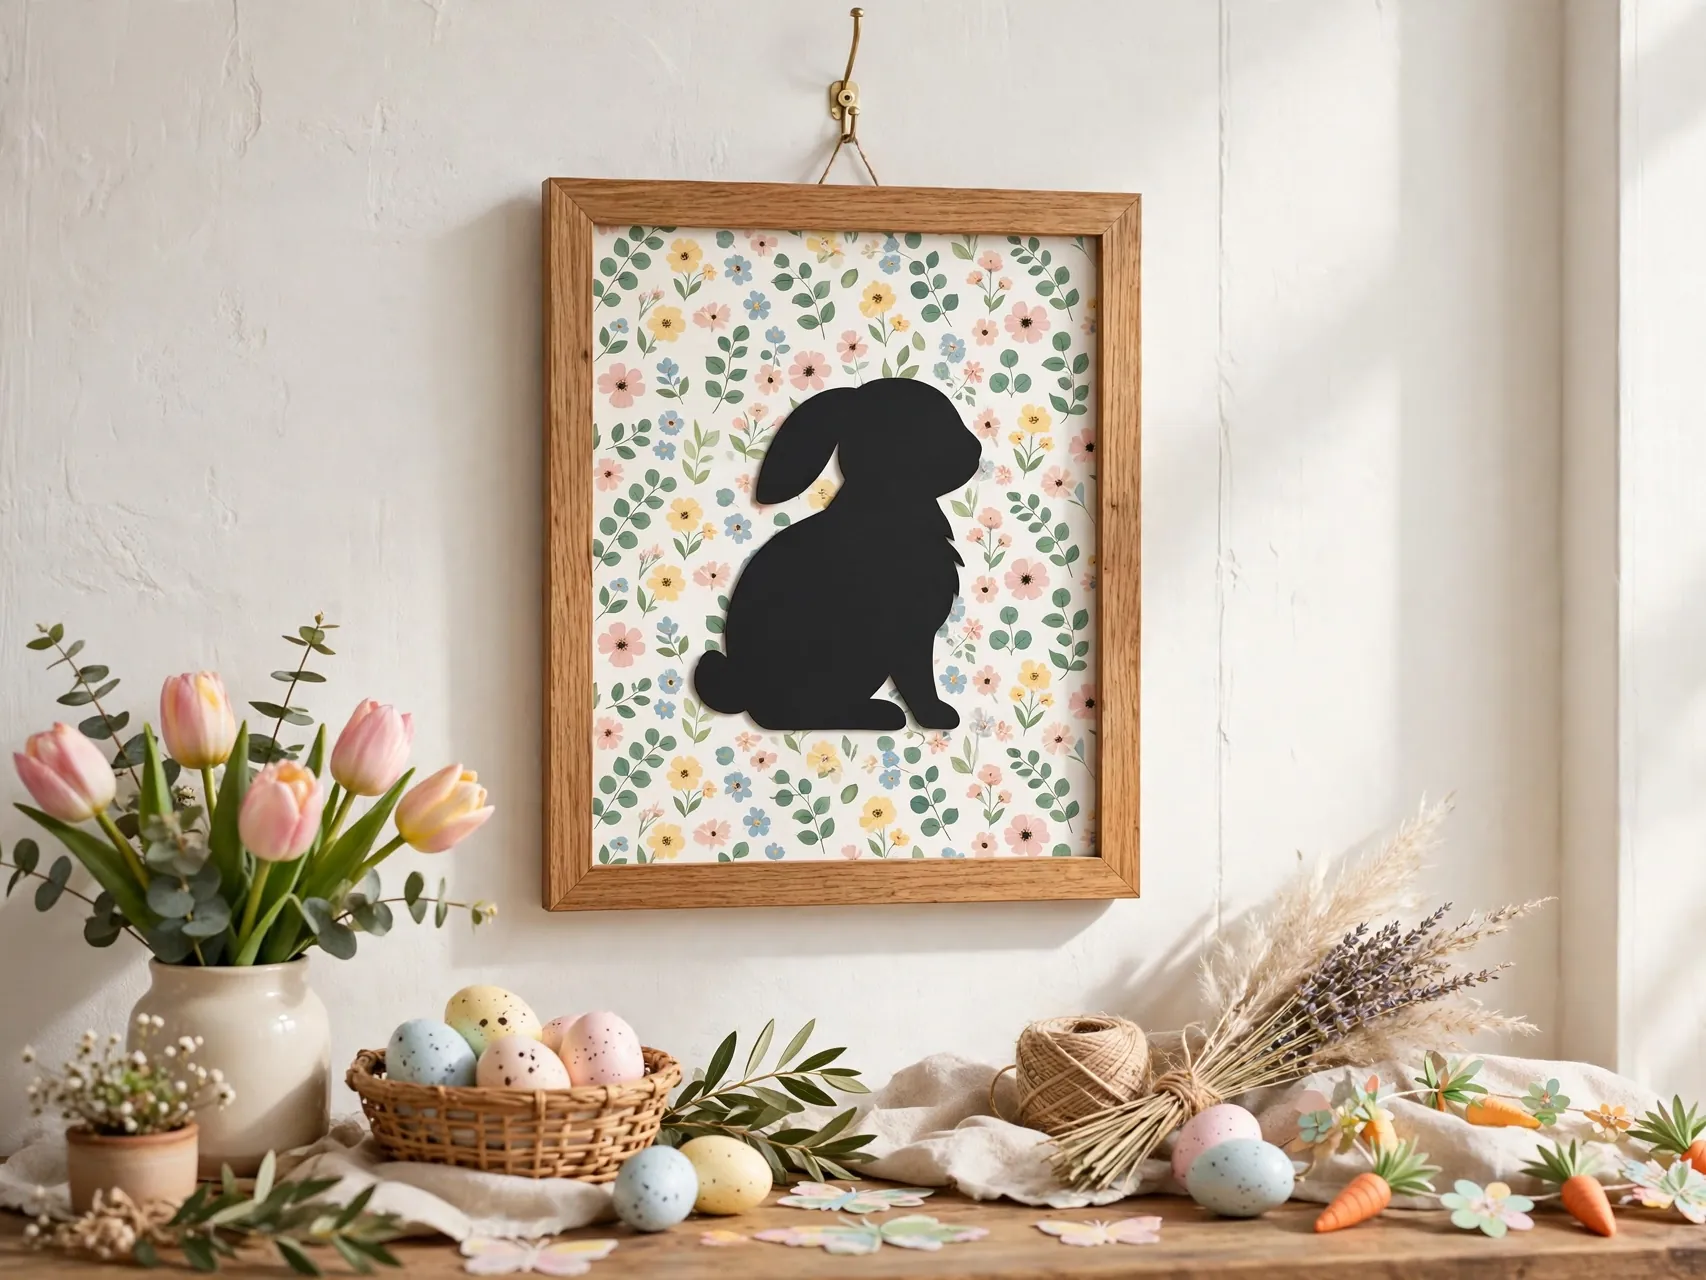
Print or draw a simple bunny silhouette, cut it from white, kraft, or patterned paper, and mount it on a contrasting background inside a frame you already own. Add a cotton ball tail for one playful detail.
A small gallery of two or three frames, a bunny, an egg, and a chick, fills a hallway or entry wall in minutes. Swap the art out after Easter and keep the silhouettes in the frames for next year. It is seasonal decorating with almost no storage needed.
24. Make LED Eggshell-Style Lanterns
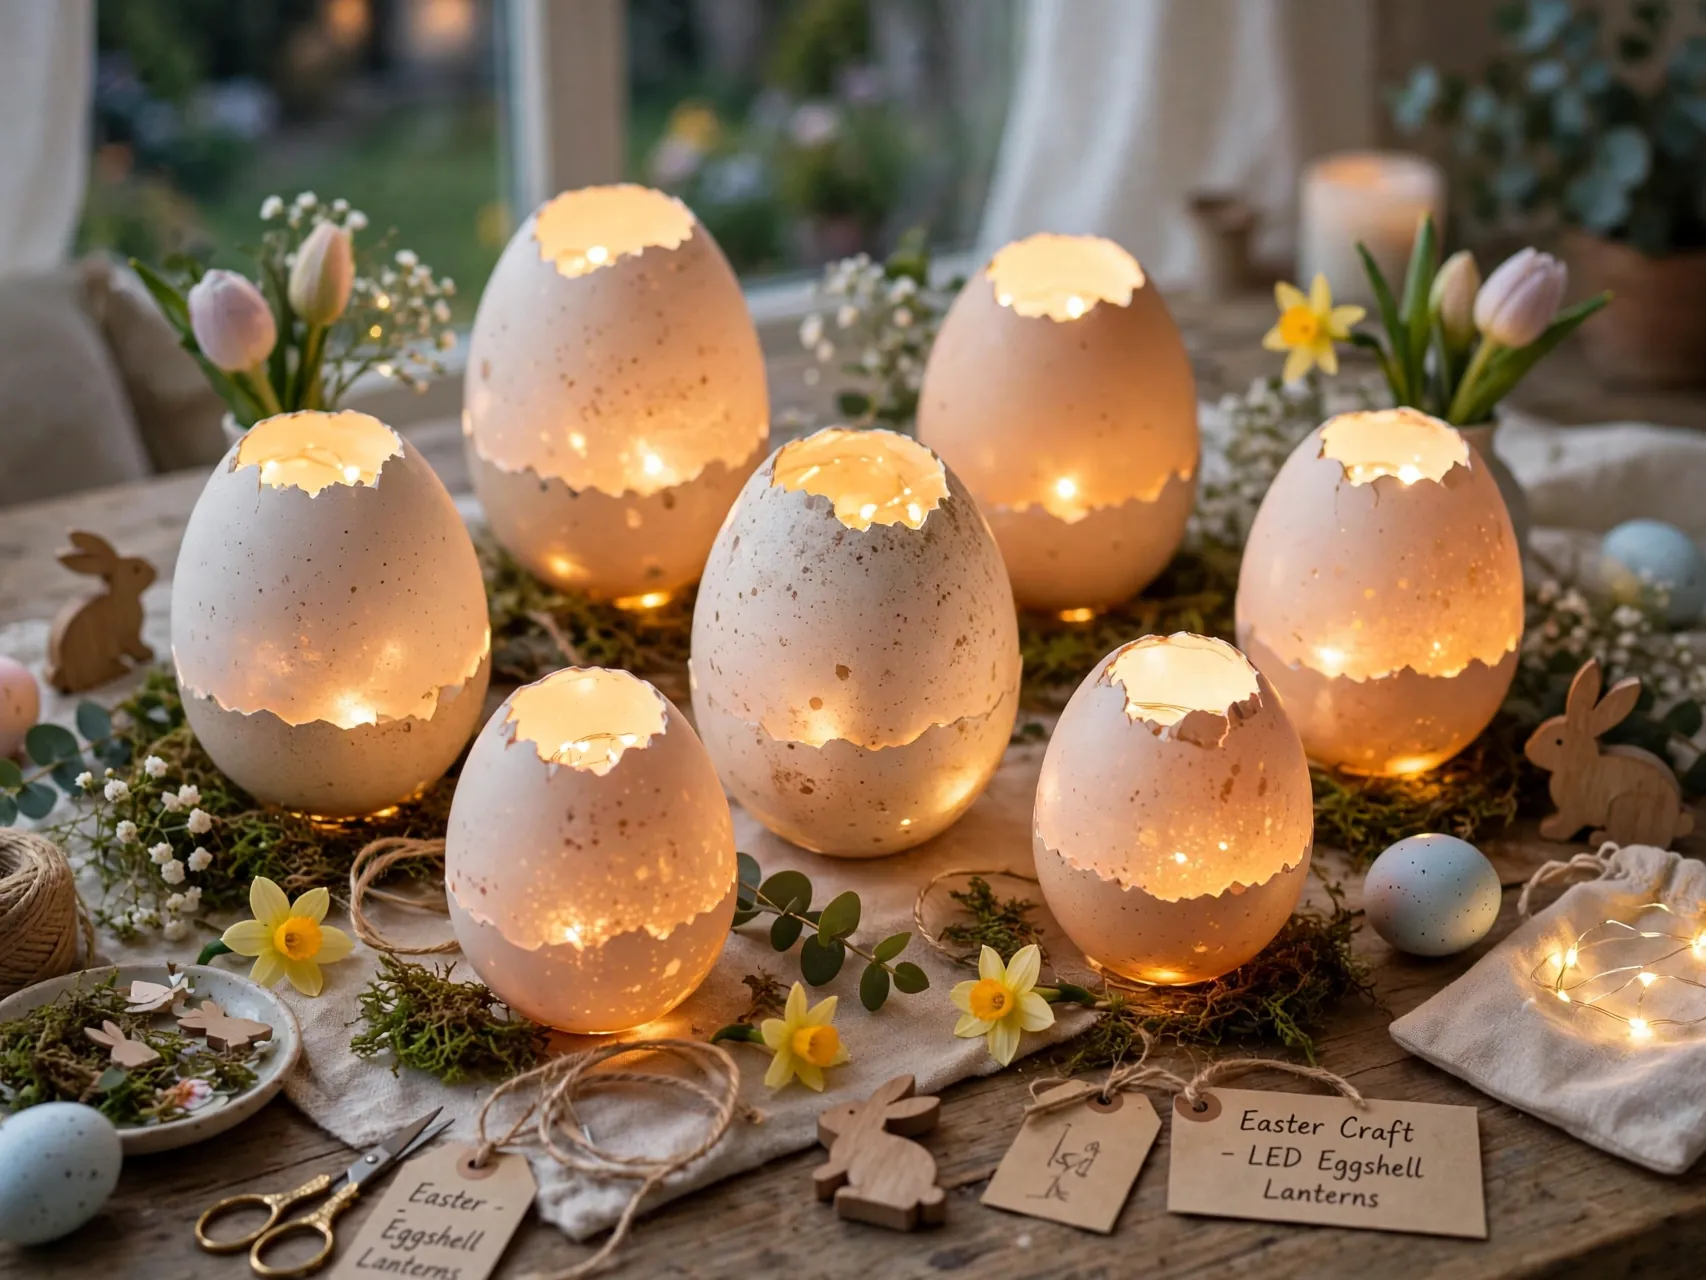
Place battery operated tea lights inside frosted glass jars, paper egg lanterns, or clean decorative eggshell-style holders and cluster them on the mantel or table. The glow reads festive without any open flame.
LED lights are the safe choice around paper garlands, moss, and curious kids or pets. If you do use real candles elsewhere in the room, keep them in sturdy holders, at least 12 inches from anything that can burn, and never leave them unattended. Most nights, the flameless version gives you the look with none of the watching.
25. Put Together a Craft and Decor Storage Kit
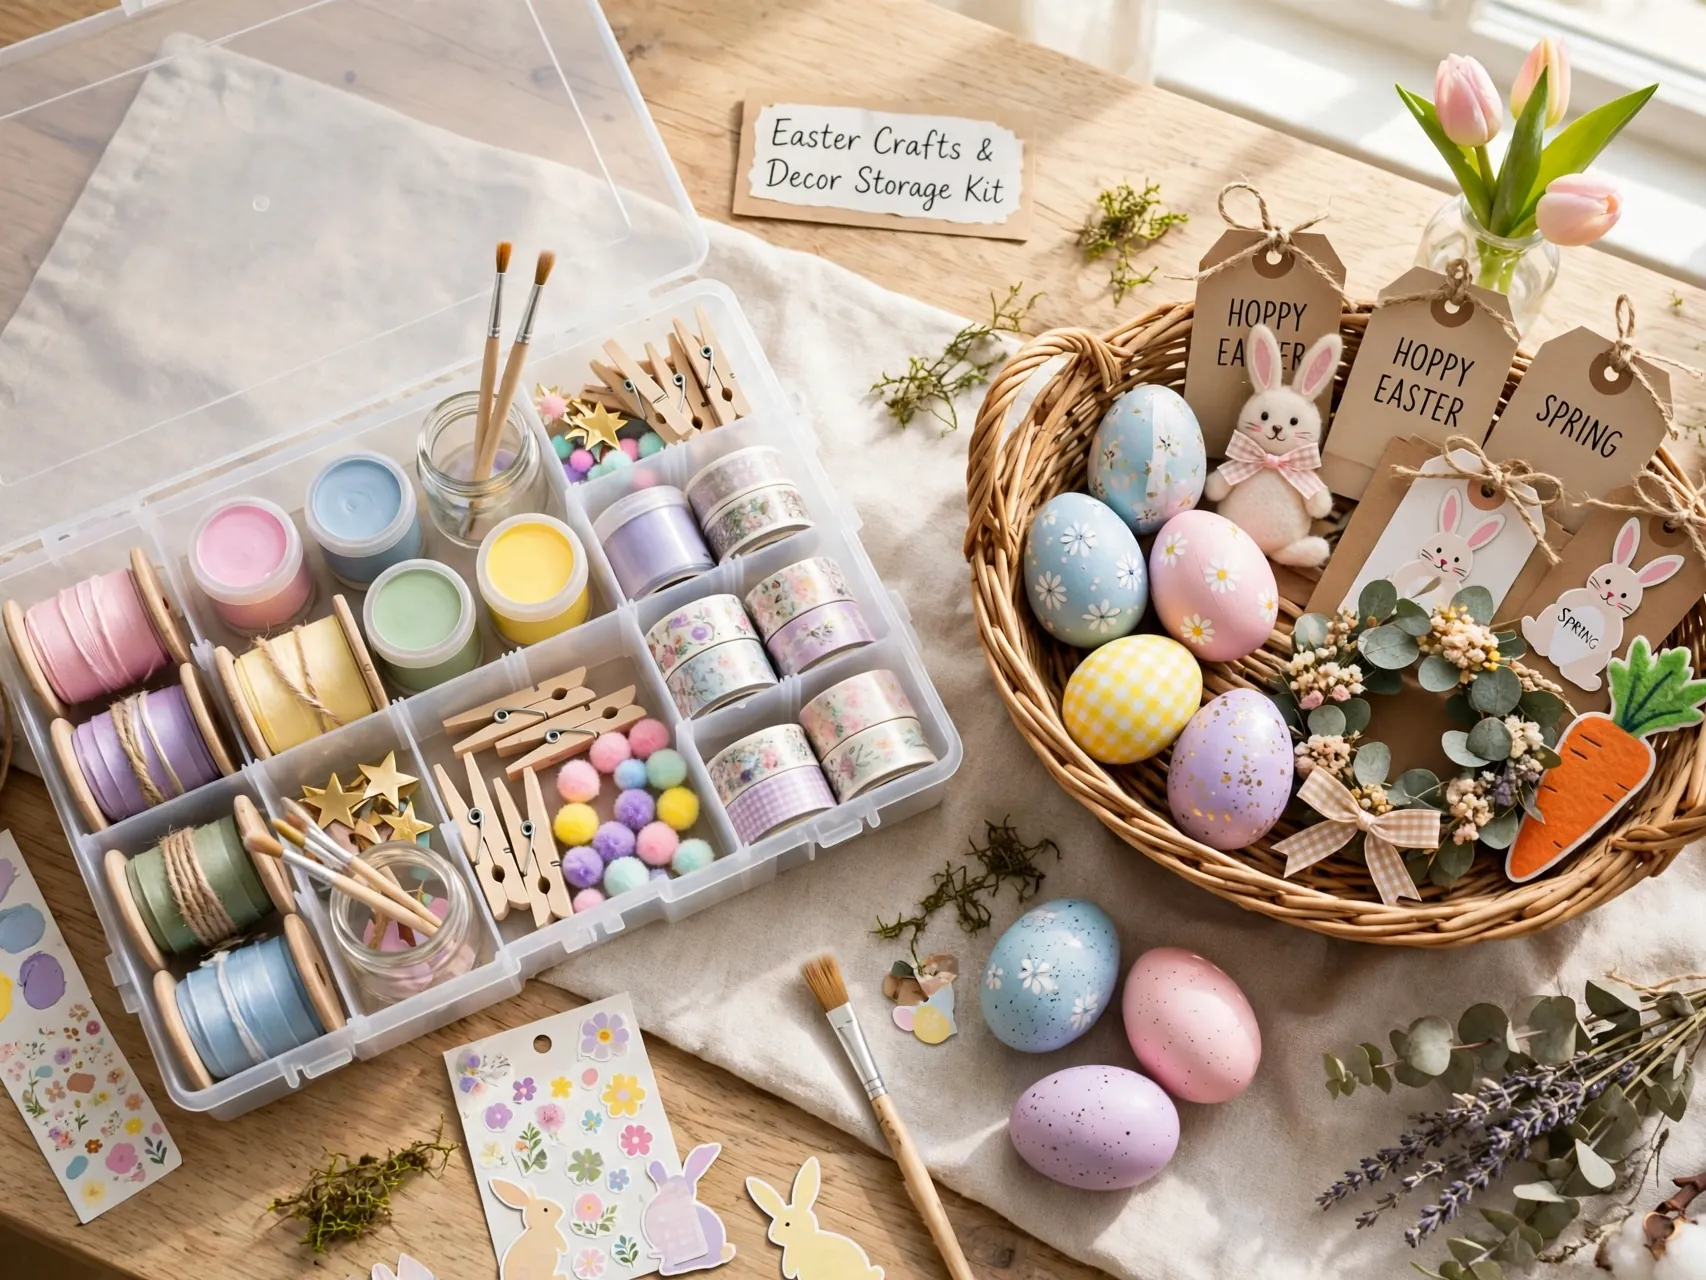
Before you put everything away, gather leftover ribbon, felt, decorative eggs, and your finished keepsakes into one labeled box with a note about what worked. Add a small list of supplies to replace while spring stock is still in stores.
This last craft is really a gift to next year. Photos of this year tables and wreaths tucked in the box make setup faster and help you skip buying duplicates. Store paper and fabric pieces dry and flat, and your favorite spring easter craft ideas will be ready the moment you want them again.
FAQ
What are the easiest Easter crafts for beginners?
Start with paper garlands, paint chip egg garlands, stamped runners, and pom pom animals. They need few tools, forgive mistakes, and look finished even on a first try. A speckled egg bowl is another good first project because the eggs can be repainted if a color does not suit you.
Can I eat eggs that I decorate for Easter?
Yes, if you follow food safety basics. Use only food-grade dye, keep hard-cooked eggs refrigerated, and do not leave them out for more than two hours total. Do not eat eggs used in hunts or left out for long displays. When in doubt, make one set for decorating and a separate set for eating.
How do I make Easter crafts last until next year?
Let paint, glue, and dough dry fully, then store pieces in a dry box with tissue between fragile items. Keep paper and felt flat, store yarn and fabric away from moisture, and photograph your displays for reference. Decorative eggs, wood pieces, and salt dough ornaments hold up especially well.
What supplies should I buy first for Easter crafting?
Begin with cardstock, felt, acrylic paint, craft glue, twine, ribbon, and a bag of decorative eggs in wood or plastic. Add a grapevine wreath base and faux tulips if you want a door piece. Those basics cover most projects in this list without a large spend.
How can I make Easter crafts safe around young kids?
Choose non-toxic paints and glues, let adults do the cutting, and keep small parts like beads, buttons, and small candy away from children under 3. Use LED candles instead of real flames near paper and fabric decor, and display delicate pieces out of reach.
Key Takeaways
- Start with supplies on hand: Egg cartons, jars, yarn, felt, and paper become wreaths, garlands, and centerpieces with very little shopping.
- Separate display eggs from eating eggs: Food-grade dye, refrigeration, and the two-hour rule keep decorated real eggs safe, while decorative eggs handle hunts and long displays.
- Mix one statement piece with small touches: A wreath or branch tree anchors the room, then garlands, pots, and framed art fill in around it.
- Choose LED glow near paper and moss: Flameless lights give you the cozy look without watching open flames around spring decor.
- Store smart for next year: Dry, flat, labeled storage keeps handmade pieces ready to enjoy again.
- Loved these ideas? Save this guide to Pinterest and pin your favorite craft to try this weekend.