21 Under Sink Organization Ideas That Really Work Wonders
Introduction
The cabinet under the sink is often the messiest spot in the house. Pipes cut through the middle, bottles tip over, and the one spray you need always hides at the very back. Good under sink organization fixes that problem by working around the plumbing instead of fighting it, and by giving every bottle, sponge, and refill a clear home.
In a kitchen, this space usually holds cleaning sprays, dish soap, trash bags, and dishwasher supplies. In a bathroom, it holds toiletries, backups, and cleaning basics. The same principles help in both rooms: clear the space out, measure around the pipes, group items by category, and choose containers that pull out or lift up so nothing gets lost behind the plumbing.
Safety matters here too. Cleaning products should stay in their original containers, and homes with young children should use a latch or lock on a low cabinet, a point repeated by poison prevention and child safety groups. Medicines are better kept in a cool, dry place away from bathroom humidity, as the FDA and MedlinePlus advise, so use this cabinet for supplies, not pills.
The 21 ideas below start with a full reset and then build up, layer by layer. Pick the five or six that fit your cabinet first. A small, working system you actually maintain beats a crowded cabinet full of organizers you have to fight every day.
Start With a Full Empty Out

Pull everything out onto a towel, wipe the cabinet base, and check for slow drips or damp spots before you put anything back. Sort what you find into keep, move, and toss piles. Expired products, empty bottles, and cleaners you never use should leave the cabinet for good, following label directions for disposal.
Measure the spot before you buy anything, and leave a little breathing room so containers slide in and out without catching. Put the things you reach for most at the front and.
Line the Base With a Washable Mat
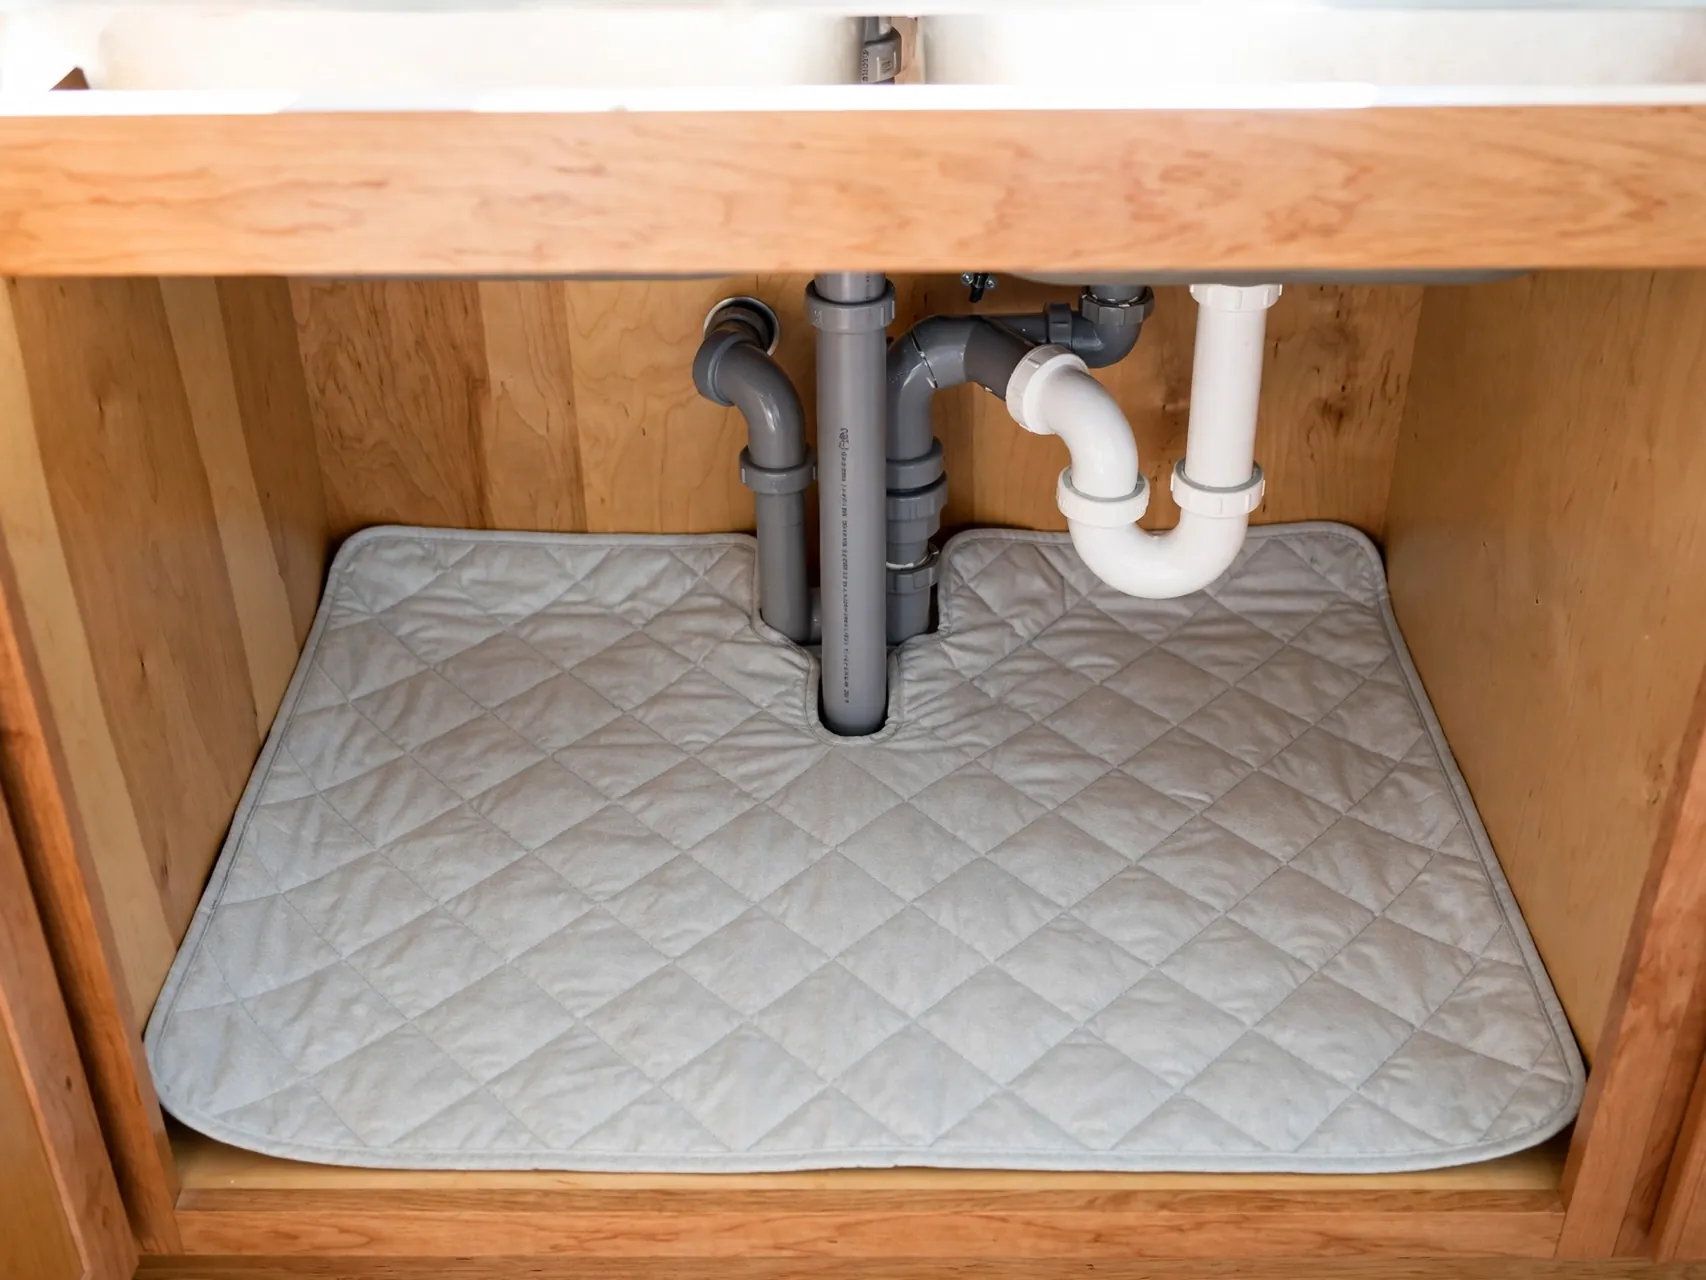
A waterproof, washable mat protects the cabinet floor from drips and makes the whole space easier to clean. Cut it to fit around the pipe openings and smooth it flat. When a bottle leaks, you can lift the mat out, rinse it, and slide it back in minutes instead of scrubbing swollen wood.
Group similar things together first, then give each group one home. When a category starts to overflow, that is your signal to edit it down instead of buying a bigger container. A.
Measure Around Pipes Before Buying

Write down the width, depth, and height on each side of the pipes, plus the height under the drain. Those numbers decide which bins and racks will actually fit. Many failed setups happen because an organizer looked right in the store but hit a pipe at home, so keep the measurements in your phone while you shop.
Keep the setup easy to reset in under a minute. If returning an item takes several steps, it will end up on the floor or the counter instead. Open containers, clear fronts.
Add a Slide Out Caddy for Daily Cleaners

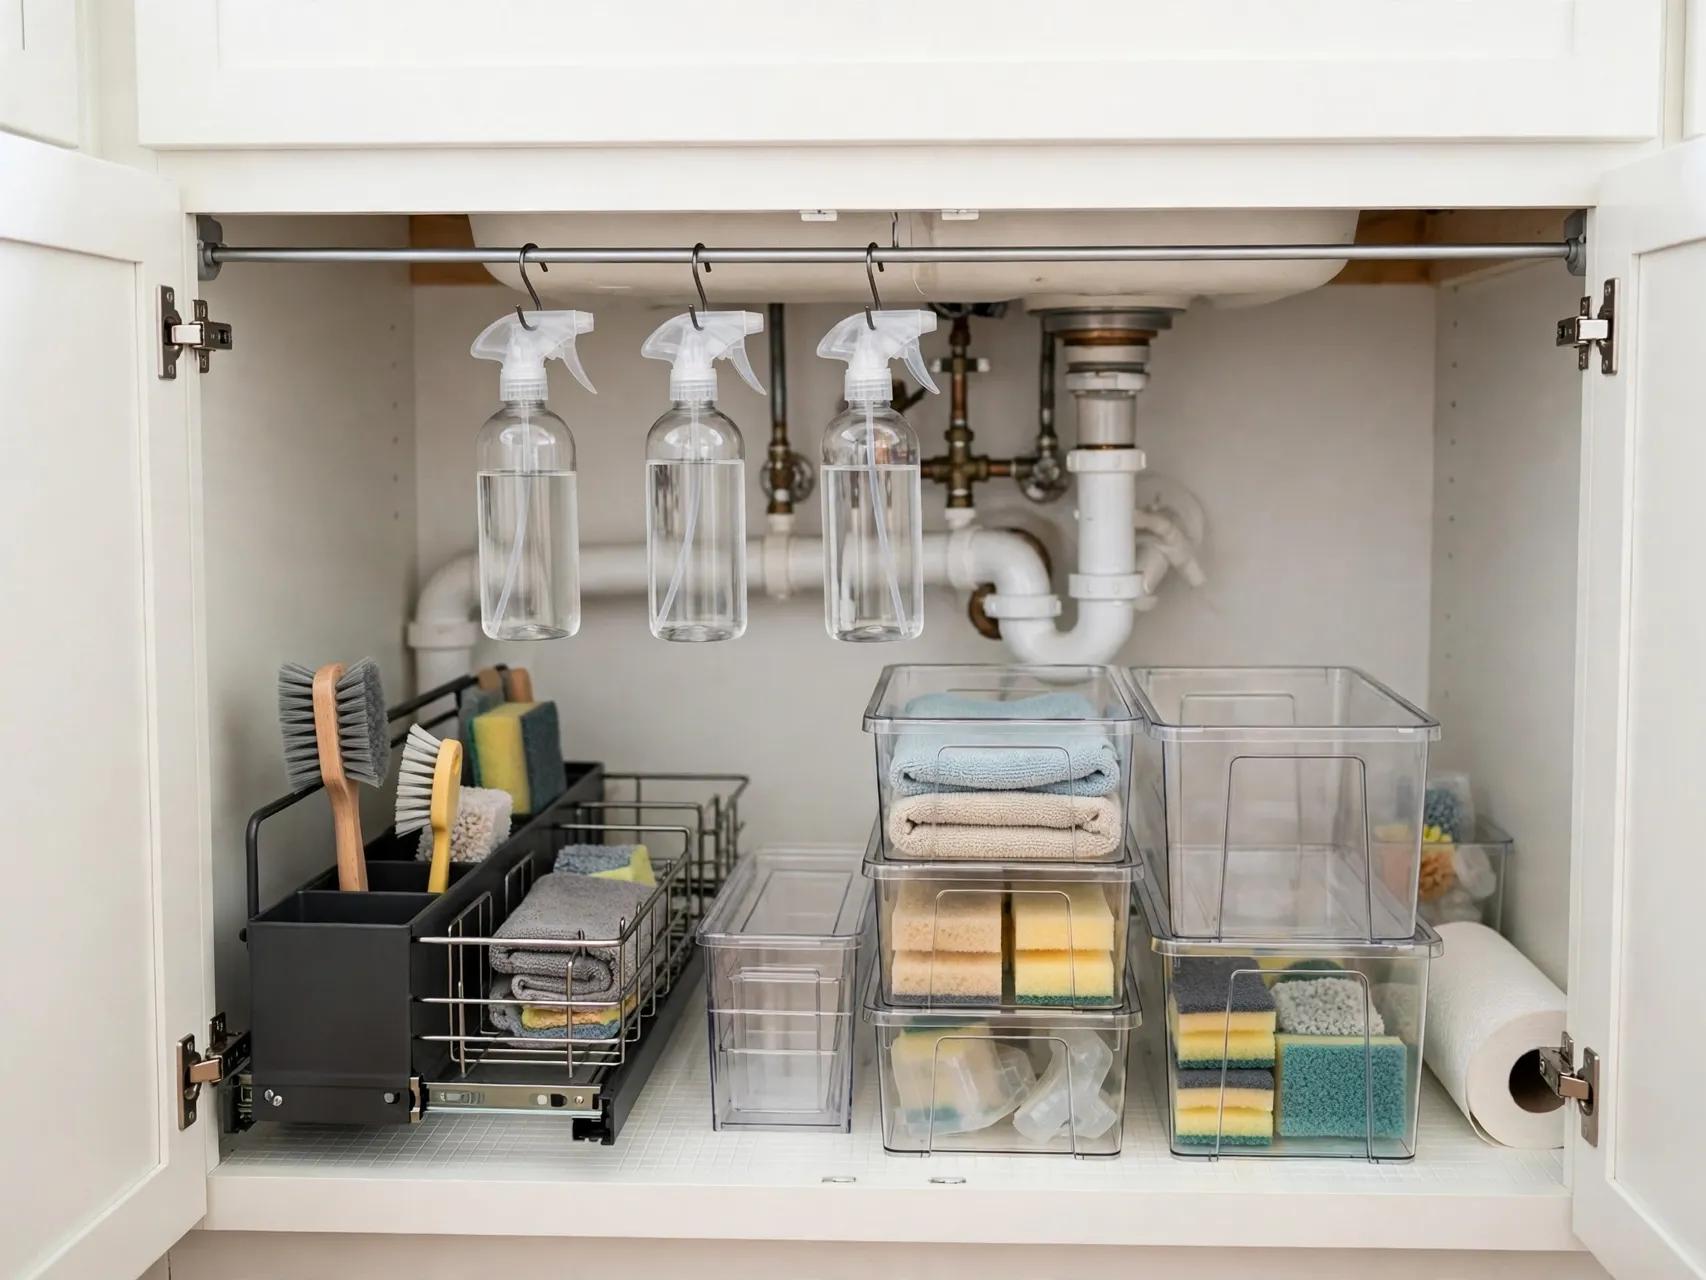
A narrow slide out caddy turns the deep front section into a drawer you can pull toward you. Load it with the dish spray, surface cleaner, and soap you use every day. Because the whole caddy moves, nothing disappears at the back, and you can lift it out entirely when you clean the sink area.
Think about height as well as width. Most of these spaces waste the top half, so stacking, tiering, or hanging lifts items off the base and doubles what fits. Just keep heavier.
Hang Spray Bottles From a Tension Rod
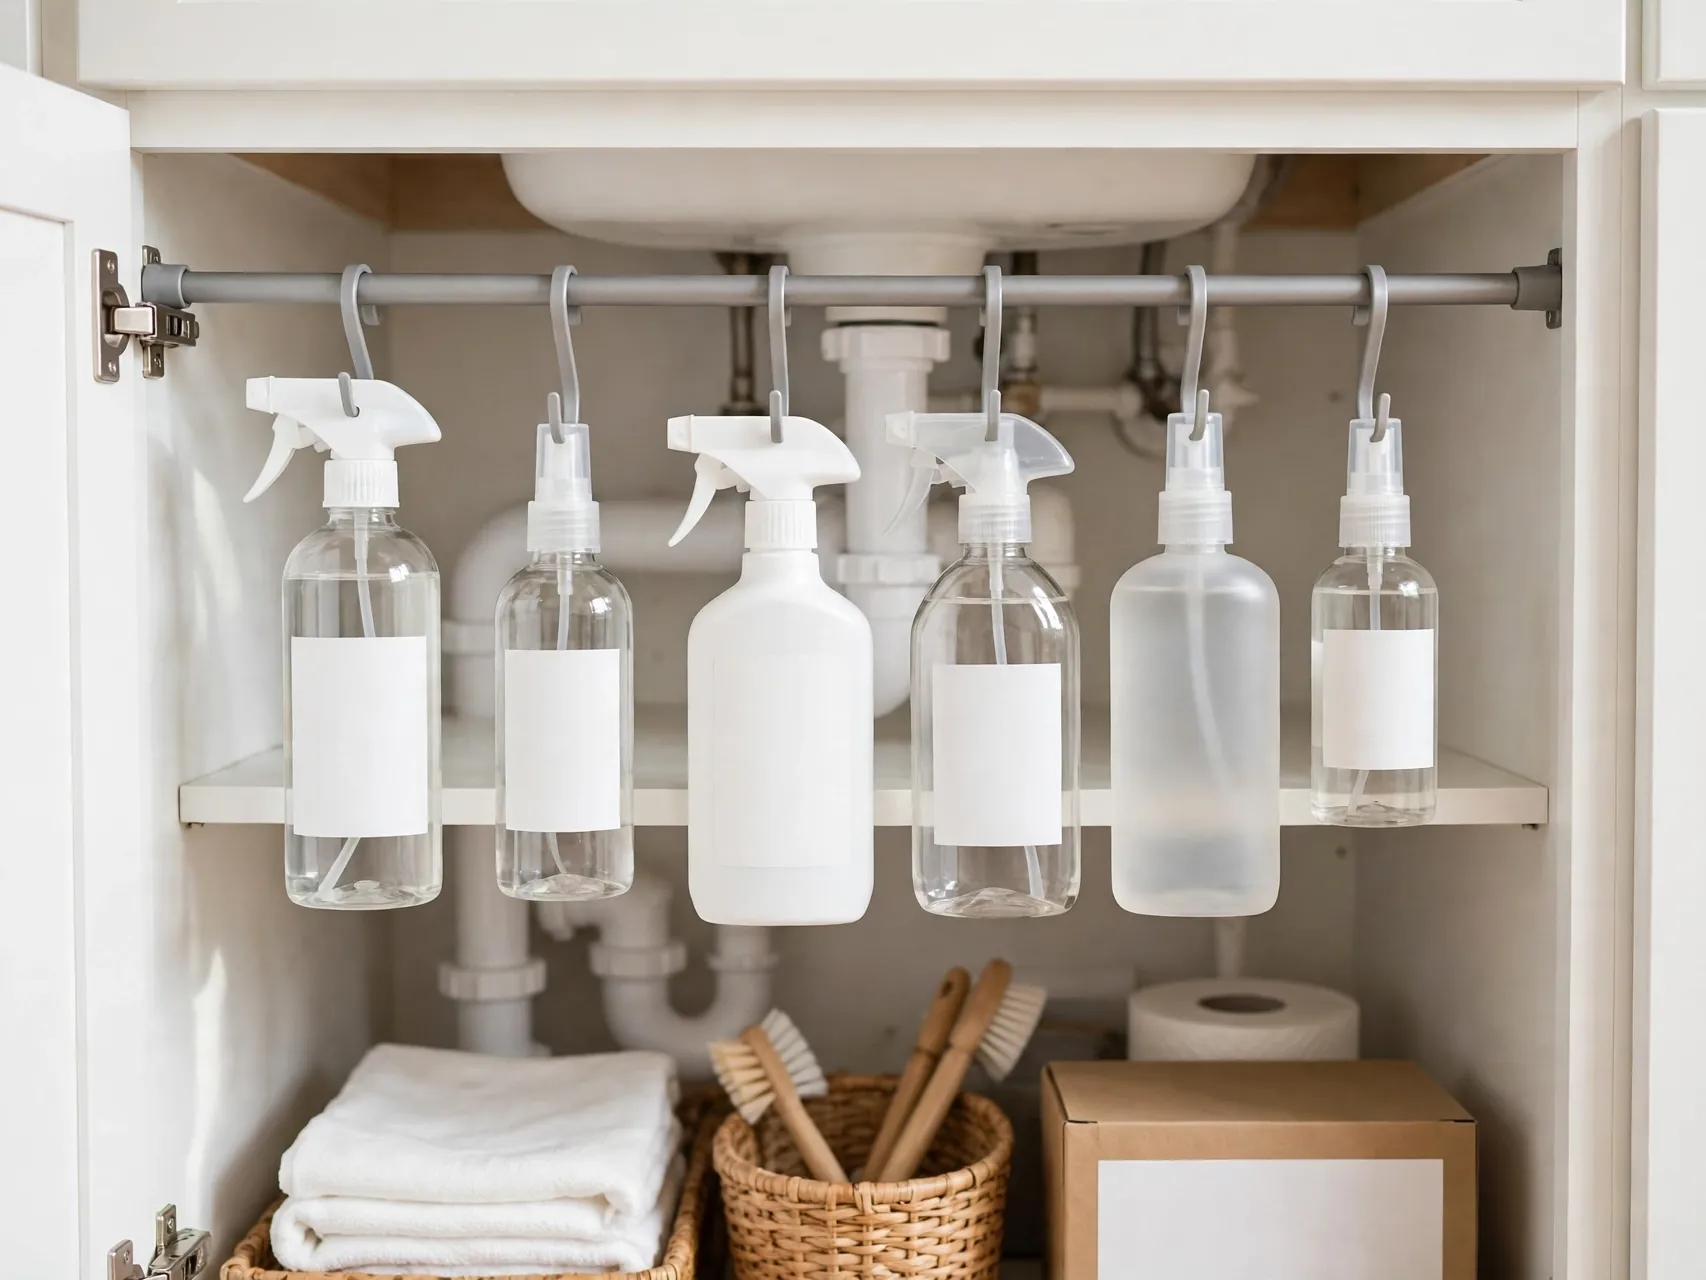
Fit a small tension rod across the upper part of the cabinet and hang spray bottles by their triggers. This classic trick lifts bottles off the floor, frees the base for bins, and keeps triggers easy to grab. Leave a little space between bottles so they do not knock each other off when the door closes.
Test the layout for a week before you add anything else. Live with it, notice what you bump into, and move one or two pieces until reaching feels natural. A short trial.
Stack Clear Bins by Category
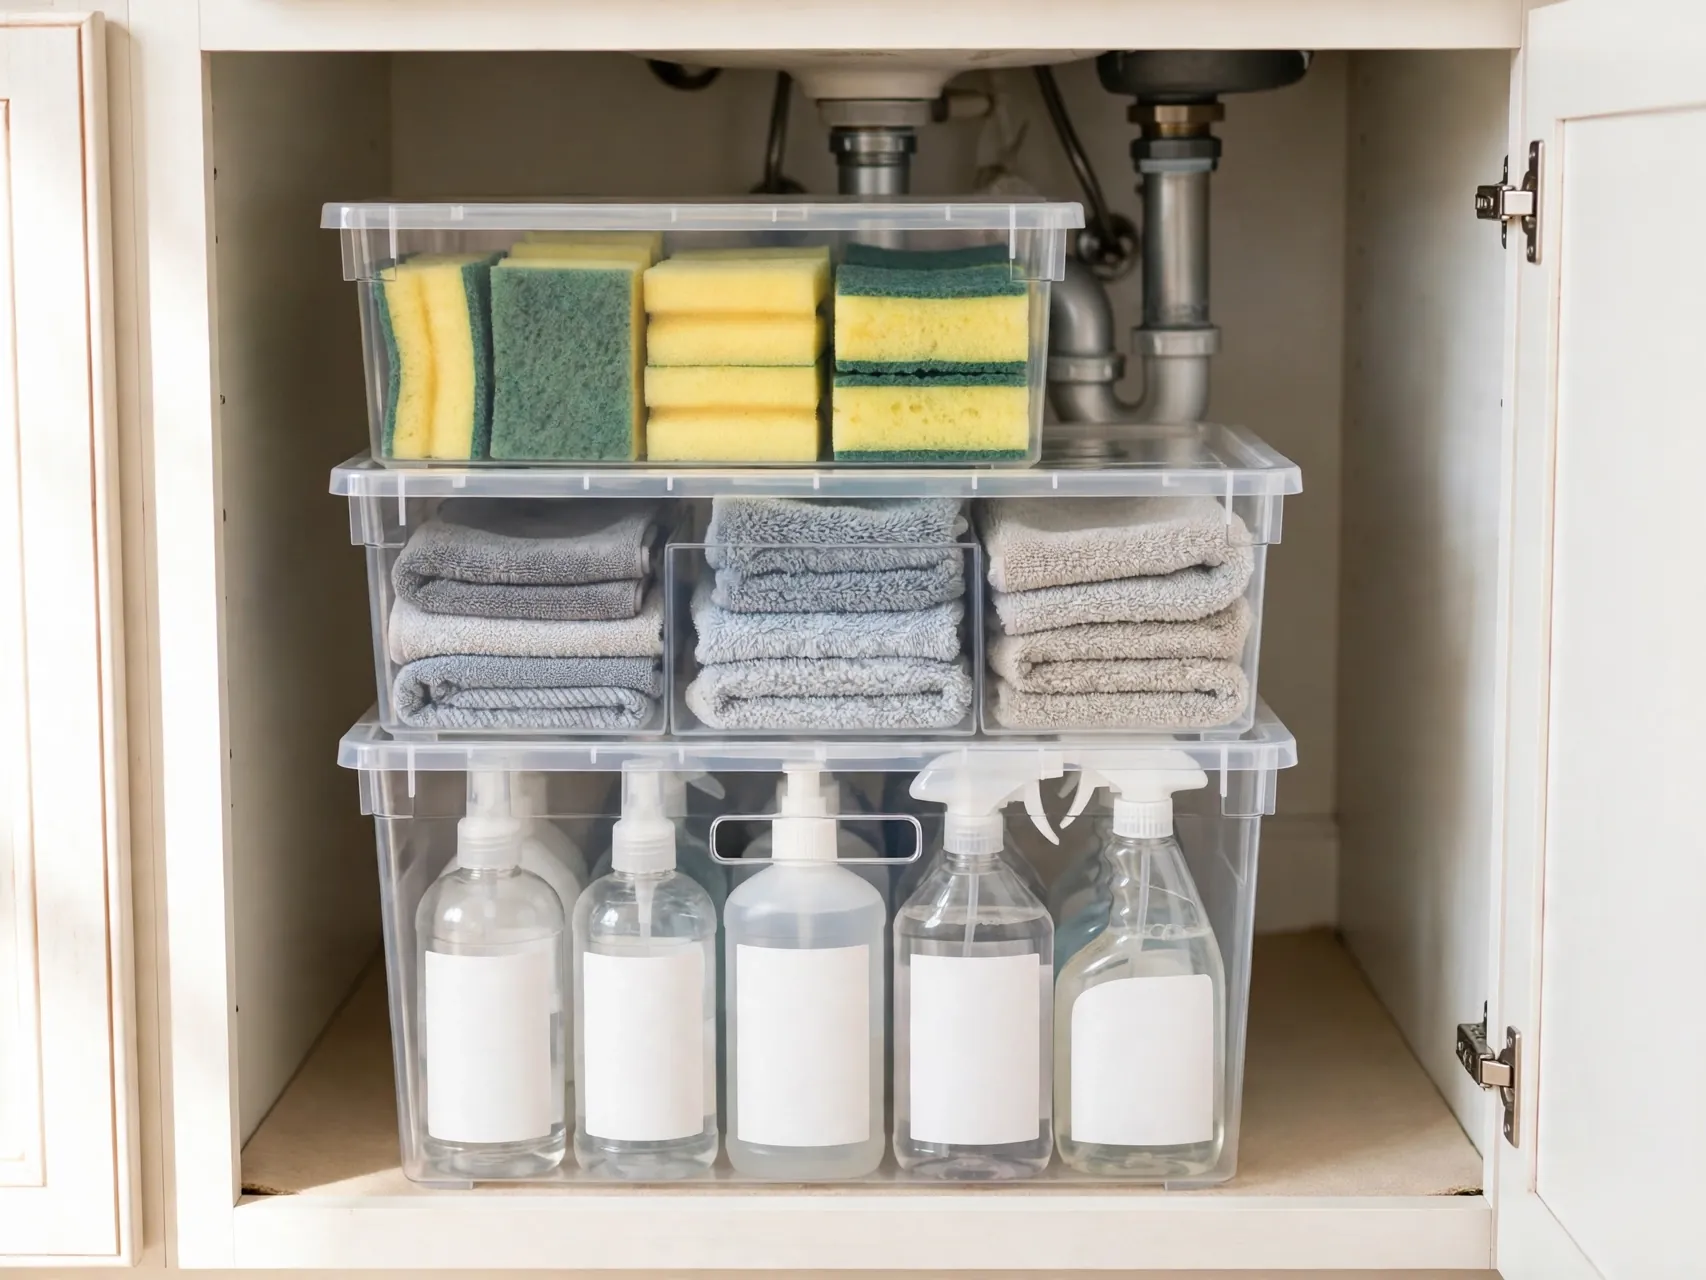
Clear, stackable bins let you see refills at a glance and use the tall space most cabinets waste. Try one bin for dish supplies, one for sponges and cloths, and one for bathroom backups. Handles on the front make each bin work like a drawer, and clear sides stop the duplicate buying that happens when supplies stay hidden.
Measure the spot before you buy anything, and leave a little breathing room so containers slide in and out without catching. Put the things you reach for most at the front and.
Try a Two Tier Pull Out Rack
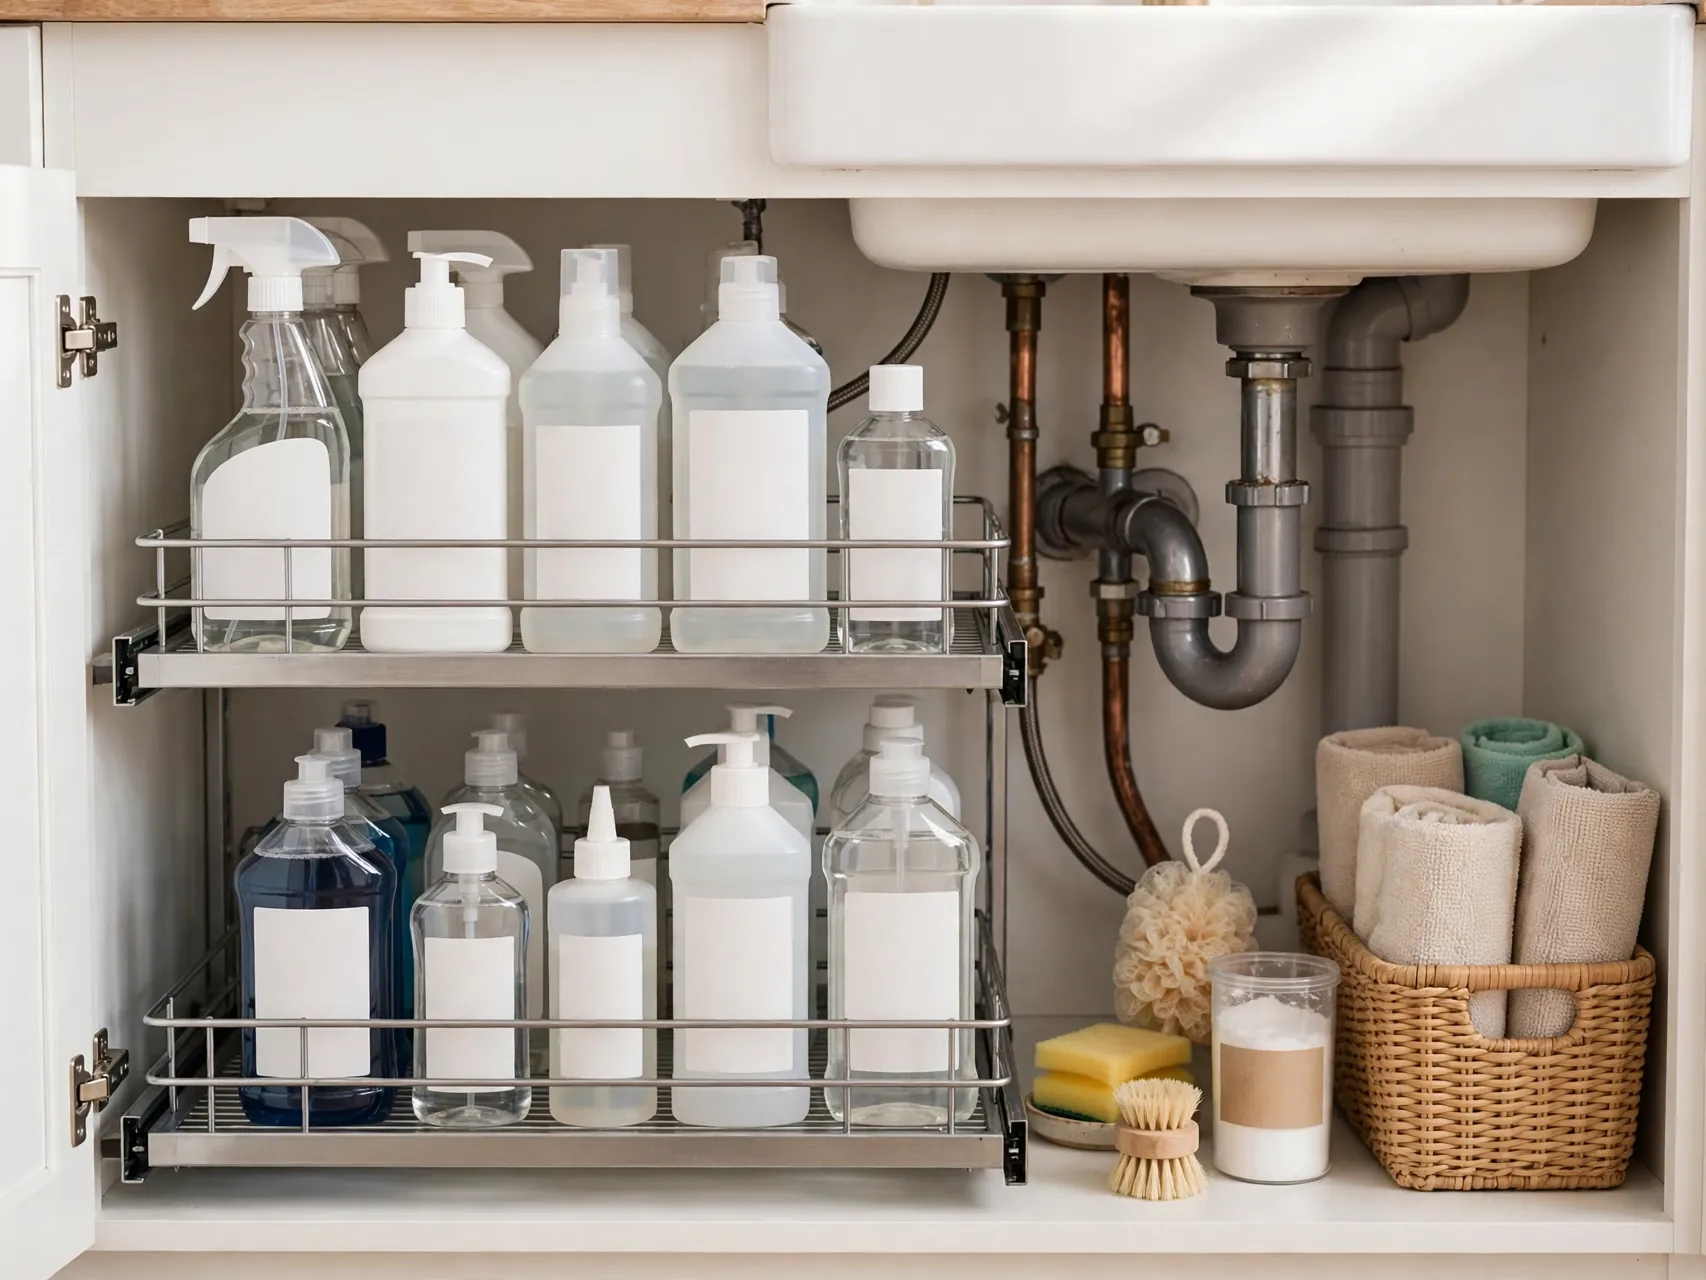
A two tier rack with a narrow top shelf is designed to fit beside pipes while doubling your surface area. Put taller bottles on the bottom level and smaller items, like rinse aid or extra soap, on top. Pull out designs are kinder on your knees than fixed shelves because the contents come to you.
Group similar things together first, then give each group one home. When a category starts to overflow, that is your signal to edit it down instead of buying a bigger container. A.
Use the Inside of the Cabinet Door
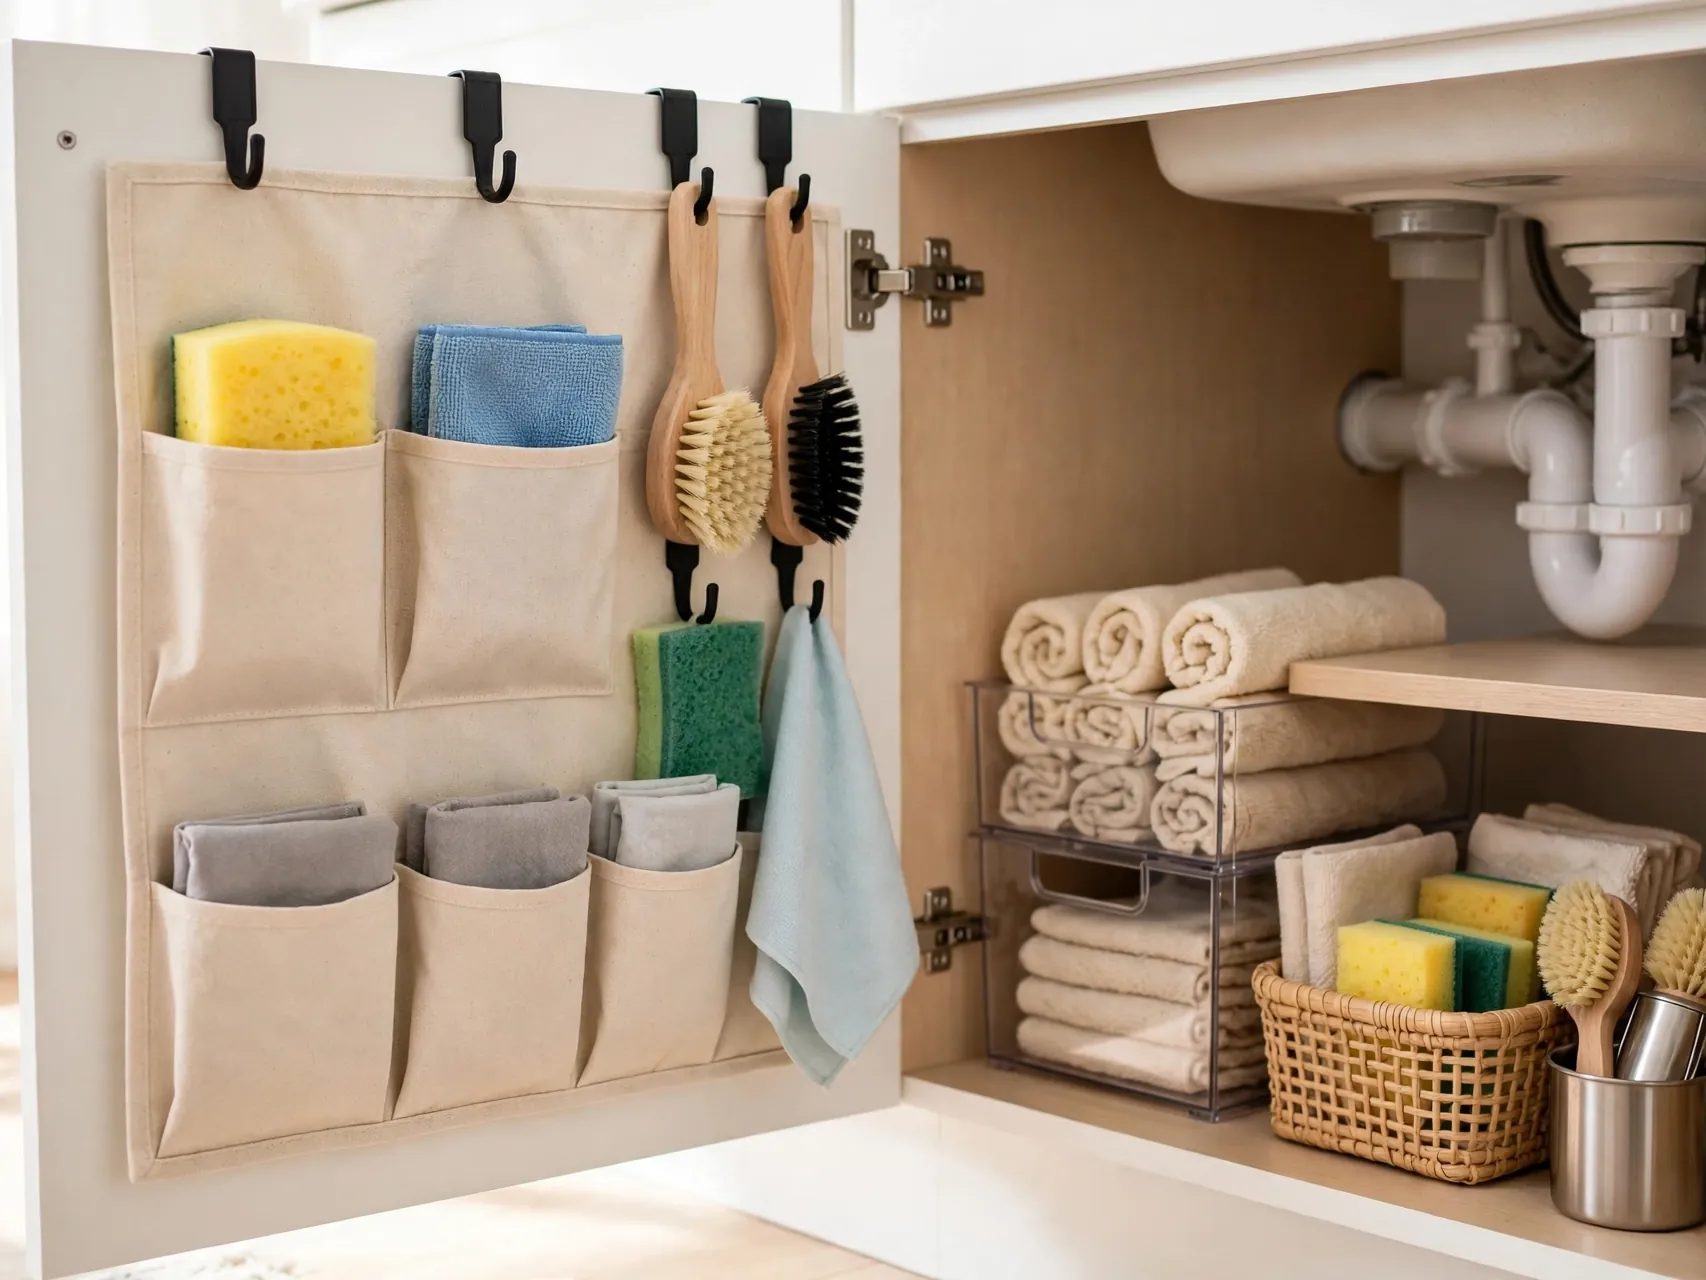
The door is free storage that most people ignore. Add a slim over door rack or adhesive caddy for gloves, a scrub brush, or a roll of small bags. Check the fit by closing the door slowly first, so the rack does not hit shelves or pipes. Light, flat items work best in this spot.
Keep the setup easy to reset in under a minute. If returning an item takes several steps, it will end up on the floor or the counter instead. Open containers, clear fronts.
Corral Trash Bags in One Dispenser
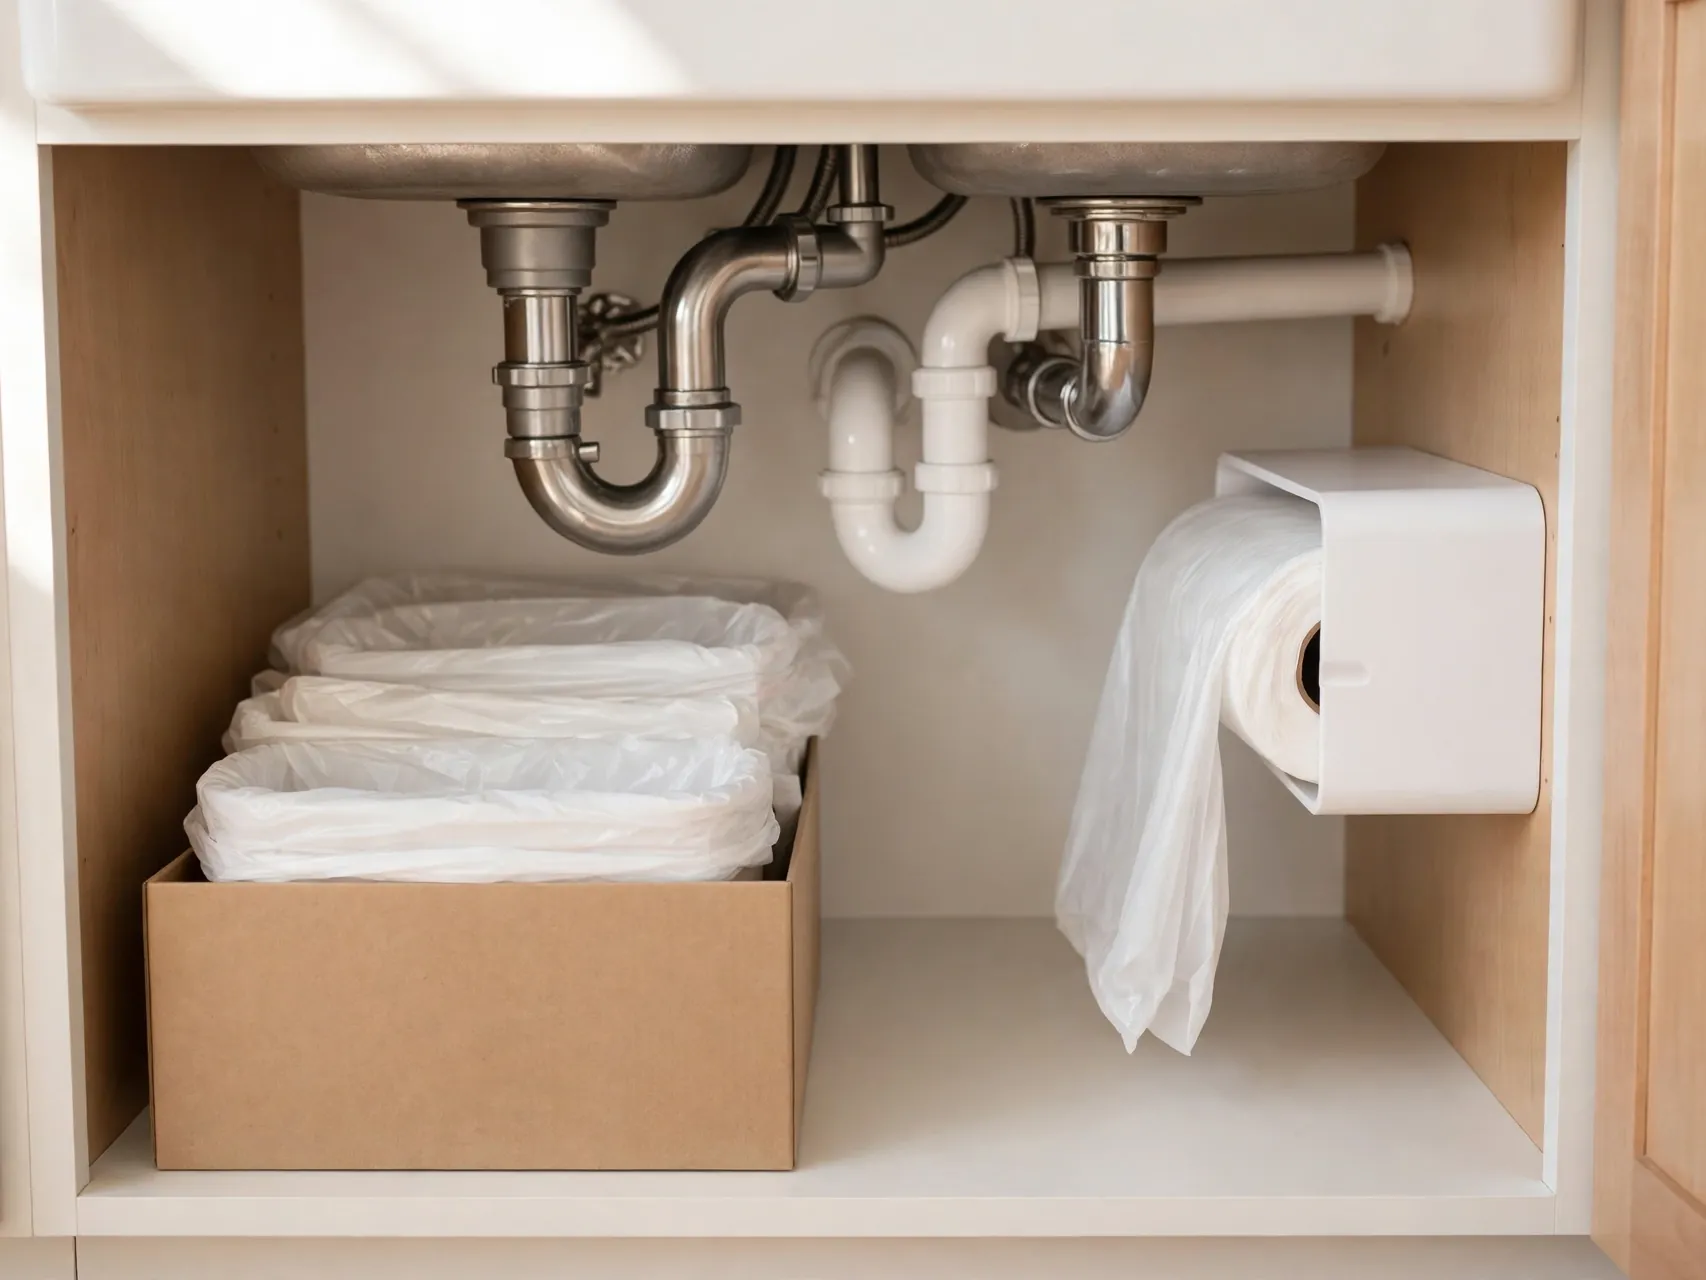
Loose trash bag boxes slide around and spill. Stand the box upright in a narrow bin, or use a simple dispenser that feeds bags out one at a time. Keep the dispenser near the front on the side closest to your trash can. You will change bags faster, and the box will stop crushing softer items beside it.
Think about height as well as width. Most of these spaces waste the top half, so stacking, tiering, or hanging lifts items off the base and doubles what fits. Just keep heavier.
Keep Dish Pods Sealed and High
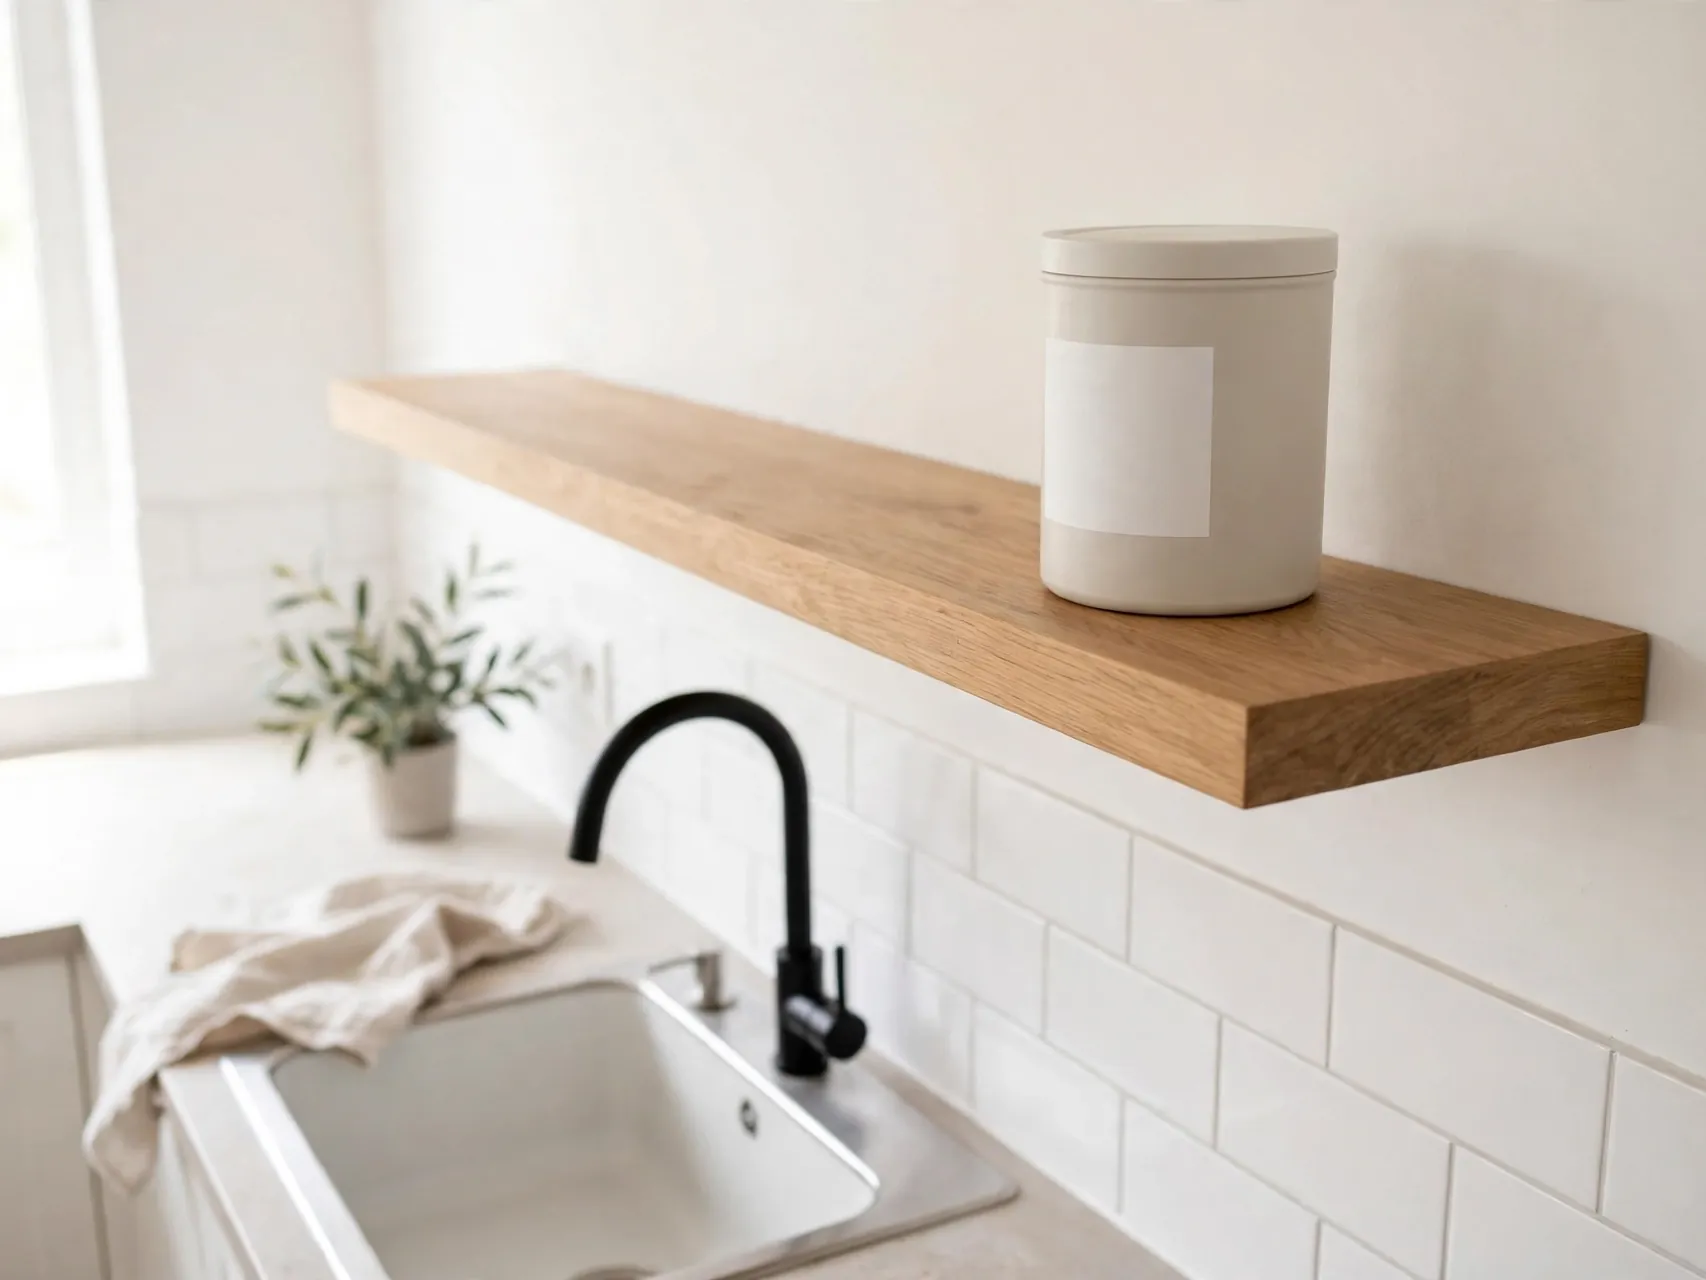
Dishwasher pods and laundry packets should stay in their original, closed containers, out of sight and reach of children, as safety groups advise. If this cabinet is your only option, place the sealed container at the back of a latched section, never loose in an open bin. Bright packets can look like candy to small kids, so treat storage seriously.
Test the layout for a week before you add anything else. Live with it, notice what you bump into, and move one or two pieces until reaching feels natural. A short trial.
Add a Small Turntable for Round Bottles
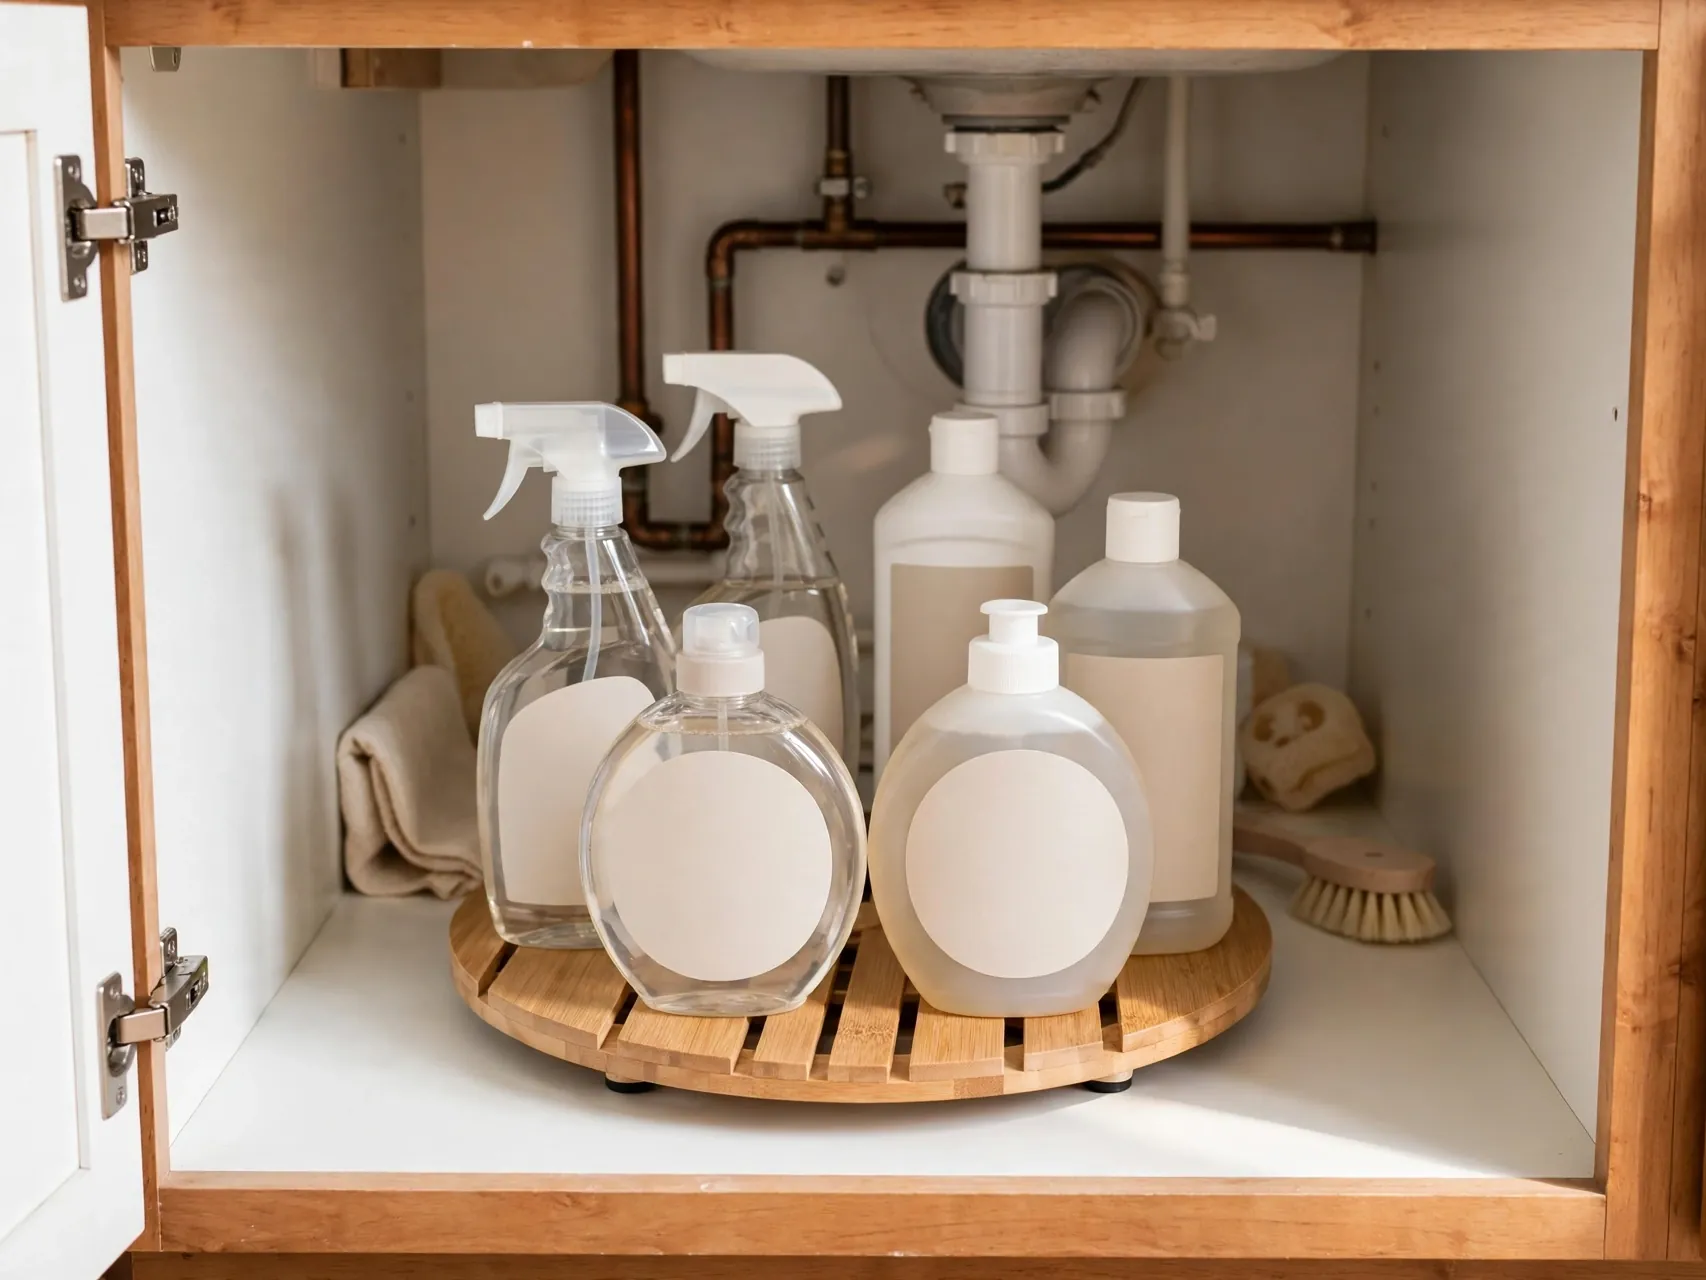
A small turntable, or lazy Susan, suits round bottles in a bathroom cabinet where corners are hard to reach. Spin it gently to bring lotions, refills, or cleaners to the front without knocking neighbors over. Choose one with a low lip so bottles stay put, and do not overload it or the spin becomes a wobble.
Measure the spot before you buy anything, and leave a little breathing room so containers slide in and out without catching. Put the things you reach for most at the front and.
Store Sponges Upright So They Dry
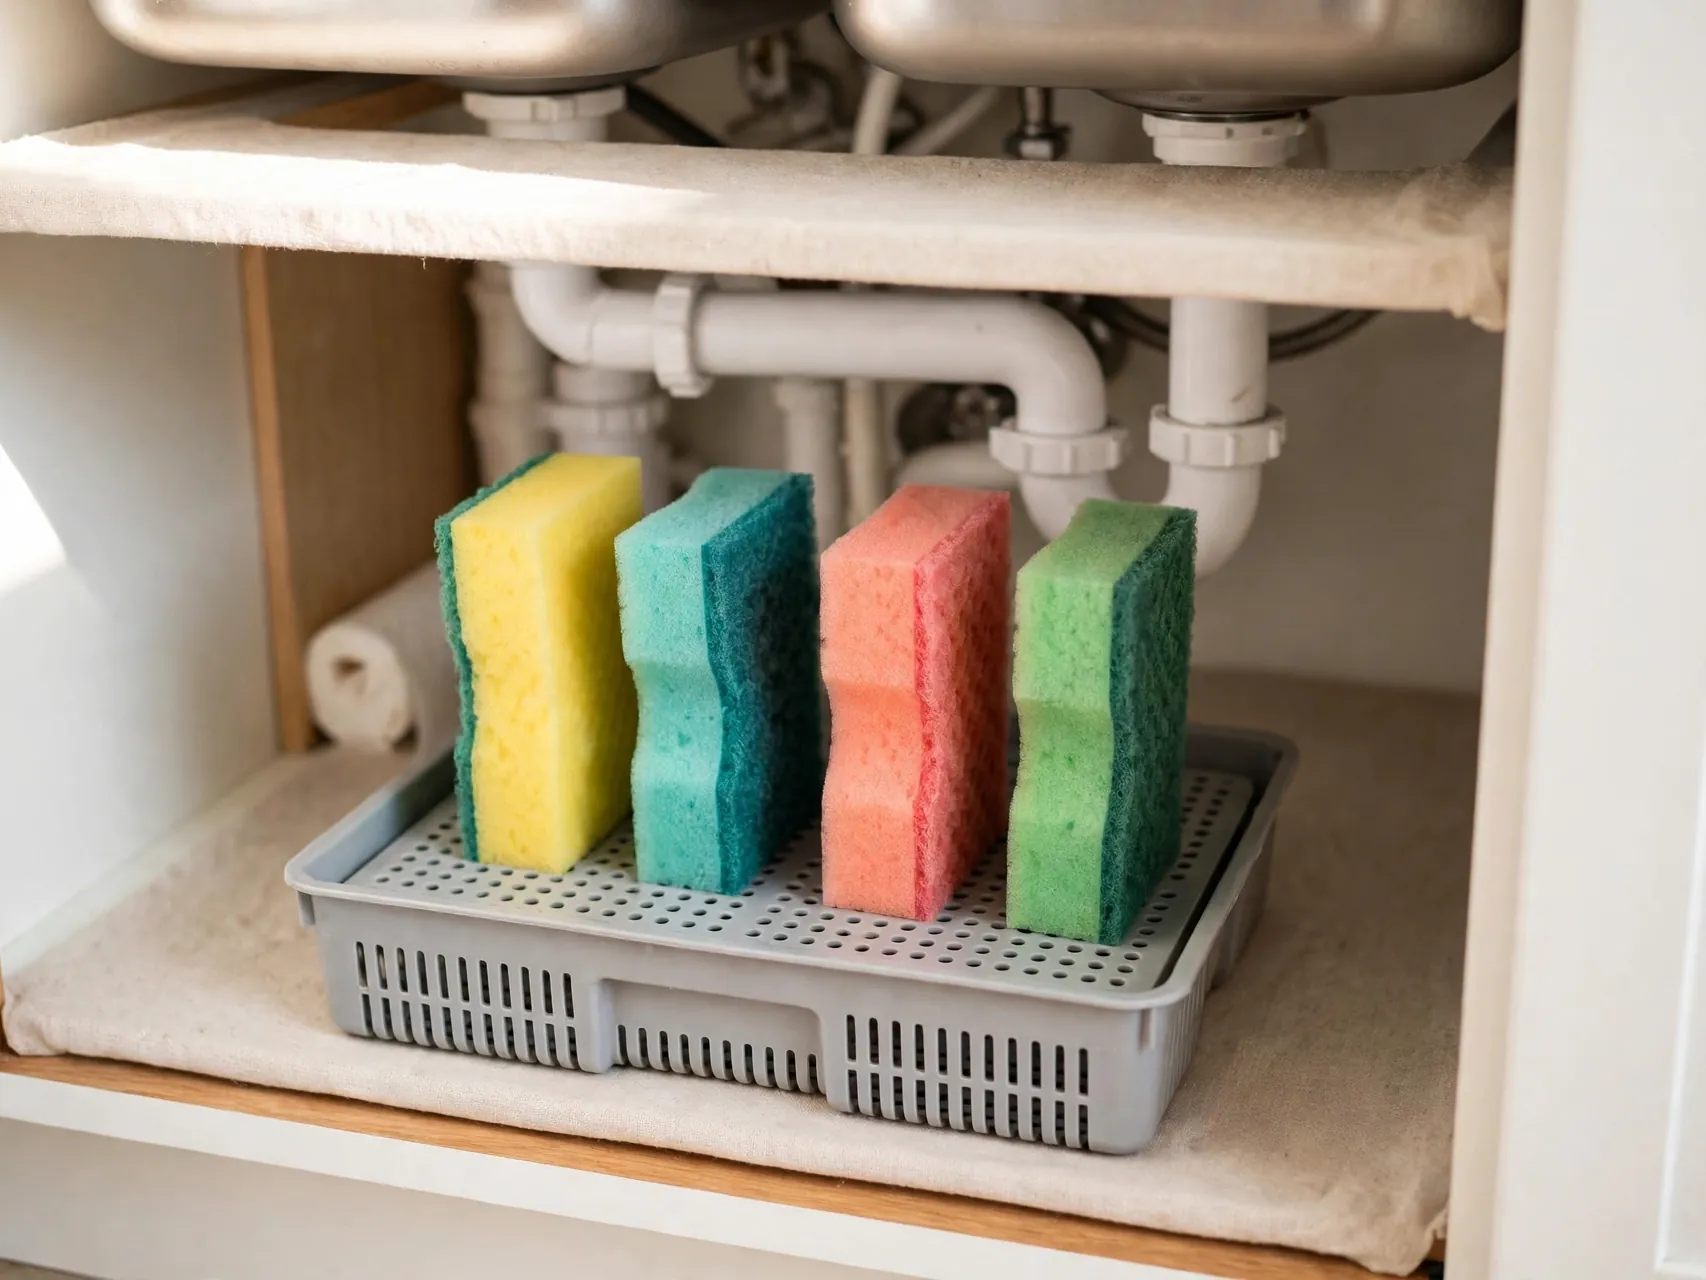
Wet sponges tossed in a pile stay damp and smell quickly. Stand sponges and brushes upright in a narrow caddy with drainage, ideally near the door where air moves. Let a sponge dry fully before you close it away, and replace worn sponges instead of storing them. This tiny change keeps the whole cabinet smelling fresher.
Group similar things together first, then give each group one home. When a category starts to overflow, that is your signal to edit it down instead of buying a bigger container. A.
Fit an Expandable Shelf Around the Plumbing
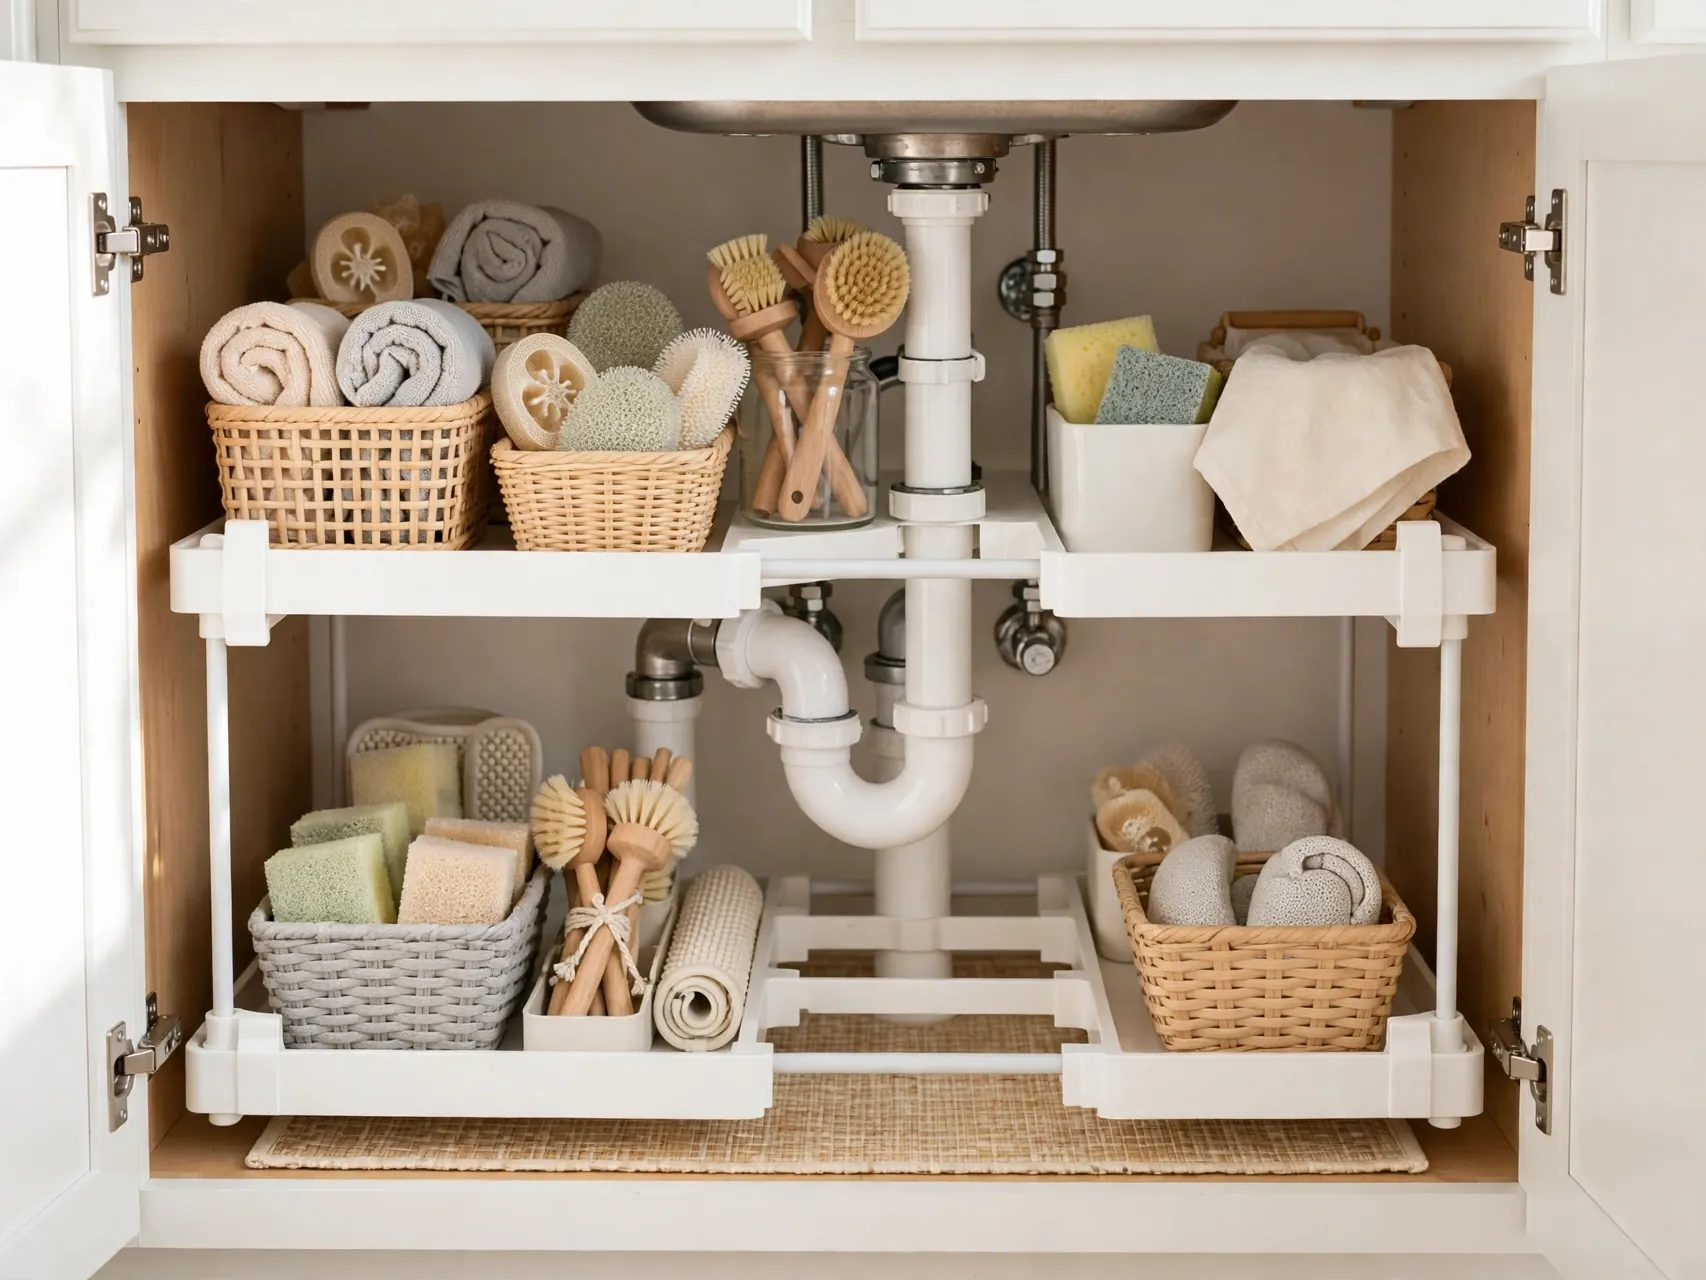
Expandable under sink shelves come in pieces that shift around drain pipes and water lines. Build the frame to your cabinet, then set bins on the raised platform. The space below can hold a low tray of backups. This is one of the best options for wide kitchen cabinets with a garbage disposal taking up the center.
Keep the setup easy to reset in under a minute. If returning an item takes several steps, it will end up on the floor or the counter instead. Open containers, clear fronts.
Label Every Bin in Plain Words
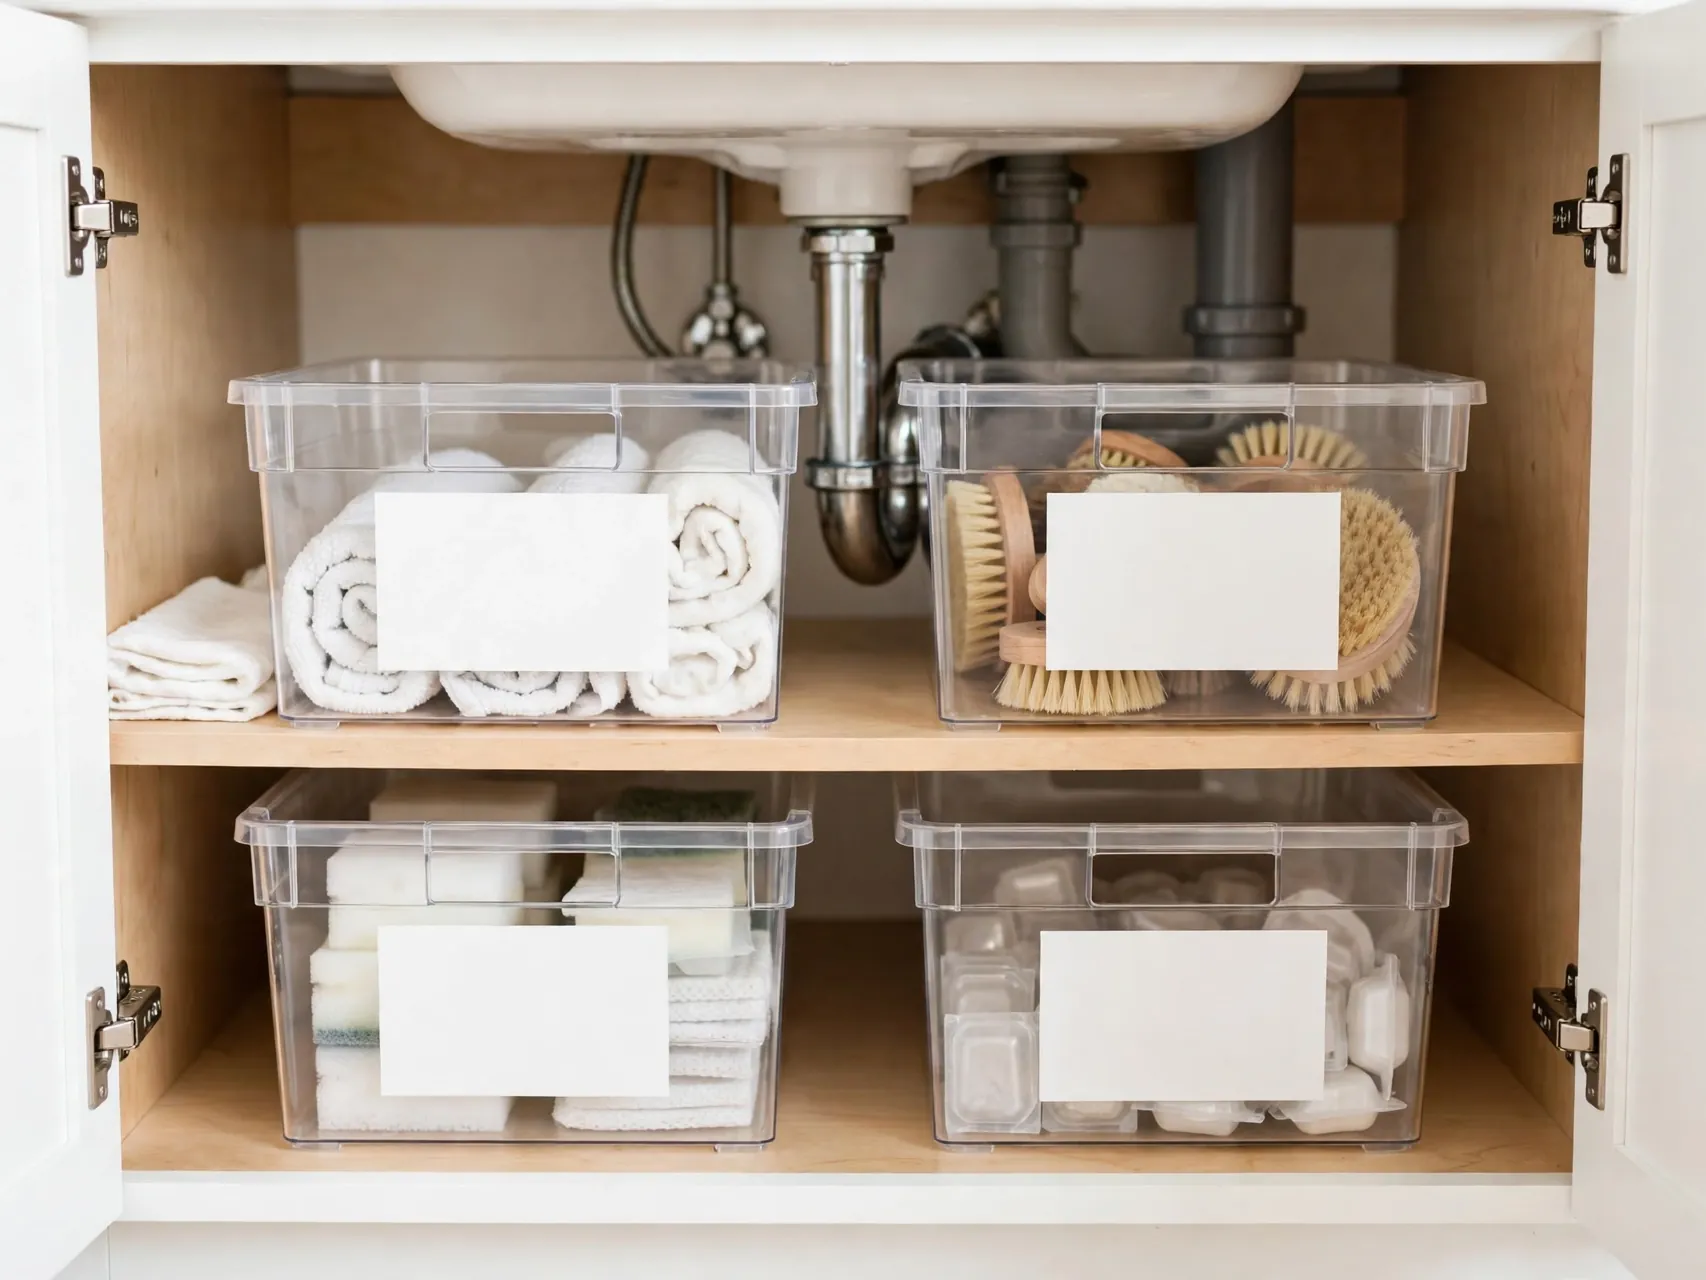
Labels sound fussy until someone else has to find the floor cleaner. Use short, plain labels like Dish, Sponges, Refills, and Bathroom. A label maker, tape, or handwritten tags all work. Labels also protect your system, because items get returned to the right bin instead of being dropped wherever there is a gap.
Think about height as well as width. Most of these spaces waste the top half, so stacking, tiering, or hanging lifts items off the base and doubles what fits. Just keep heavier.
Set a Leak Tray Under Bottles
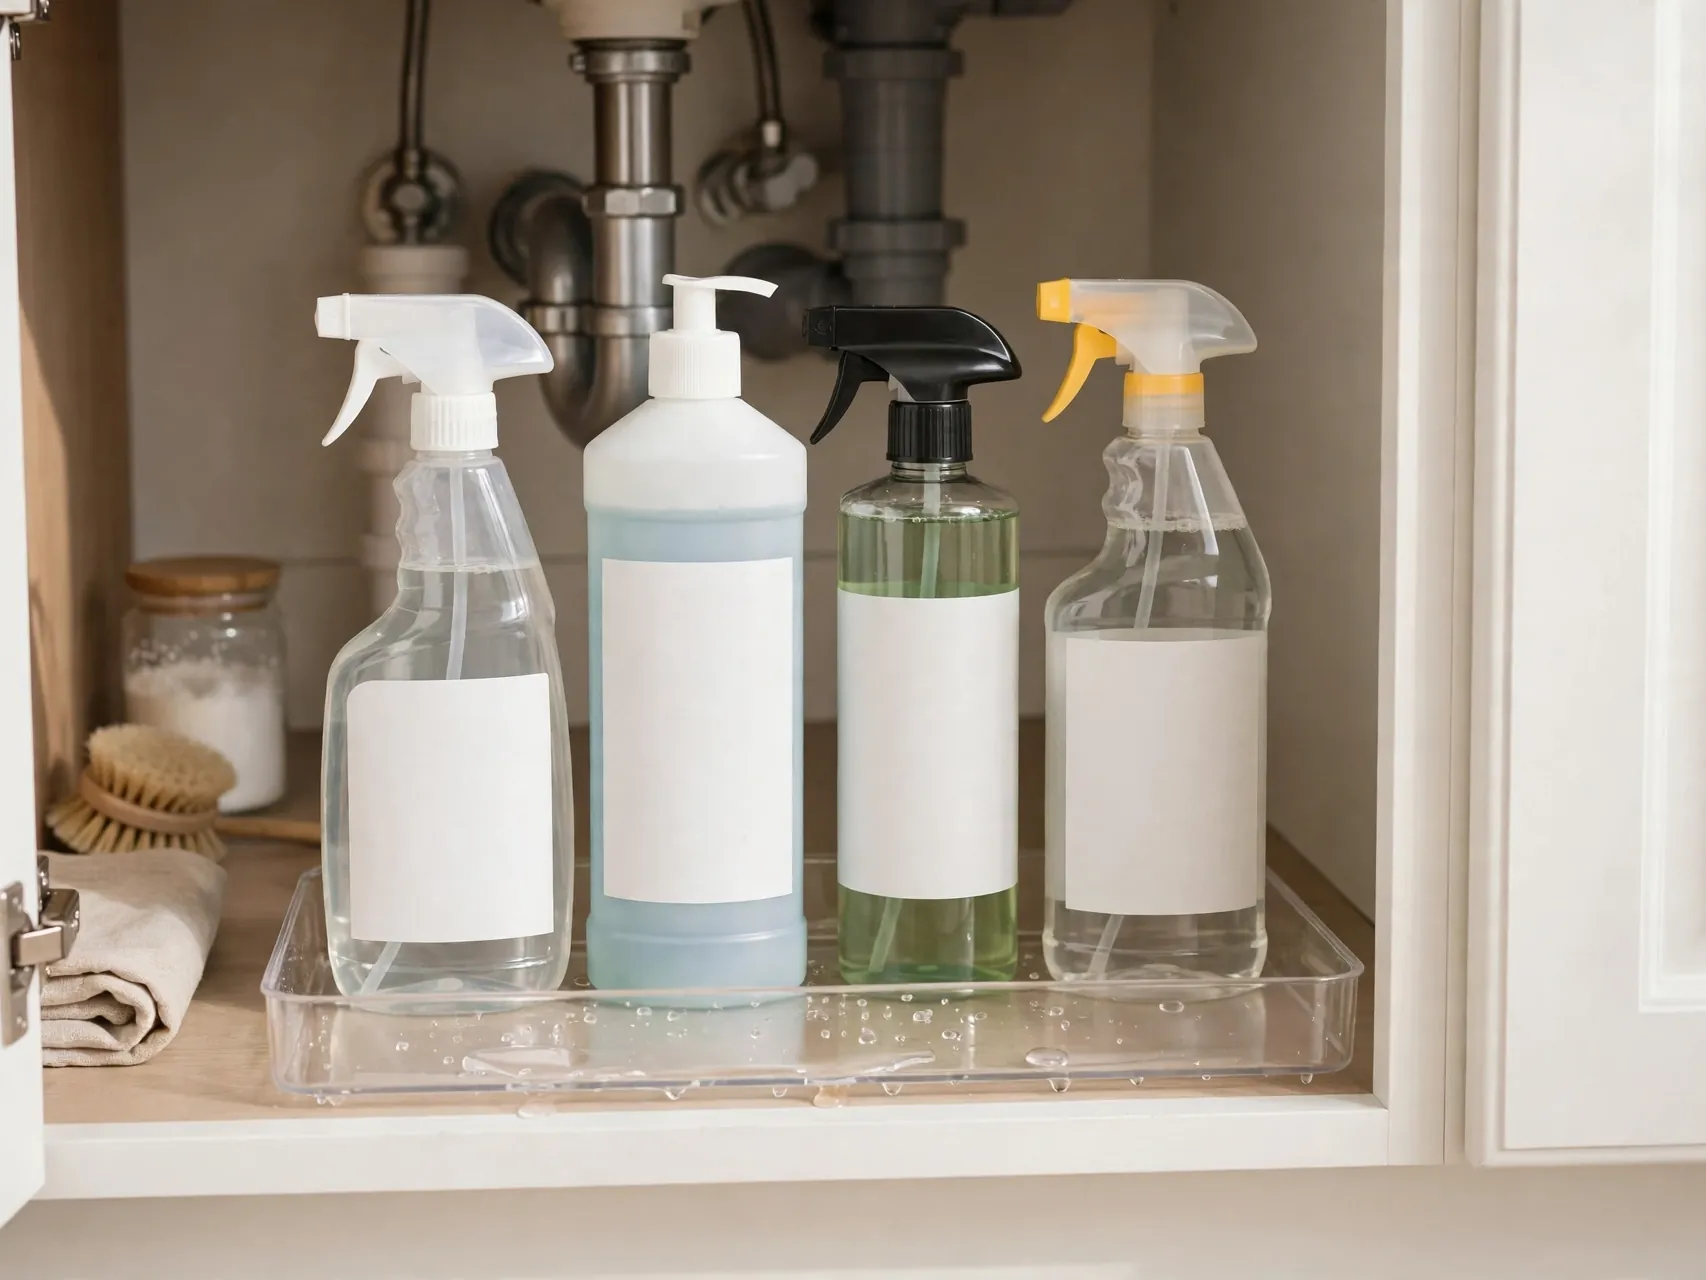
Place a shallow tray or rimmed baking style tray under cleaners and oils that might drip. If a cap loosens, the mess stays on the tray instead of soaking the cabinet base. Check the tray when you do your weekly reset, rinse it if needed, and tighten caps as you go. It is cheap insurance for a cabinet you cannot easily replace.
Test the layout for a week before you add anything else. Live with it, notice what you bump into, and move one or two pieces until reaching feels natural. A short trial.
Move Medicine Out of the Bathroom Cabinet

Humidity from showers can affect medicines, and health sources such as the FDA and MedlinePlus recommend a cool, dry storage spot instead. Move pills and first aid medicines to a bedroom drawer, a hall closet shelf, or a locked box out of reach of children. Keep only non medicine supplies like cotton balls and bandages under the bathroom sink.
Measure the spot before you buy anything, and leave a little breathing room so containers slide in and out without catching. Put the things you reach for most at the front and.
Add a Child Safety Latch

If children or pets can open this cabinet, add a latch or lock today. Poison prevention groups stress storing cleaning products out of sight and reach, and using child proof locks when products must stay in low cabinets. Test the latch yourself, and teach older kids that this door stays closed. It takes minutes to fit and guards the riskiest cabinet in the house.
Group similar things together first, then give each group one home. When a category starts to overflow, that is your signal to edit it down instead of buying a bigger container. A.
Keep Only One Backup of Each Product
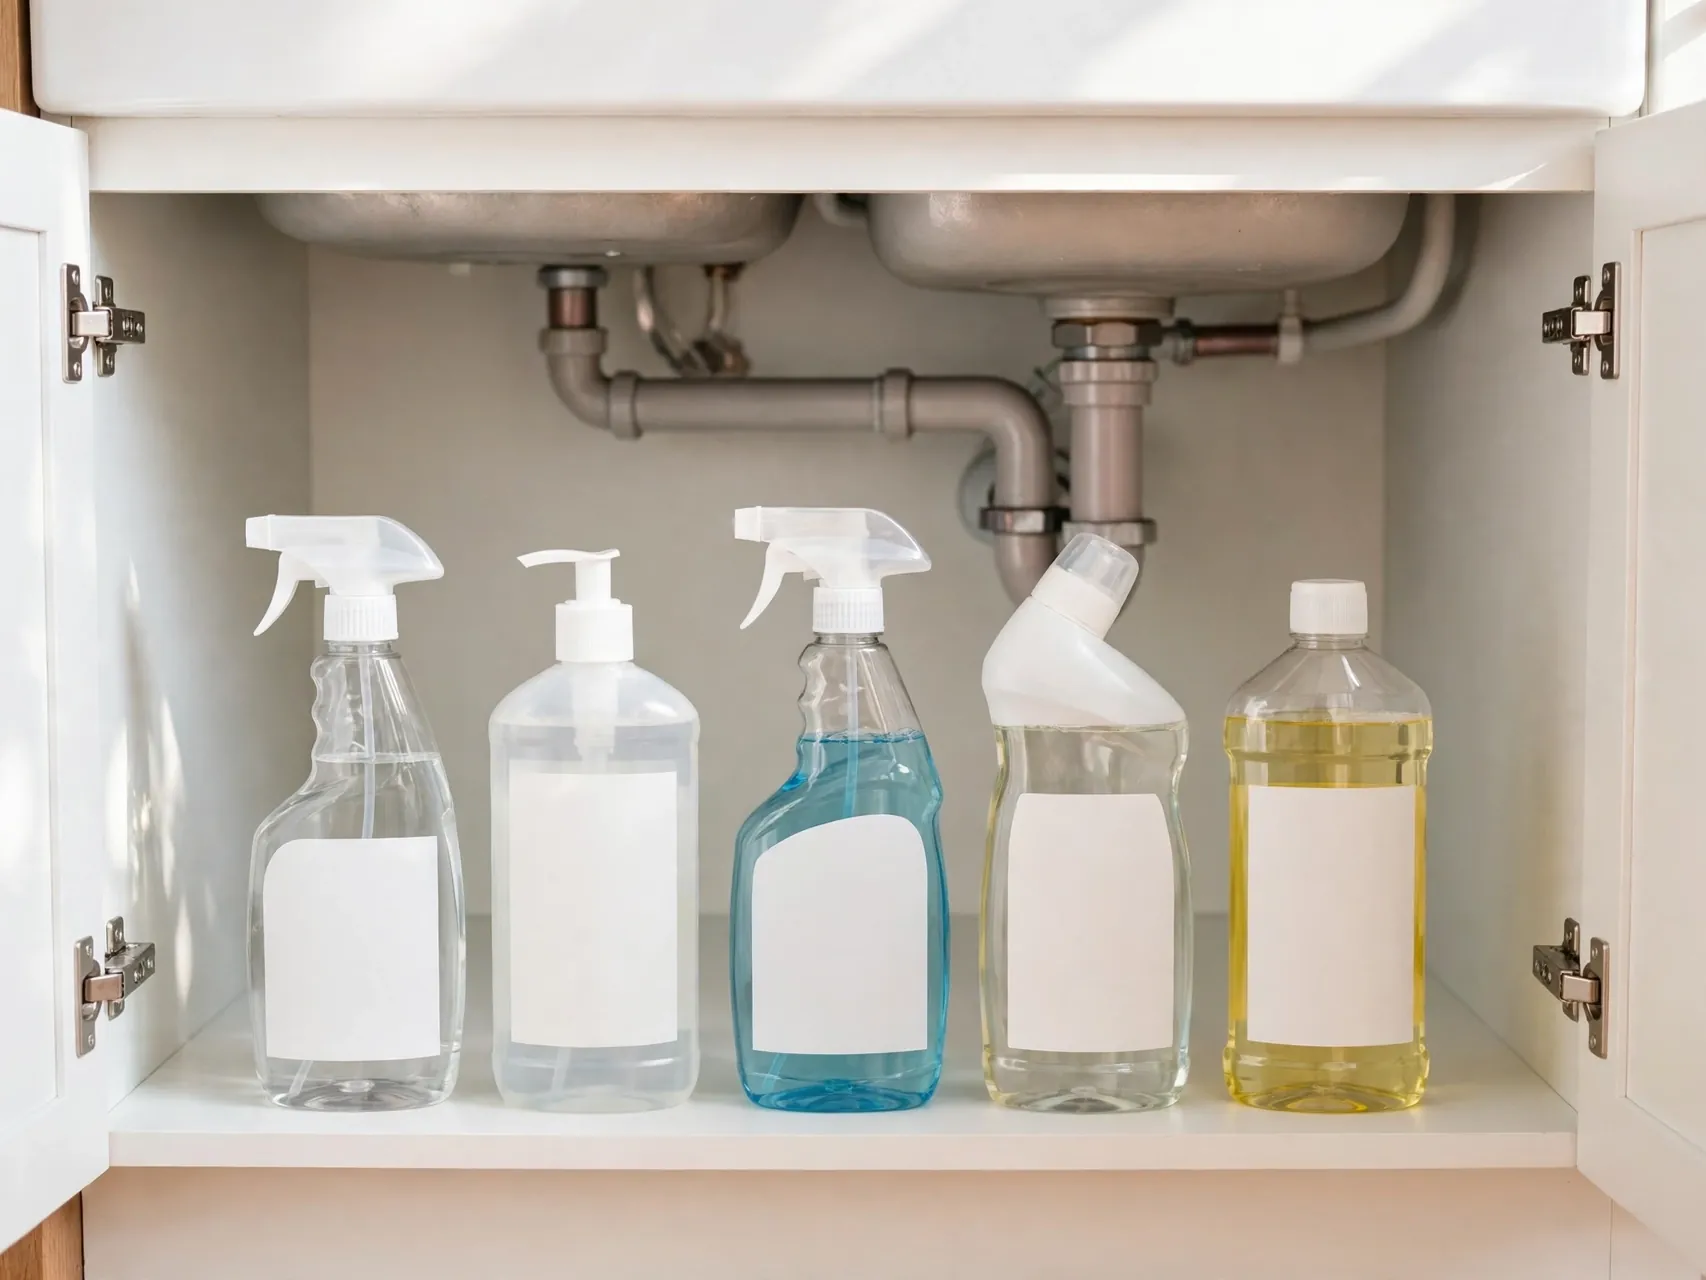
Backups multiply quietly. Limit yourself to one spare of each core product under the sink, and store bulk buys in a hall closet or garage shelf instead. You will see what you own, use products before they age, and free real space for daily items. Add a product to your shopping list when you open the last backup.
Keep the setup easy to reset in under a minute. If returning an item takes several steps, it will end up on the floor or the counter instead. Open containers, clear fronts.
Put Daily Items at the Front, Always
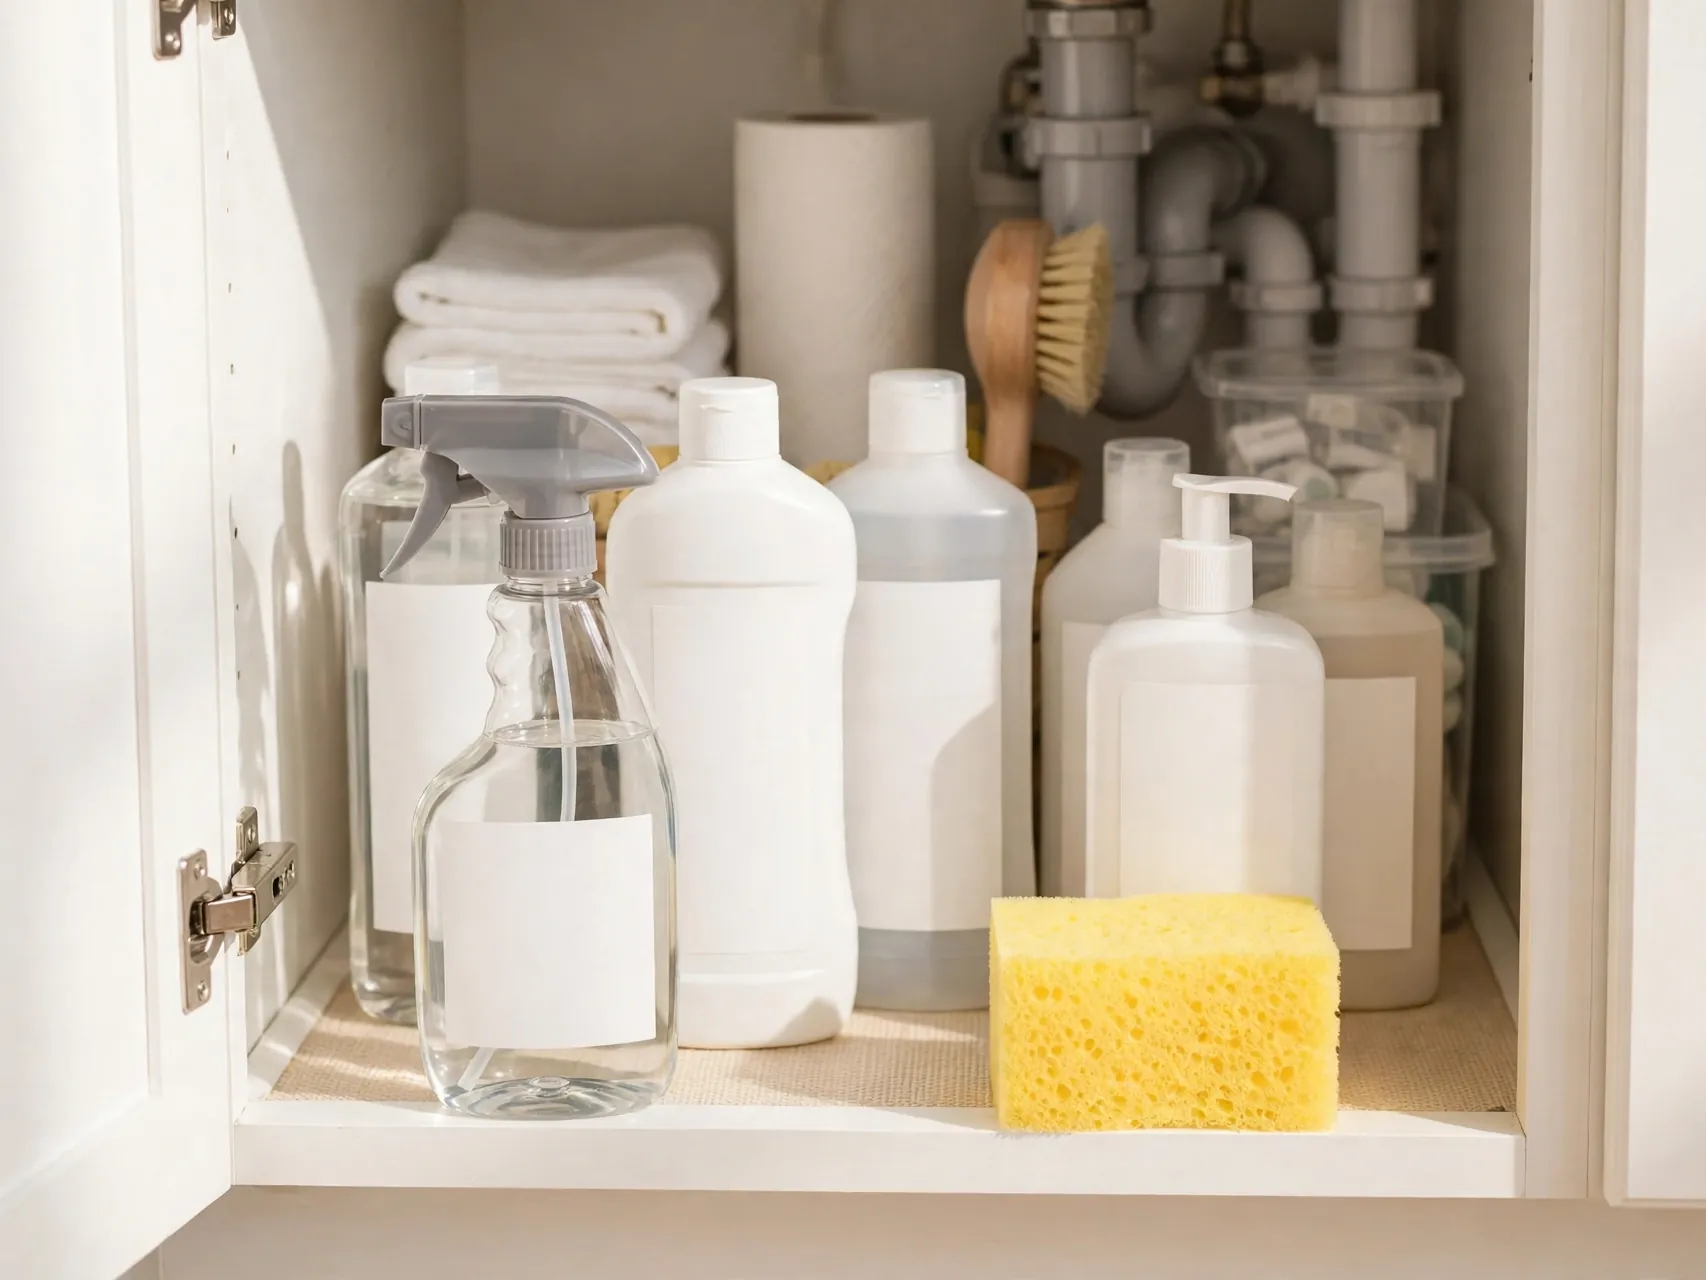
Arrange the cabinet by how often you reach for things, not by size. Daily soap and spray live at the front, weekly items in the middle, and rare backups at the back or up high. When you use something, return it to the same front spot. This habit, more than any product, is what good under sink storage really looks like after a month.
Think about height as well as width. Most of these spaces waste the top half, so stacking, tiering, or hanging lifts items off the base and doubles what fits. Just keep heavier.
Stick a Battery Light Inside
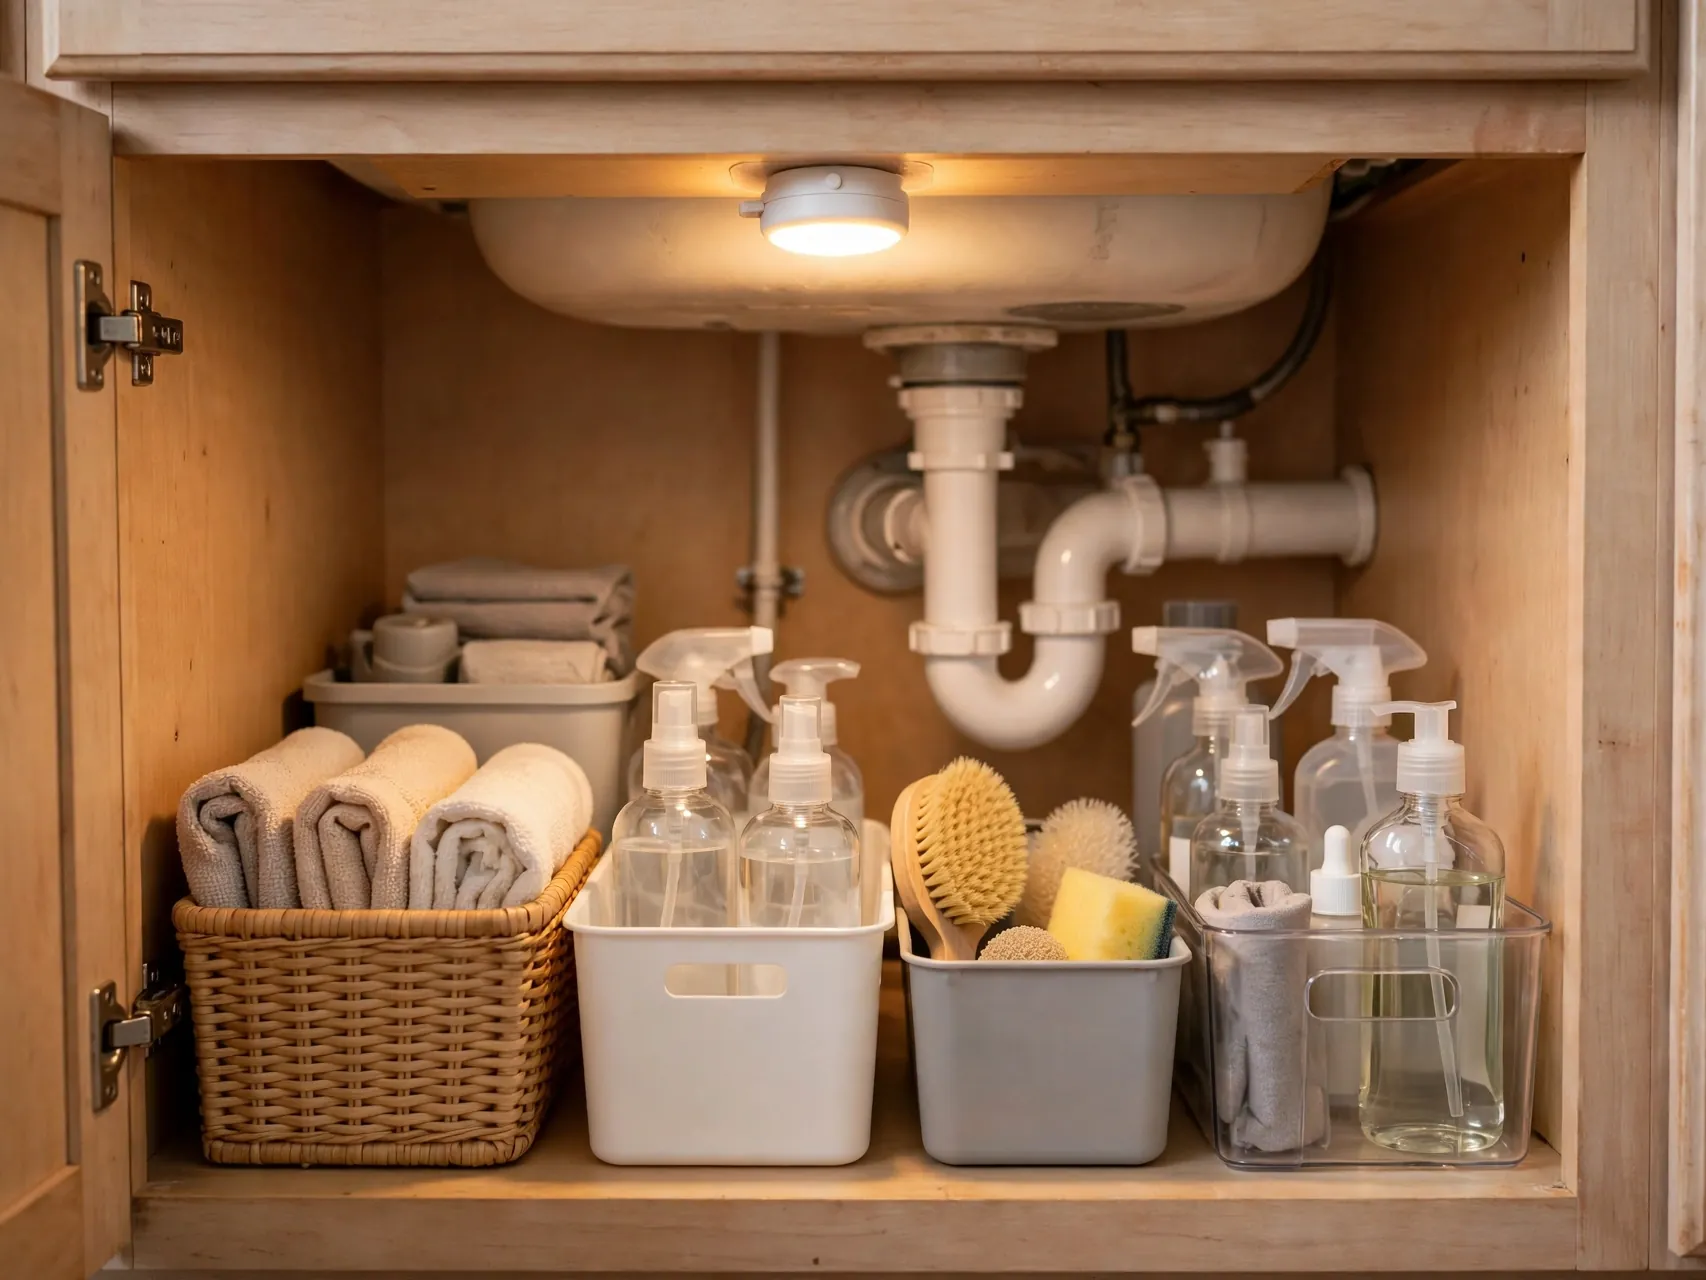
A small battery powered puck light or motion light makes a dark cabinet far easier to use. Stick it under the top front edge so it lights the bins below. You will spot leaks sooner, read labels faster, and stop shining your phone into the back corner. Replace batteries when you change your smoke alarm batteries so it stays a routine.
Test the layout for a week before you add anything else. Live with it, notice what you bump into, and move one or two pieces until reaching feels natural. A short trial.
Finish With a Two Minute Weekly Reset

Once a week, while you wipe the sink, spend two minutes under it too. Stand tipped bottles up, return strays to their bins, and glance at the leak tray. This tiny reset stops the slow slide back into chaos. If a category keeps overflowing, edit it down that week instead of letting the pile grow for months.
Measure the spot before you buy anything, and leave a little breathing room so containers slide in and out without catching. Put the things you reach for most at the front and.
FAQ
How do I organize under the sink with pipes in the way?
Measure each side of the pipes and choose storage that fits those zones, like stackable bins, a two tier rack, or an expandable shelf built around the plumbing. Keep only rarely used backups behind the pipes, and put daily items in pull out containers at the front where you can reach them without moving anything else.
What should not be stored under the sink?
Avoid storing medicines under a bathroom sink, since humidity can affect them, and health sources recommend a cool, dry place instead. Also avoid paper goods that can get damp, loose dishwasher pods within reach of children, and any cleaner without its original label. Move those items to a dry closet or a high, latched cabinet.
How can I keep under sink storage safe for kids?
Use a child safety latch or lock on the cabinet, keep cleaning products in their original containers, and store pods and strong cleaners out of sight and reach. Poison Help in the United States is 1-800-222-1222, a number worth saving in your phone. If you can, move the strongest products to a high cabinet entirely.
What is the best organizer for a small bathroom sink cabinet?
A pair of small stackable clear bins plus a door caddy usually beats one large unit in a tight bathroom cabinet. The bins use the height, the door adds a bonus layer, and both can move if your plumbing sits off center. Add a small turntable only if you store several round bottles.
How often should I clean out under the sink?
Do a quick two minute reset weekly and a fuller sort every few months, ideally when the seasons change. Check for leaks, expired products, and duplicate backups each time. If you spot damp wood or a musty smell that does not clear, deal with the moisture source first, because organizers will not fix a plumbing problem.
Key Takeaways
- Start empty: A full clear out, a wiped base, and honest sorting make every later step easier.
- Measure the pipes: Width, depth, and height on each side of the plumbing decide what will truly fit.
- Pull out beats reach in: Slide out caddies, handled bins, and turntables keep the back of the cabinet usable.
- Protect the cabinet: A washable mat and a leak tray contain drips before they damage the base.
- Store safely: Keep cleaners in original containers, latch the door for kids, and move medicine to a cool, dry spot.
- Reset weekly: Two minutes of tidying keeps your kitchen sink cabinet organization from sliding back into a jumble.
Love these ideas? Save this post to Pinterest so you can find it later, and pin your favorite setup to your home organization board before you start.