23 Declutter Checklist Tips to Simplify Every Room Fast
Introduction
Decluttering feels hard mainly because the job looks endless when you stand in the doorway. A simple declutter checklist breaks the whole house into small, finishable steps, so you always know what to do next and when you are done for the day. You do not need a free weekend or a perfect plan to begin.
The method in this guide is deliberately plain. Set up sorting boxes, work one room at a time in short sessions, ask the same three questions of every item, and get donations out of the house quickly. Storage comes last, after the edit, because buying bins for things you do not keep just hides the problem in nicer boxes.
Work through the 23 tips in order the first time, then keep the ones that fit your home as a repeat routine. Progress you can see, like one clear counter or one calm drawer, is what keeps you going far better than guilt about the rooms you have not reached yet.
Set Up Four Sorting Boxes First
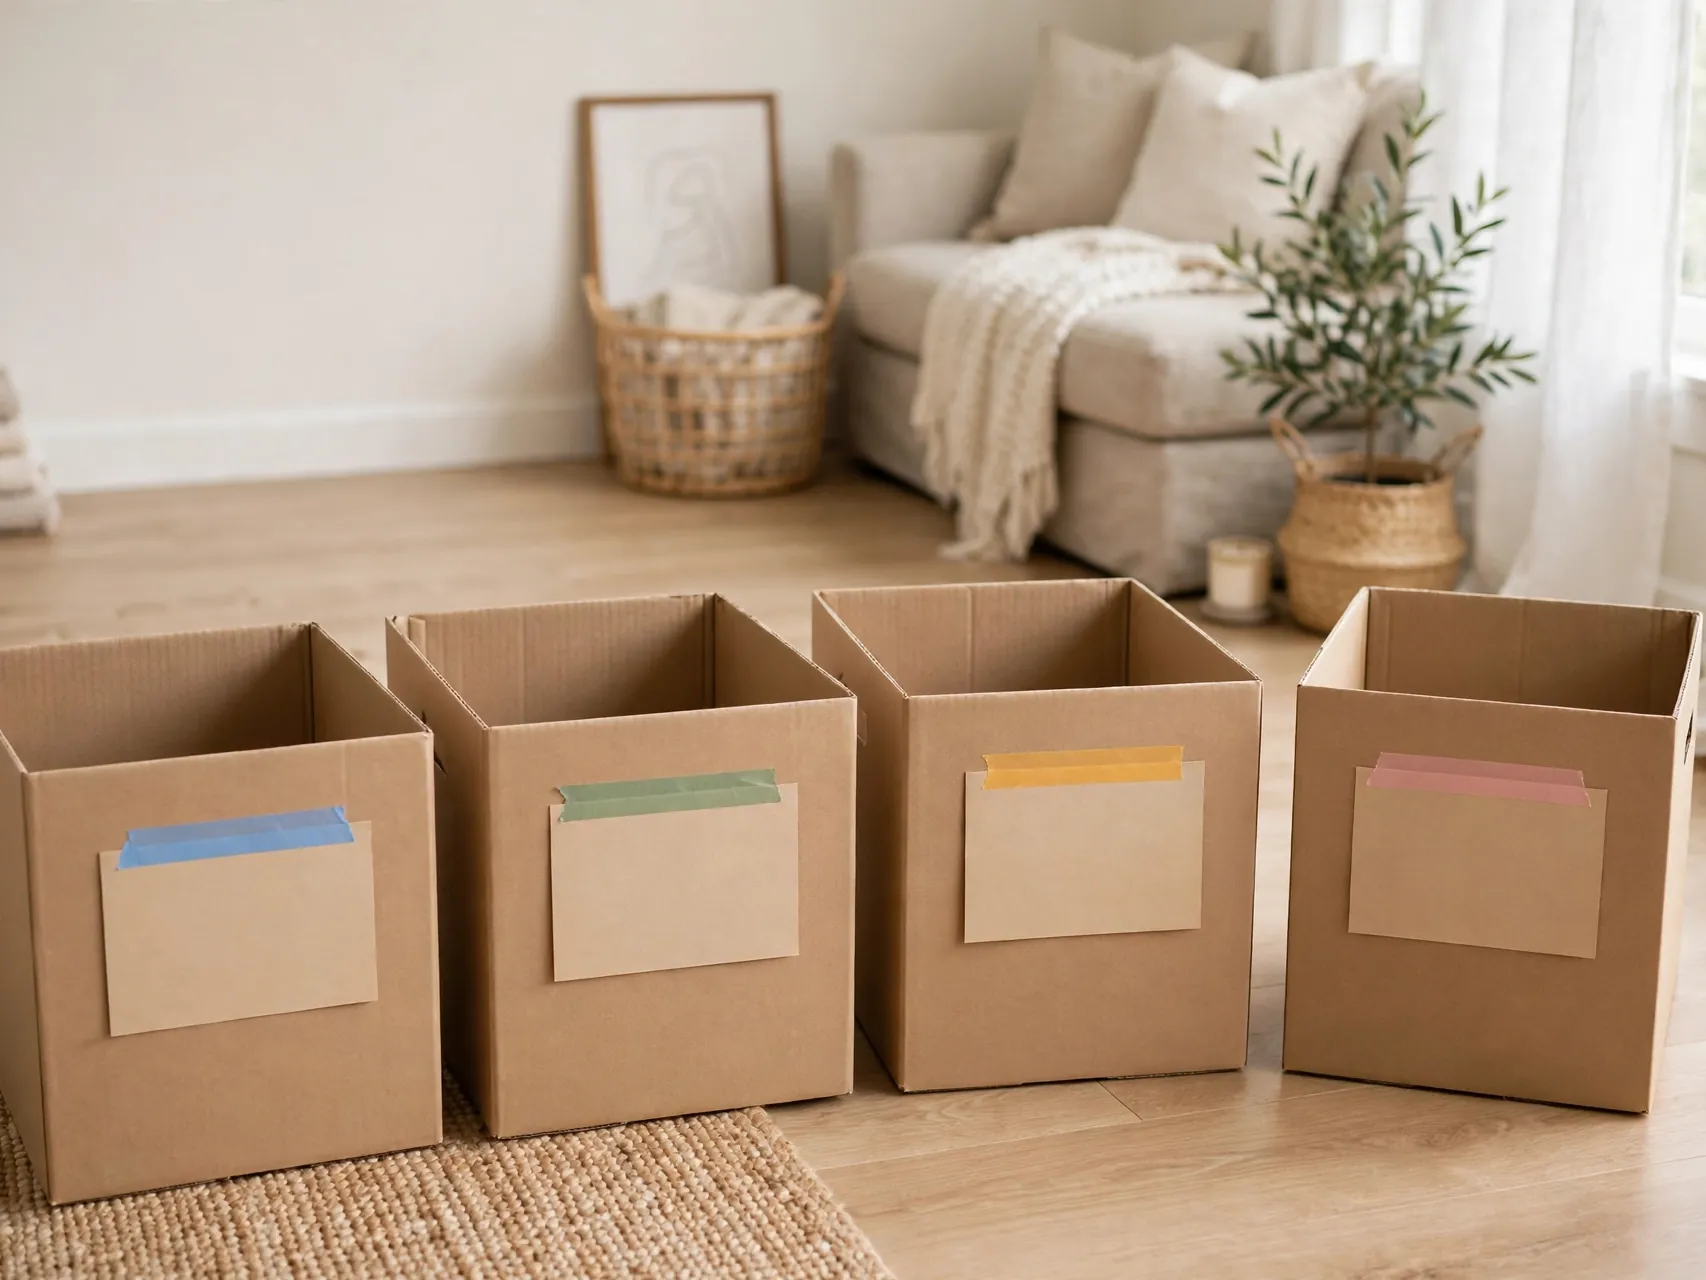
Before you touch a shelf, set up four boxes or bags labeled Keep, Donate, Trash, and Relocate. Relocate is the box most people miss. It catches items that belong in another room, so you do not keep leaving the space you are working on and losing focus.
Place the boxes where you can reach them without moving, and line the trash bag so it can go straight out. When the Donate box fills, close it and start a new one.
Start With Trash First for a Quick Win
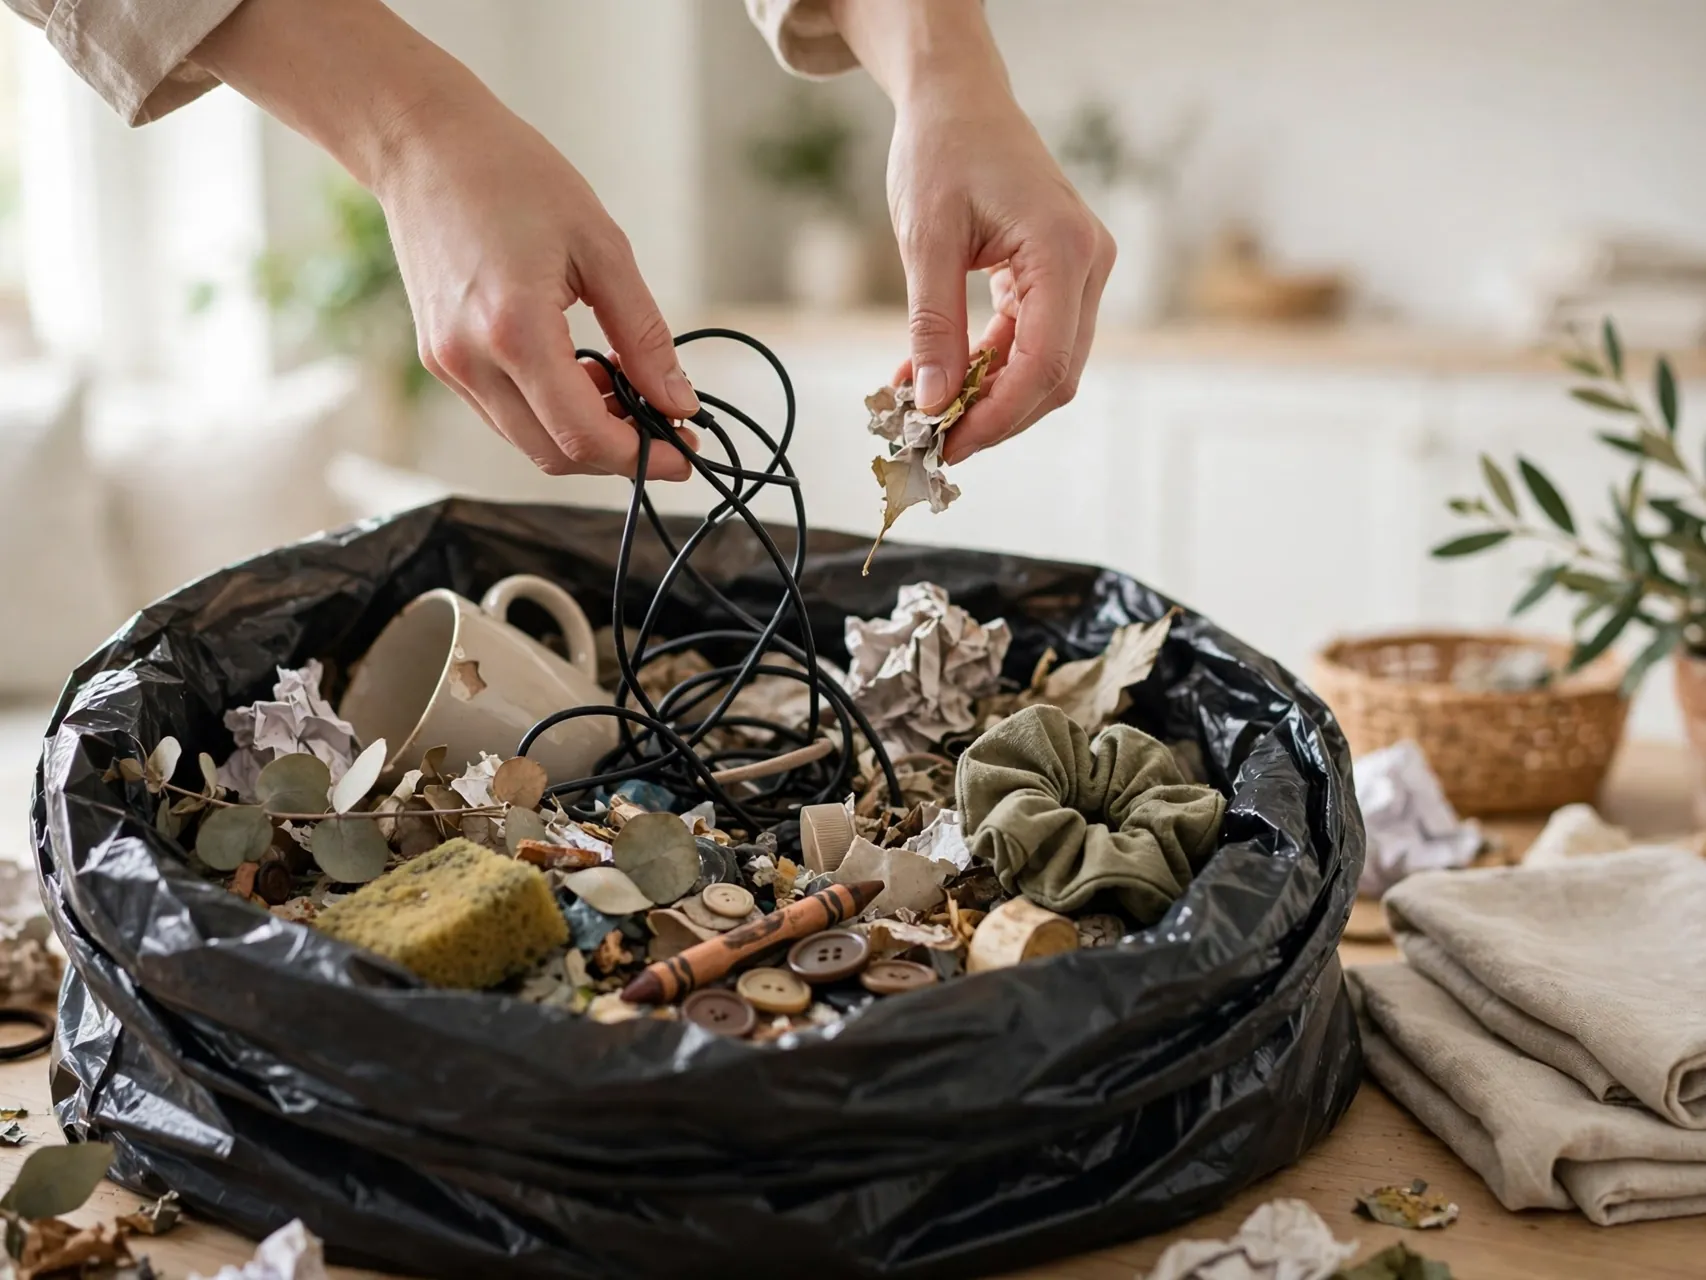
Begin every session by removing obvious trash: broken items, empty packaging, dried pens, expired coupons, and mystery cables with no device. Trash decisions are easy, they need no emotion, and they shrink the pile fast. A room can look better in ten minutes from this step alone.
Carry a small bag as you walk the room instead of making piles to deal with later. Check the classic hiding spots: under furniture, inside bags and coat pockets, and at the back of drawers.
Clear One Flat Surface Completely
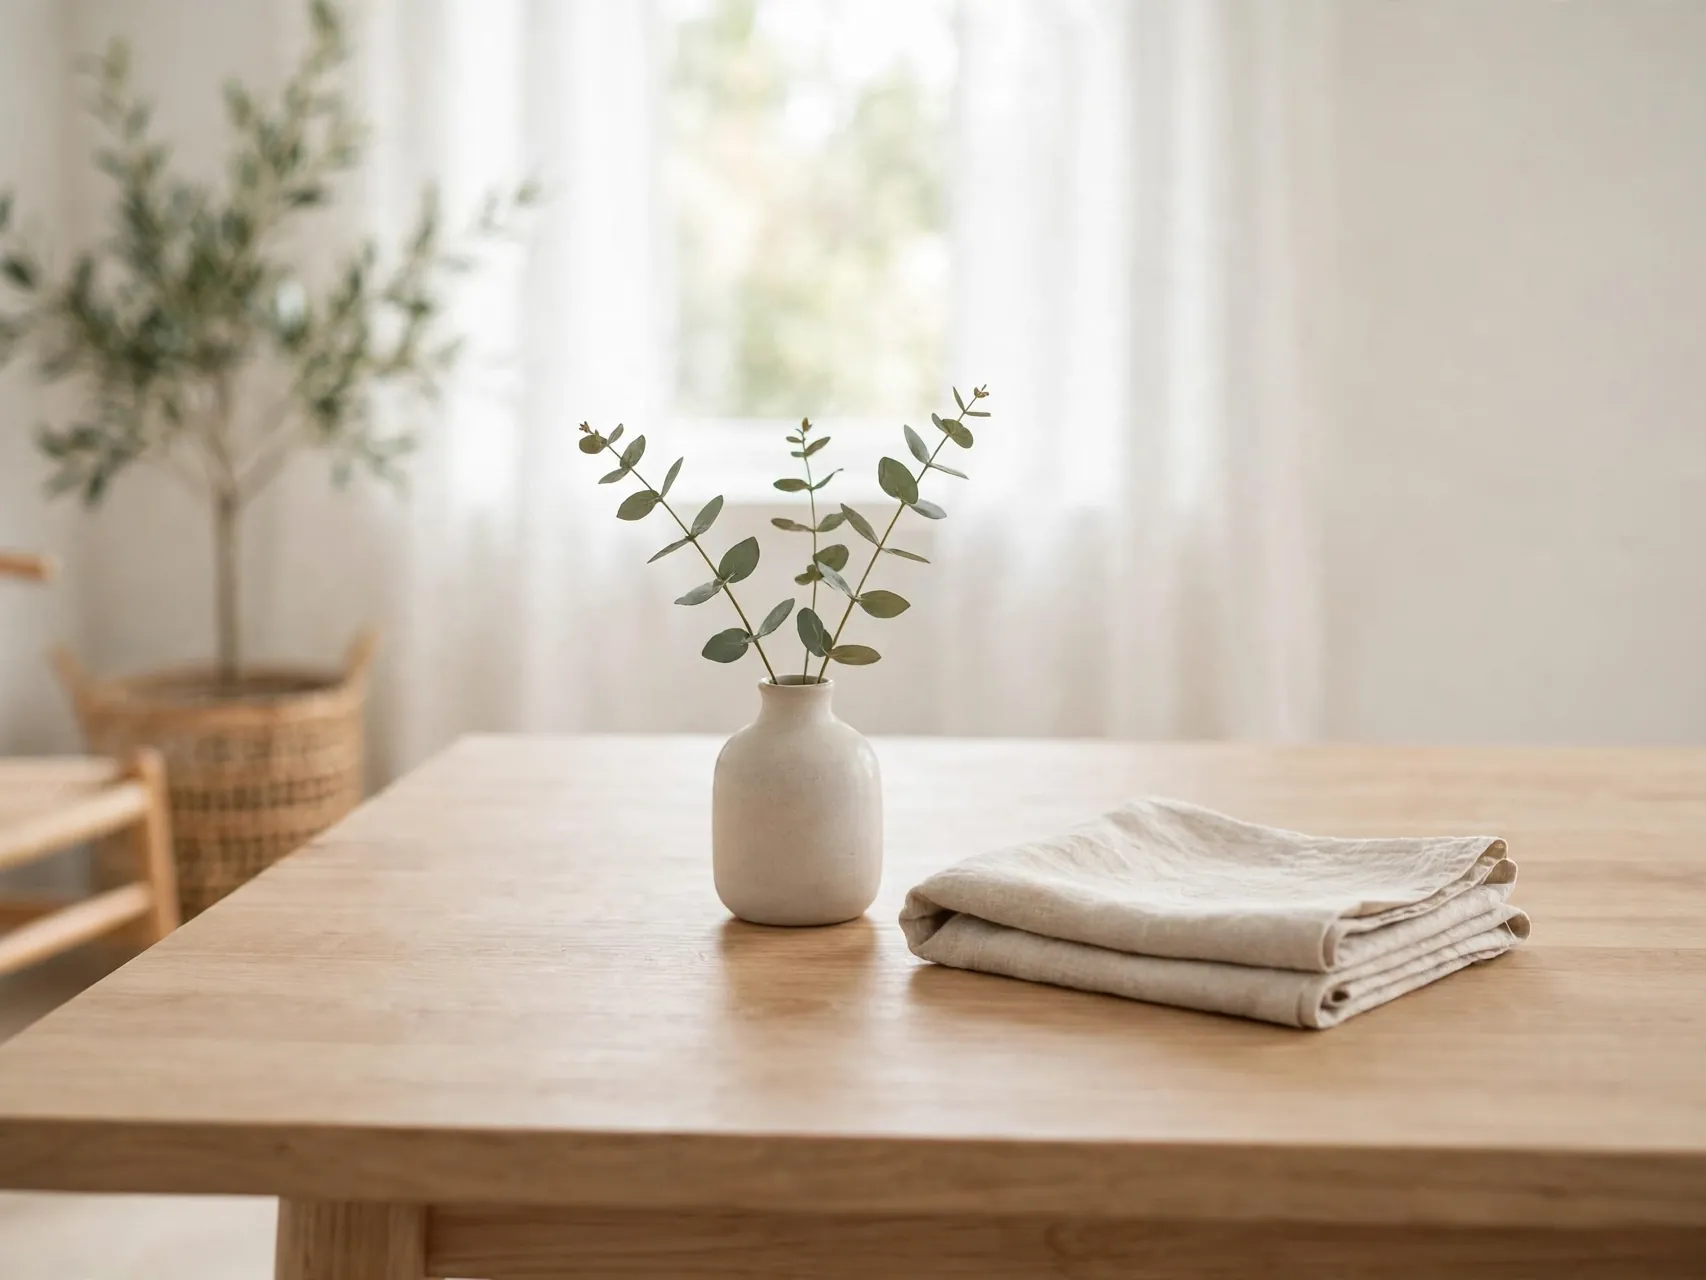
Choose one flat surface, like a kitchen counter, a dresser top, or the entry table, and clear it fully. Put back only the few items that truly belong there and that you use daily. Everything else goes to a box, a drawer, or its real home in another room.
A clear surface changes how a whole room feels, and it gives you a visible finish line for the session. Protect that surface afterwards with a simple rule: nothing lands there unless it lives there.
Work One Room at a Time

Jumping between rooms spreads half finished piles everywhere and makes the house look worse. Pick one room, finish it, and only then move on. Within the room, work in a circle from the door, one zone at a time, so you never wonder where you stopped last session.
If you find items for other rooms, drop them in the Relocate box and deliver them in one trip at the end. Small rooms first, like a bathroom or entryway, build confidence.
Set a Short Timer and Stop When It Rings
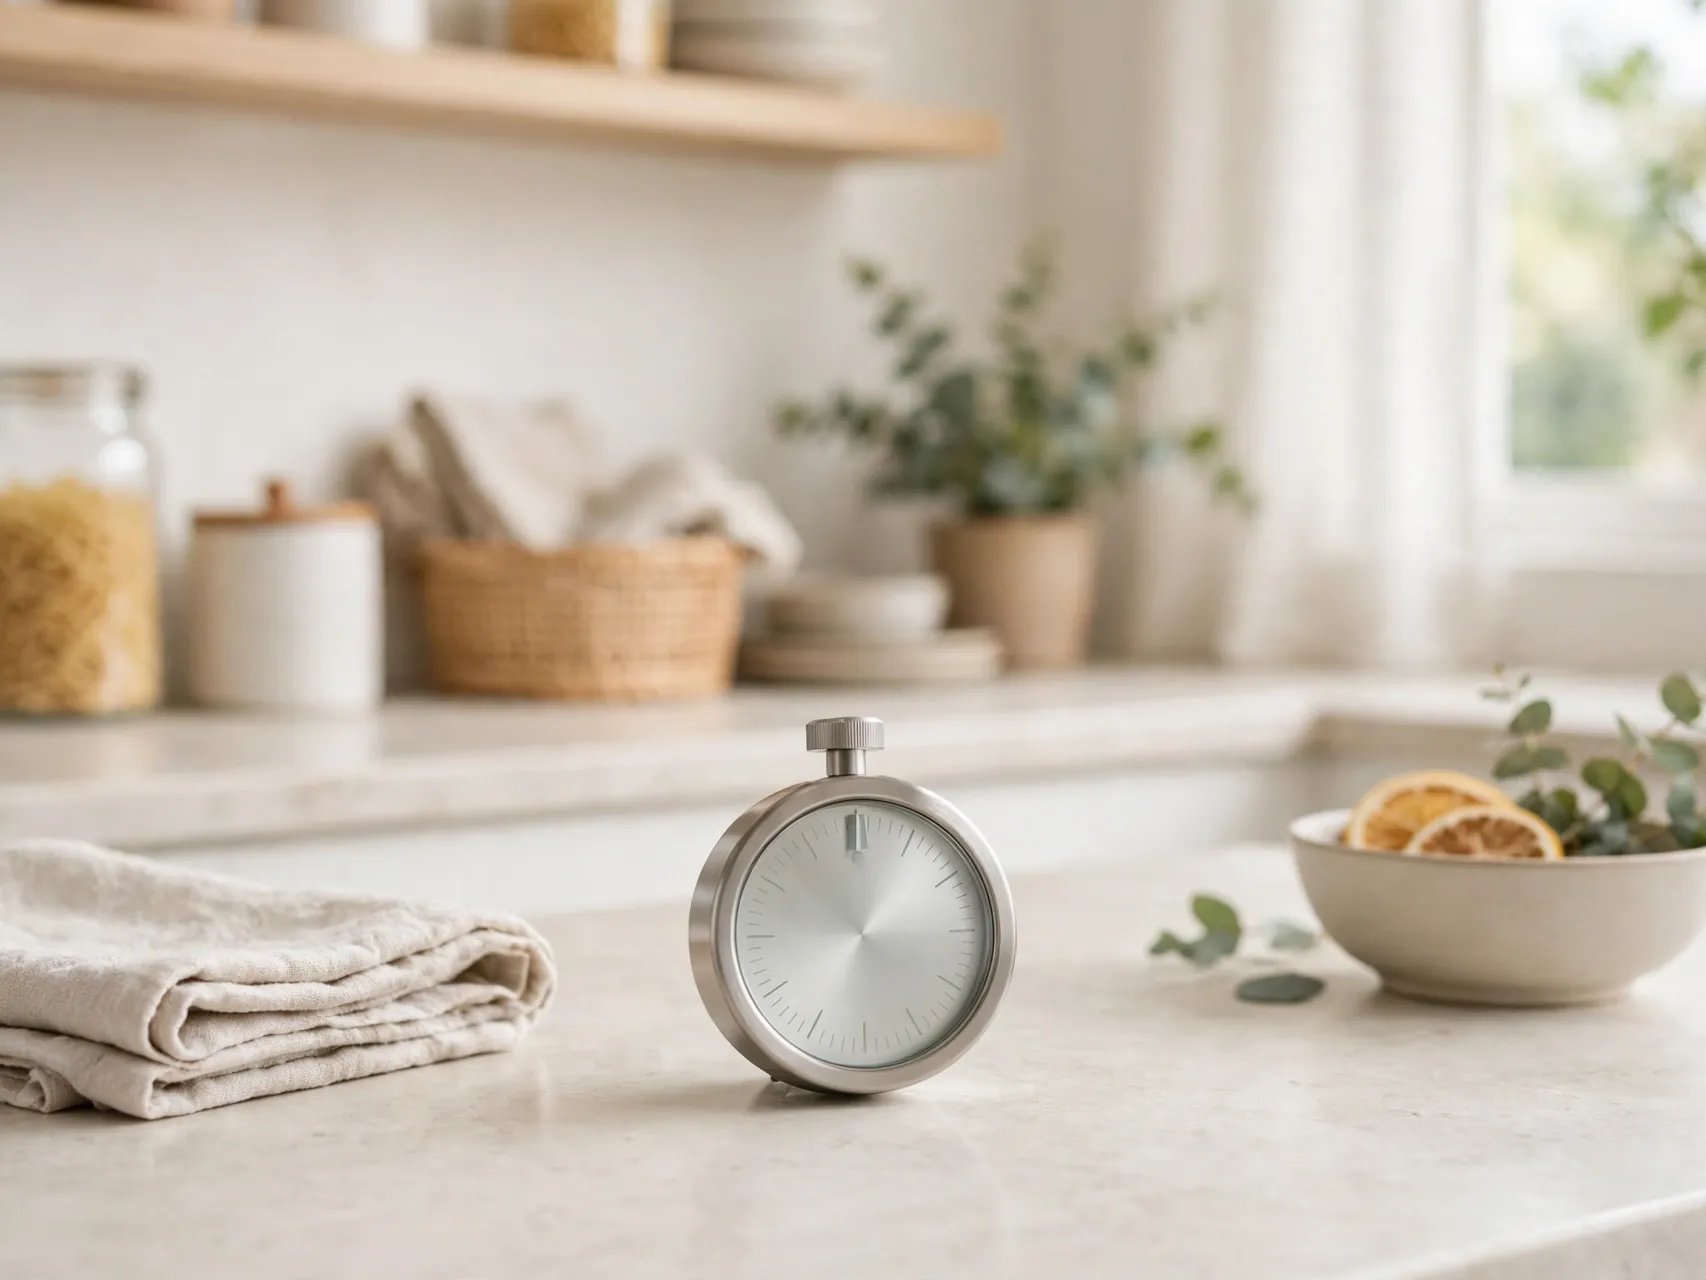
Short sessions beat marathon cleanouts for most busy families. Set a timer for 20 to 30 minutes, work with focus, and stop when it rings, even mid shelf. You will return fresher tomorrow, and the room will not be left in a worse state than when you started.
Use the last two minutes of the session to take out trash, move the Donate box to the car or door, and return Relocate items. That closing routine is part of the system.
Ask Three Simple Questions of Every Item
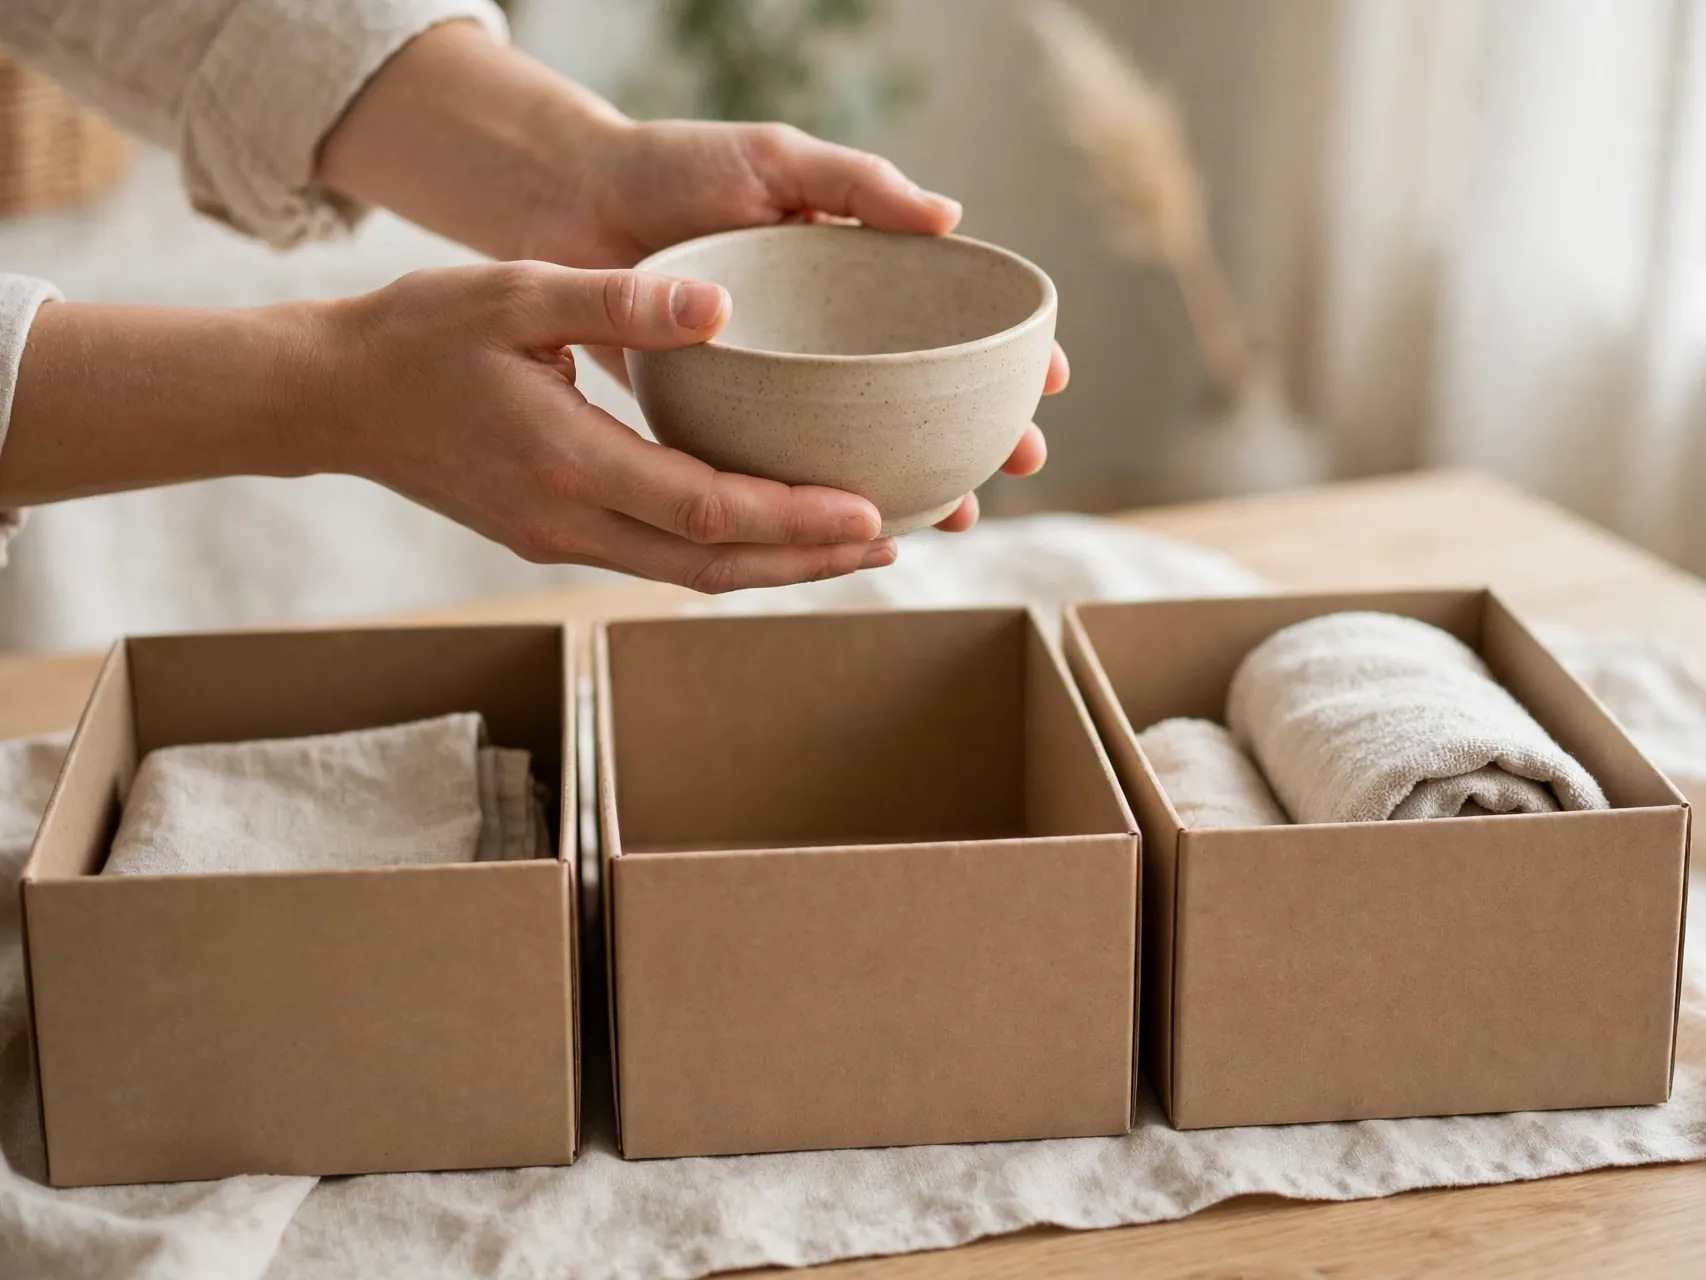
When you get stuck on an item, ask three questions: Do I use it? Do I love it? Does it belong in this room? If the answer is no to all three, it goes to Donate or Trash. If you would not buy it again today, that is useful information too.
Hold each item as you decide, and avoid the maybe pile, which is just clutter taking a break. If something has real sentimental value, give it a proper home on display or in one keepsake box with a firm size limit.
Empty the Junk Drawer Without Mercy
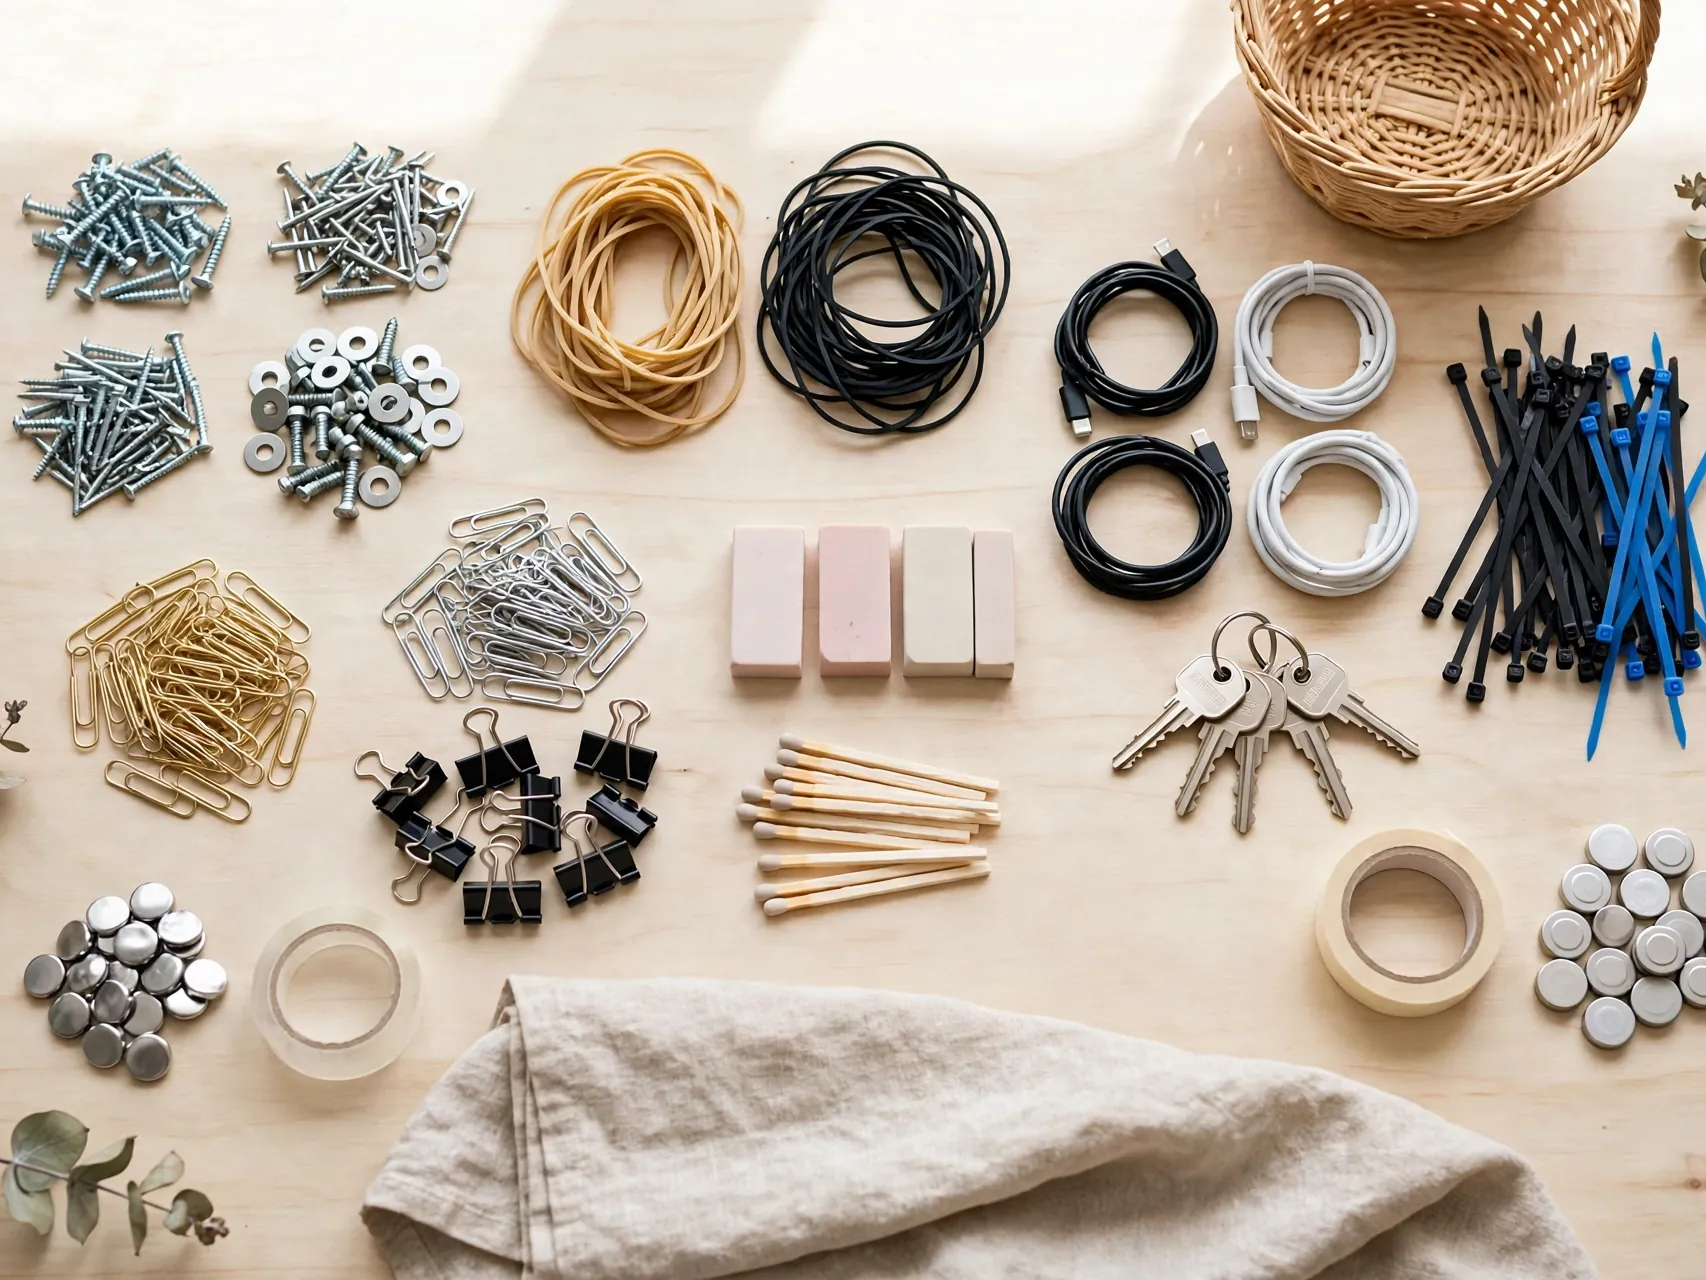
Every home has one drawer where batteries, takeout menus, spare keys, and broken bits go to hide. Tip the whole drawer into a box, wipe it out, and only return items you can name a use for. Test pens and batteries as you go and toss the dead ones on the spot.
Give the survivors simple lanes with a tray or small boxes: one for tools, one for tape and string, one for chargers. Label the sections if the drawer is shared.
Tackle Kitchen Counters and Cabinets
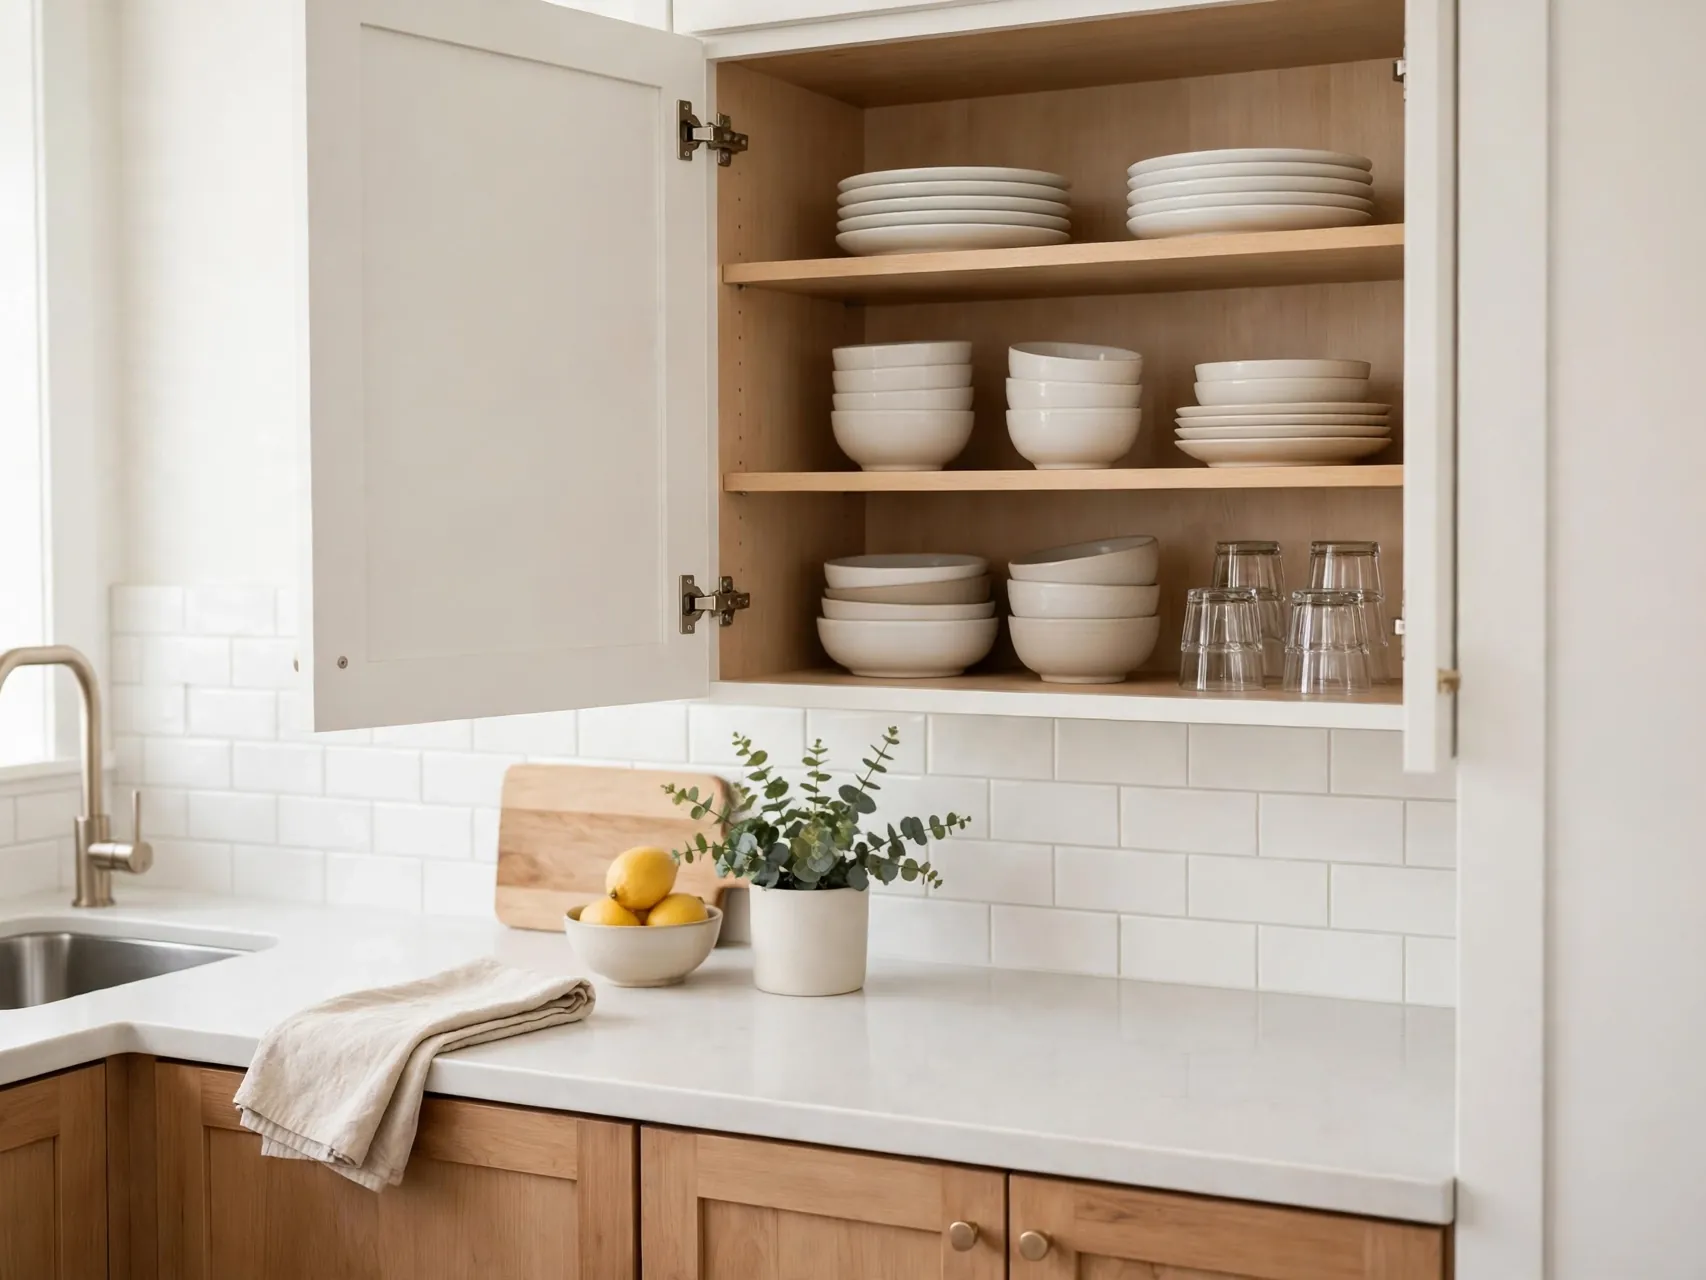
Kitchen clutter builds because cooking tools multiply quietly. Clear the counters first and return only daily items. Then open one cabinet at a time and pull out duplicates: the third spatula, the chipped mugs, the single use gadgets untouched for a year. Keep the best one of each tool and donate the rest.
Store what remains by task, with prep tools near the counter, baking items together, and everyday dishes within easy reach. Rarely used appliances can move to a high shelf or storage area.
Match Lids to Containers or Let Them Go
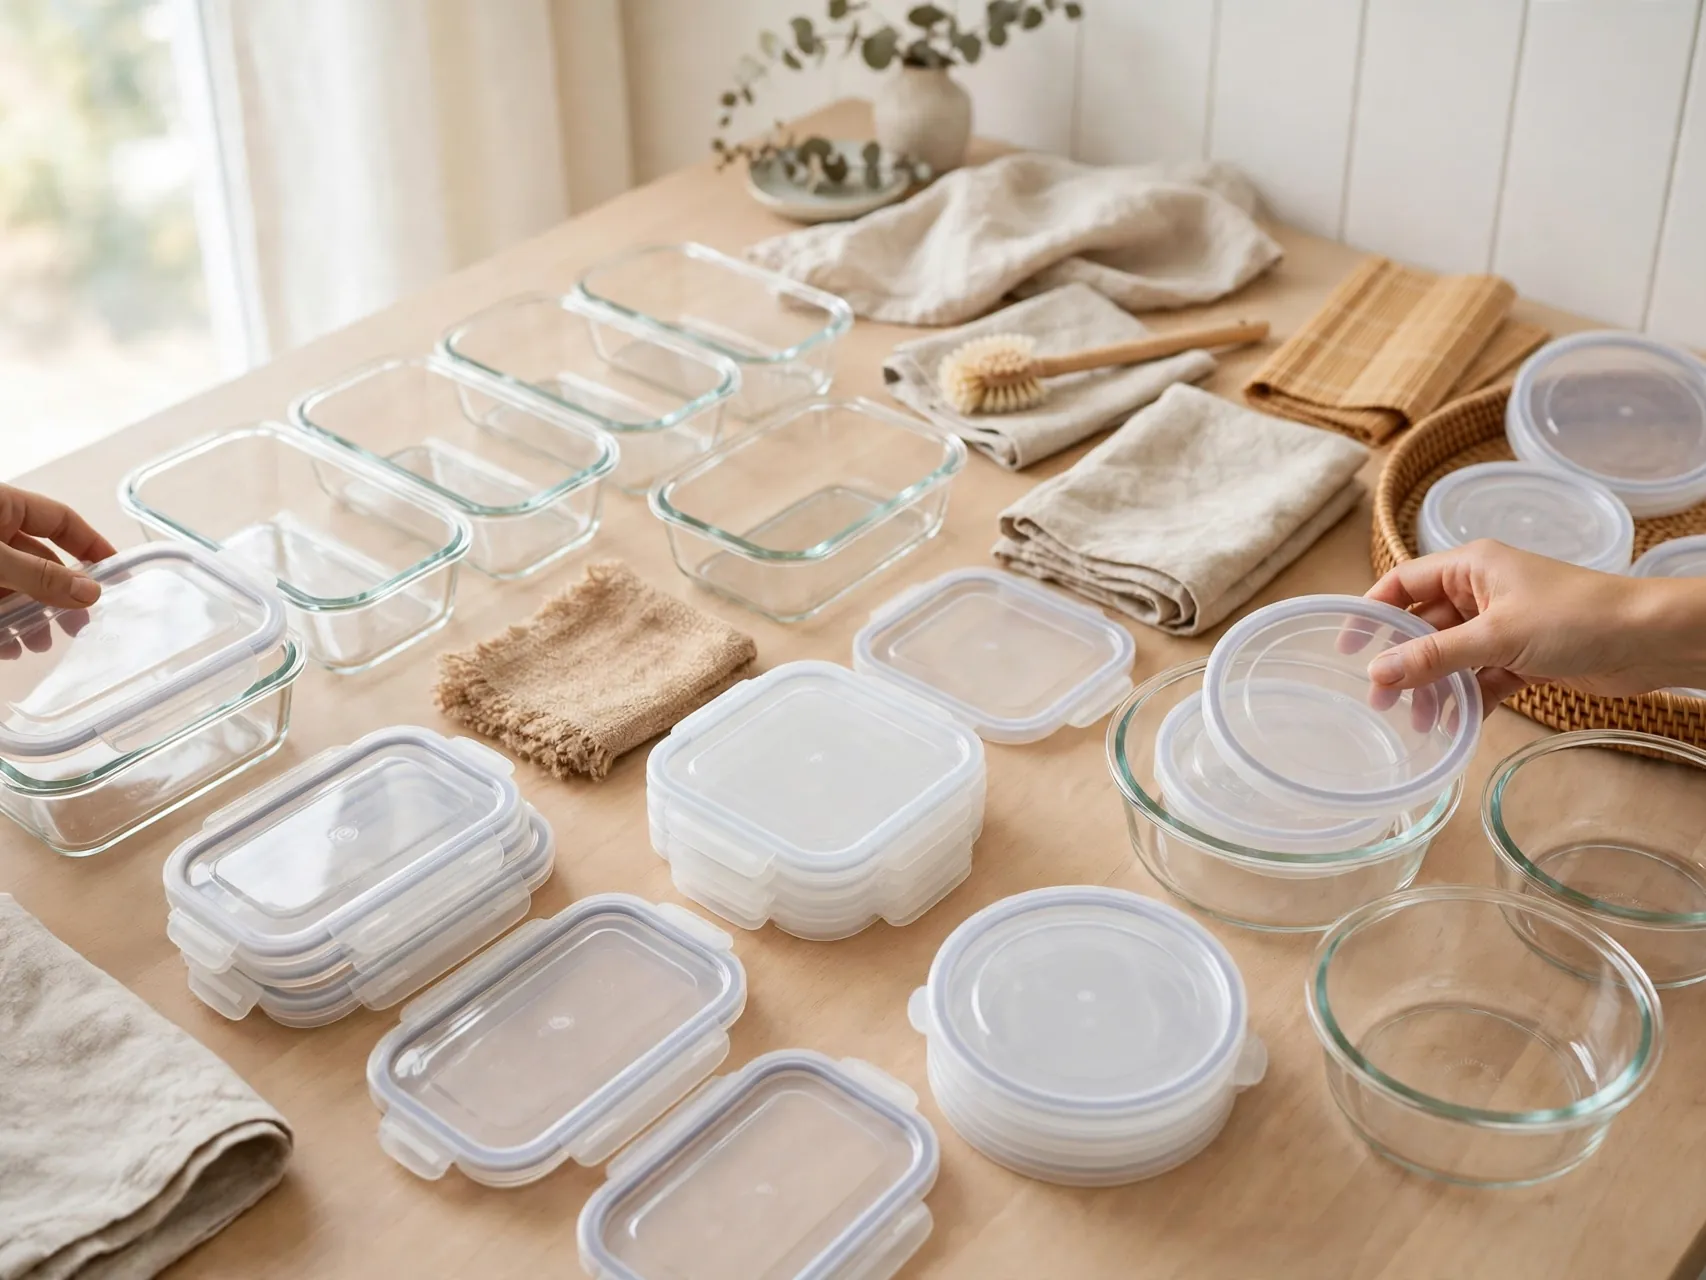
Food storage containers breed in the dark. Pull every container and lid out in one go, match them up, and recycle or toss any piece without a partner, plus anything warped, stained, or cracked. Keep one modest set in sizes your family actually uses for leftovers and lunches.
Store containers nested with lids upright in a separate bin or on a rack, so the match stays obvious. Set a limit the cabinet can hold and stick to it when new takeout tubs arrive. One in, one out works here too.
Clear Expired Items From Pantry and Fridge

Work shelf by shelf through the pantry, fridge, and freezer, removing anything expired, stale, or freezer burned. Check spice dates too, because old spices lose their strength even when they look fine. Wipe each shelf before food goes back, and group what remains by category so you can see what you own.
Make a quick list of what you tossed that still needs replacing, and note duplicates you already have so you stop buying them. The EPA encourages planning and using what you have to cut food waste, and a clear pantry makes meal planning far easier. Never donate expired food.
Edit Your Wardrobe Honestly

Clothes are the biggest category in most homes, so give them a full session. Take one section at a time, like tops or pants, and try on anything you are unsure about. If it does not fit now, is worn out, or has not been worn in a year, it goes to Donate or Trash.
Keep a small box in the closet for repairs and one for items to donate as you notice them through the season. Store off season clothes in one labeled bin so the rail holds only what you can wear now.
Sort Shoes and Accessories in One Pass

Shoes, bags, belts, and scarves scatter across closets, entryways, and bedroom floors. Gather them all in one place so you can see the true count, then keep pairs in good condition that you wear regularly. Donate single shoes, broken bags, and styles you have not reached for in a year.
Set a clear home and a limit for what stays: one shoe rack or basket by the door for daily pairs, and closet space for the rest. Accessories earn their place the same way.
Clear Nightstands and Dressers

Bedrooms feel restful when the surfaces beside the bed hold almost nothing. Clear nightstands and dresser tops down to the essentials: a lamp, a book, a glass of water, and one small tray for glasses or a watch. Move paperwork, cosmetics overflow, and charging cables to drawers or the command center instead.
Inside the drawers, sort clothes by type and evict anything that belongs elsewhere. Keep one small basket for items that drift in from other rooms and empty it weekly.
Check Under Beds and Behind Furniture
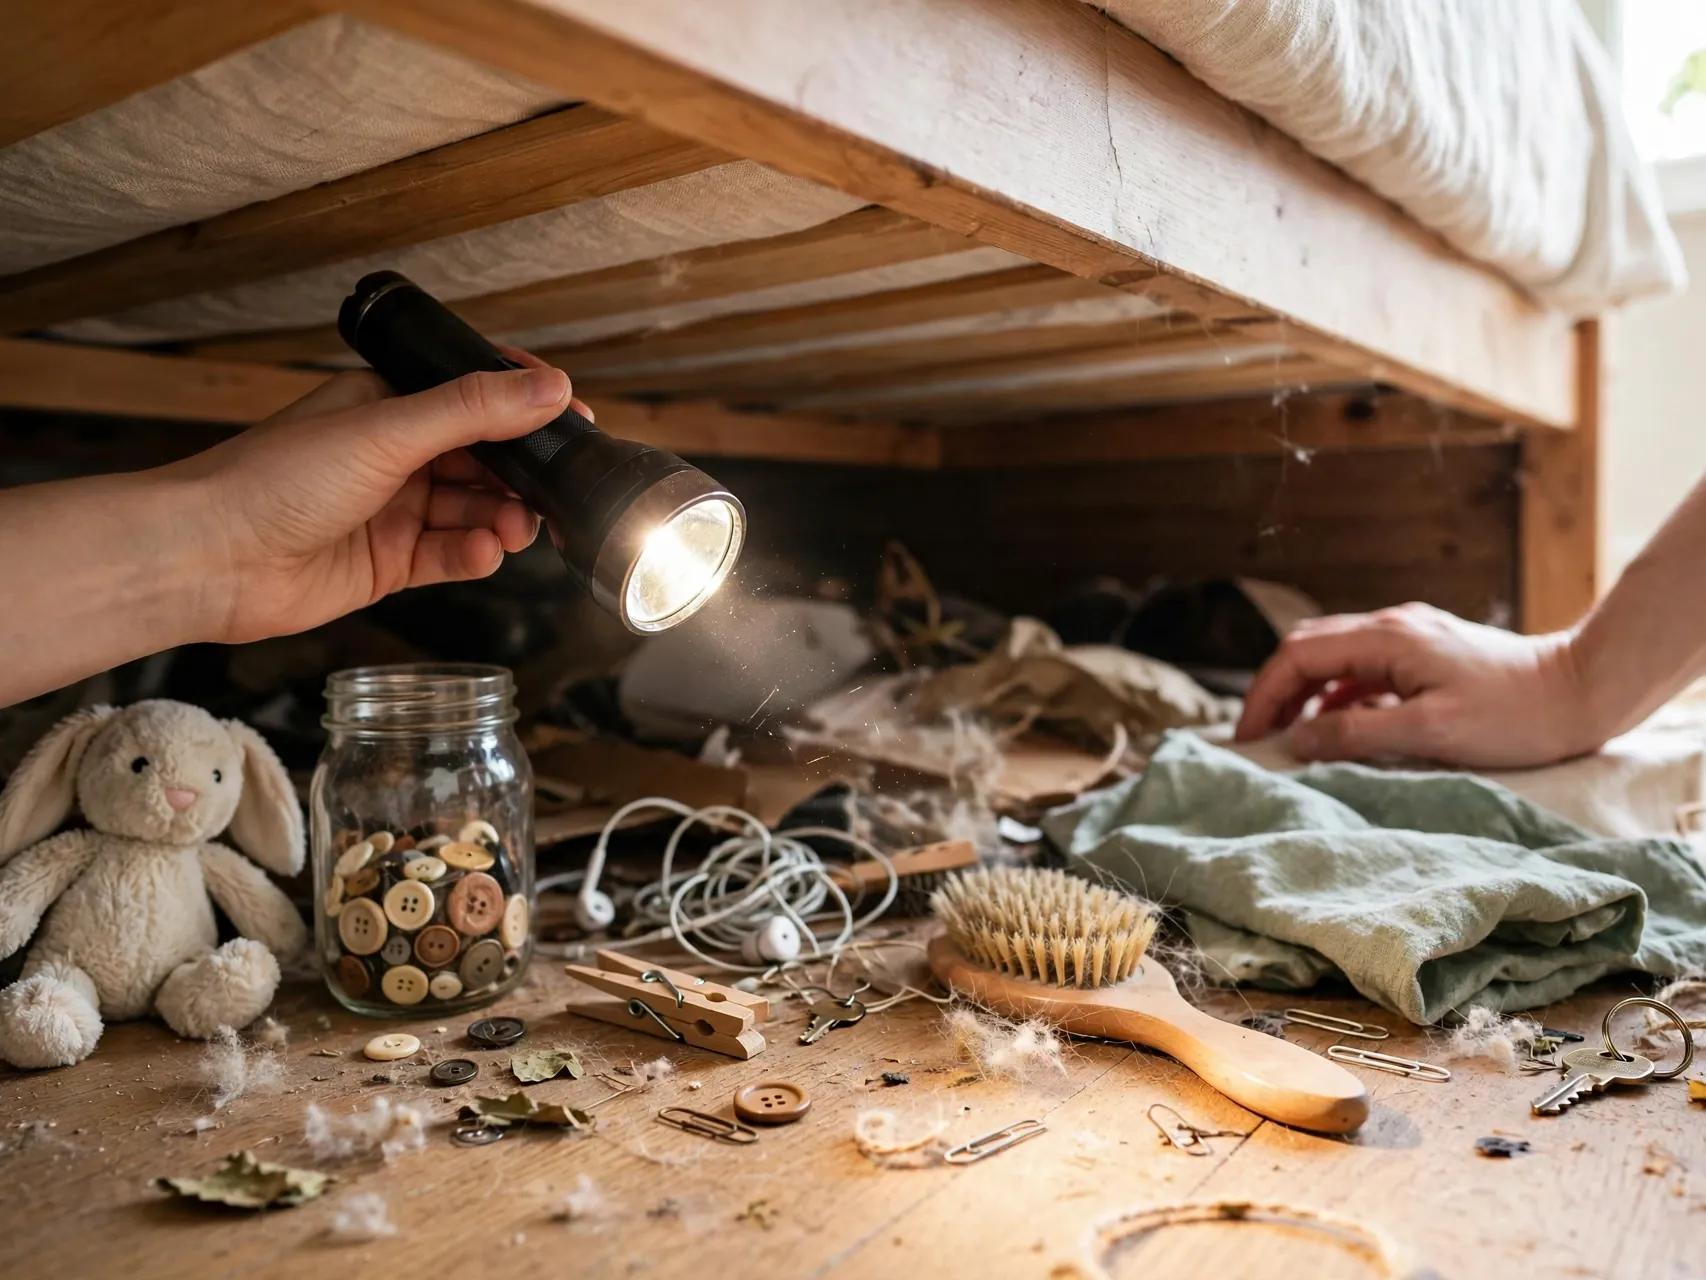
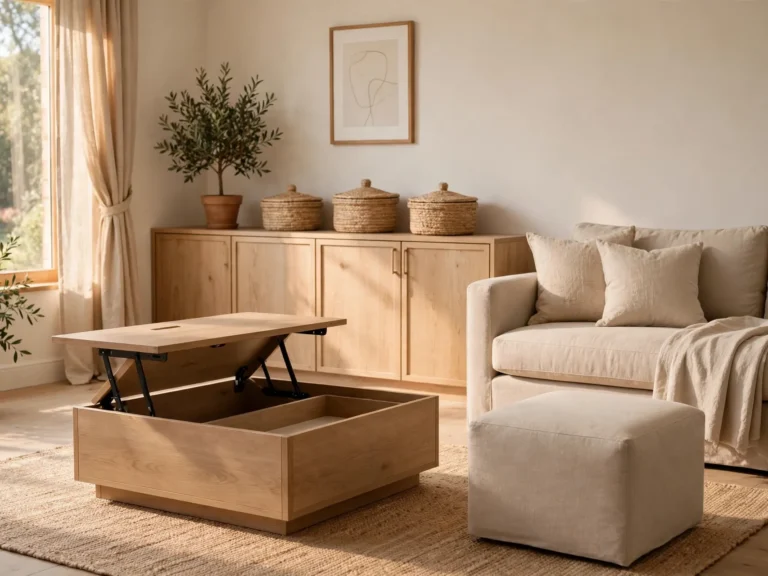
Forgotten clutter hides where you rarely look. Pull everything out from under beds, behind sofas, and inside ottomans and storage benches. Sort it with the same four boxes. You will usually find lost items worth keeping properly, plus a surprising amount that can leave the house the same day.
Once the space is empty, decide what, if anything, earns the spot back. Under bed storage should hold labeled, flat containers of seasonal items, not loose mystery piles.
Expire Check the Bathroom Cabinets
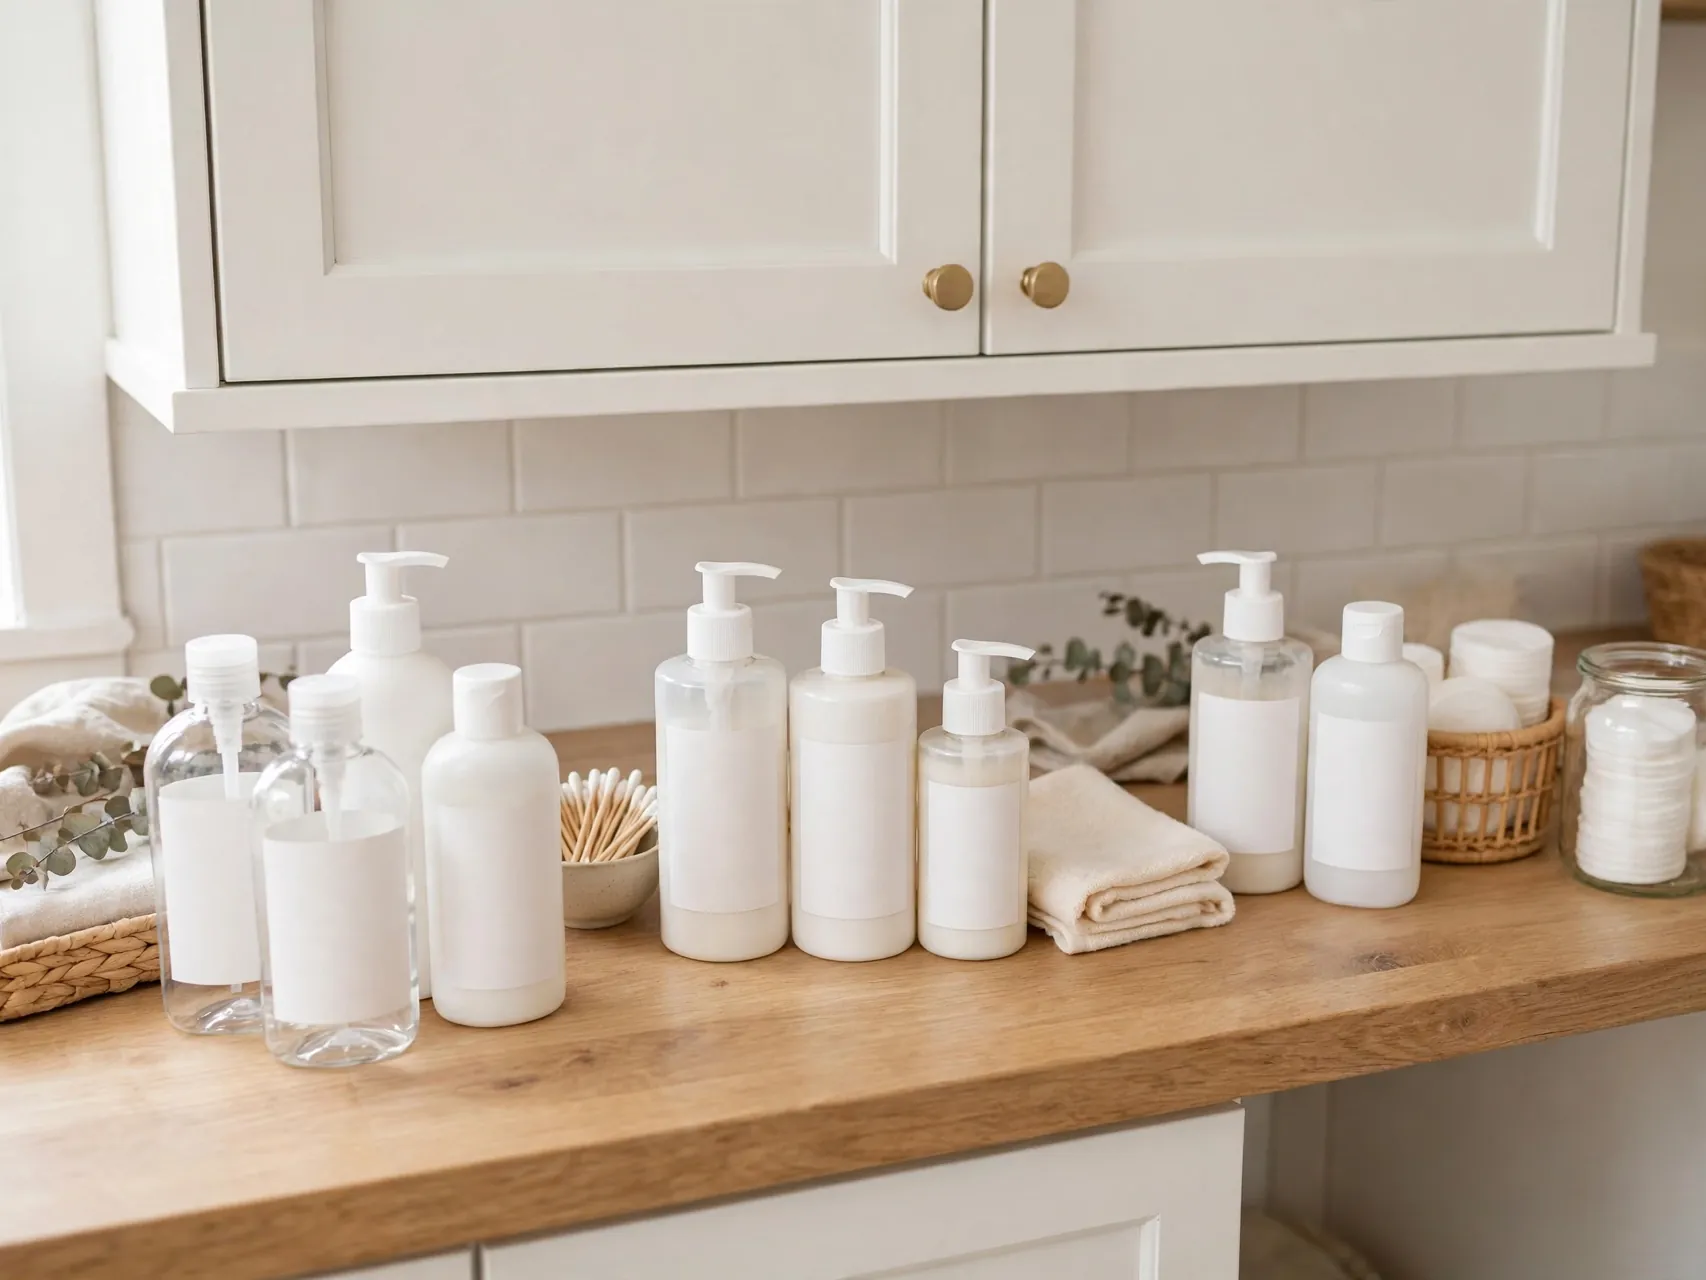
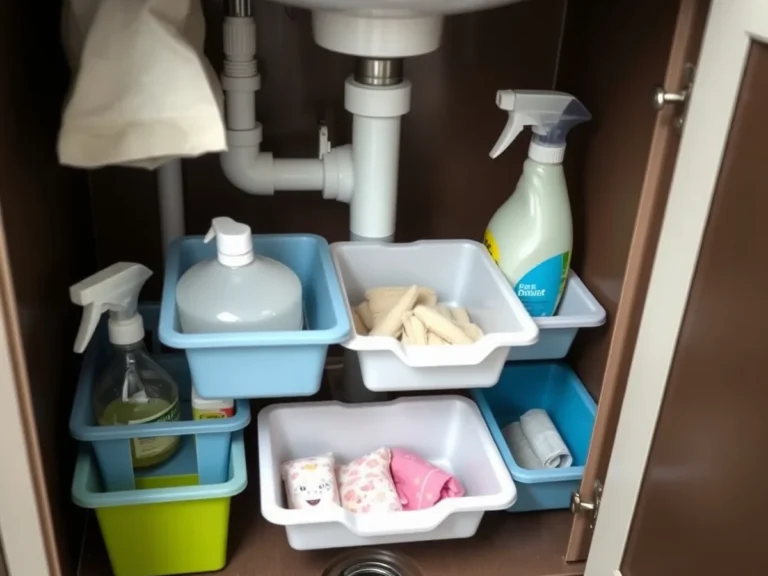
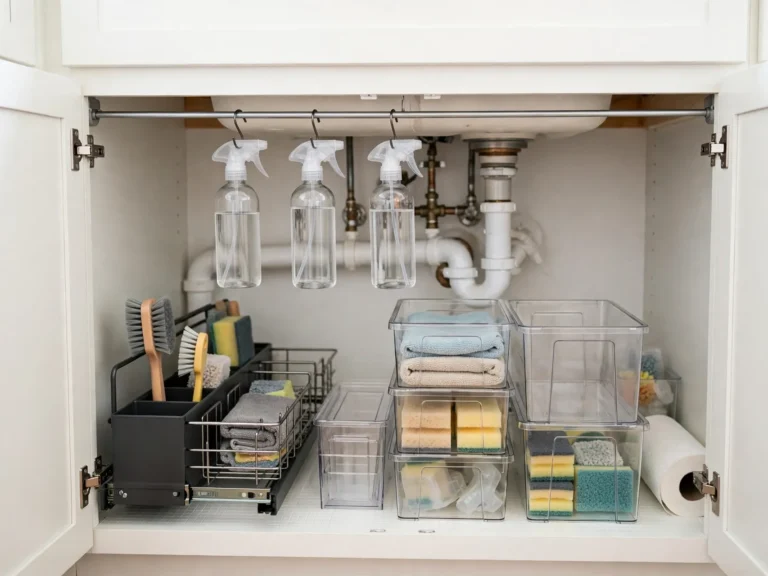
Bathrooms collect half used products and old medicines quietly. Pull everything out of the medicine cabinet, under sink space, and shower shelves. Check dates on medicines, sunscreen, and cosmetics, and dispose of expired items following label directions or local take back guidance where available.
Keep daily products in one caddy or tray and backups in one small bin, with a strict one backup rule. Decant nothing into unlabeled bottles, and keep cleaning products in original containers, stored safely away from children. A bathroom edit is quick, hygienic, and makes rushed mornings noticeably smoother.
Edit Towels and Linens Down to a Working Set
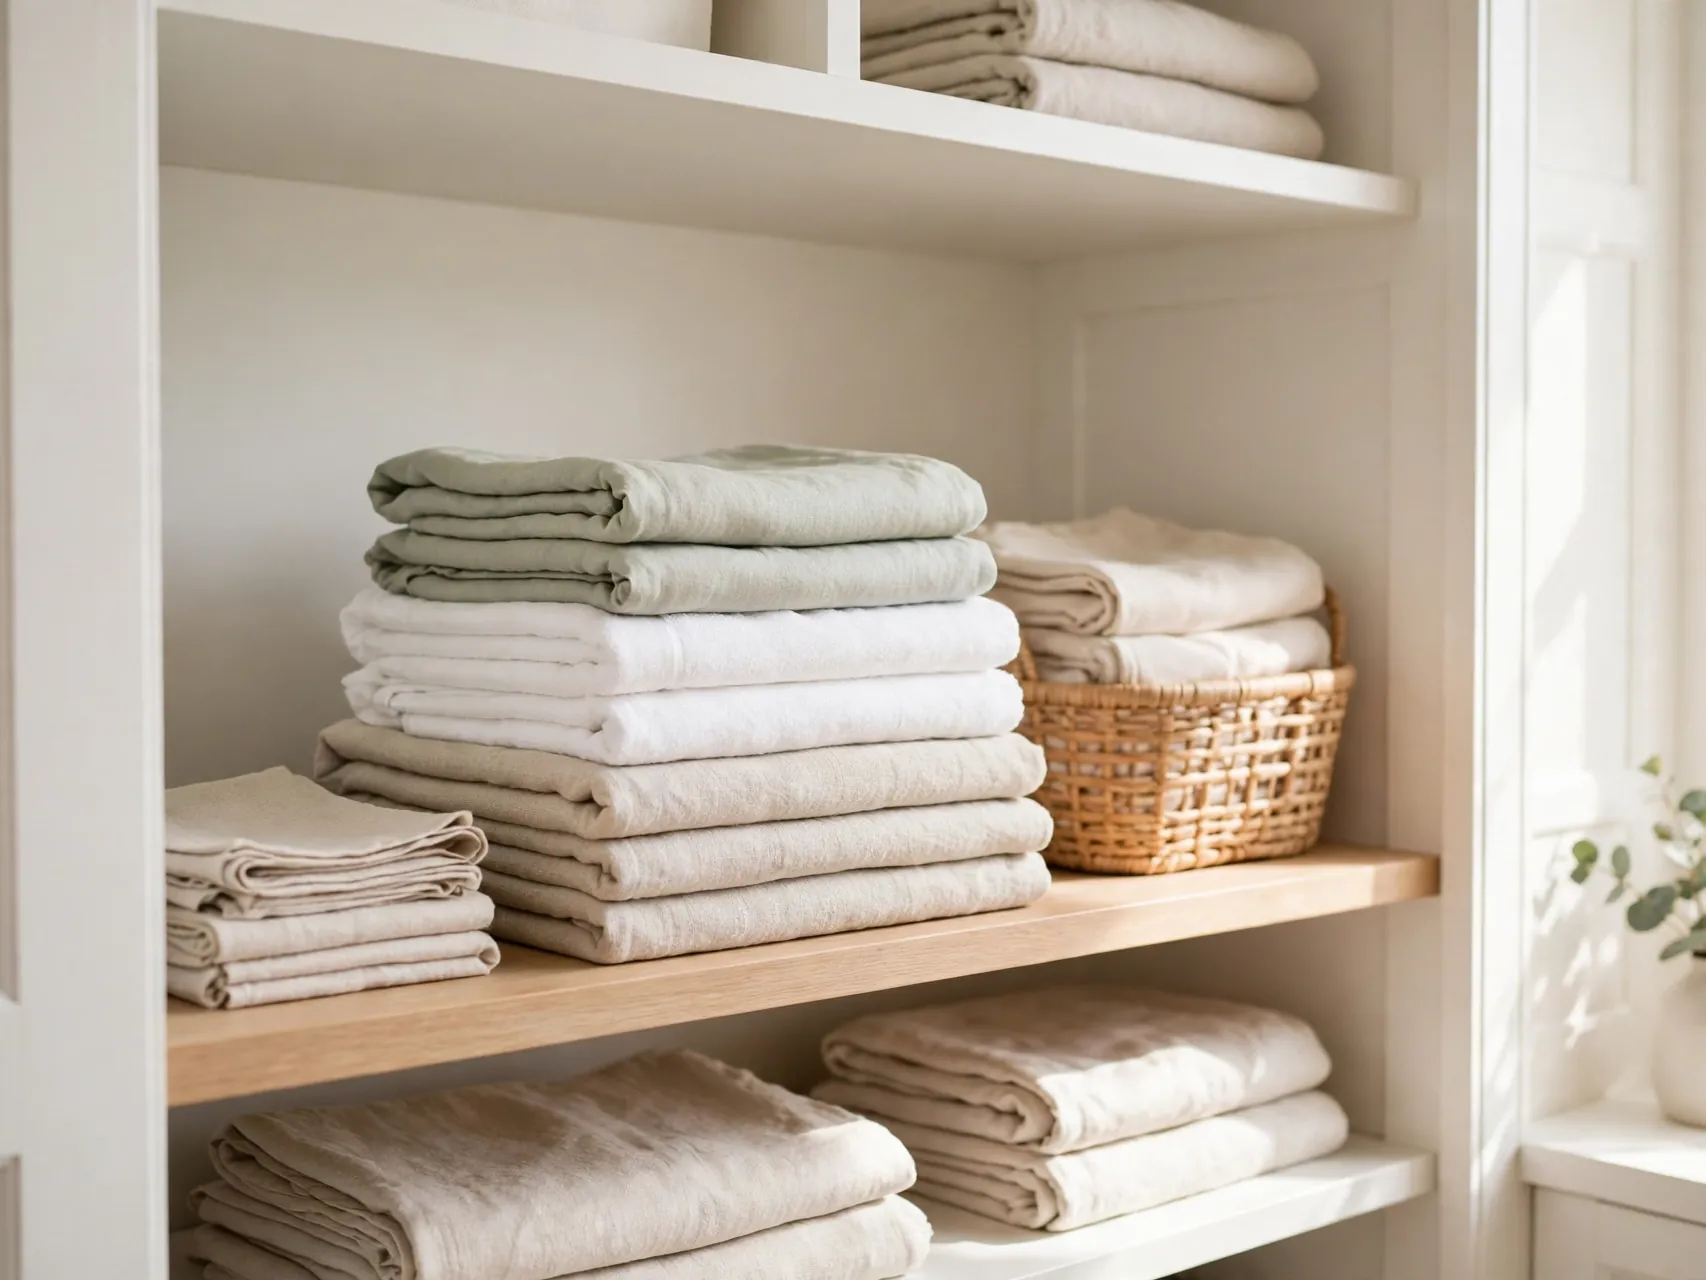
Linen closets often hold far more than any household uses. Keep two sets of sheets per bed, one on and one spare, plus a guest set if you host often. Keep towels to a working number per person and demote the best of the worn ones to cleaning rags. The rest can be donated.
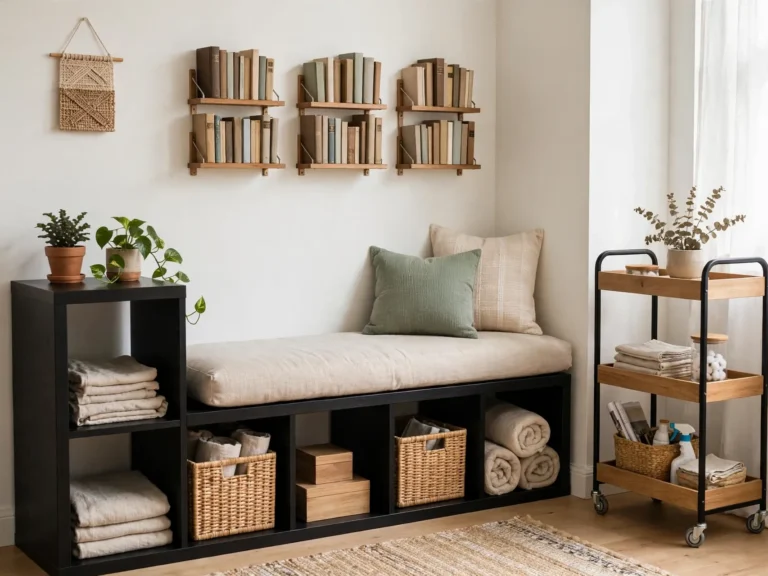
Many animal shelters accept clean old towels and blankets, so check your local shelter list before tossing them. Fold what remains into labeled shelves or baskets by room. When the closet holds only what you use, laundry rotation gets simpler and the door actually closes.
Tame Paper Piles With One Inbox

Paper piles grow on counters, tables, and desks because mail has no single home. Set up one inbox tray or basket where all paper lands, and sort it twice a week: recycle junk mail at once, file statements and records in one labeled folder system, and act on bills and forms quickly.
Go paperless where you can for bank and utility statements, following the provider options, which cuts the inflow at the source. Shred documents with personal details before recycling. One inbox plus a twice weekly sort is the whole system, and it is enough to keep paper from colonizing every surface again.
Sort Books Media and Decor With Fresh Eyes

Shelves look cluttered long before they are full. Pull books, games, and media out and keep only what you love or will realistically read, play, or watch again. Donate or sell the rest while they still have value to someone else. Libraries and charity shops often accept books in good condition.
Apply the same eye to decor. If an item does not suit the room or your taste now, thank it and let it go. Leave some empty space on shelves on purpose. Breathing room is what makes the pieces you keep look chosen instead of stored, and it keeps displays easy to dust.
Zone the Garage and Storage Areas
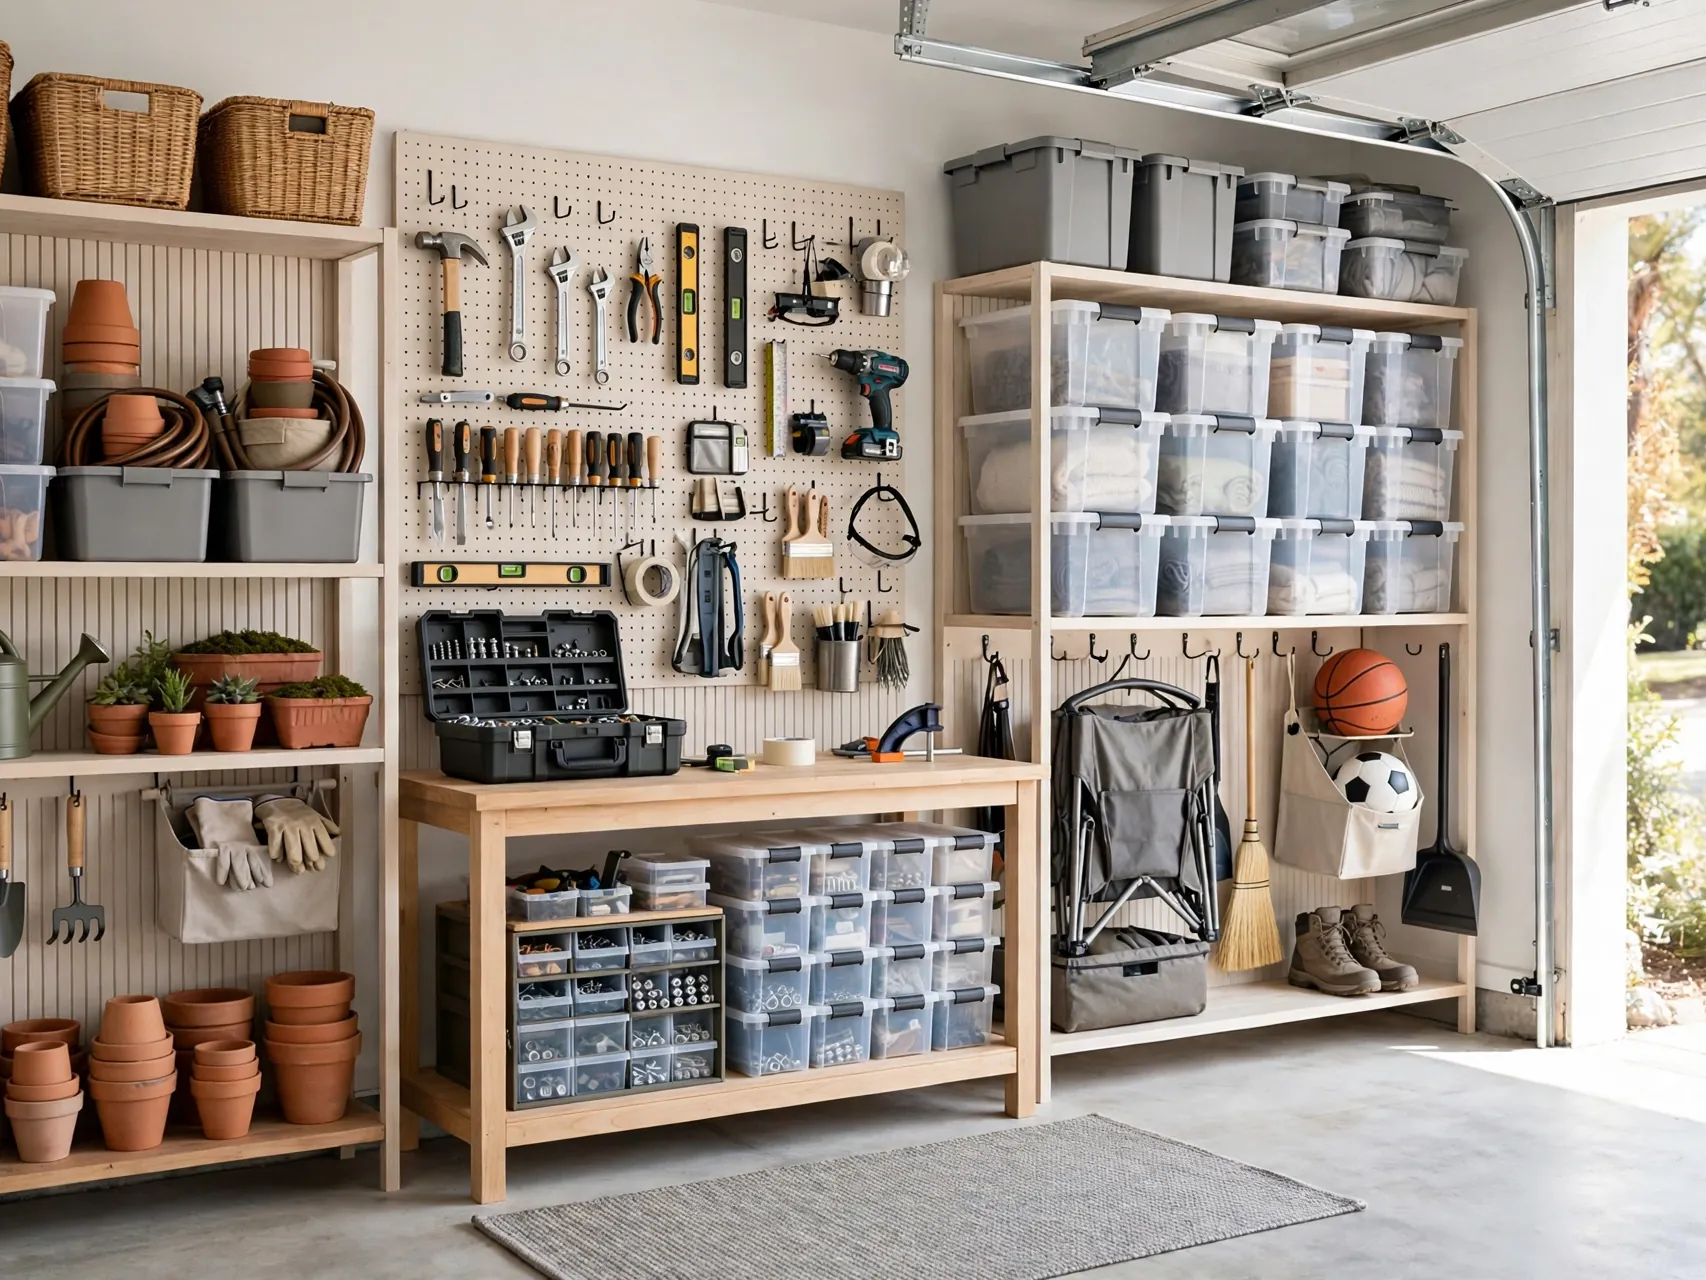
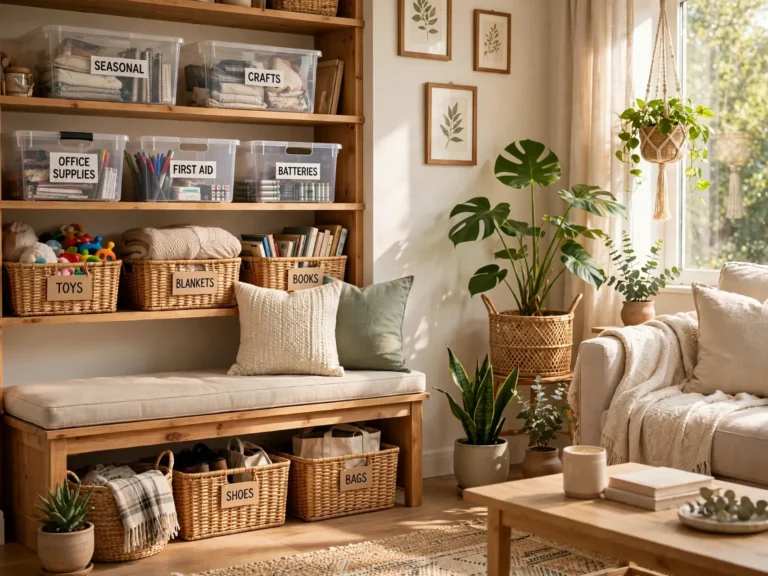
Storage areas should be the last stop, because they receive what other rooms release. Work in zones: tools, sports gear, seasonal decor, and household overflow. Pull one zone out, sort it with the four boxes, and return keepers to labeled bins on shelves, with heavy items low and chemicals stored safely up high.
Be firm with broken gear, empty boxes kept just in case, and projects you know you will not finish. Take donations and recycling out the same day. A zoned garage with labeled bins means seasonal items take minutes to find, instead of a weekend of moving piles.
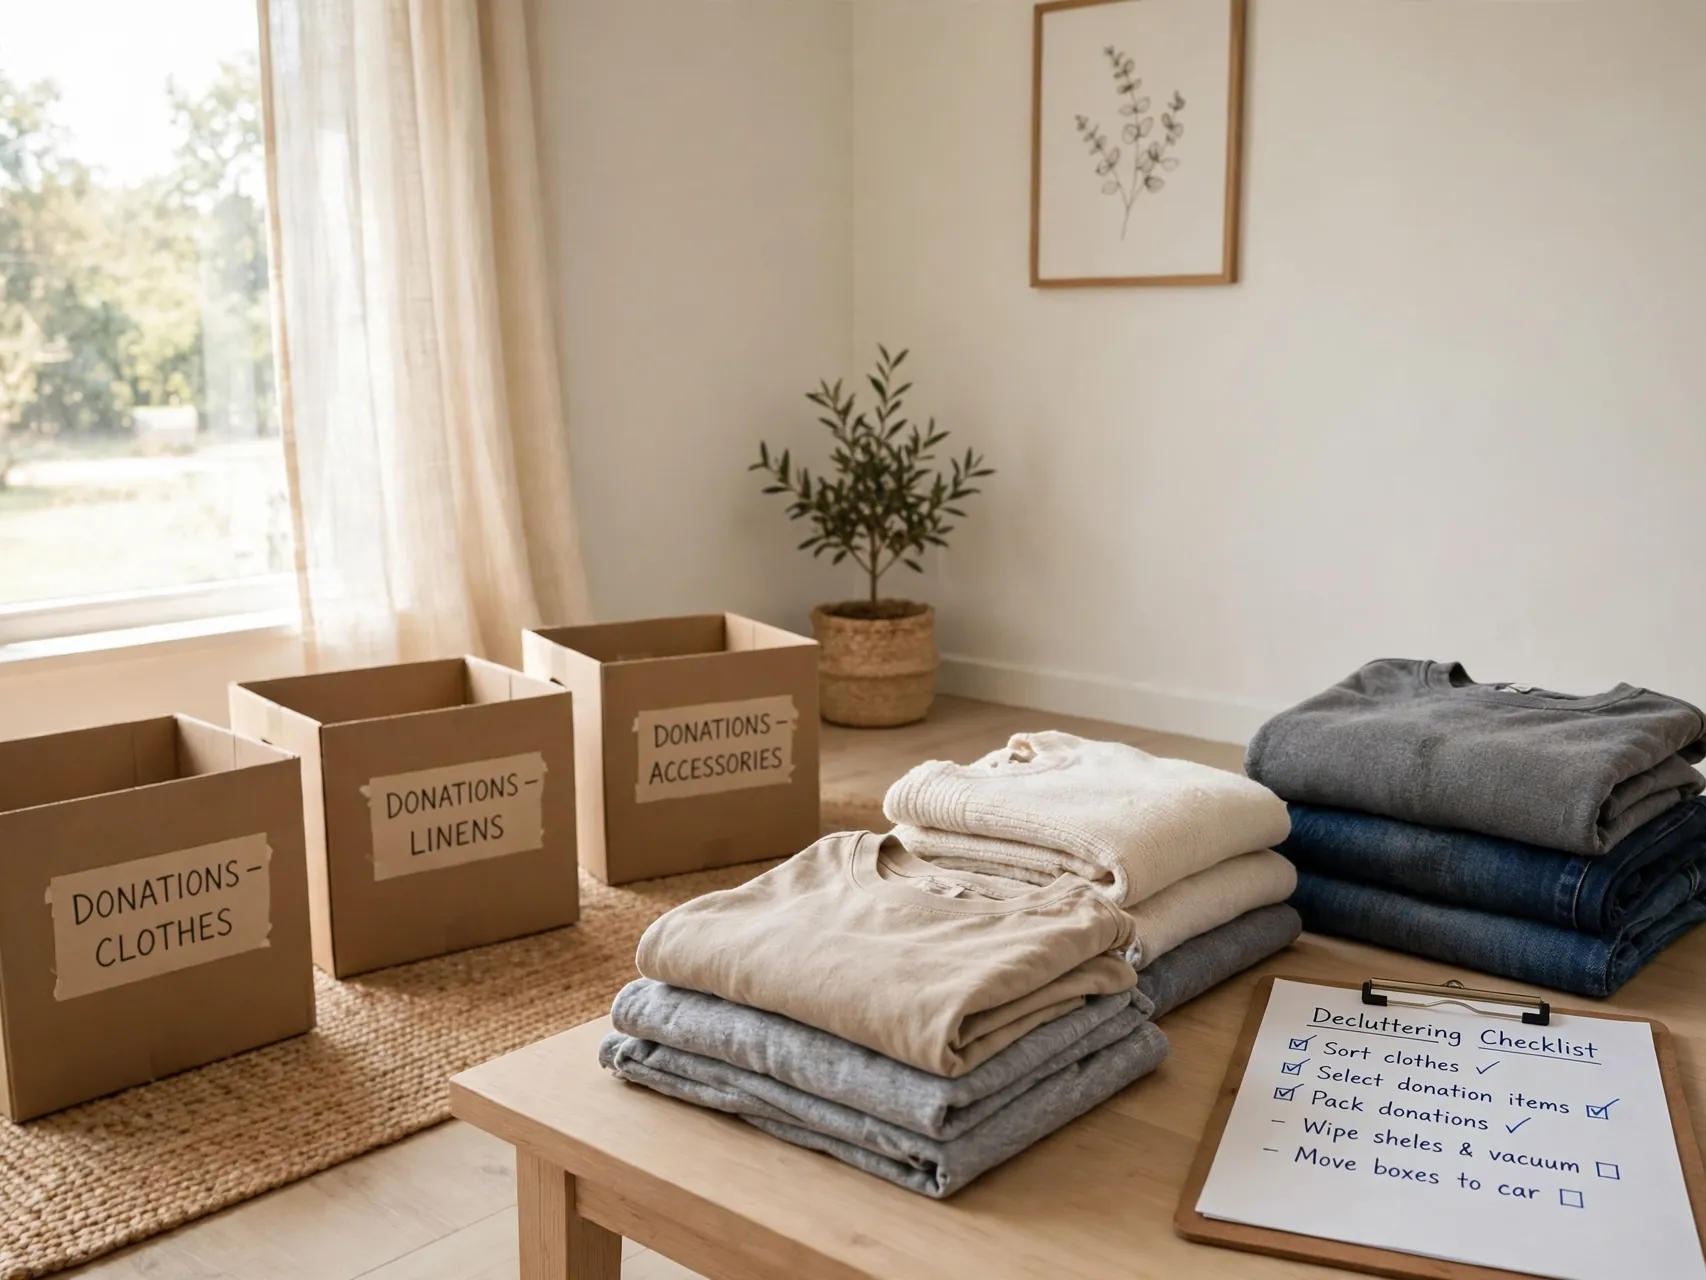
Donate the Same Day You Declutter
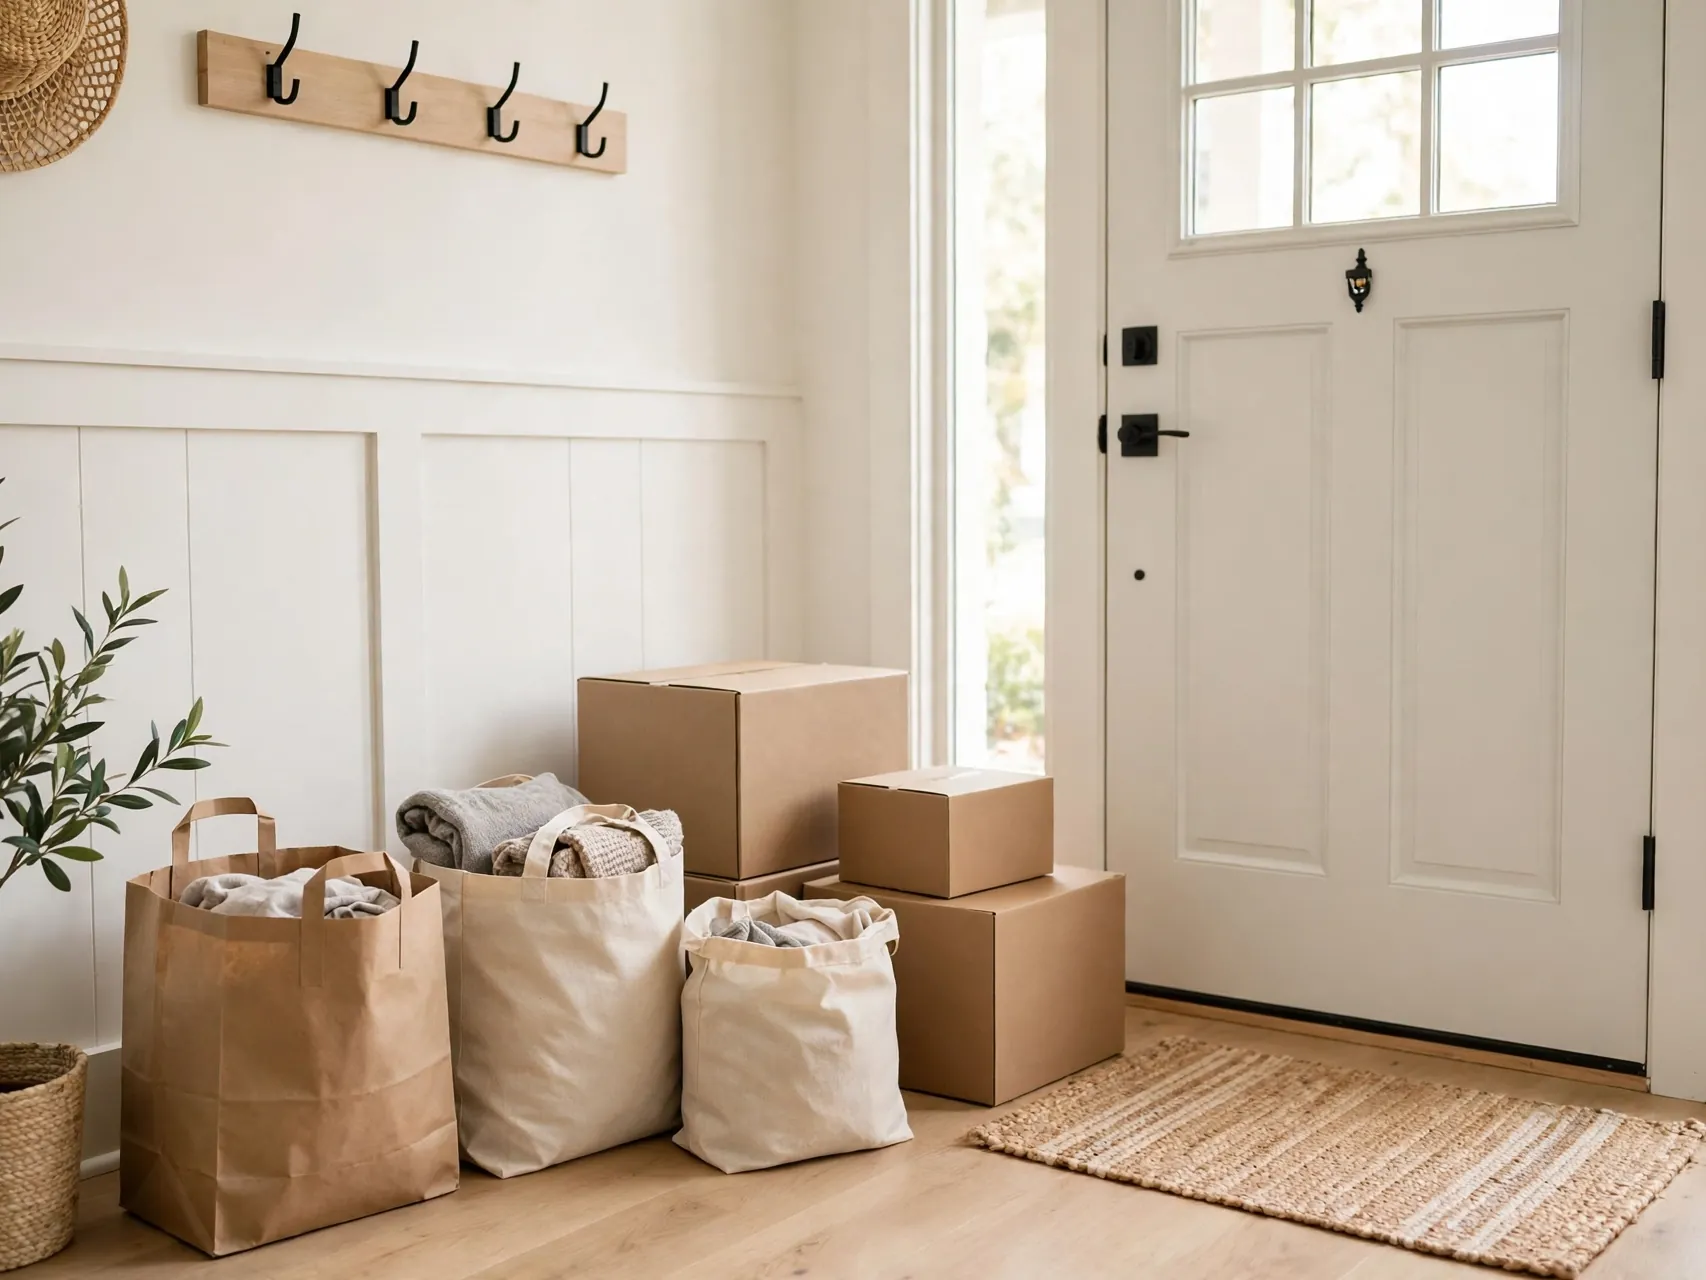
A declutter is not finished while donation bags still sit in the hallway. Load boxes into the car as part of the session closing routine and drop them on your next trip, or schedule a pickup if your local charities offer one. The EPA highlights donation and reuse as ways to keep usable goods in circulation and out of landfill.
Keep a simple note of what you donated if you need it for your records. More importantly, enjoy the space the same day. Fast exits protect your progress, because bags that linger have a way of being quietly unpacked back into the house.
Follow One In One Out From Now On
Decluttering once is an event. Staying decluttered is a rule. From now on, when a new item comes in, a similar item goes out: a new sweater replaces an old one, a new toy means one is donated, a new mug evicts the chipped one at the back of the cabinet.
The rule does not need to be strict to work. It just needs to be remembered at the moment of buying, which is when clutter is truly decided. Teach the family the rule and keep the donation box by the door so following it takes seconds. This habit is what turns a one time decluttering checklist into a lasting simpler home.
Schedule a Monthly Reset and Stick to It
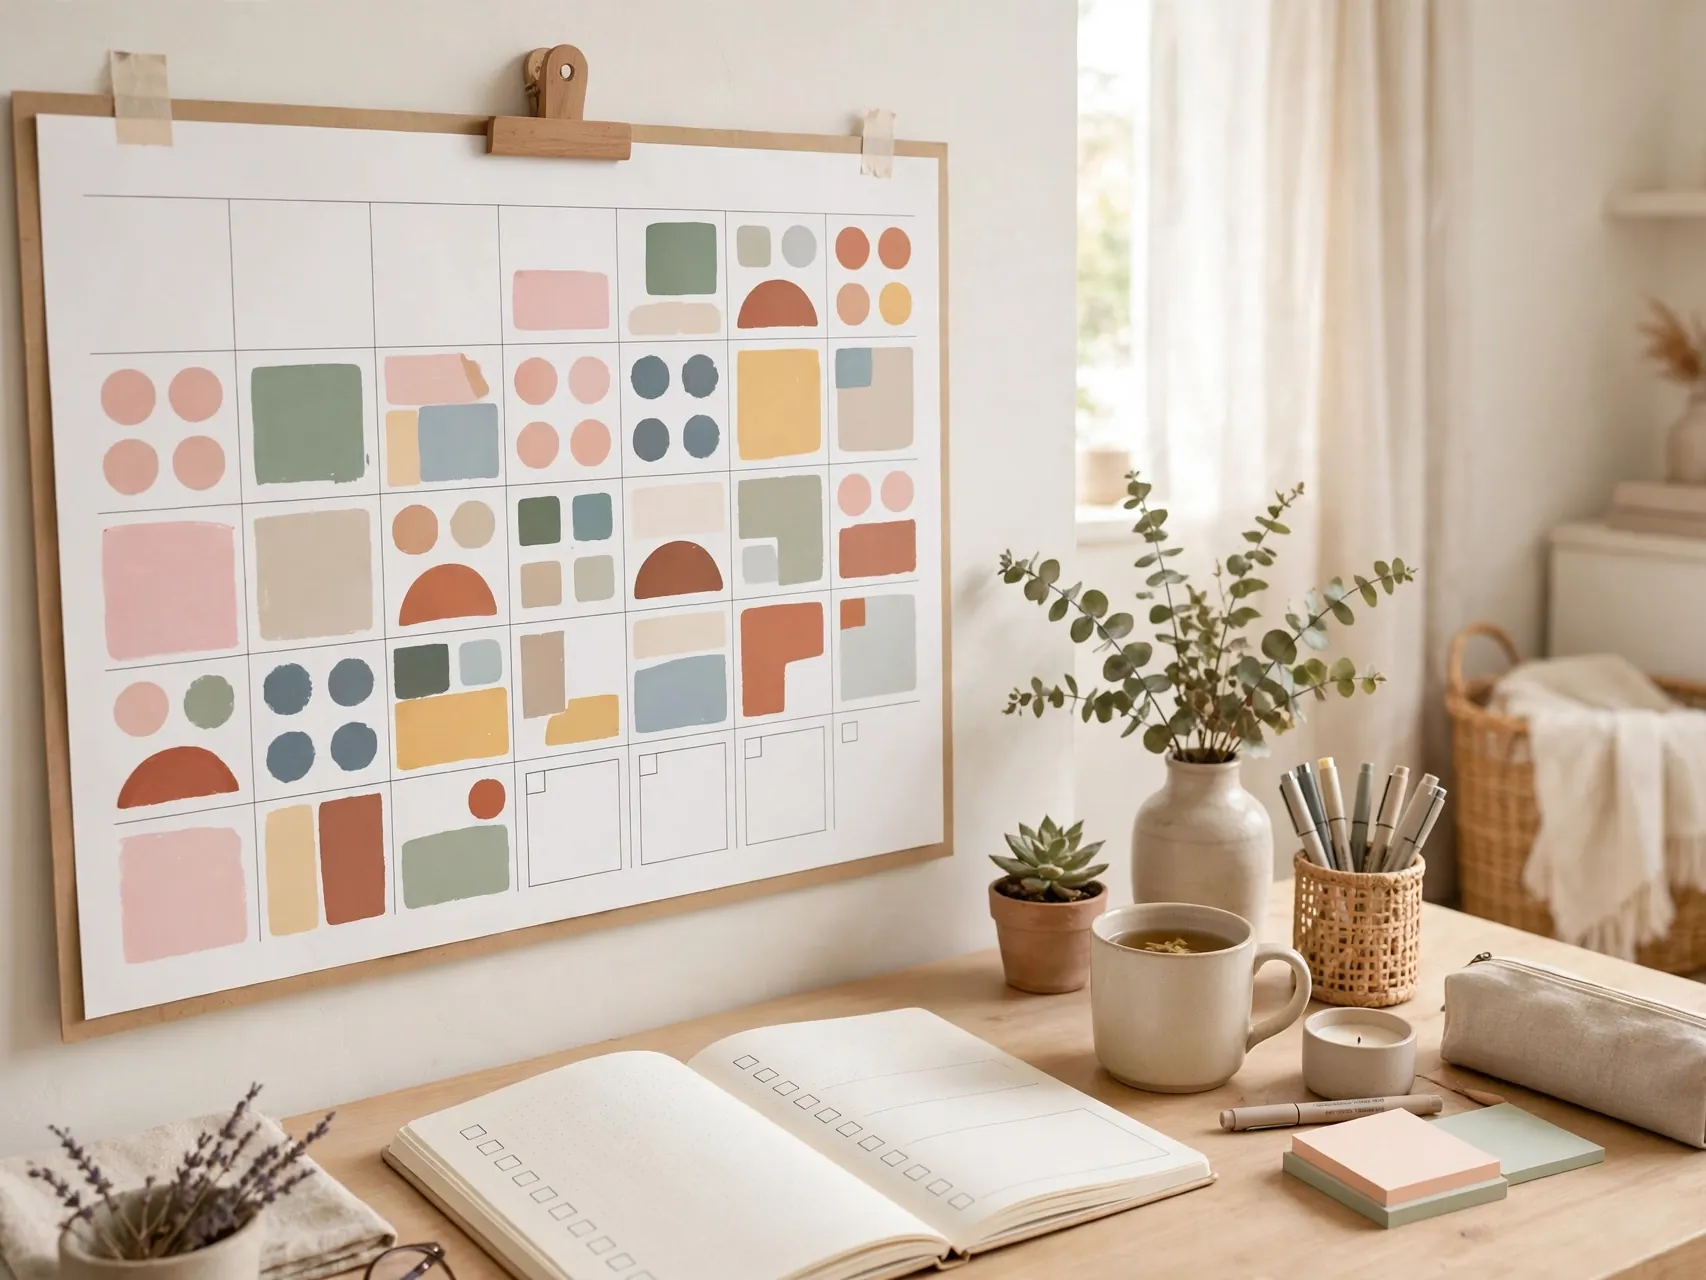
Clutter creeps back in small amounts, so catch it monthly while it is still small. Put a 30 minute reset on the calendar each month and rotate the focus: one month the entry and paper, the next the kitchen, then closets and bathrooms. Use the same boxes and the same three questions each time.
Pair the reset with something regular, like the first weekend of the month, so it becomes routine rather than a reaction to mess. Check the donation box, the junk drawer, and one flat surface in every room. Small, regular maintenance is the real secret behind every tidy home you admire.
Write Your Own Checklist From What You Learned

Finish by writing the checklist your home actually needs. Note the five or six spots that fill up fastest in your house, the categories you over buy, and the routines that worked best from this list. Keep it on the fridge or in your planner where you will see it at reset time.
Update the list each season as your family and habits change. Your personal declutter checklist will always beat a generic one, because it is built from your rooms, your stuff, and your real life. Share it with the family, agree the monthly reset date, and enjoy a home that stays simpler with far less effort.
FAQ
How long does it take to declutter a whole home?
It depends on the size of your home and how much you own, but most families make strong progress in two to four weeks of short daily sessions. Working room by room in 20 to 30 minute blocks, with donations leaving the same day, keeps momentum high. Storage areas and garages usually take longest, so schedule them last.
What should I do with items I am unsure about?
Use the three questions first: do you use it, love it, and does it belong here. If you are still unsure, place the item in a dated box. If you have not opened the box in 30 to 60 days, donate it unopened. Sentimental items are the exception. Give true keepsakes one proper box with a firm size limit.
Where can I donate or recycle what I remove?
Local charity shops, shelters, libraries, and community groups accept many household goods, clothing, and books in good condition. The EPA encourages reuse and donation to keep usable items in circulation. Check each organization list of accepted items before you go, and use local recycling or take back programs for electronics, batteries, and expired medicines.
How do I declutter with kids or a partner who resists?
Start with your own items and shared spaces, not their personal things. Make sessions short, use the timer, and let each person decide on their own belongings within agreed limits, like one keepsake box. Visible wins, like a calm entryway, usually win people over faster than arguments about tidiness.
How do I stop clutter from coming back after decluttering?
Keep the systems that created the space: a donation box by the door, one inbox for paper, the one in, one out rule, and a monthly 30 minute reset. Storage comes after editing, never before. When maintaining takes minutes a week, clutter never gets the head start it needs to take over again.
Key Takeaways
- Boxes before sorting: Keep, Donate, Trash, and Relocate boxes make every decision faster and clearer.
- Small sessions win: One room, one surface, and a 30 minute timer beat exhausting weekend cleanouts.
- Ask the same three questions: Use it, love it, and does it belong here settles most items in seconds.
- Donate the same day: Getting bags out fast protects your progress and keeps goods in use.
- Edit before storage: Bins come after the sort, sized for what truly stays.
- Maintain in minutes: One in, one out plus a monthly reset keeps your declutter checklist working all year.
Love this guide? Save this post to Pinterest so you can find it later, and pin it to your organization board before your first declutter session.