24 Christmas Decoration Storage Ideas That Save Space and Stress
Introduction

January pack away has a reputation: tangled lights, a crushed wreath, and one mystery bin nobody wants to open. These christmas decoration storage ideas turn that job into a calm system, one category at a time, so next December starts with everything clean, labeled, and easy to find.
You do not need a garage full of matching containers. You need a simple order: edit first, pack fragile pieces with care, wind anything that tangles, and give every bin a real home. Small homes benefit most, because a good system saves both space and stress.
Work room by room, keep a donation bag and a trash bag nearby, and stop for a photo inventory as you go. An hour of care now is the gift your future self opens next year.
1. Sort and Edit Before You Pack Anything

Start by laying everything from one room on a table or bed. Keep what you loved using, donate what you skipped two years in a row, and recycle or toss anything broken beyond a simple fix. Packing less is the fastest storage idea of all.
Make honest piles: keep, donate, repair, and let go. Note anything worn out that deserves a replacement while sales and memory are both fresh. Your future list will thank you, and your bins will close without force.
2. Pack by Room, Not by Item Type Alone
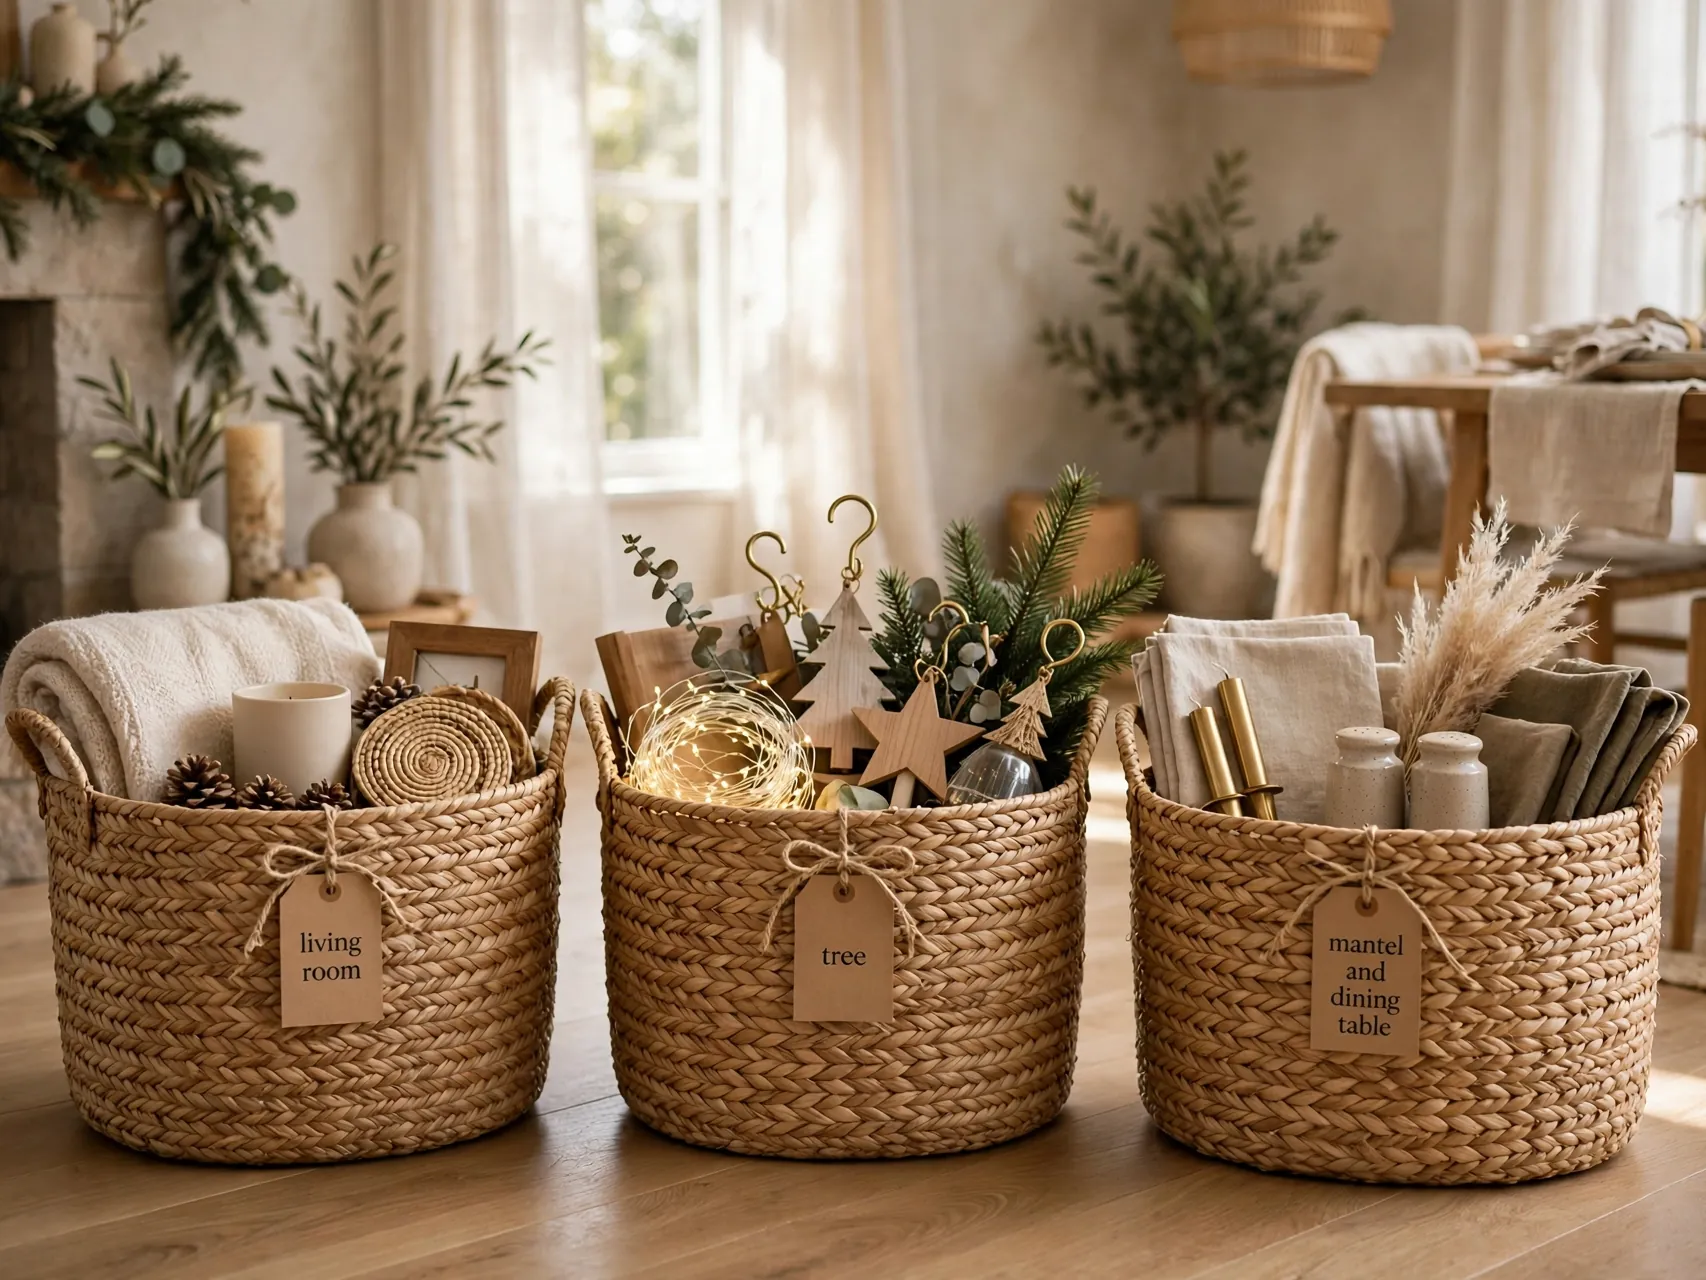
Grouping by room beats grouping by object for most homes. One bin for the living room tree, one for the mantel and shelves, and one for the dining table means decorating next year happens in order, without opening every box in the house.
Add the room name in large letters on two sides of each bin. If one category overflows, split it by room zone, like tree and mantel, rather than mixing rooms together. Consistency is what makes the system stick year after year.
3. Use Clear Labeled Bins With a Photo Inventory

Clear bins let you spot the red ribbon or the star topper at a glance, and a large label covers what clear sides cannot show. Write contents in plain words, not cute codes you will forget by November.
Take one quick photo inside each packed bin before the lid goes on, and save the photos in a single phone album. Next year you can check the album from the sofa instead of dragging bins down to hunt for one small thing.
4. Give Ornaments Divided Homes of Their Own
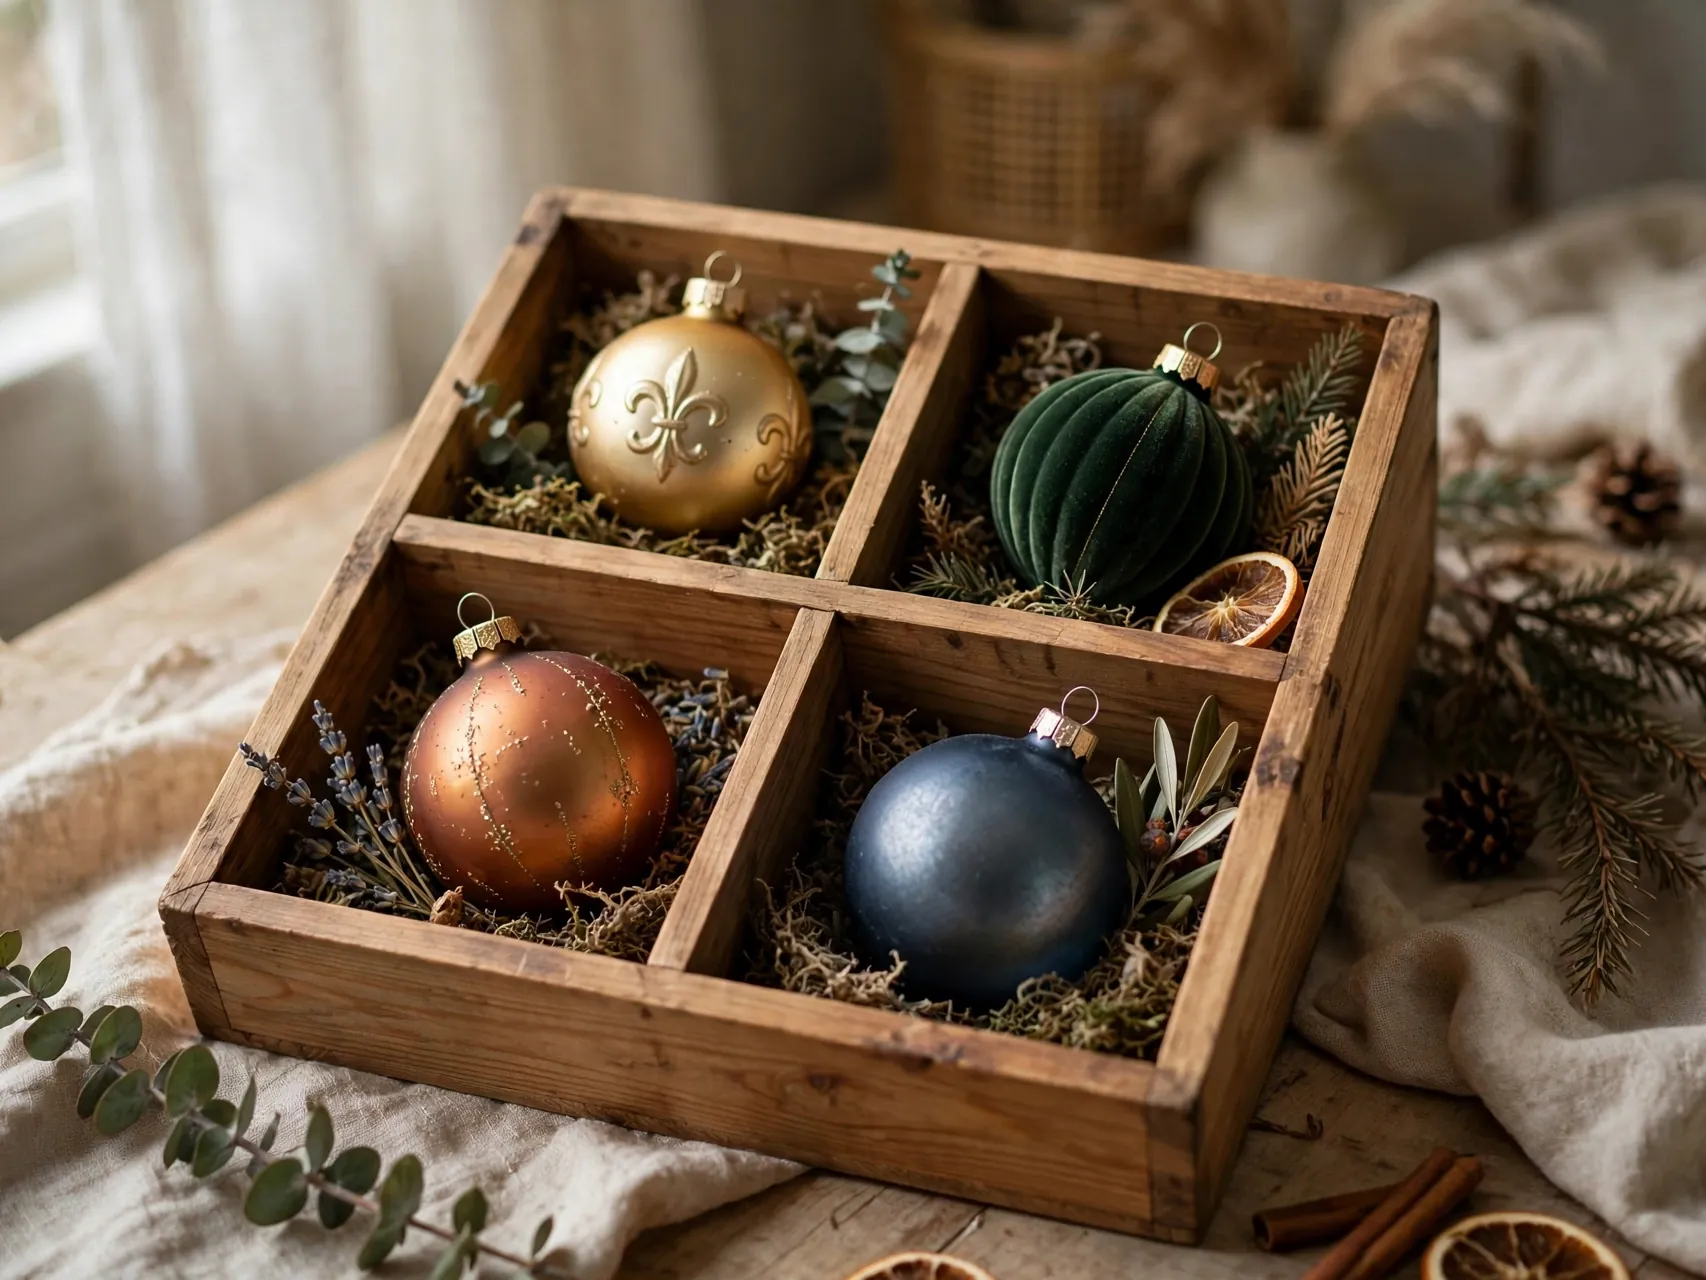
The best christmas ornament storage ideas share one rule: no ornament touches another. A rigid box with dividers, or a sturdy bin fitted with cardboard cells, stops rolling, chipping, and the sad sound of glass meeting glass.
Put heavier ornaments in the bottom layer and the lightest on top. Fill any empty cell with a soft ball of tissue so nothing shifts in transit. If a divider tray feels loose, add a sheet of tissue between layers for quiet, cushioned stacking.
5. Wrap Fragile Ornaments One by One in Tissue
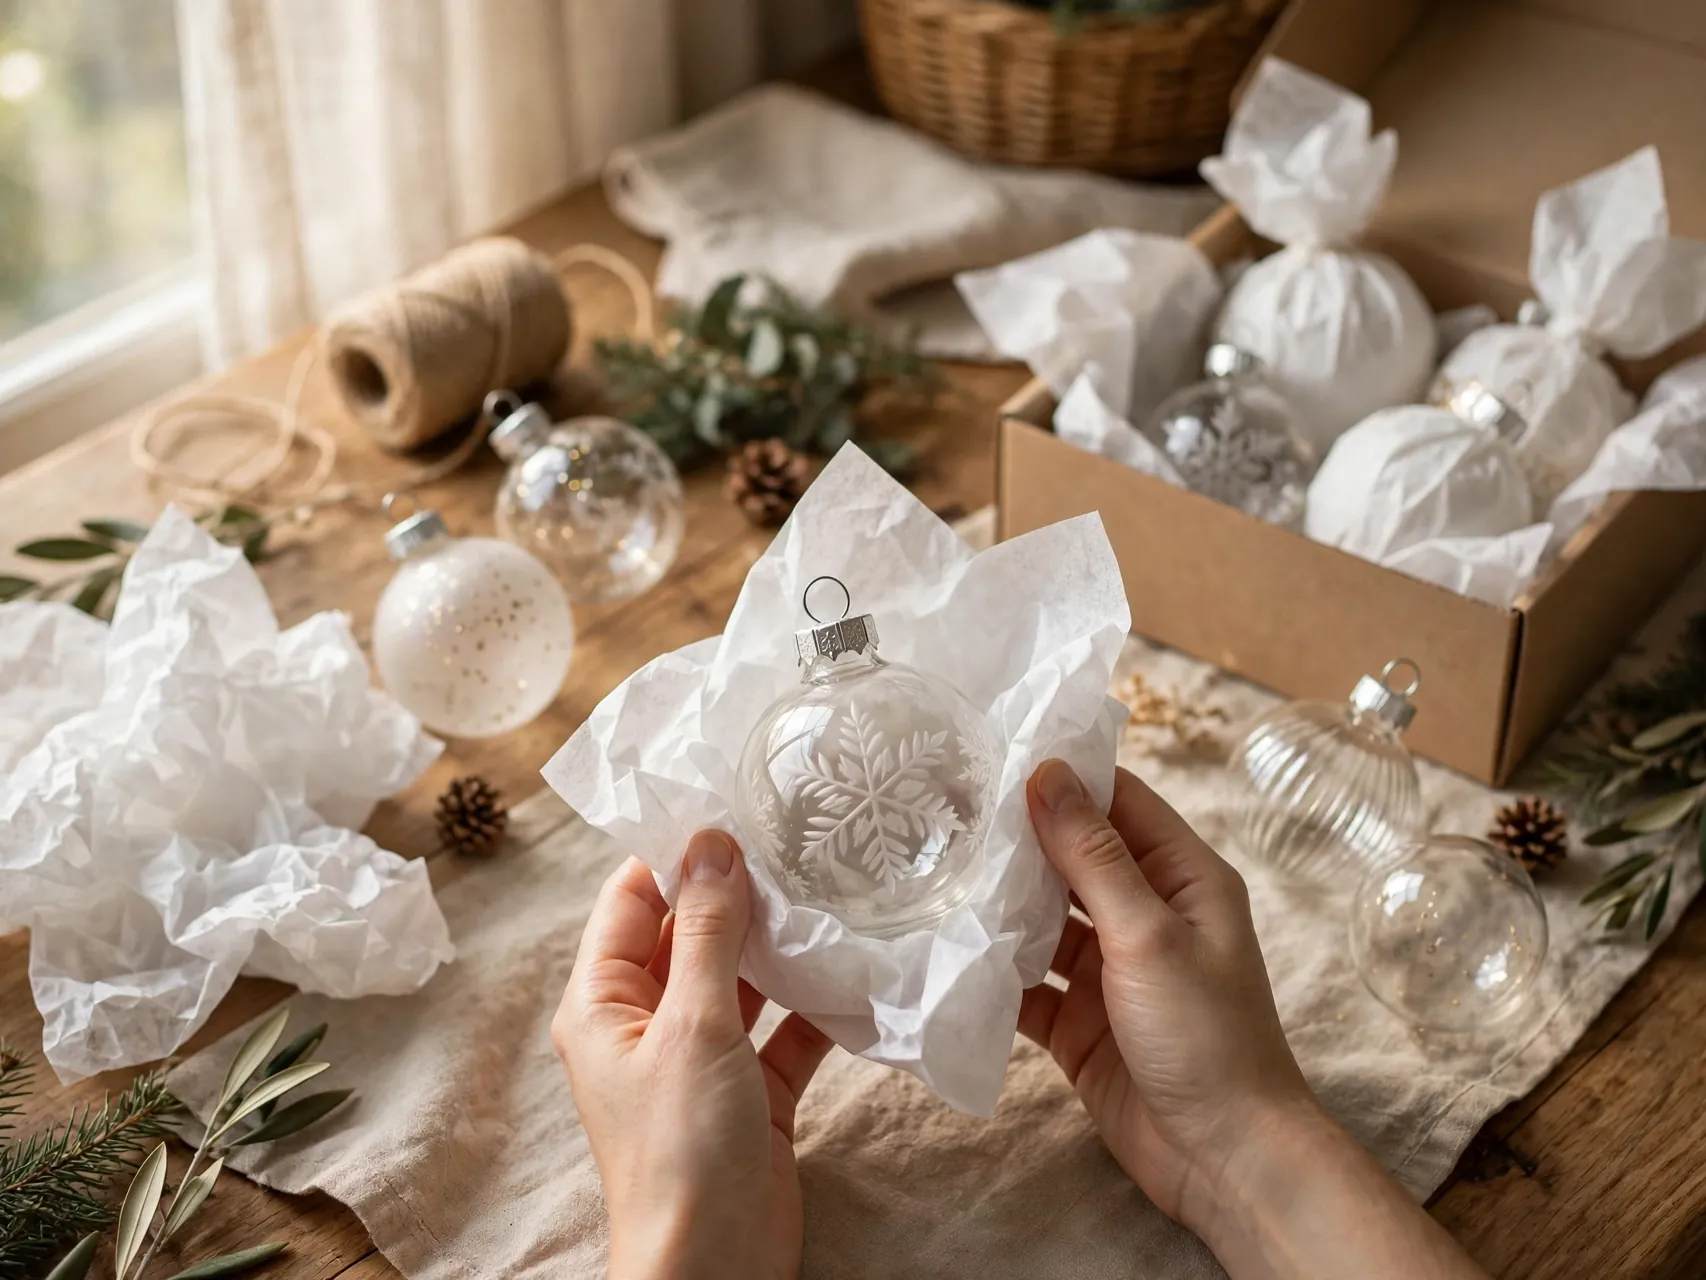
For heirloom and painted pieces, wrap each ornament on its own before it goes into its cell. Acid free tissue is the gentle choice for long storage, and the National Archives approach for treasured objects is the same idea: wrap individually, loosely but securely, and pad empty space.
Handle fragile pieces slowly, with clean dry hands, over a soft surface like a folded towel. If a piece is already cracked or shedding paint, wrap it separately, label it fragile, and keep it on the top layer where nothing presses on it.
6. Save Egg Cartons and Cups for Tiny Ornaments

Small ornaments, mini baubles, and tiny figurines fit beautifully in clean egg cartons, which close flat and stack inside a larger bin. Paper or plastic cups glued or taped to a cardboard base make a similar tray for slightly larger pieces.
This is the budget hero of holiday decoration storage ideas, using what you already own. Line each cup or carton cup with a little tissue first, close the lid gently, and label the outside so tiny treasures do not get mistaken for recycling.
7. Keep Original Boxes for Odd Shaped Pieces

Village houses, nutcrackers, and shaped ornaments often arrive in boxes molded to their curves. Those original boxes are free, perfectly fitted protection, so flatten the habit of tossing them on Christmas morning and keep them with the piece instead.
If an original box is worn, reinforce the corners with tape and add a little tissue inside. Store boxed pieces together in one bin, largest at the bottom, and the odd shapes will survive without custom containers or guesswork.
8. Remove Batteries and Hooks Before Storage

Before any light up ornament, musical figure, or battery candle goes into a bin, take the batteries out. Hallmark care guidance recommends removing batteries before storage, and it protects the item from tired batteries sitting untouched for eleven months.
Pull metal hooks off painted ornaments too, since loose hooks can scratch finishes inside a closed box. Keep hooks in one small lidded pot inside the ornament bin, and store removed batteries with your household battery spot, not in the holiday bins.
9. Wind Lights Around Cardboard or Reels
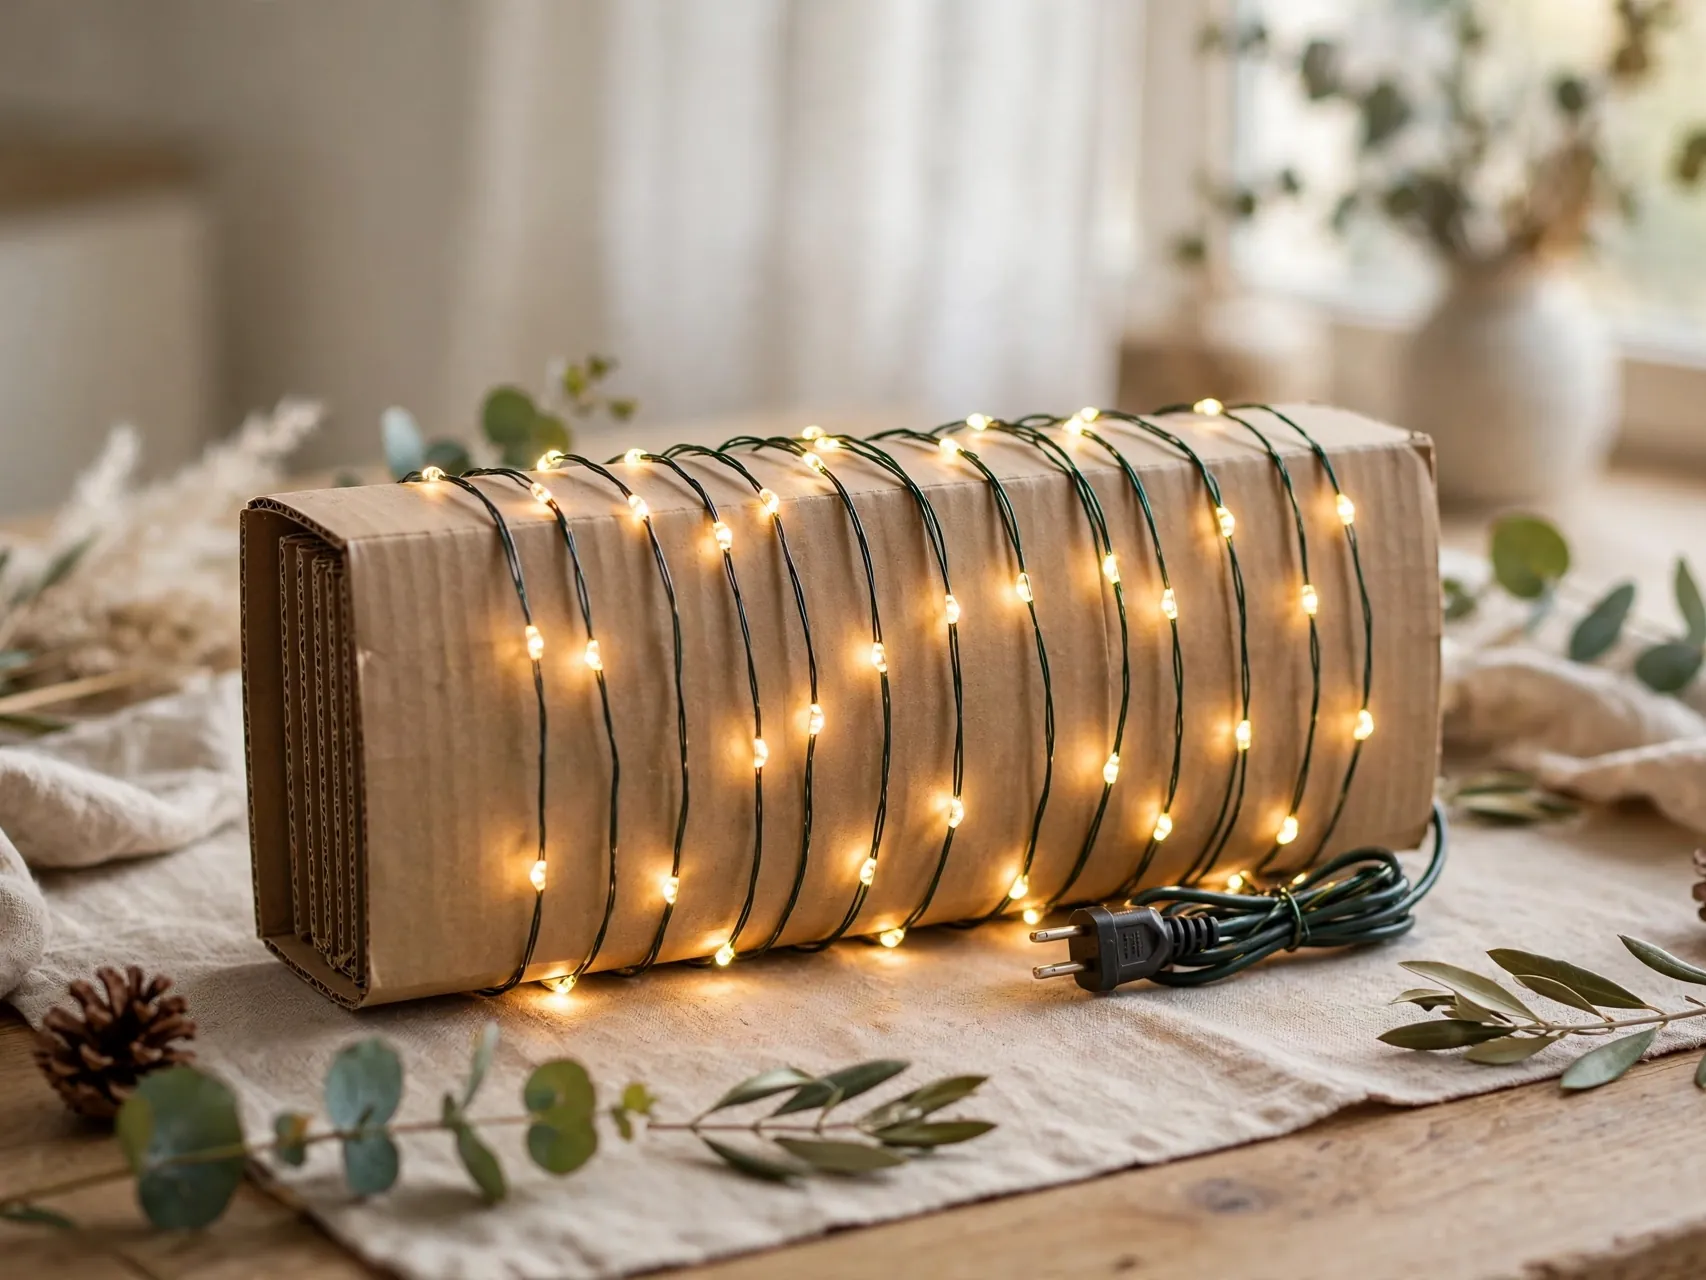
Tangle free christmas light storage ideas start with winding. Wrap each strand around a sturdy piece of cardboard cut to fit your bin, a simple reel, or a hanger, keeping the plug ends accessible and the bulbs from knocking together.
Wind loosely rather than pulling tight, and keep one strand per wrap so a single snag cannot become a family project. Slip each wrapped strand into its own bag or section if strands love to grab each other in your bins.
10. Test and Retire Damaged Light Strands

Pack away is inspection time. The CPSC advises checking each light set for broken or cracked sockets, frayed or bare wires, and loose connections, and discarding damaged sets. Doing that check in January means no dangerous surprises and no dead strand discovered mid decorating.
Test each strand briefly before winding it, replace simple missing bulbs if you keep spares, and write a short shopping note for anything retired. Careful handling while packing also protects good strands from damage, per the same CPSC guidance.
11. Coil Garland and Beads So They Cannot Tangle

Garland tangles because it is packed in a hurry. Coil greenery garland in loose loops, secure with two soft ties, and give each length its own bag or bin section. Beaded garland can slide into a clean clear bottle or a small lidded tub, strand by strand.
Label each coil with where it lives, stairs, mantel, or tree, and its rough length if you know it. Next year you will grab the right garland first try, and untangling will shrink to almost nothing.
12. Protect Wreaths in Bags or Boxes and Hang Them
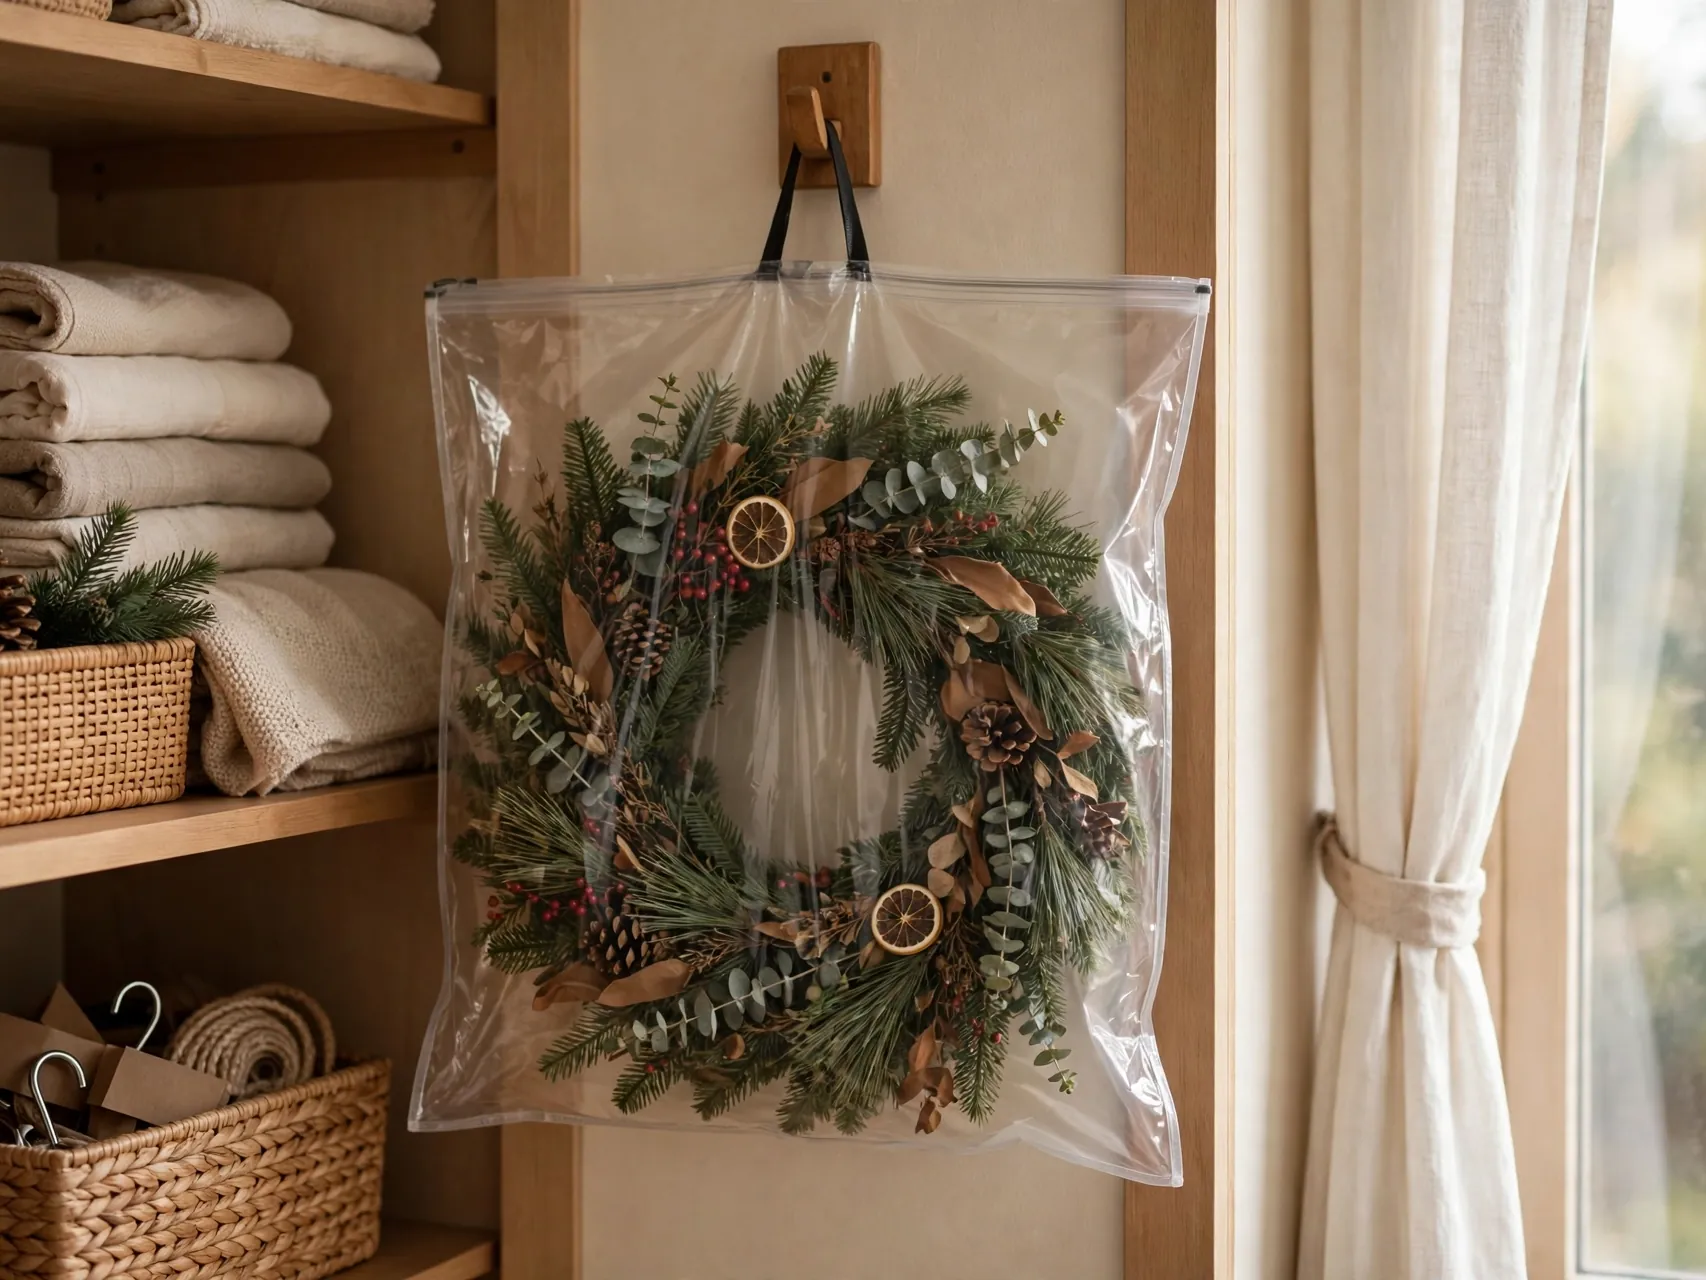
Wreaths lose their shape when they are stacked under heavy bins. Keep each wreath in a wreath bag or a shallow box of its own, fluff the branches gently before closing it, and never pile other storage on top.
Better still, hang the bagged wreath from a hook or closet rod in your storage zone. Hanging keeps bows and berries uncrushed, uses vertical air space that is often wasted, and makes the wreath the easiest decoration to find next season.
13. Bag the Artificial Tree by Section
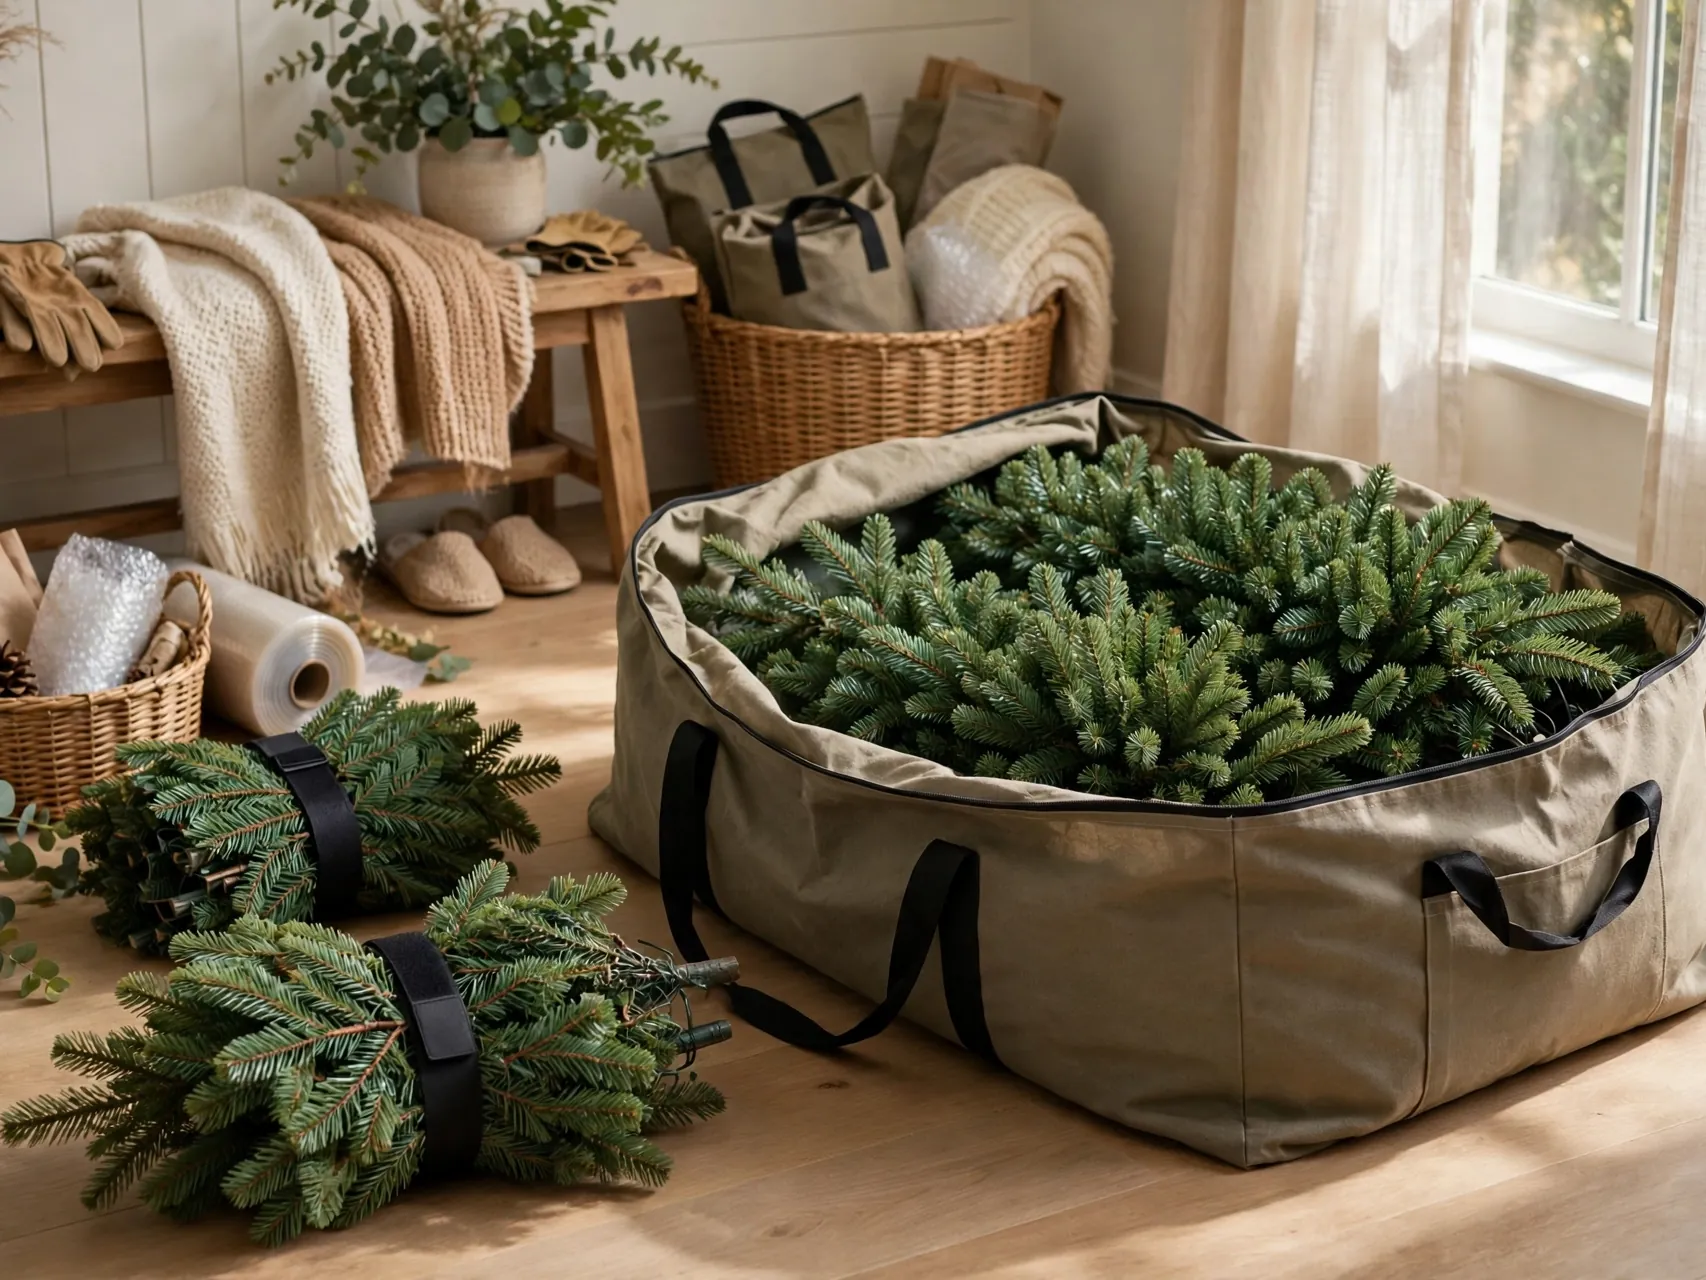
A good christmas tree storage idea is to pack the tree in sections, in the order it comes apart. Compress branches gently toward the center pole, slip each section into a tree bag or its original box, and keep sections together rather than scattered.
If your tree is large, a rolling bag or two medium bags are kinder to carry than one giant heavy one. Dust the branches before packing, let any outdoor tree sections dry fully first, and store the bag flat or upright somewhere it will not be crushed.
14. Store the Tree Topper and Stand With the Tree

The topper, stand screws, remote, and instruction sheet belong with the tree, not in a random drawer. Wrap the topper in tissue, box it if you can, and tuck it in a pouch or small box that lives inside or right beside the tree bag.
Add a note listing anything the tree needs, like a missing branch tip or a new stand bolt. When the tree comes out next year, everything it requires arrives in the same trip from storage.
15. Roll or Fold Linens, Stockings and Tree Skirts Flat
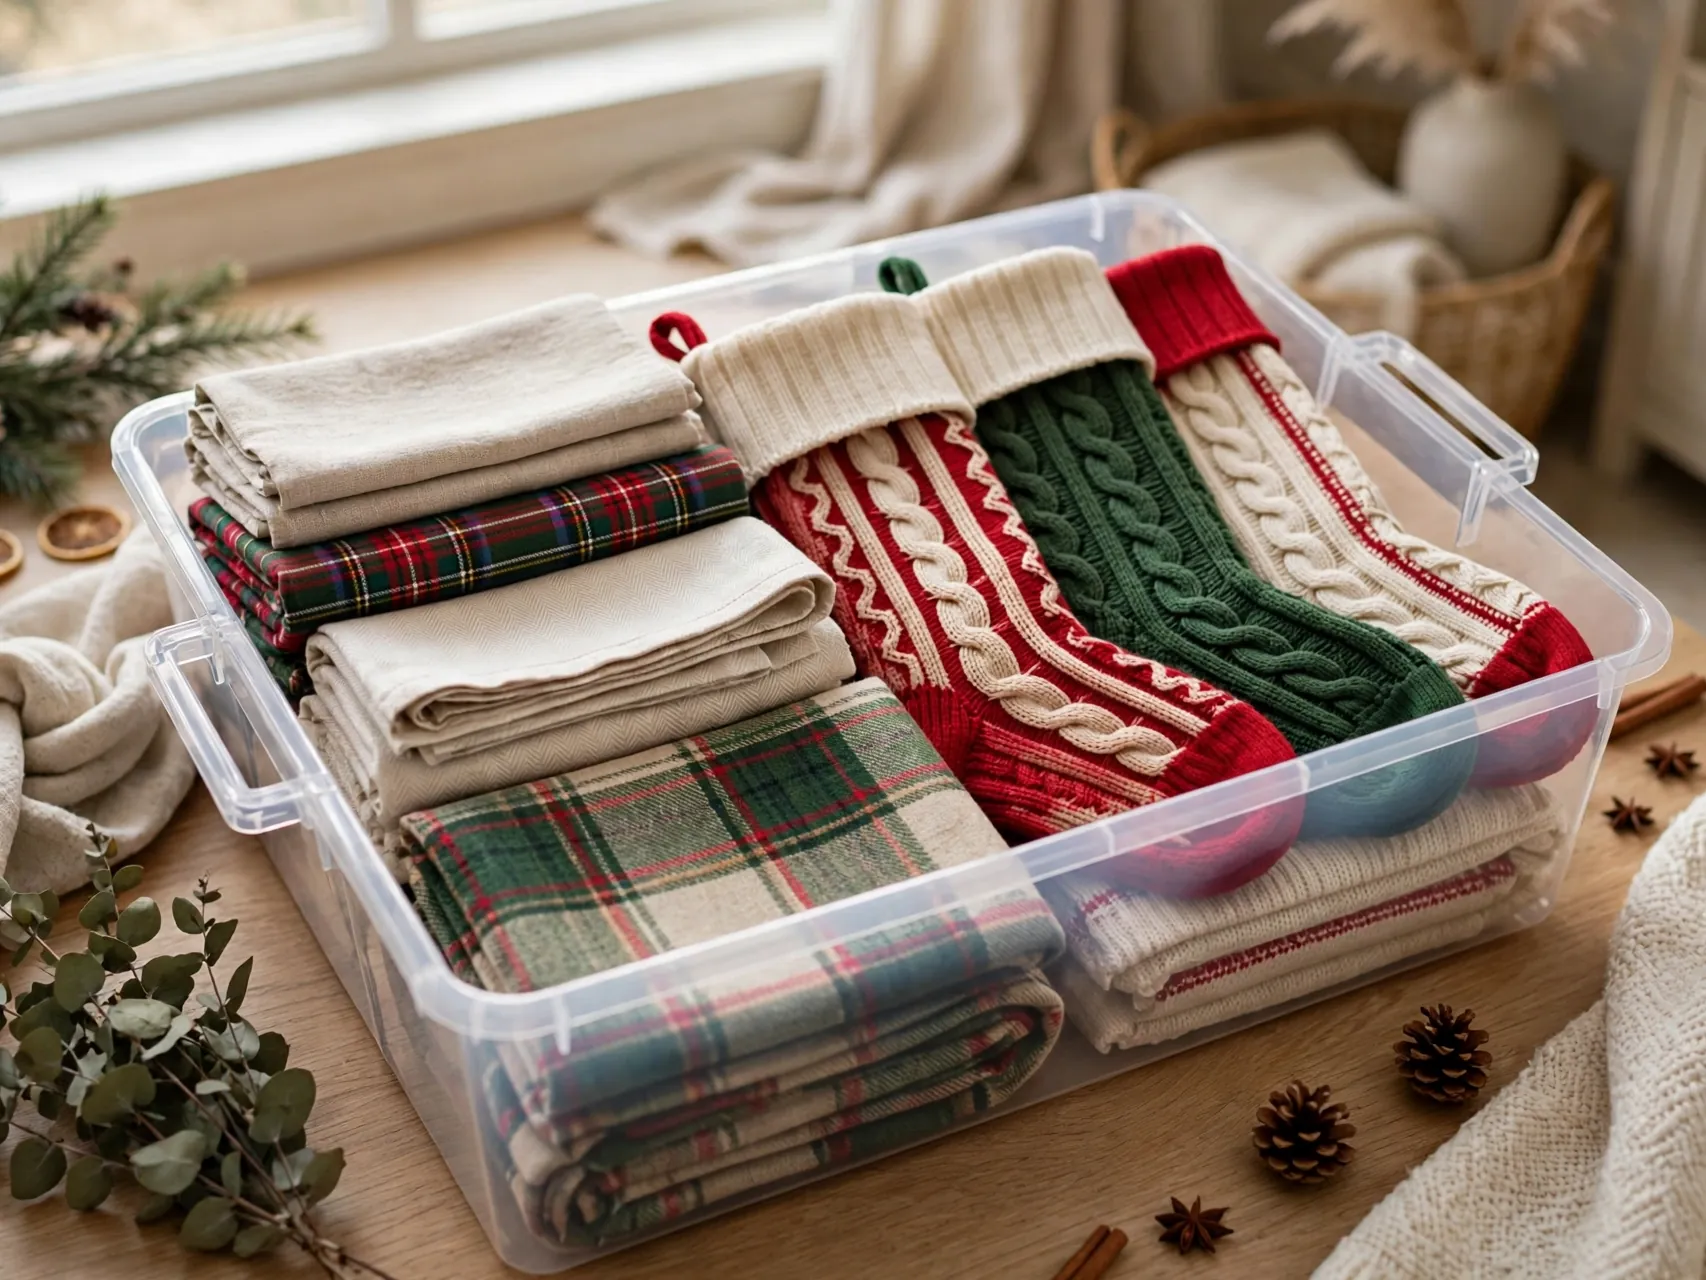
Wash and fully dry holiday textiles before storage, then fold tree skirts, table runners, stockings, and festive pillow covers flat. Rolling soft items can prevent hard creases, while flat folding stacks neatly in a shallow bin or drawer.
Keep textiles in a breathable bag or a lidded bin away from damp. If you use tissue between folds of a special embroidered piece, it will come out smoother. Store the whole textile group together so setting the table and hanging stockings happen from one place.
16. Keep Candles Cool, Upright and Wrapped
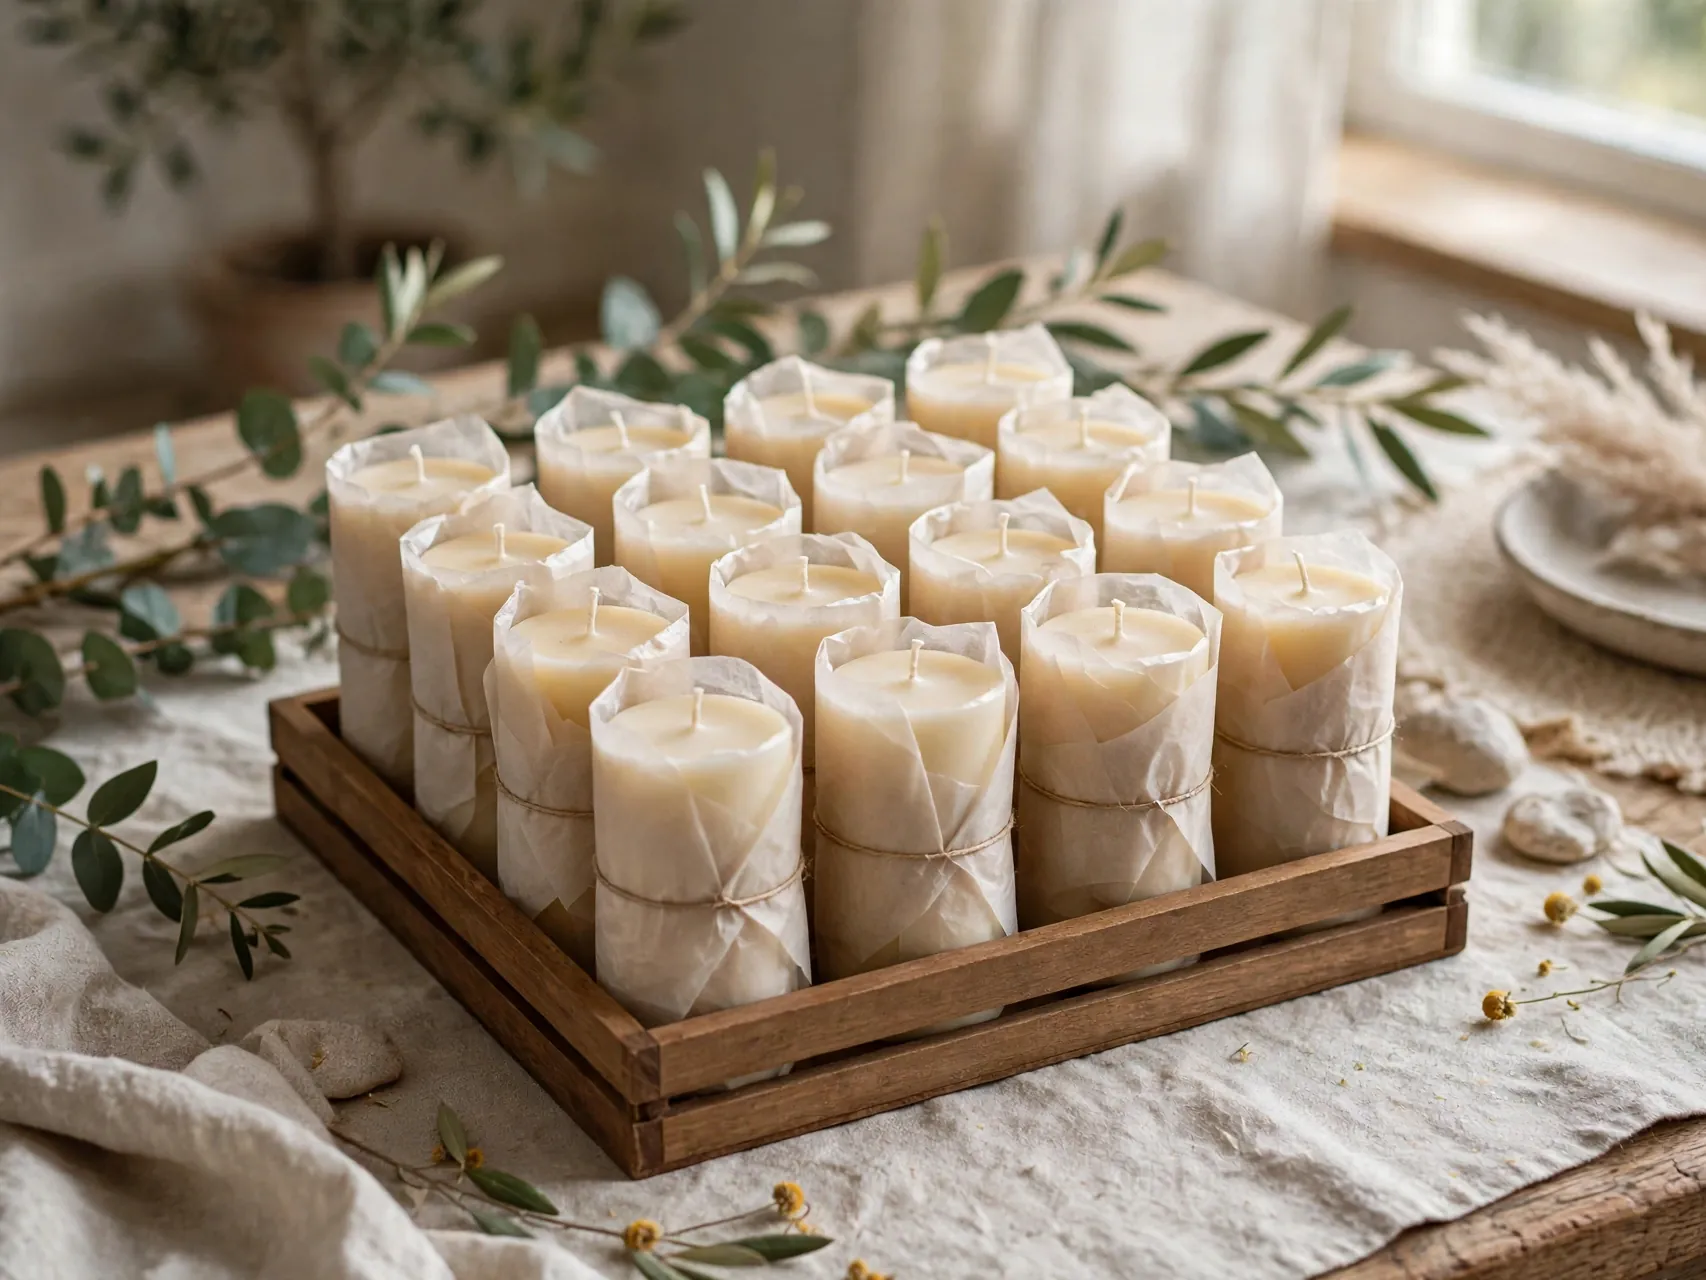
Candles, real and battery operated, prefer a cool spot out of direct sun. Wrap each candle so colors do not transfer, stand them upright in a small box with dividers or tissue between them, and keep them away from hot attic corners.
Remove batteries from flameless candles before packing, as with other battery decor. Taper candles stay happiest lying flat in their original box or a shallow tray. A cool closet shelf will keep shapes true and surfaces clean until candle season returns.
17. Group Table Decor Into One Entertaining Kit

Your Christmas table has its own cast: chargers, napkin rings, a runner, candlesticks, and that one centerpiece. Pack them as a single entertaining kit, with soft cloth or tissue between anything that could chip or scratch.
Label the bin with the table it serves and how many place settings it covers. Next December, hosting starts by carrying one box to the dining room. Add a note about what worked, like extra tapers, while the memory of the meal is still warm.
18. Make a Small Repairs and Spares Kit

One small box prevents a dozen small frustrations. Gather spare bulbs and fuses for your lights, extra ornament hooks and caps, twist ties, clear tape, scissors, batteries in their household spot noted on the lid, and a marker for labels.
Keep the kit on top of the first bin you will open, or taped inside its lid list. When a hook vanishes or a bulb goes dark next year, the fix is in your hand in seconds instead of a trip to a crowded store.
19. Use Vertical Space With Shelves and Overhead Racks
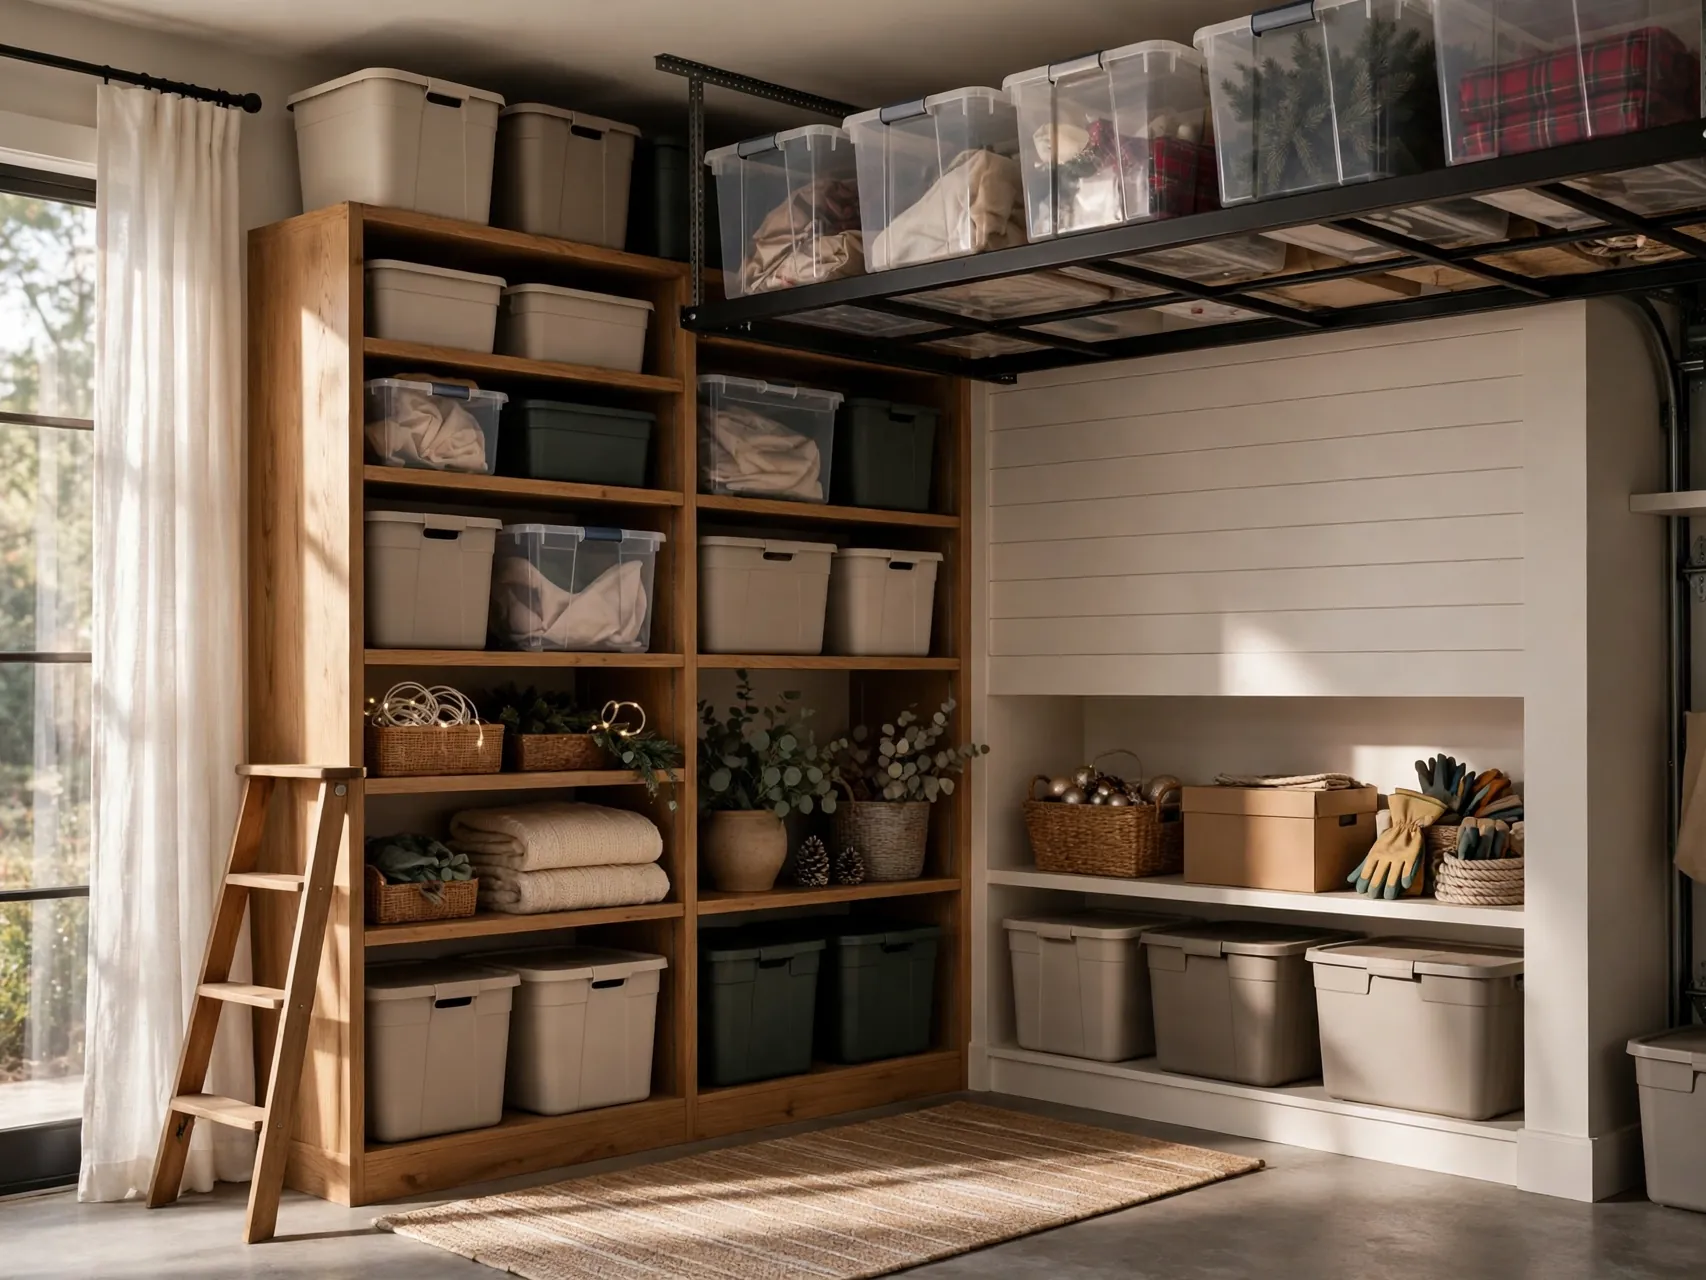
Holiday decor is used for one month and stored for eleven, so it earns the high places. Top closet shelves, a sturdy garage shelf run, or an overhead rack keeps bins off valuable floor space and out of daily life.
Keep bins light enough to lift down safely, put the heaviest at waist height rather than overhead, and leave fragile ornament boxes where they will not be bumped. Label the downward facing side too, so you can read the system from below.
20. Slide Slim Bins Under Beds and Sofas
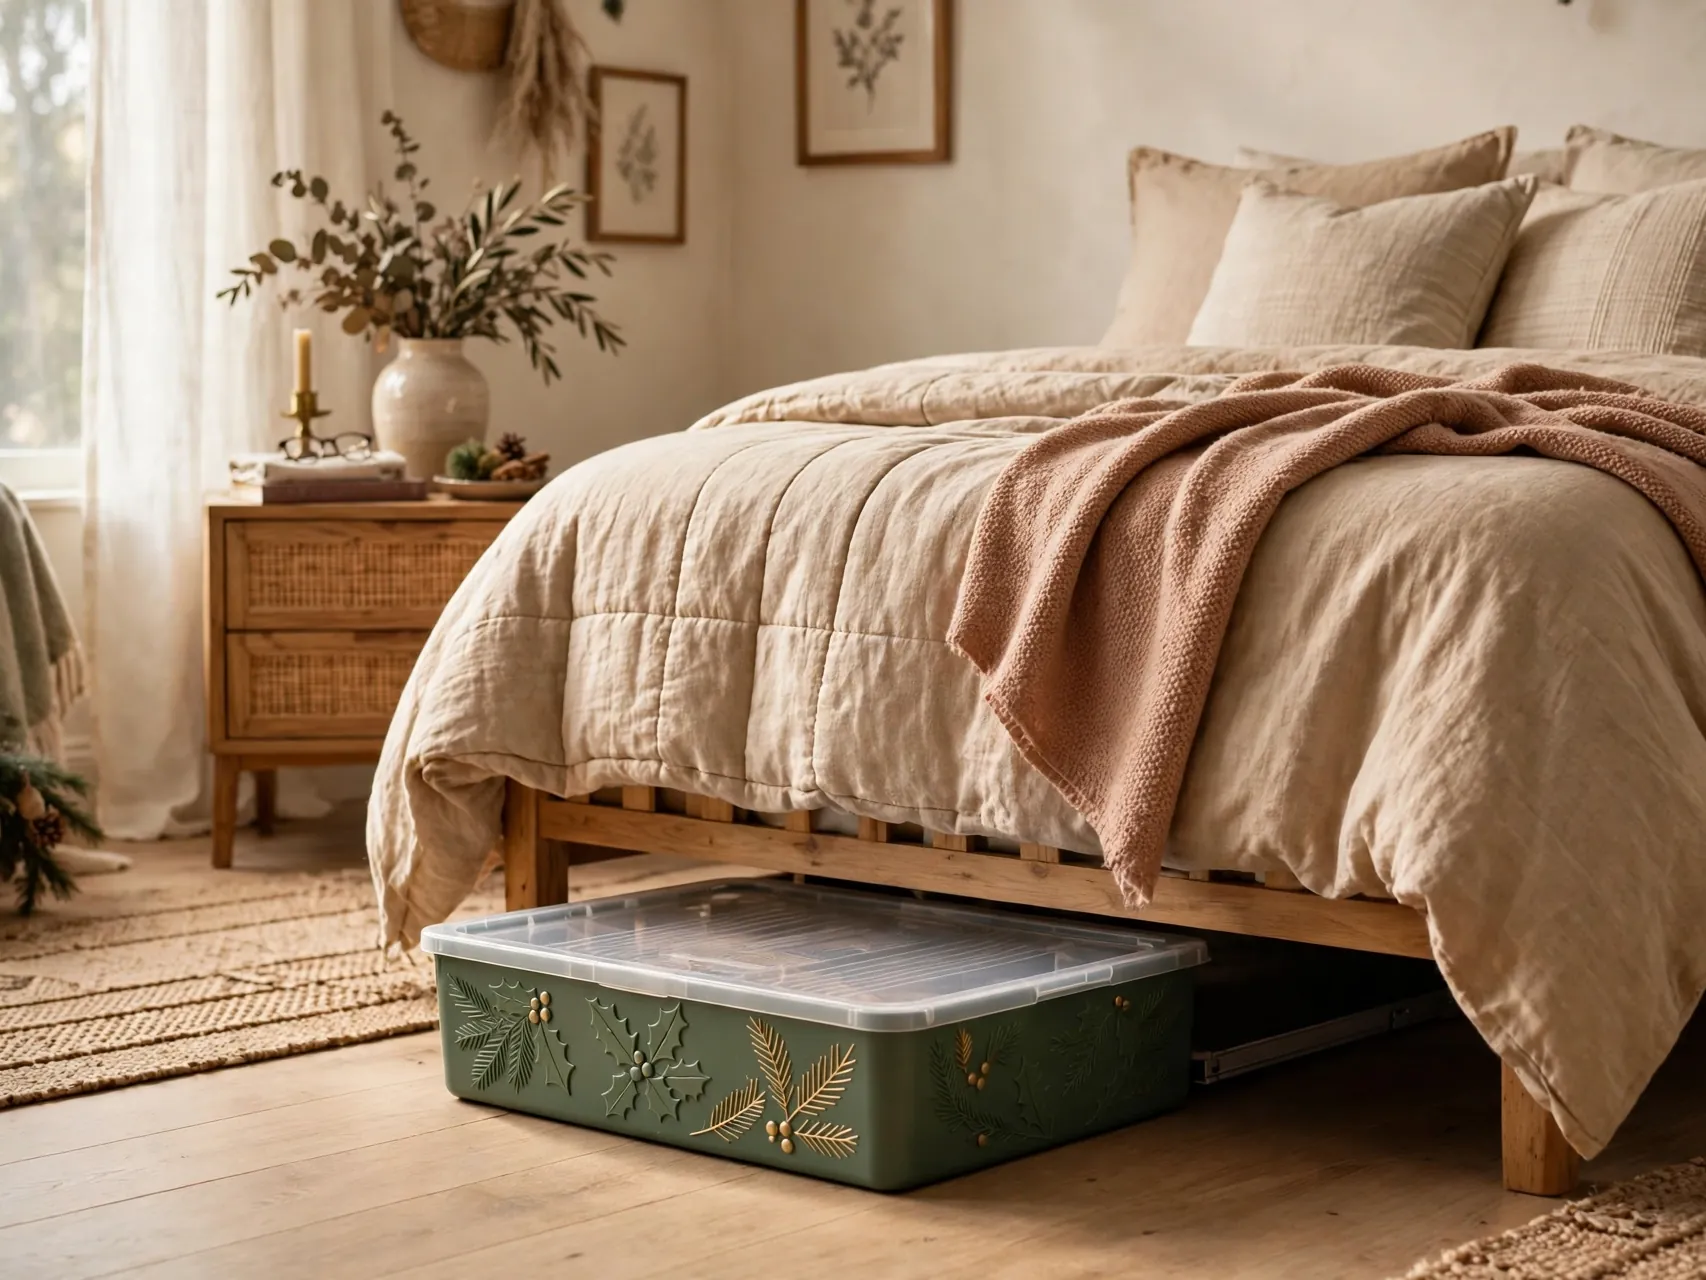
In a small home, the space under a guest bed is prime real estate for slim, low bins. Use it for flat and sturdy categories: linens, unbreakable ornaments in divided trays, gift wrap for the season, and the tree skirt.
Measure the clearance before buying anything, and choose bins with smooth bottoms that slide without snagging floors. Keep one category per bin and label the short end that faces the room, so retrieval is a single pull, not an excavation.
21. Turn a Closet Top Shelf Into the Holiday Zone

Scattered storage creates forgotten storage. Give Christmas one defined zone, even if it is just the top shelf of a linen or guest closet, and keep every bin, bag, and wreath inside that boundary.
A single zone makes the January check easy: is it clean, dry, labeled, and complete? It also stops holiday creep into everyday drawers. If the zone fills up, that is your honest signal to edit the collection, not to annex another closet.
22. Store Outdoor Decor Dry, Clean and Separate
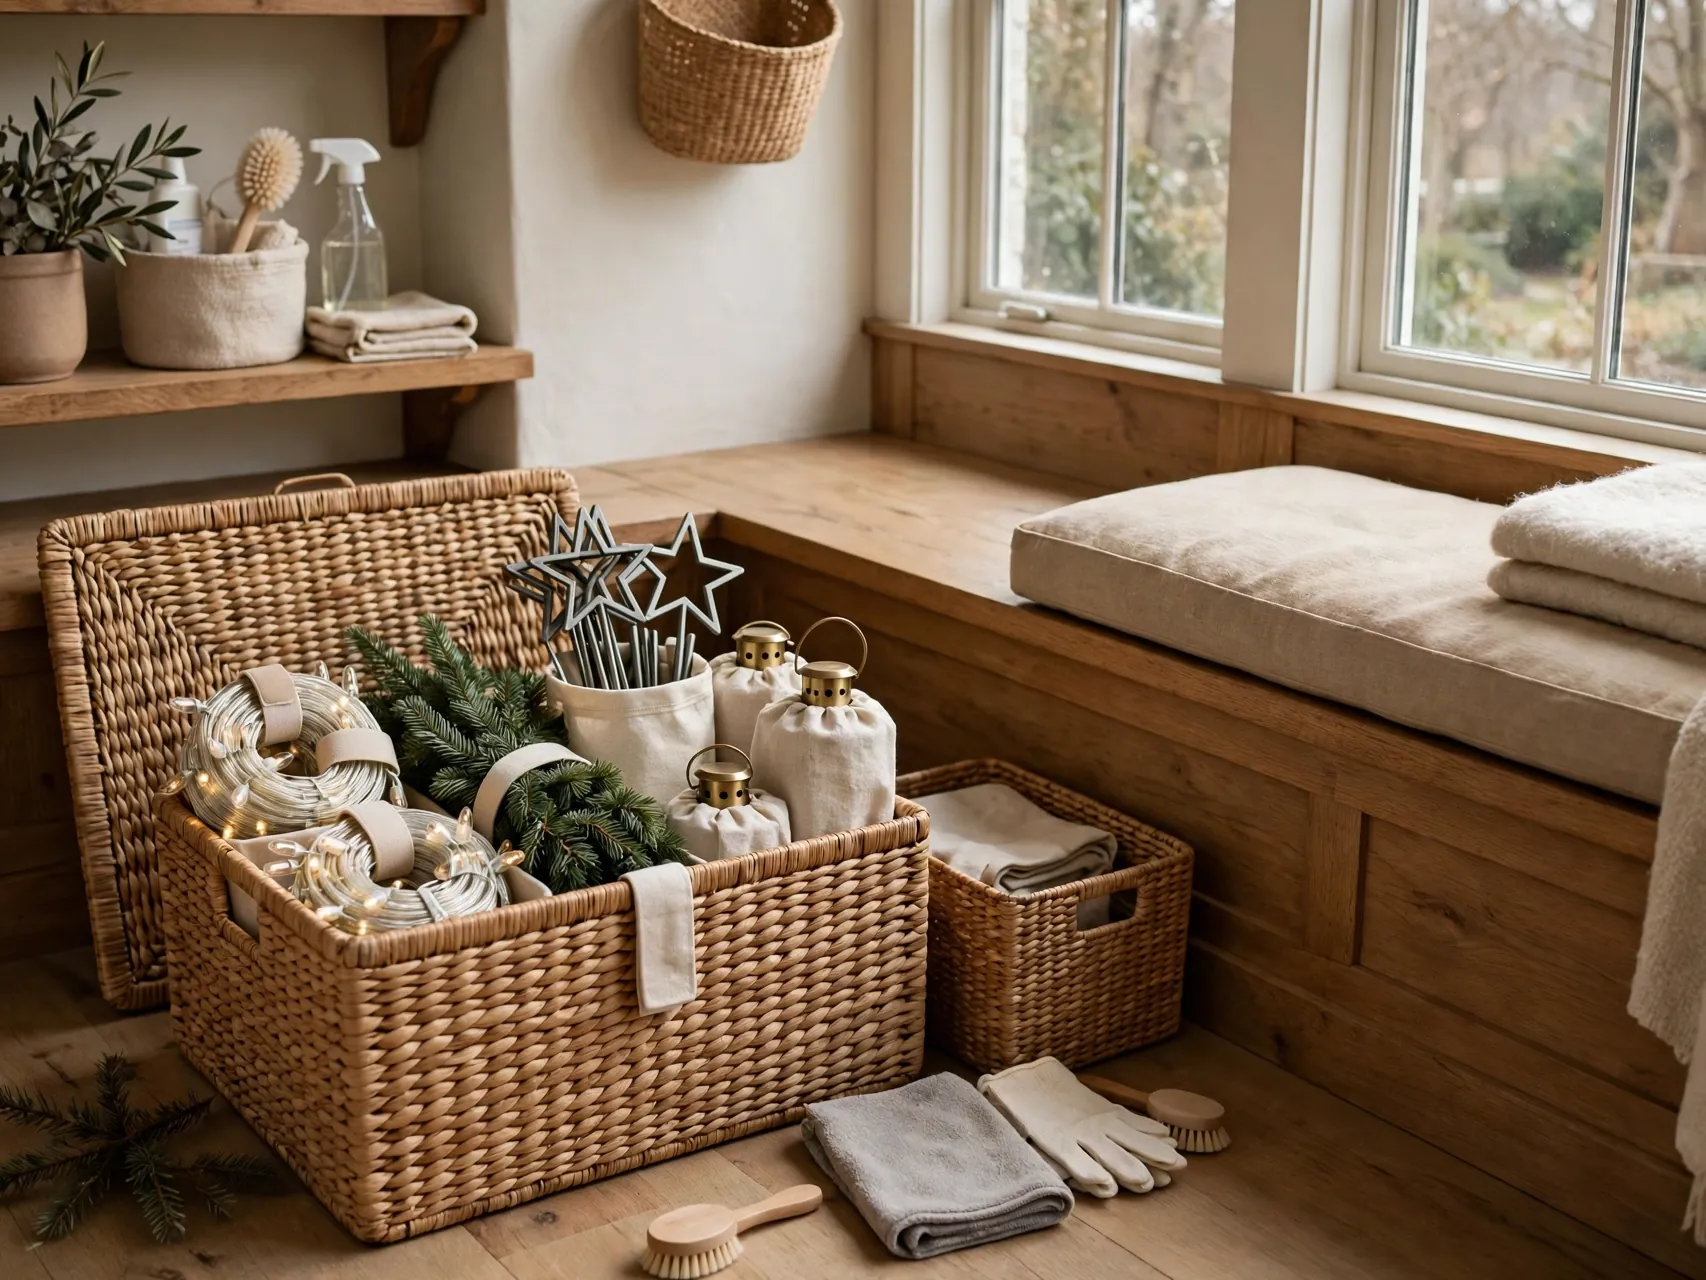
Outdoor pieces come in cold, damp, and dusty, so give them a reset before storage. Wipe them down, let them dry fully, coil outdoor cords loosely, and pack outdoor decor in its own bin, separate from indoor ornaments and textiles.
Check outdoor light strands with the same care as indoor ones, and discard damaged sets rather than storing a problem for next year. Keeping outdoor grit away from indoor fabrics and painted finishes protects everything else in the system.
23. Keep a First Box to Open Next December
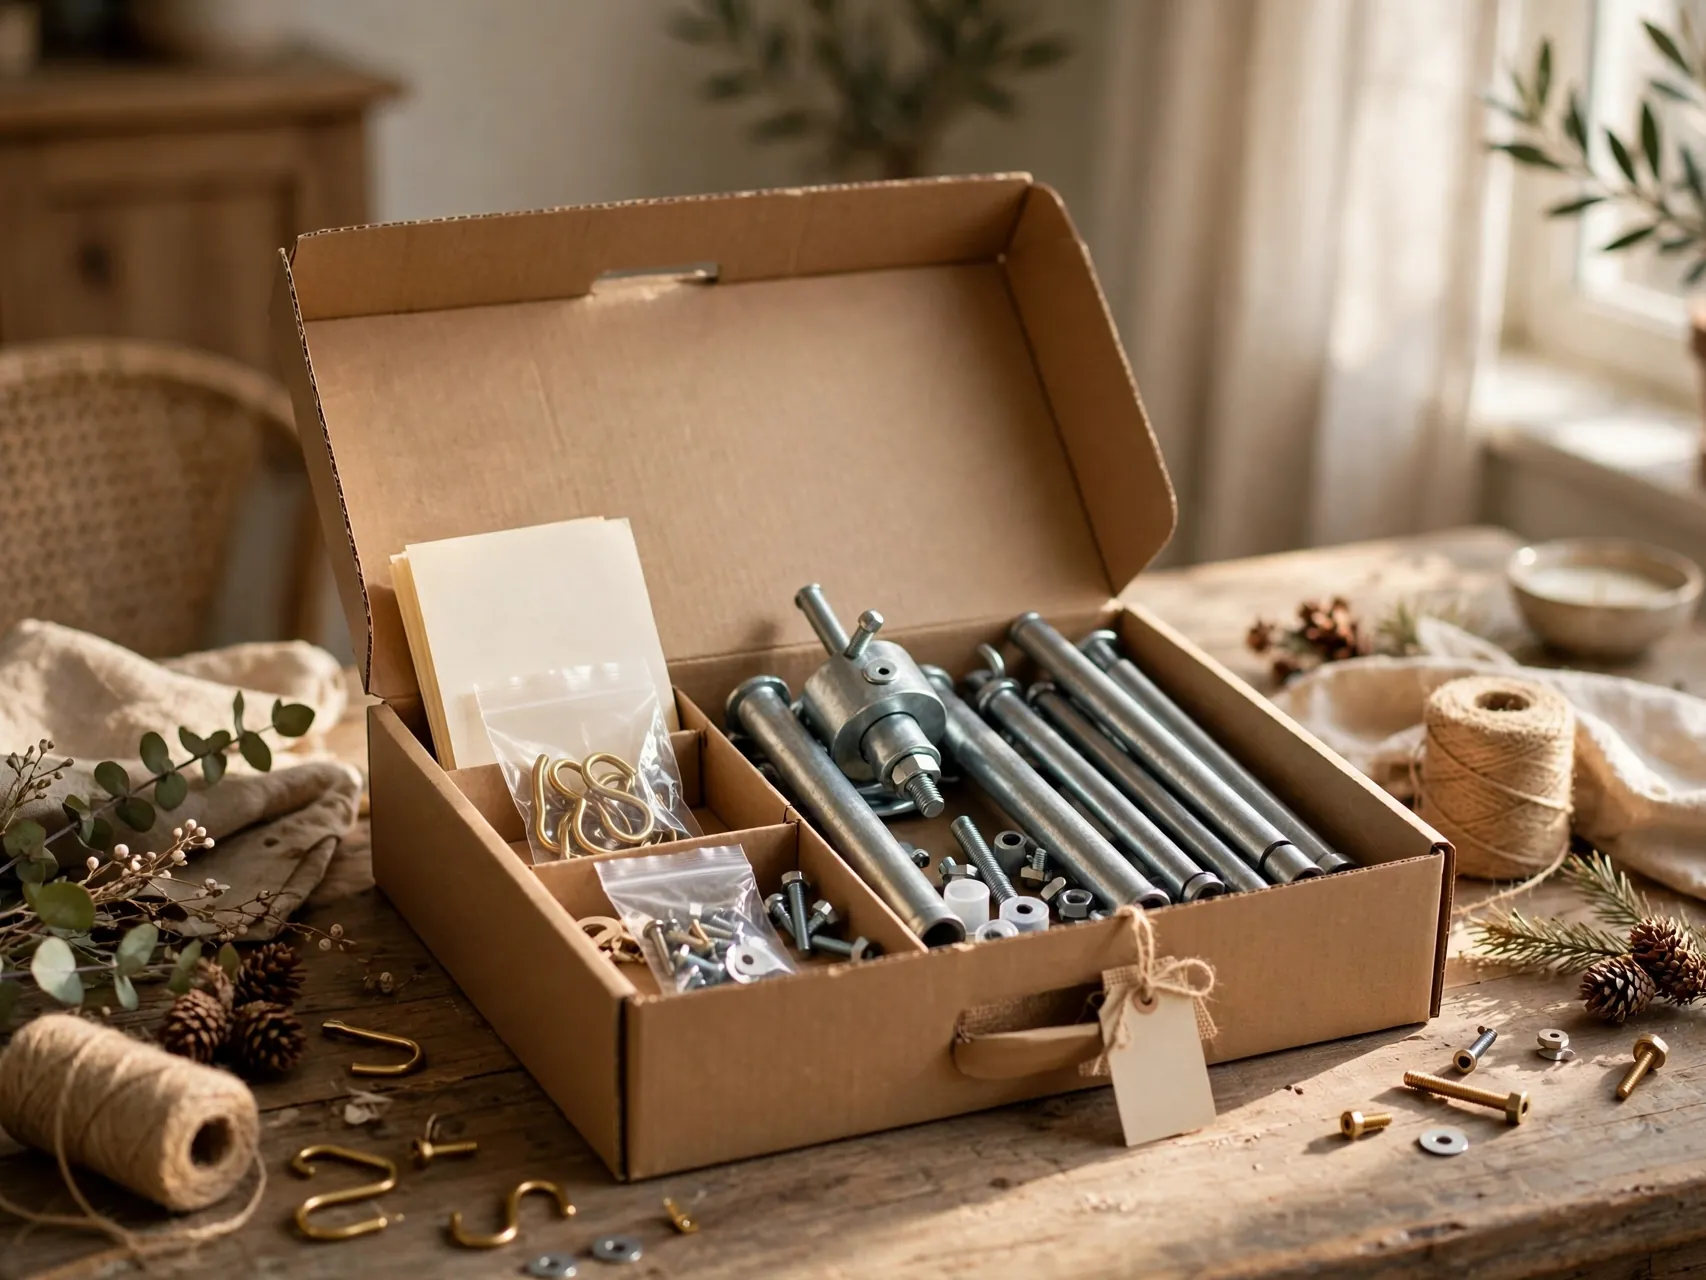
Designate one small box as the first box, and pack it last so it sits on top or at the front. Inside go the stand parts, hooks, the repairs kit, extension cord you always hunt for, and your inventory note with photos.
Add anything you wish you had had this year, written while you remember. Opening one helpful box first turns decorating day from a scramble into a sequence, and it is the kindest of all christmas decoration storage ideas to adopt.
24. Choose a Cool, Dry Home Base and Check It Once
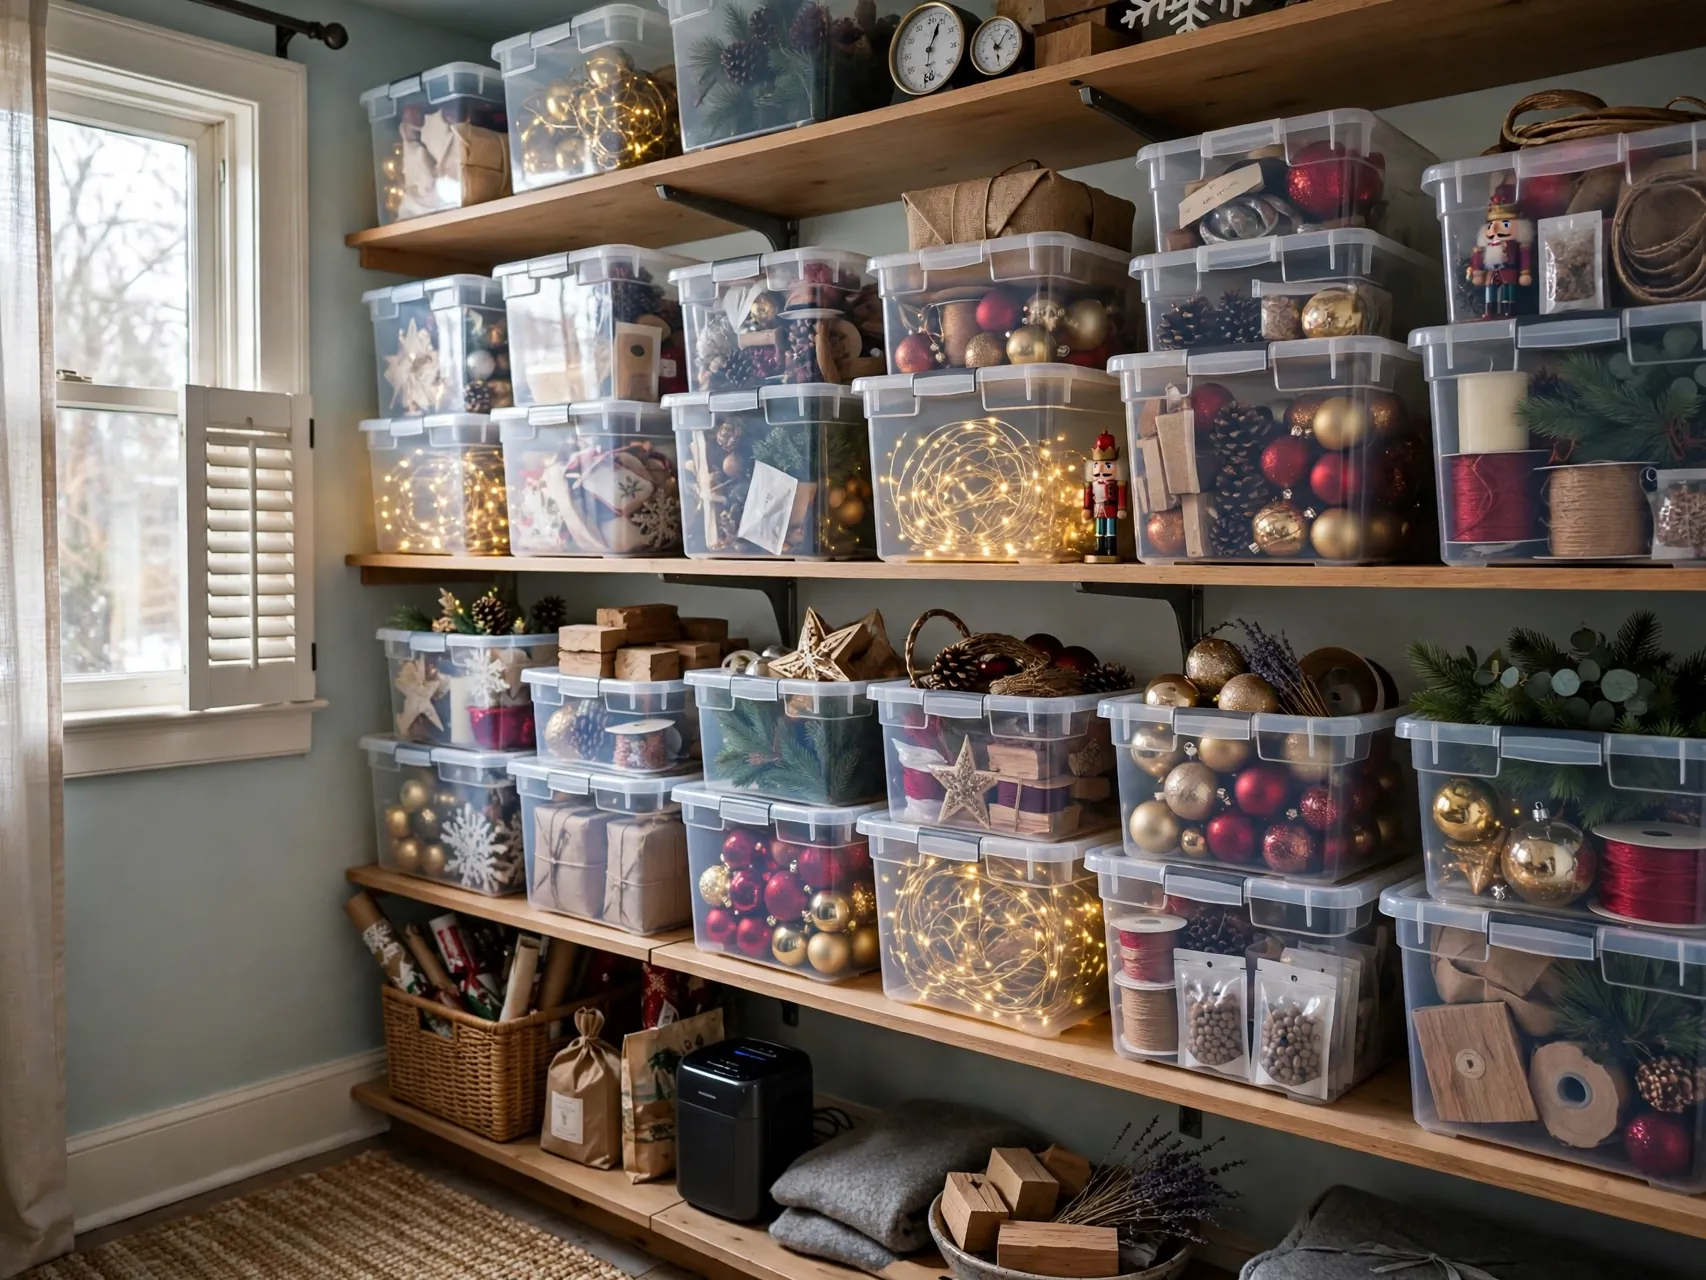
Where bins live matters as much as how you pack them. A cool, dry indoor closet or under bed spot with steady conditions is kinder to painted ornaments, textiles, and candles than a damp basement corner or a hot attic, where extremes can stress finishes.
Do one midyear glance if your storage area is prone to leaks or pests, and fix problems early. Then rest. A good home base plus labeled bins means Christmas is quietly handled until you are ready for it again.
FAQ
What is the best way to store fragile Christmas ornaments?
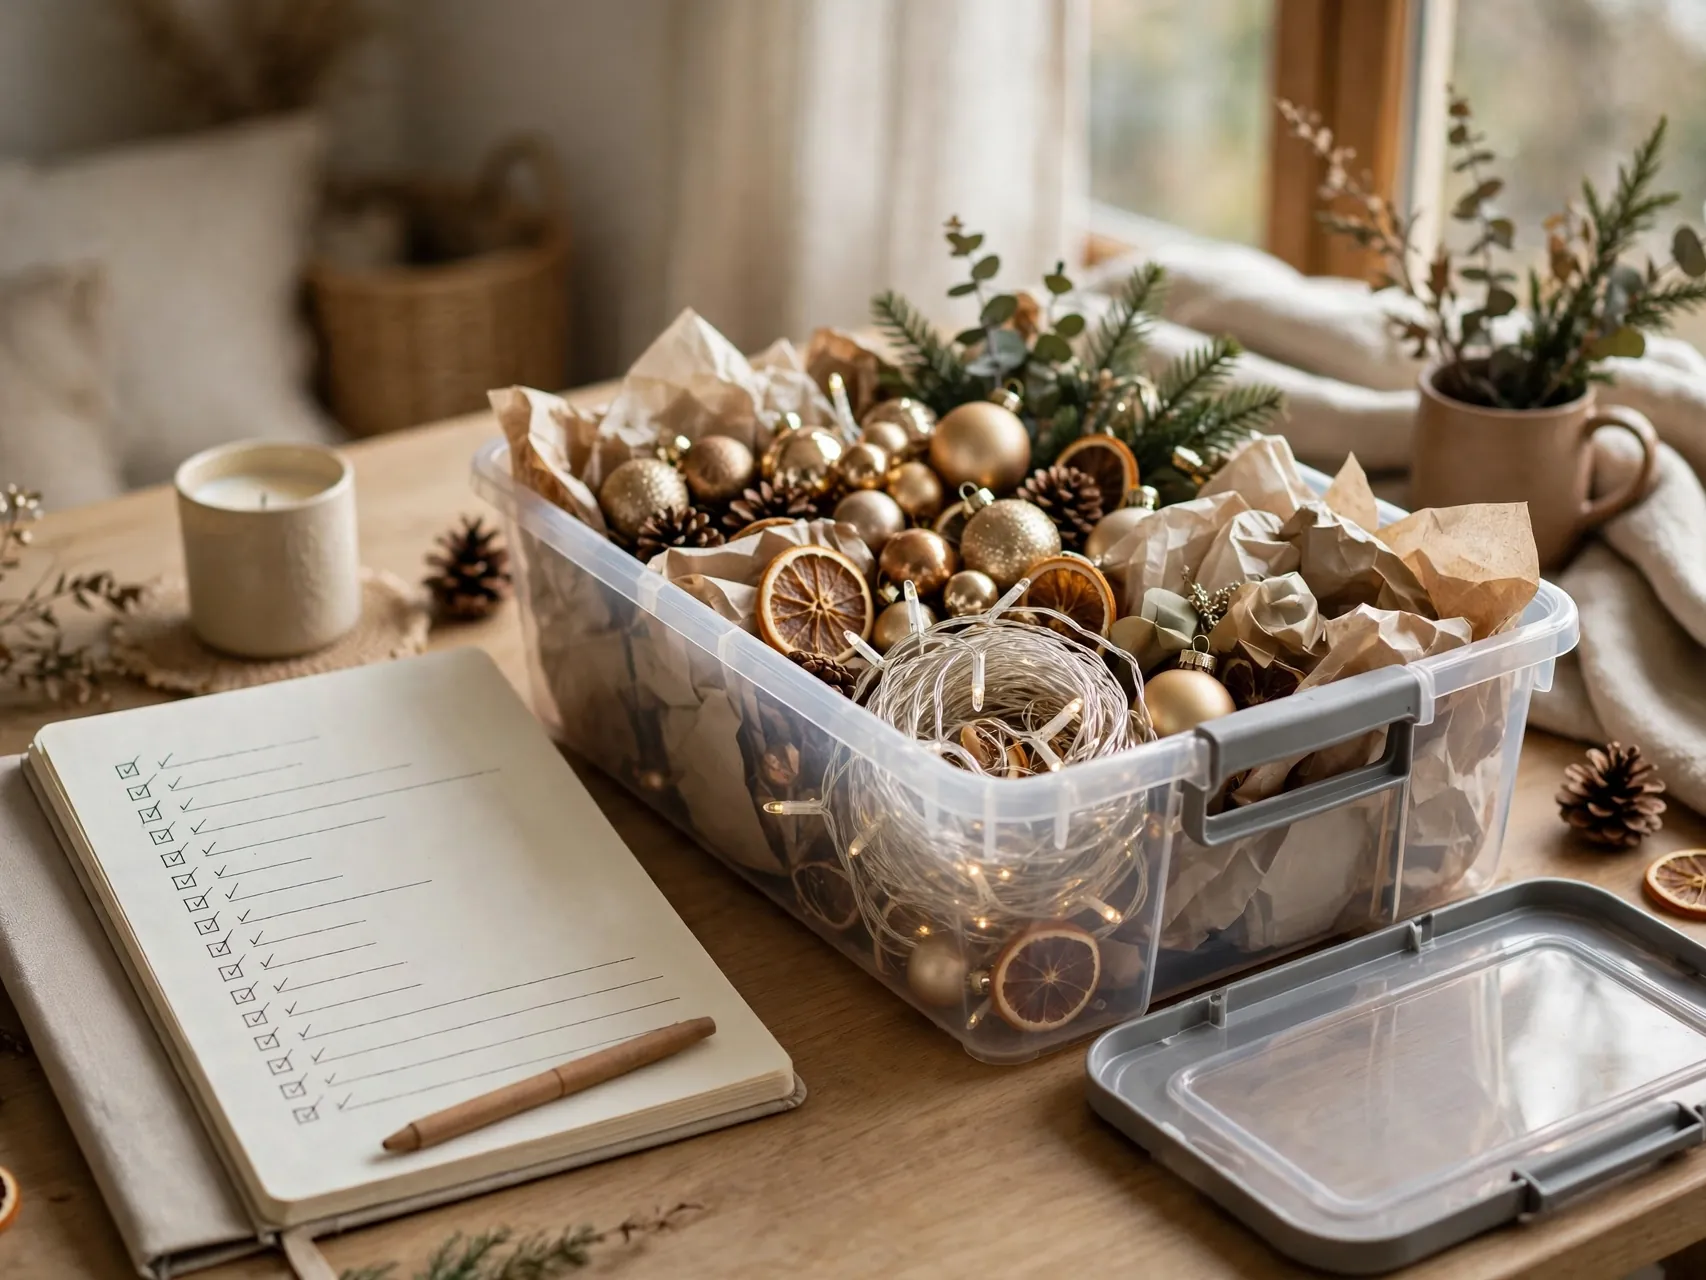
Wrap each fragile ornament individually in tissue, ideally acid free tissue for treasured pieces, remove metal hooks that can scratch finishes, and place ornaments in a rigid divided box with heavier pieces at the bottom. Pad empty cells so nothing shifts, label the box fragile, and store it in a cool, dry indoor spot.
How should I store Christmas lights so they do not tangle?
Test each strand, discard sets with broken sockets or frayed wires per CPSC guidance, then wind each strand loosely around cardboard, a reel, or a hanger with plug ends accessible. Store one strand per wrap or bag, and keep spare bulbs and fuses in a small repairs kit inside the lights bin.
Where is the best place in a small home to store Christmas decorations?
Use one defined zone: the top shelf of a closet, slim bins under a guest bed, or a sturdy high shelf. Keep fragile and textile items in cool, dry indoor spaces rather than damp or very hot areas, keep bins light enough to move safely, and label every bin on two sides.
Should I remove batteries from decorations before storing them?
Yes. Remove batteries from light up ornaments, musical figures, and flameless candles before storage, following maker care guidance such as Hallmark recommendations for ornament care. Store batteries with your regular household batteries, note what each item needs on your inventory, and fit fresh batteries when you unpack next season.
How do I know what is inside each bin next year?
Label each bin in large plain words, add a photo inventory on your phone before closing lids, and keep a short written list inside the first box you will open. Note anything broken, retired, or to replace. That small record saves opening every bin to find one item.
Key Takeaways
- Edit first, pack second: Donating and retiring tired pieces shrinks storage before you buy a single bin.
- No ornament touches another: Divided boxes, individual tissue wrapping, and padded cells keep fragile pieces safe.
- Wind, test, and label lights: Check strands for damage, discard unsafe sets, and wind each strand on its own wrap.
- Remove batteries and hooks: Both protect finishes and items during eleven quiet months in storage.
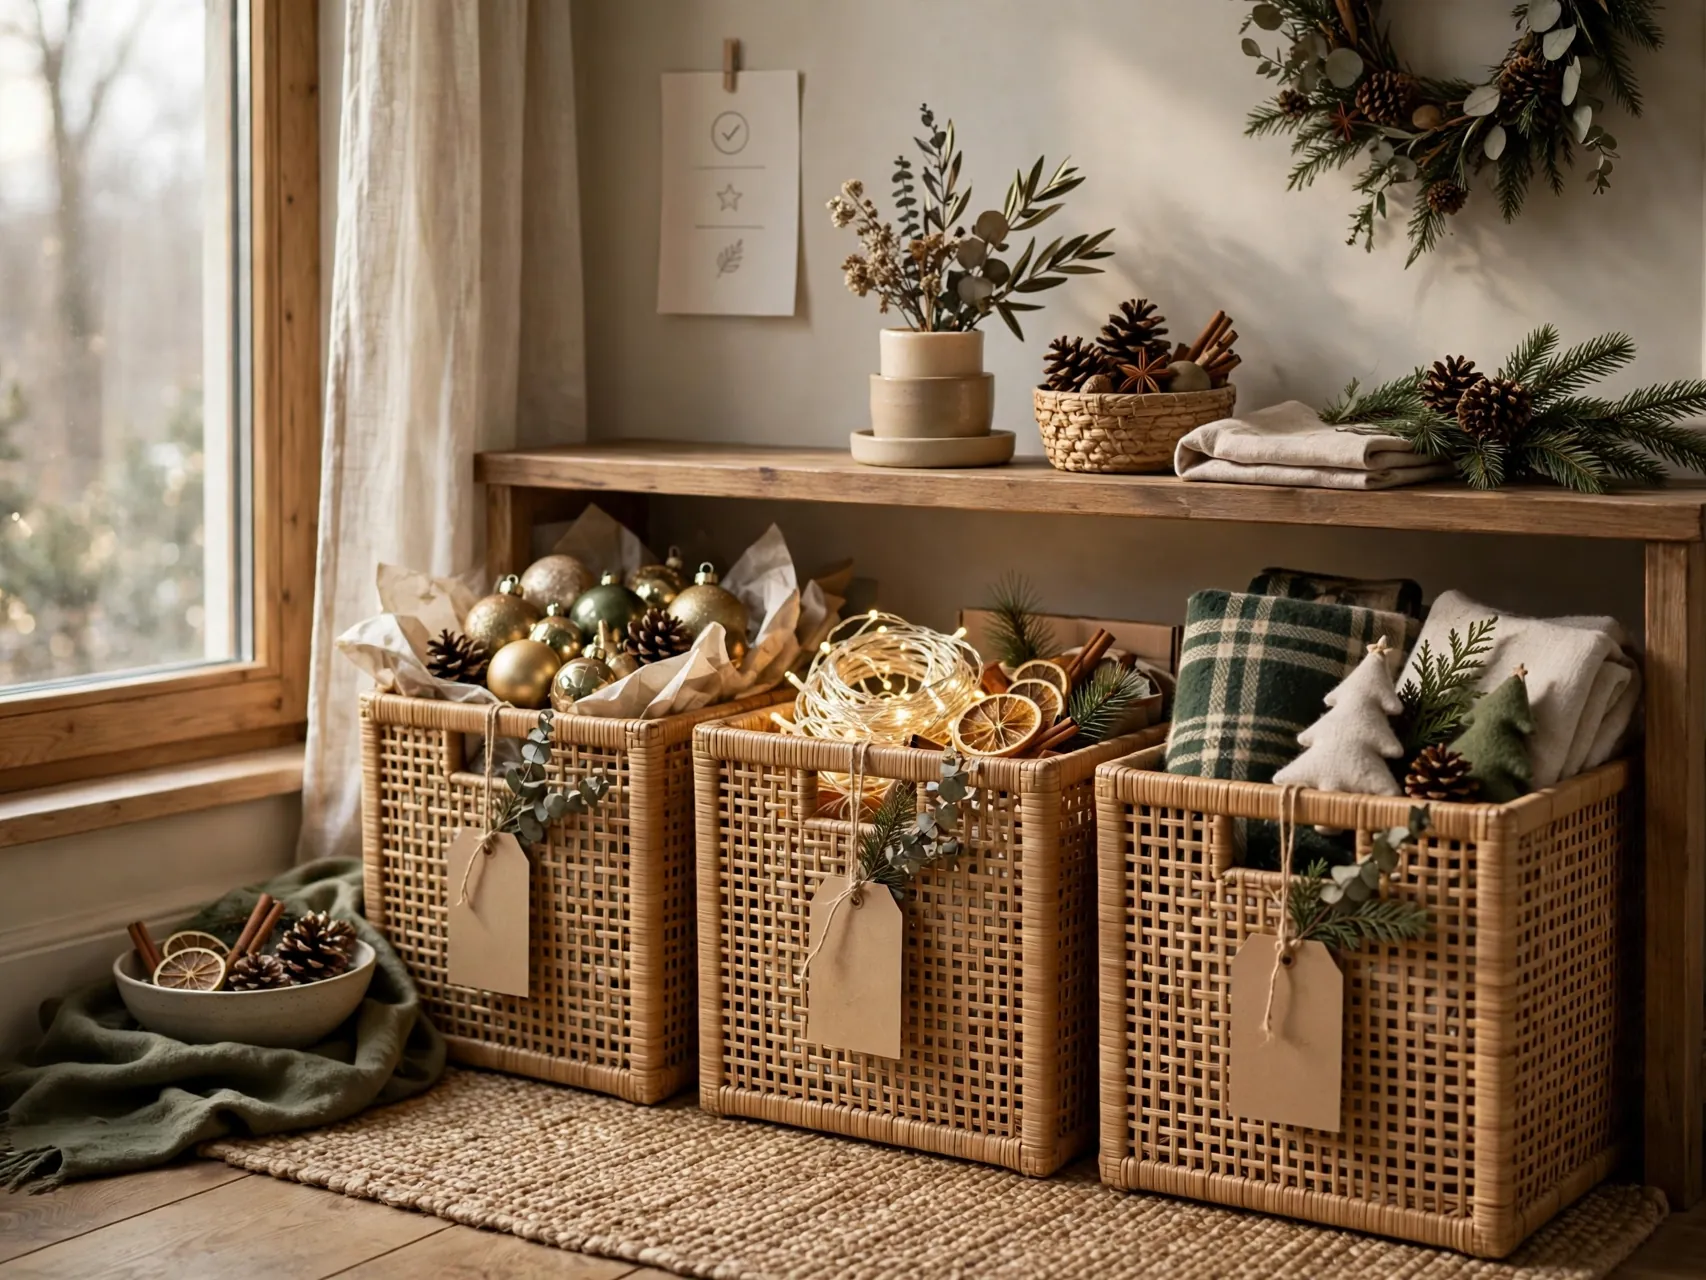
- One zone, one first box: A defined cool, dry home base and a helpful first box make next December calm.
Ready to make next January the easiest pack away yet? Save this guide to Pinterest and pin the storage idea you will set up first.