24 Tips on How to Put Ribbon on a Christmas Tree Perfectly
Introduction
Ribbon is the layer that makes a tree look designed instead of just decorated. Learning how to put ribbon on a christmas tree well comes down to a few simple habits: choose wired ribbon, work after the lights, push the ribbon into the branches for depth, and step back often to check your spacing.
There are three main methods, and none of them is wrapping ribbon tightly around the tree like a barber pole. You can run vertical cascades from top to bottom, tuck loops in a loose spiral, or cut strips and place each piece by hand. All three are covered in the tips below.
Pick the method that suits your tree and your patience, then repeat it calmly all the way around. Ribbon rewards a slow, even rhythm far more than speed, and mistakes are easy to fix because nothing is permanent.
Keep one safety habit in mind as you work. Keep ribbon clear of light bulbs, inspect light strands before you start, use lights labeled by a recognized testing laboratory, and turn tree lights off before bed or when leaving home.
1. Choose Wired Ribbon Every Time
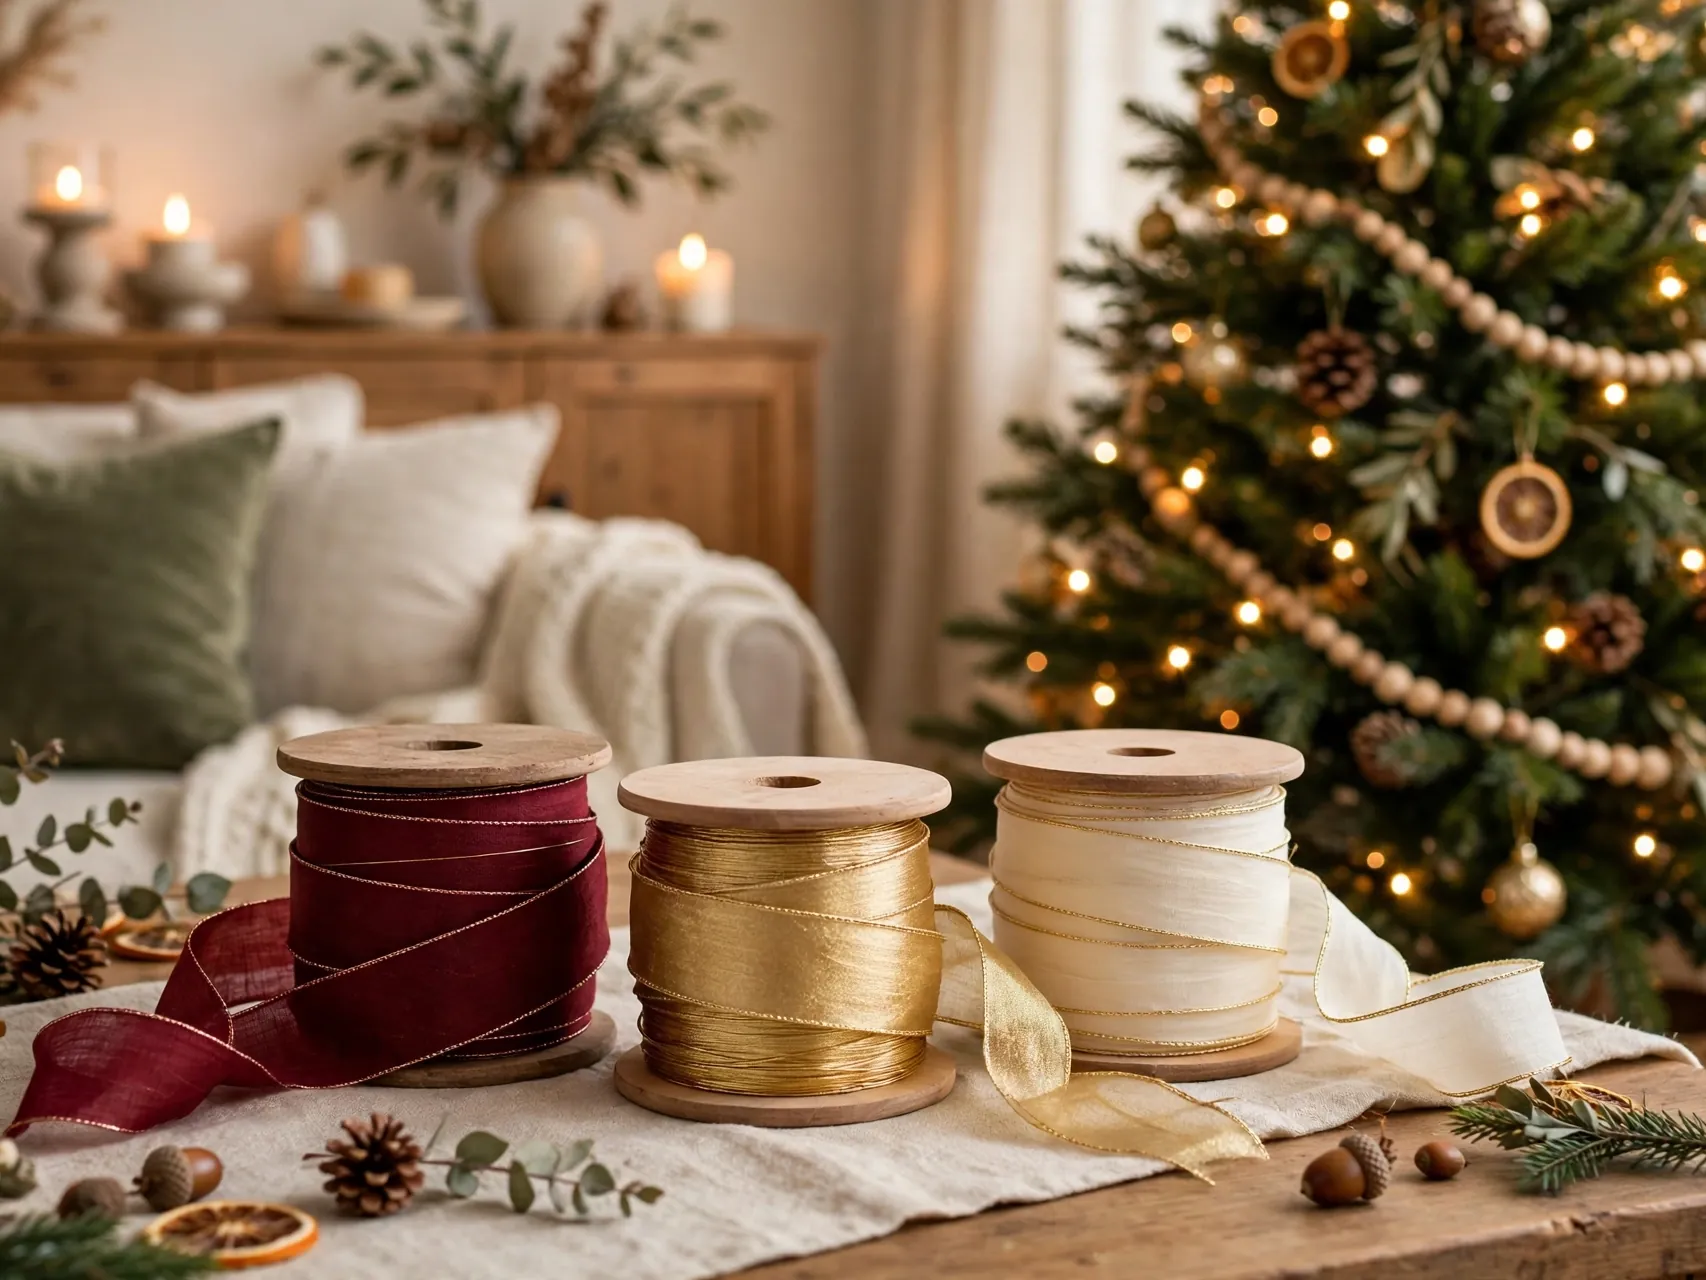
Wired edges are the whole secret. They let ribbon hold a loop, a wave, or a curl instead of falling flat against the branches. Non wired ribbon slips, sags, and fights you at every tuck.
For most trees, a width between two and four inches reads best. Wide ribbon makes a bold, designer statement, narrow ribbon suits small trees and layered looks. When in doubt, choose the wired ribbon for christmas tree styling in a mid width.
2. Put Ribbon On After Lights, Before Ornaments
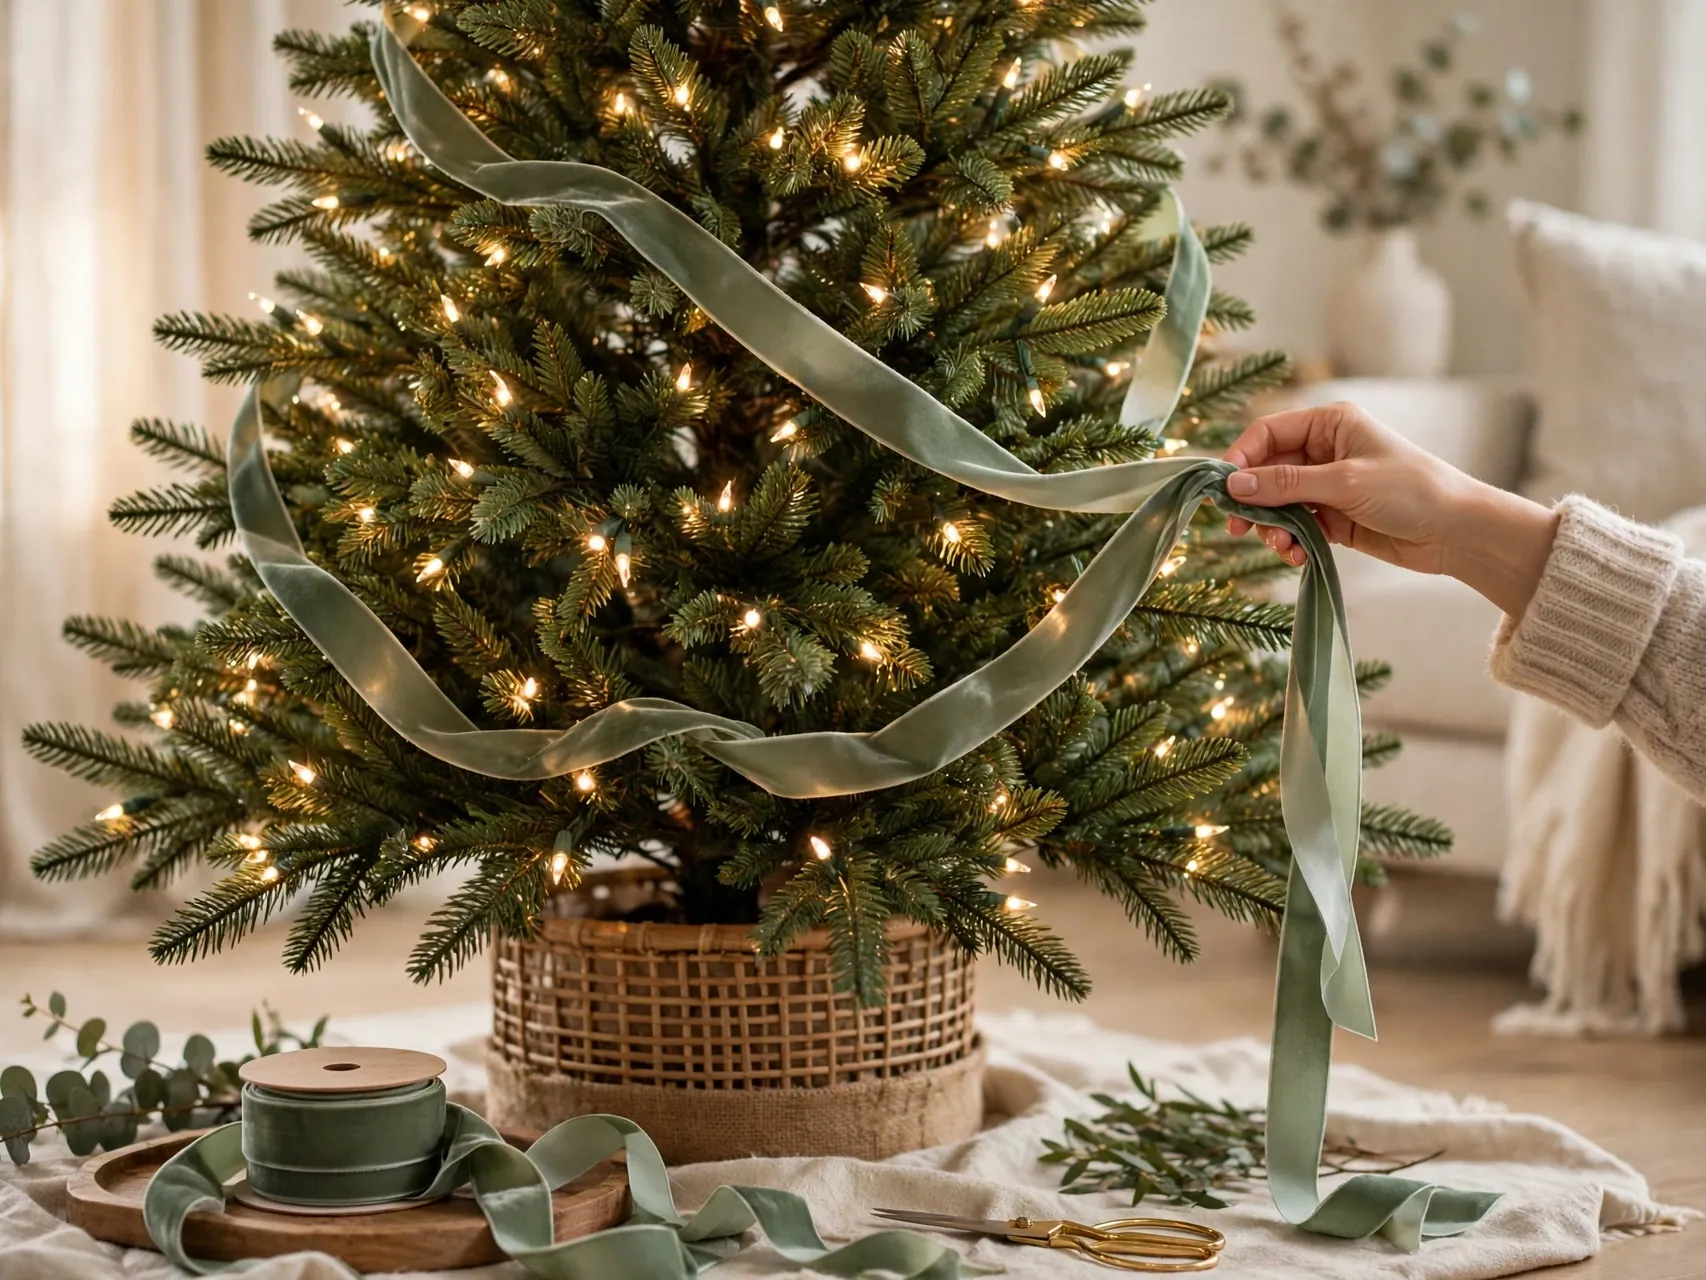
Order matters. Fluff the tree first, add lights second, ribbon third, and ornaments last. Ribbon over lights lets you tuck it deep without fighting ornaments, and ornaments placed afterward can fill any small gaps the ribbon leaves.
If ornaments go on first, you will knock them off while reaching into the tree. Work in the right order once and the whole job feels calmer, faster, and much less fragile for everyone helping.
3. Estimate Your Ribbon Before You Start
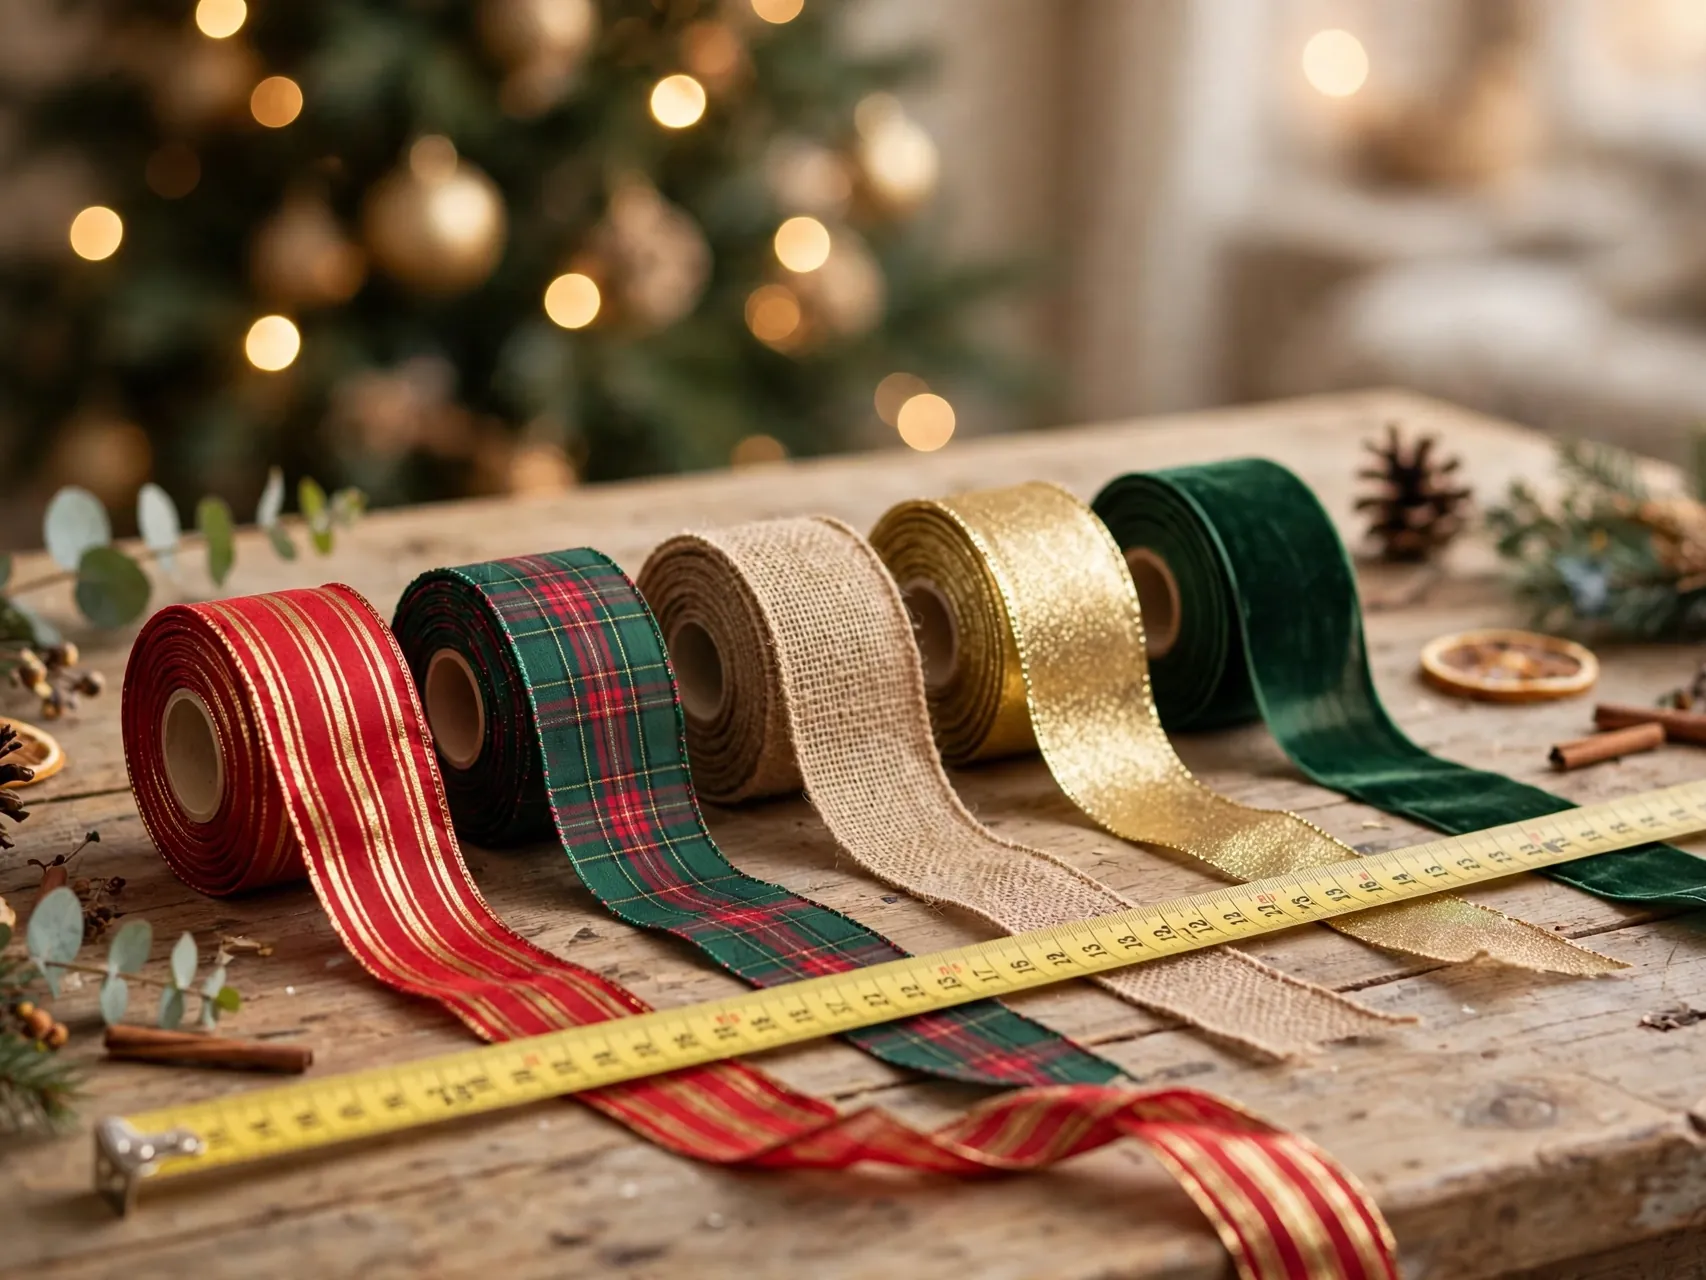
Running out mid tree is the most common ribbon frustration. As a general starting point, plan roughly ten yards of ribbon for each two to three feet of tree height for cascades or loops, and more for full spiral looks on wide trees.
Treat that as guidance, not a rule, because fullness and method change everything. Buy an extra spool in the same dye lot if you can, keep the receipt, and use leftovers for wreaths, gifts, and mantel bows. That answers how much ribbon for a christmas tree in a practical way.
4. Try the Vertical Cascade Method First
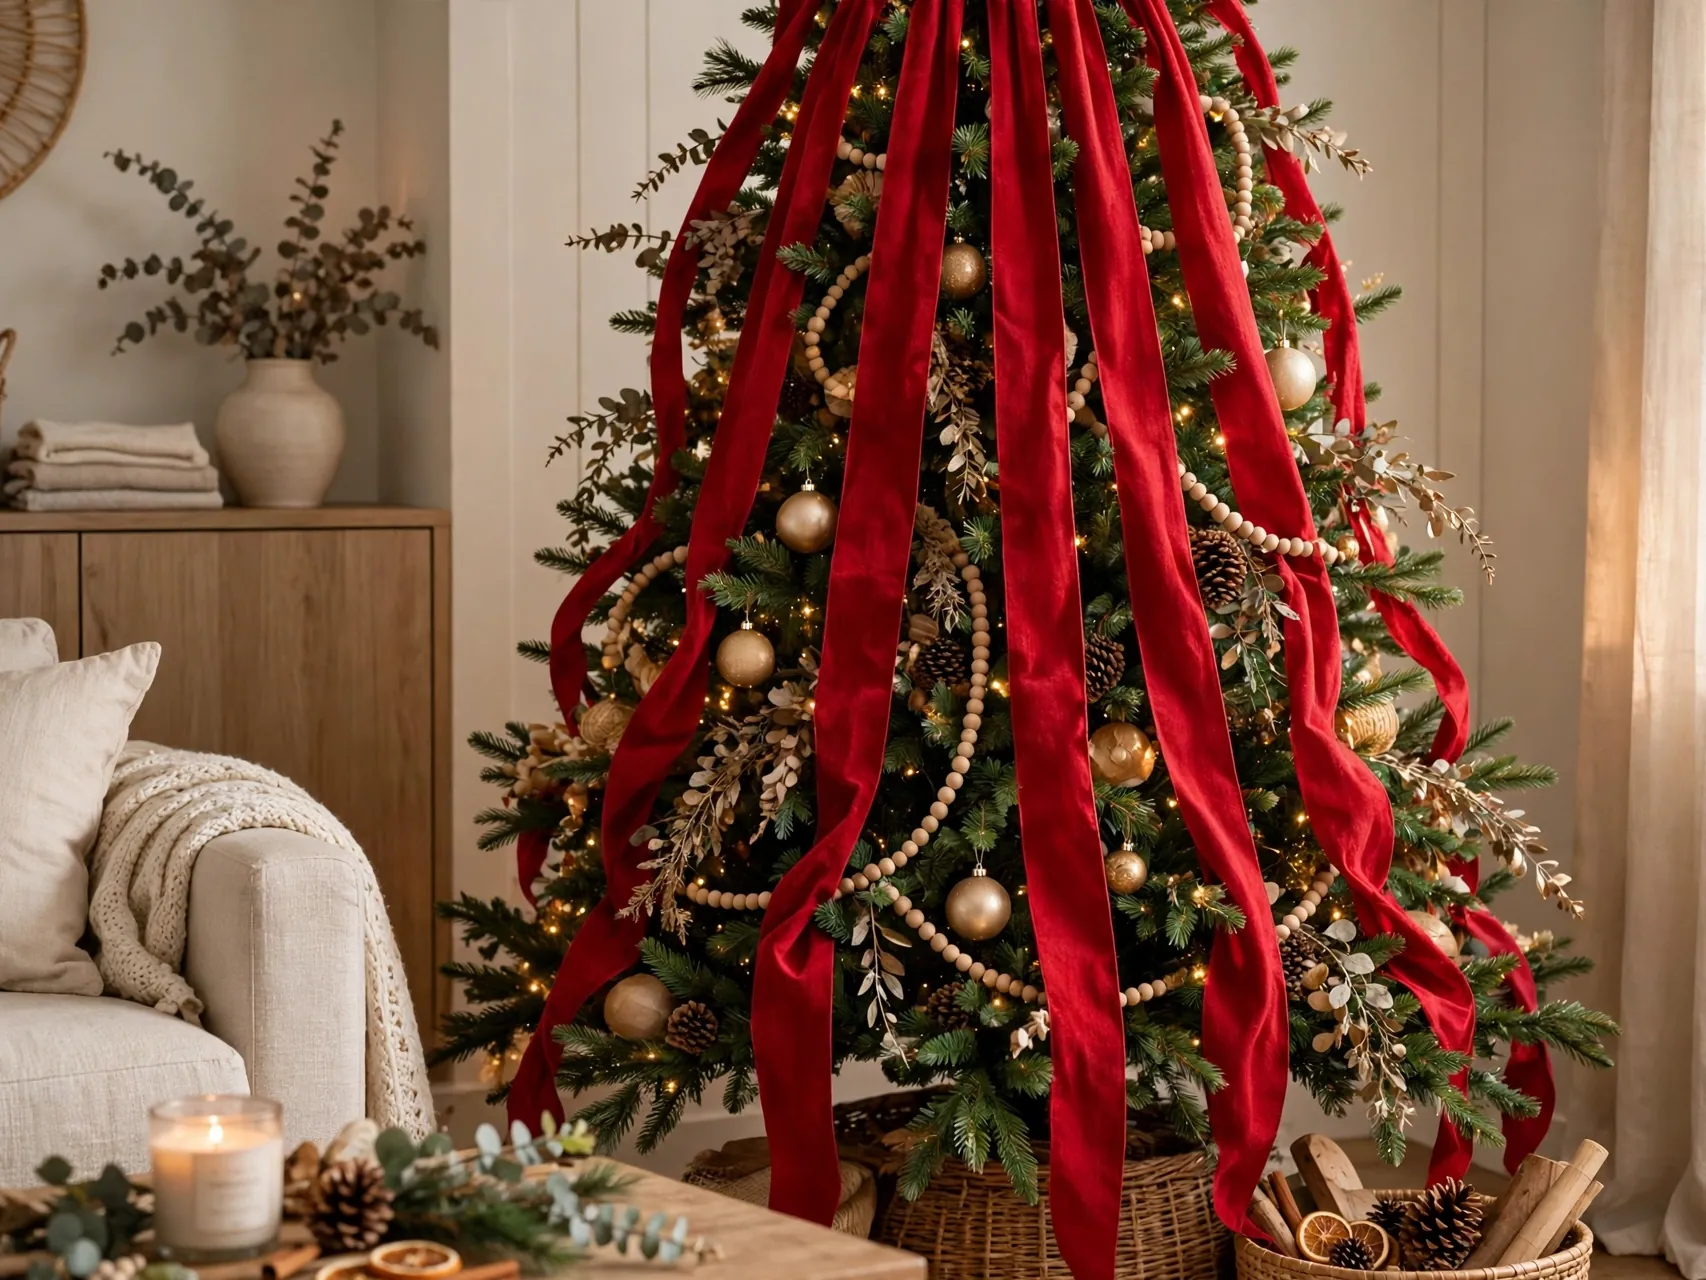
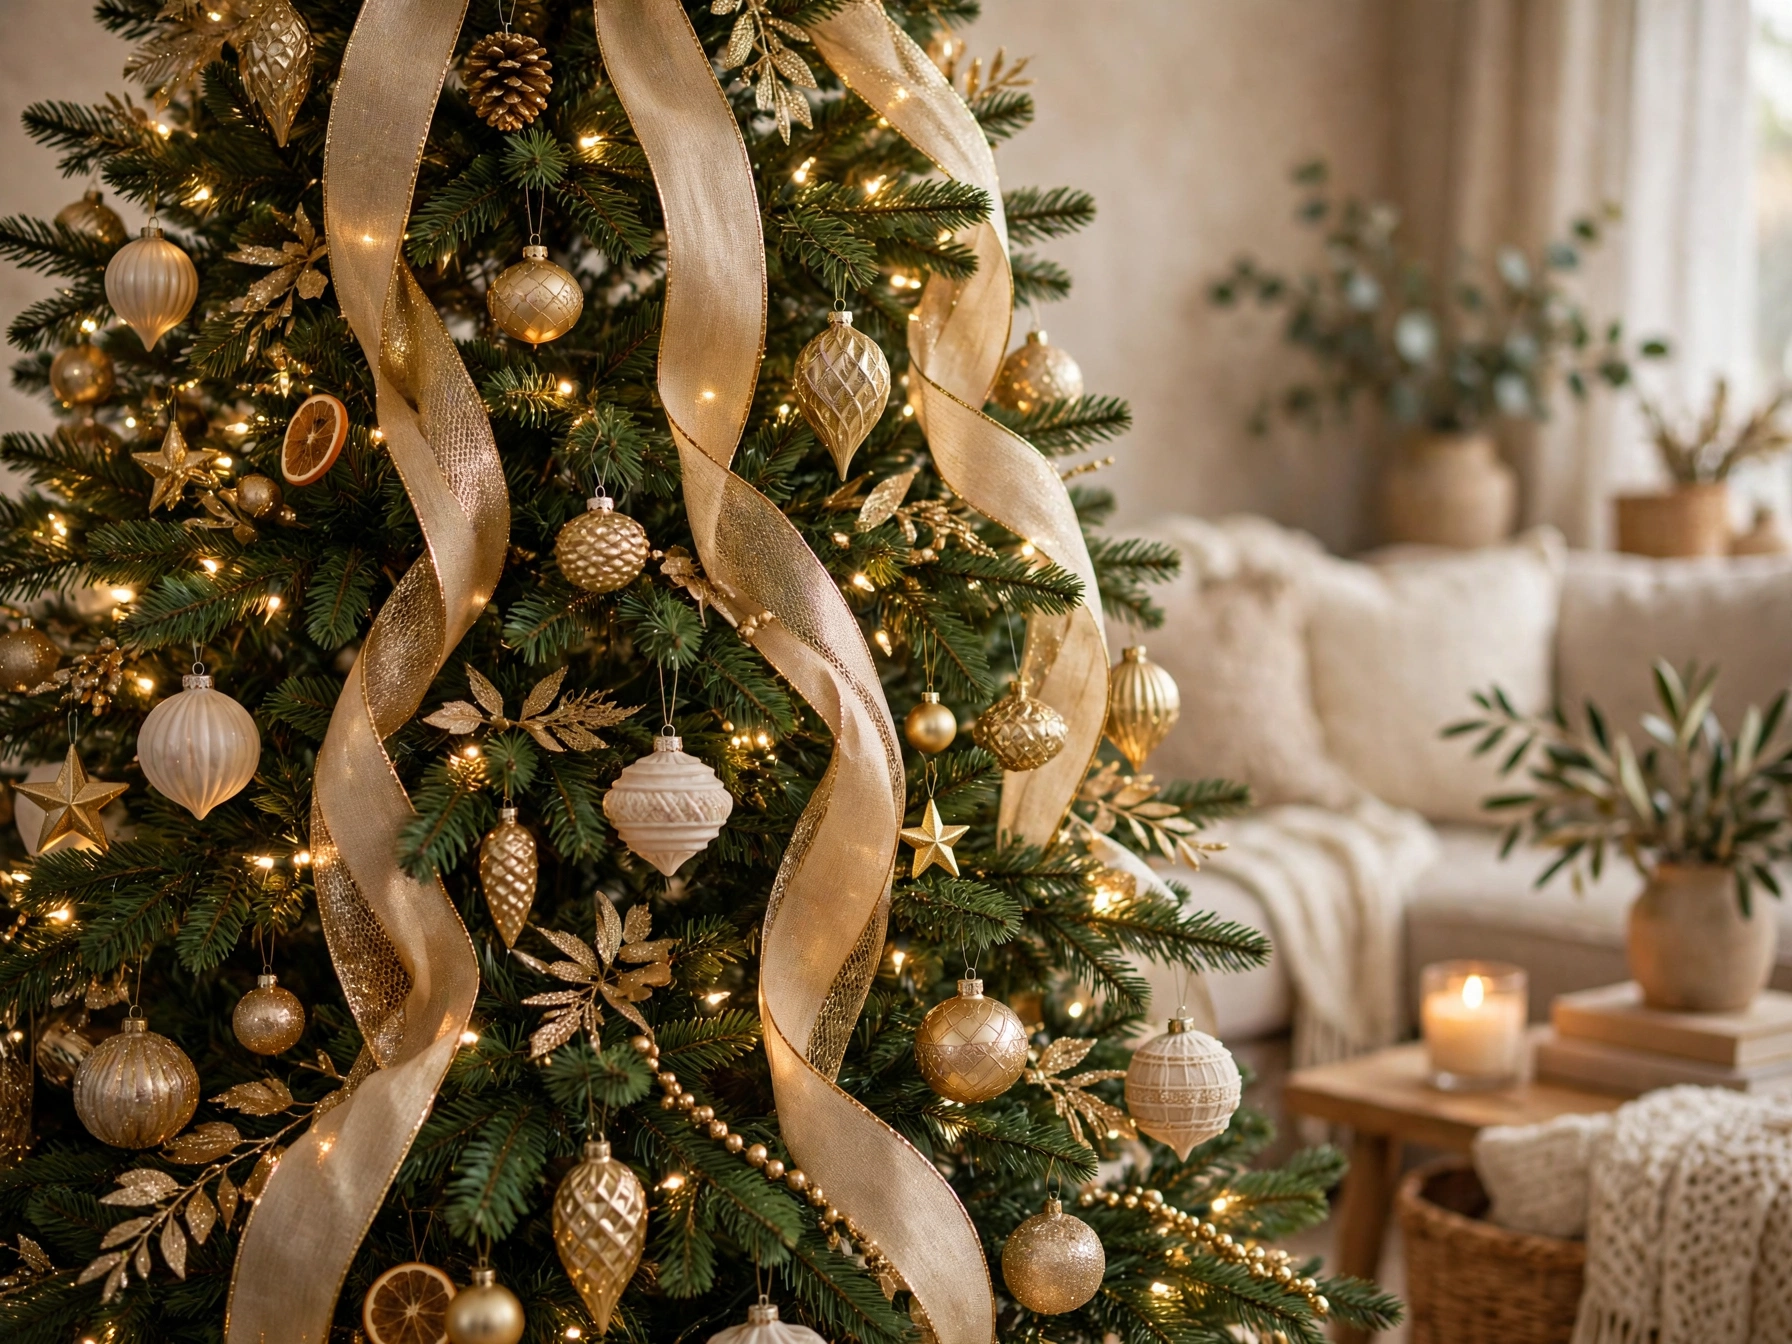
The vertical cascade is the most forgiving method for beginners. Anchor a length of ribbon at the top, let it fall down the tree in a soft S curve, tucking it into the branches every twelve to eighteen inches, and finish at the base.
Repeat with four to six cascades spaced evenly around a full tree. Vertical ribbon on christmas tree designs looks modern, shows off patterned ribbon, and uses less ribbon than a full spiral wrap.
5. Cut Strips Instead of Fighting the Whole Roll
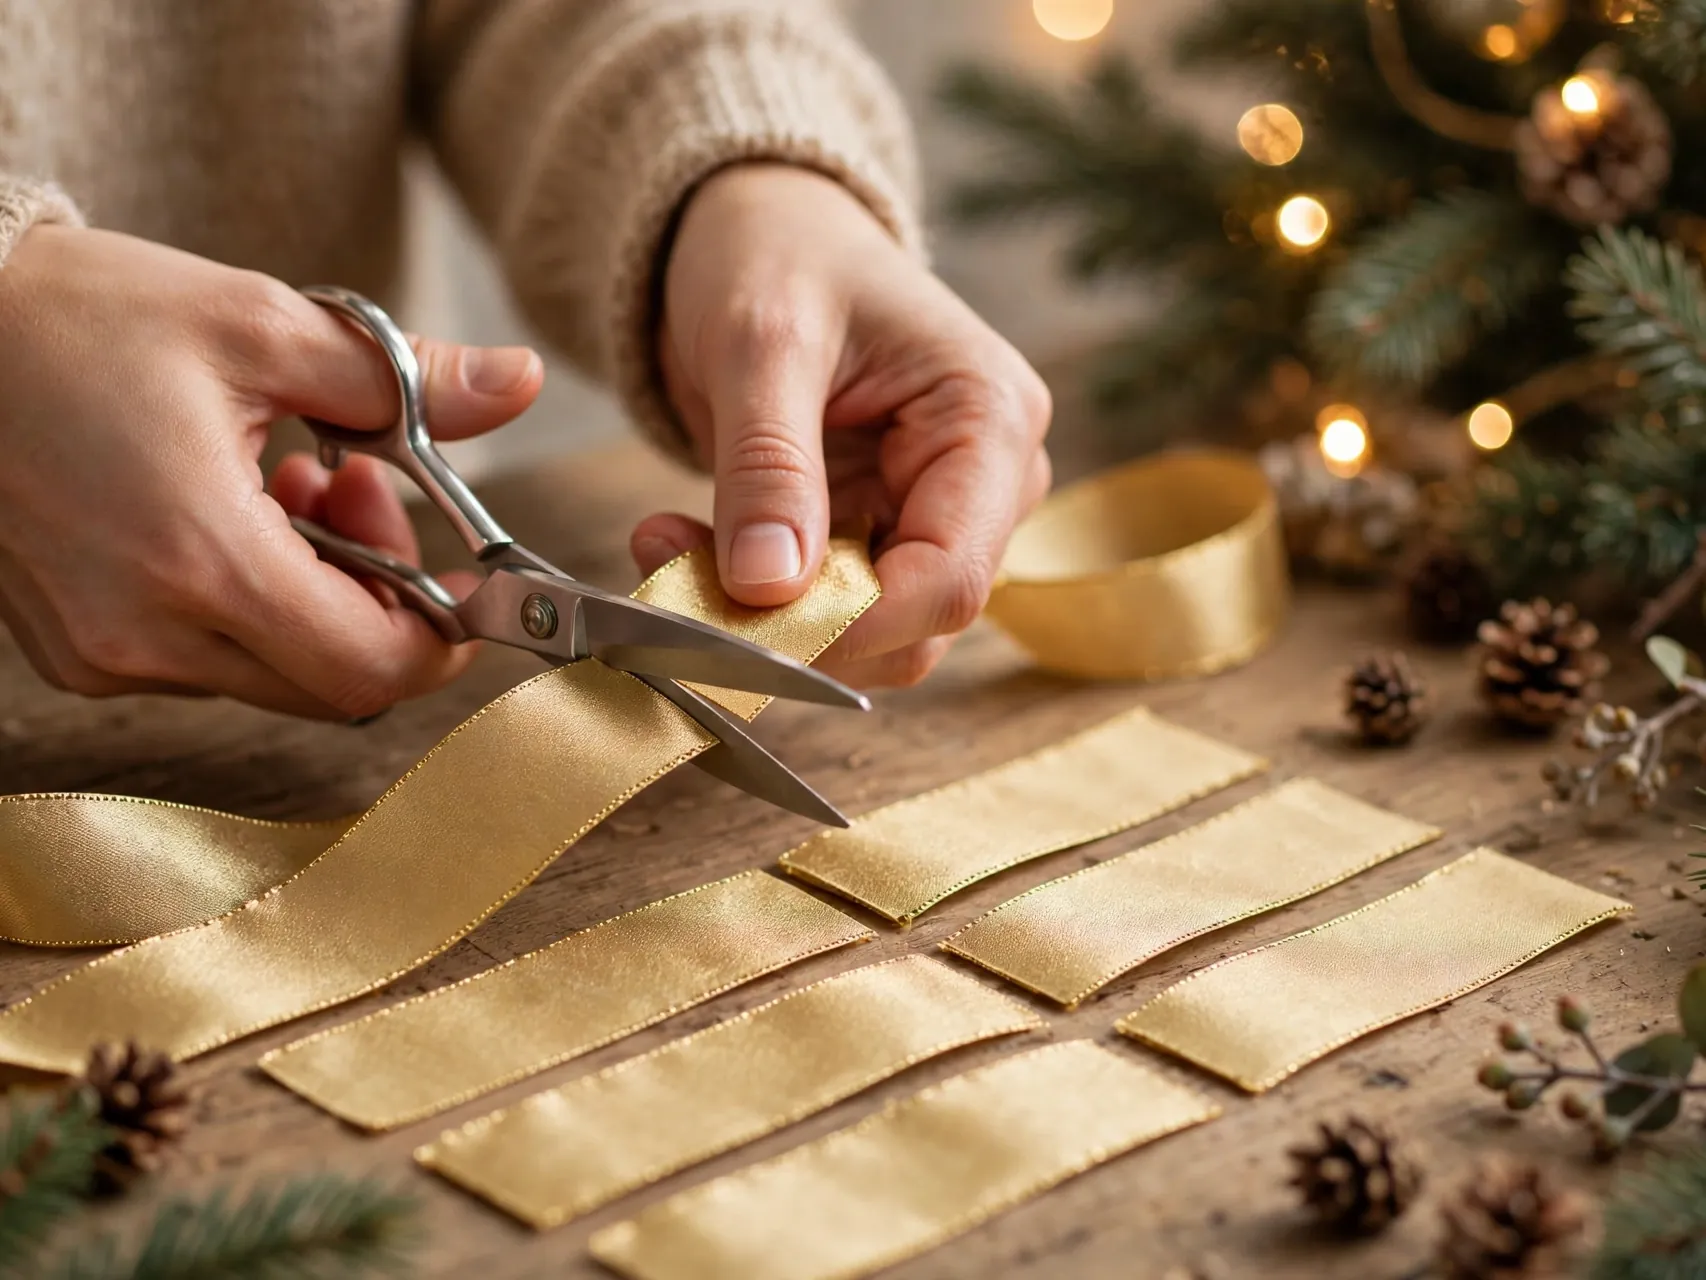
Working from one long roll can tangle and pull. Many decorators cut the ribbon into strips of about one to one and a half yards, place each strip as a cascade or loop section, and tuck both ends into the branches.
Cut strips give you control, even spacing, and easy fixes. If one section looks wrong, you move one strip, not the whole tree. Save this method for wide ribbon, which is the hardest to manage in a continuous length.
6. Anchor the Top End Where No One Can See It

Every cascade or spiral starts with a hidden anchor. Tuck the top end deep near the trunk, twist a branch tip around it, or secure it with a small piece of floral wire or a pipe cleaner in a matching green.
A raw cut edge showing at the top ruins the illusion, so angle the end down into the branches. Check the anchor from your normal viewing distance, not up close, because that is where guests will see it.
7. Push Ribbon Into the Tree, Not Just Onto It
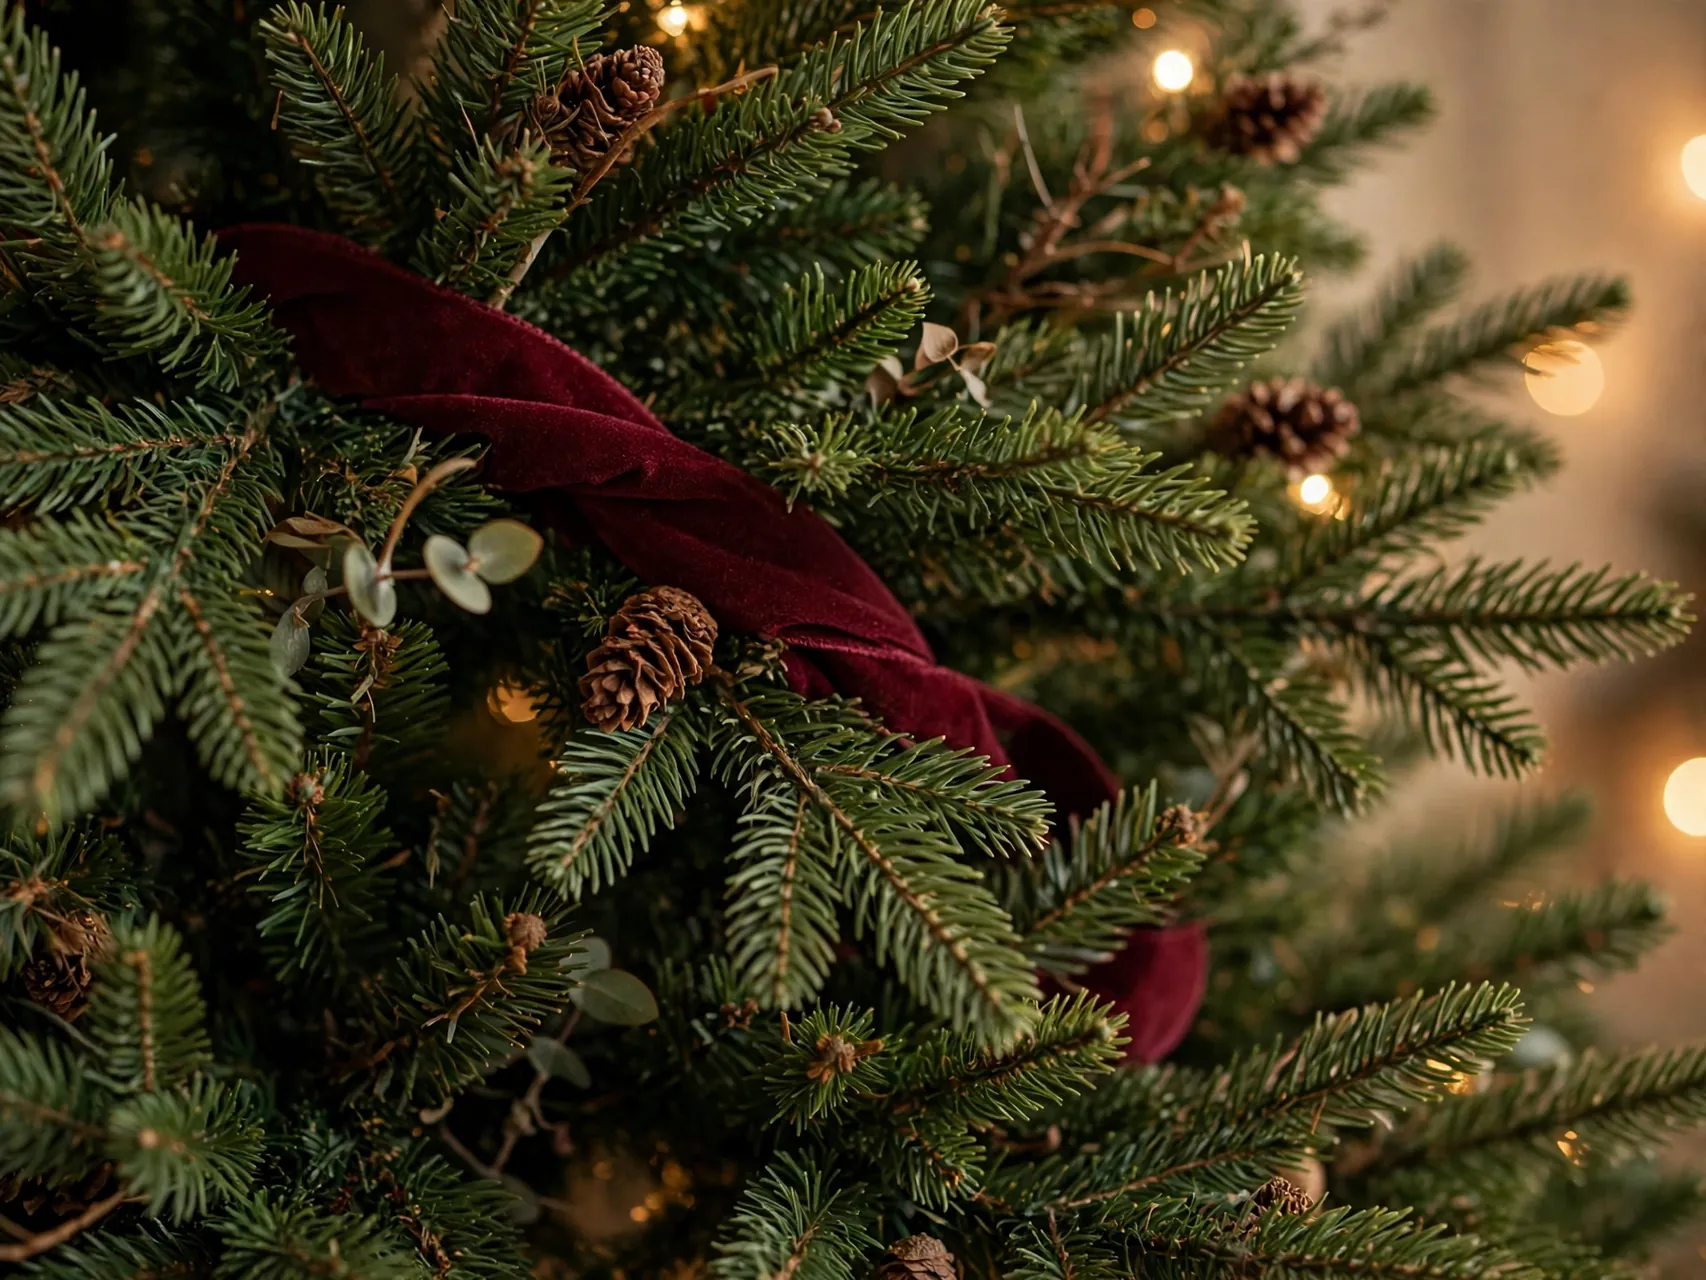
Depth is what separates a styled tree from a wrapped one. Push sections of ribbon six to twelve inches into the branches so some parts sit near the lights and others billow out at the tips.
That in and out rhythm creates shadow, glow, and movement. If your ribbon looks flat in photos, it is almost always sitting only on the surface. One deep tuck per section usually fixes it right away.
8. Form Soft Loops With Your Hands as You Go

Do not lay ribbon in straight lines. As you work down, gather the ribbon, let it loop out toward you, then tuck the gathered point into the tree. The loop stays because the wired edges hold the shape you give them.
Keep loops roughly similar in size for a calm look, or vary them slightly for an organic one. Crisp creases flatten loops, so handle ribbon with open hands and smooth motions rather than squeezing it.
9. Twist the Ribbon to Show Both Sides

Many ribbons are prettier with a little twist. A gentle half turn between tucks catches light differently along the length and adds life to solid colors, especially velvet, satin, and metallic finishes.
For double sided or reversible ribbon, plan the twists so both patterns appear in a rhythm. For plaid and printed ribbon, check that the pattern faces outward where it matters most, near the front and at eye level.
10. Space Cascades Evenly Around the Tree
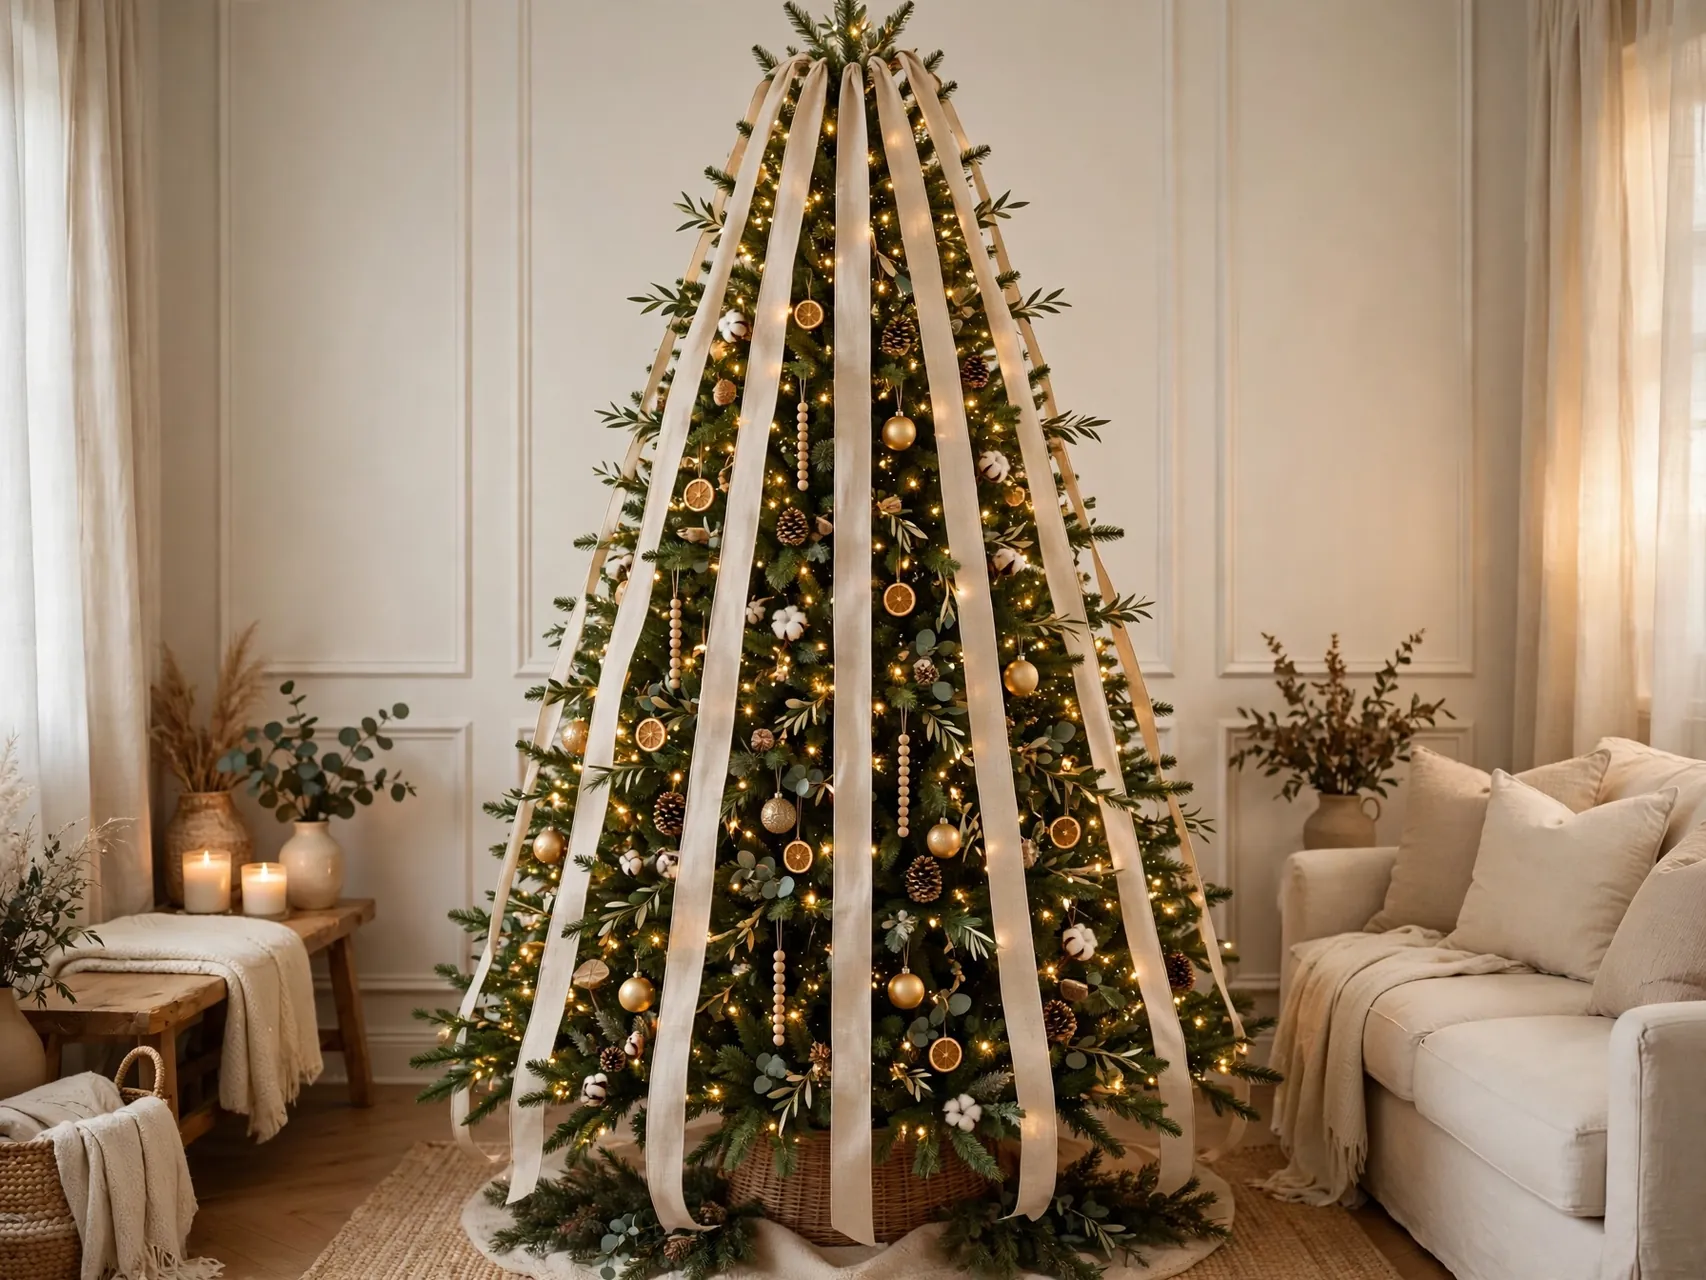
Uneven spacing is the fastest way to make ribbon look accidental. Place your first cascade at the front center, then work around the tree placing the rest at even intervals, turning the tree or walking around it as you go.
Step back across the room after every two cascades. Small spacing errors are invisible up close and obvious from the sofa, and catching them early means moving one strip instead of redoing half the tree.
11. Use the Spiral Method for a Classic Wrap Look

For a traditional spiral, anchor at the top and work down and around in a loose diagonal, tucking the ribbon in and out of branches instead of laying it on top. Keep the diagonal angle steady so the rows stay even.
The spiral uses the most ribbon and suits full, wide trees best. On slim trees it can overwhelm the branches, so choose cascades or loops there instead. Never pull a spiral tight, or the tree will look squeezed.
12. Layer Two Ribbons for a Designer Finish

Layering is a favorite christmas tree ribbon ideas move. Place a wide, solid or sheer ribbon first as the base, then add a narrower patterned or metallic ribbon in the same cascades, slightly offset, so both show.
Keep the pair in the same color family, like cream with gold, or red with a red plaid. Two competing patterns will clash. Place the wide layer fully before starting the narrow one, so spacing stays consistent.
13. Match Ribbon Width to Tree Size

Scale keeps ribbon looking right. Tabletop and slim trees suit one and a half to two and a half inch ribbon, most home trees suit two and a half to four inches, and very large trees can carry four inch ribbon plus a second narrow layer.
If ribbon swallows the branches, go narrower or use fewer cascades. If it disappears into a full tree, go wider. Photograph the first cascade and judge the photo, it tells the truth faster than your eyes do.
14. Finish Ends With a Fishtail or Angled Cut
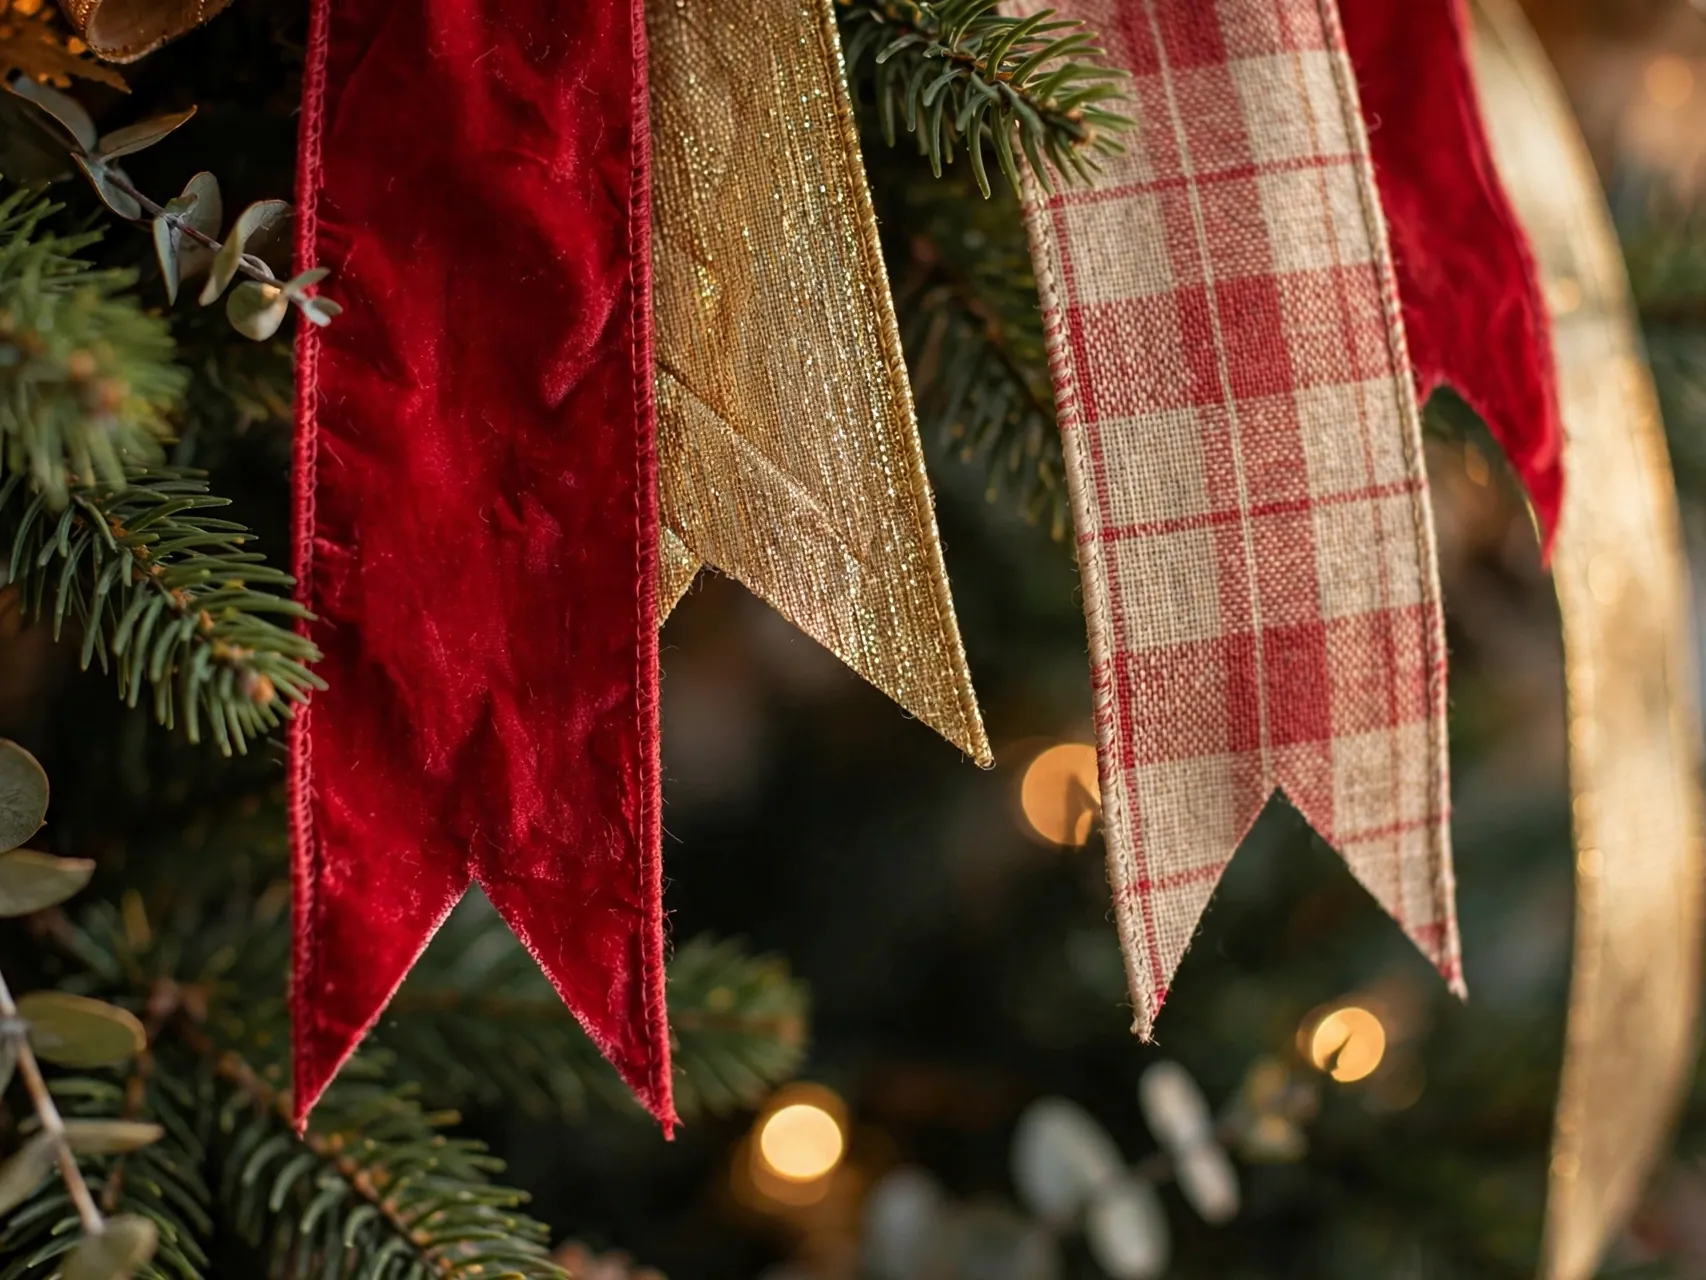
A clean end makes ribbon look tailored. Fold the end in half lengthwise and cut diagonally from the fold toward the outer edge to create a fishtail, or simply cut a sharp angle for a clean, modern finish.
Let one or two finished ends show at the bottom of cascades where they can hang slightly. Tuck all other ends deep into the tree. Ragged or straight blunt ends are a small detail that guests notice more than you expect.
15. Let Ribbon Pool Softly at the Base

For an elegant finish, let the last cascade run a little long and pool gently onto the tree skirt. Shape the pool with the wired edges so it curves rather than crumples, and keep it clear of walkways and heat vents.
Pooling works best with velvet, satin, and wide wired ribbon. On carpet in a busy family room, a tucked finish is more practical. Choose the ending that suits your household, not just the photo.
16. Fill Gaps With Ribbon Instead of More Ornaments

Every tree has a thin spot. A short extra strip of ribbon, looped once and tucked into the gap, fills the space with color and texture and costs almost nothing compared with more ornaments.
Keep a few spare strips aside for exactly this job before you put the scissors away. Step back, find the gaps from viewing distance, and place ribbon where the eye lands, not where it is easiest to reach.
17. Secure Loose Sections With Branch Tips First
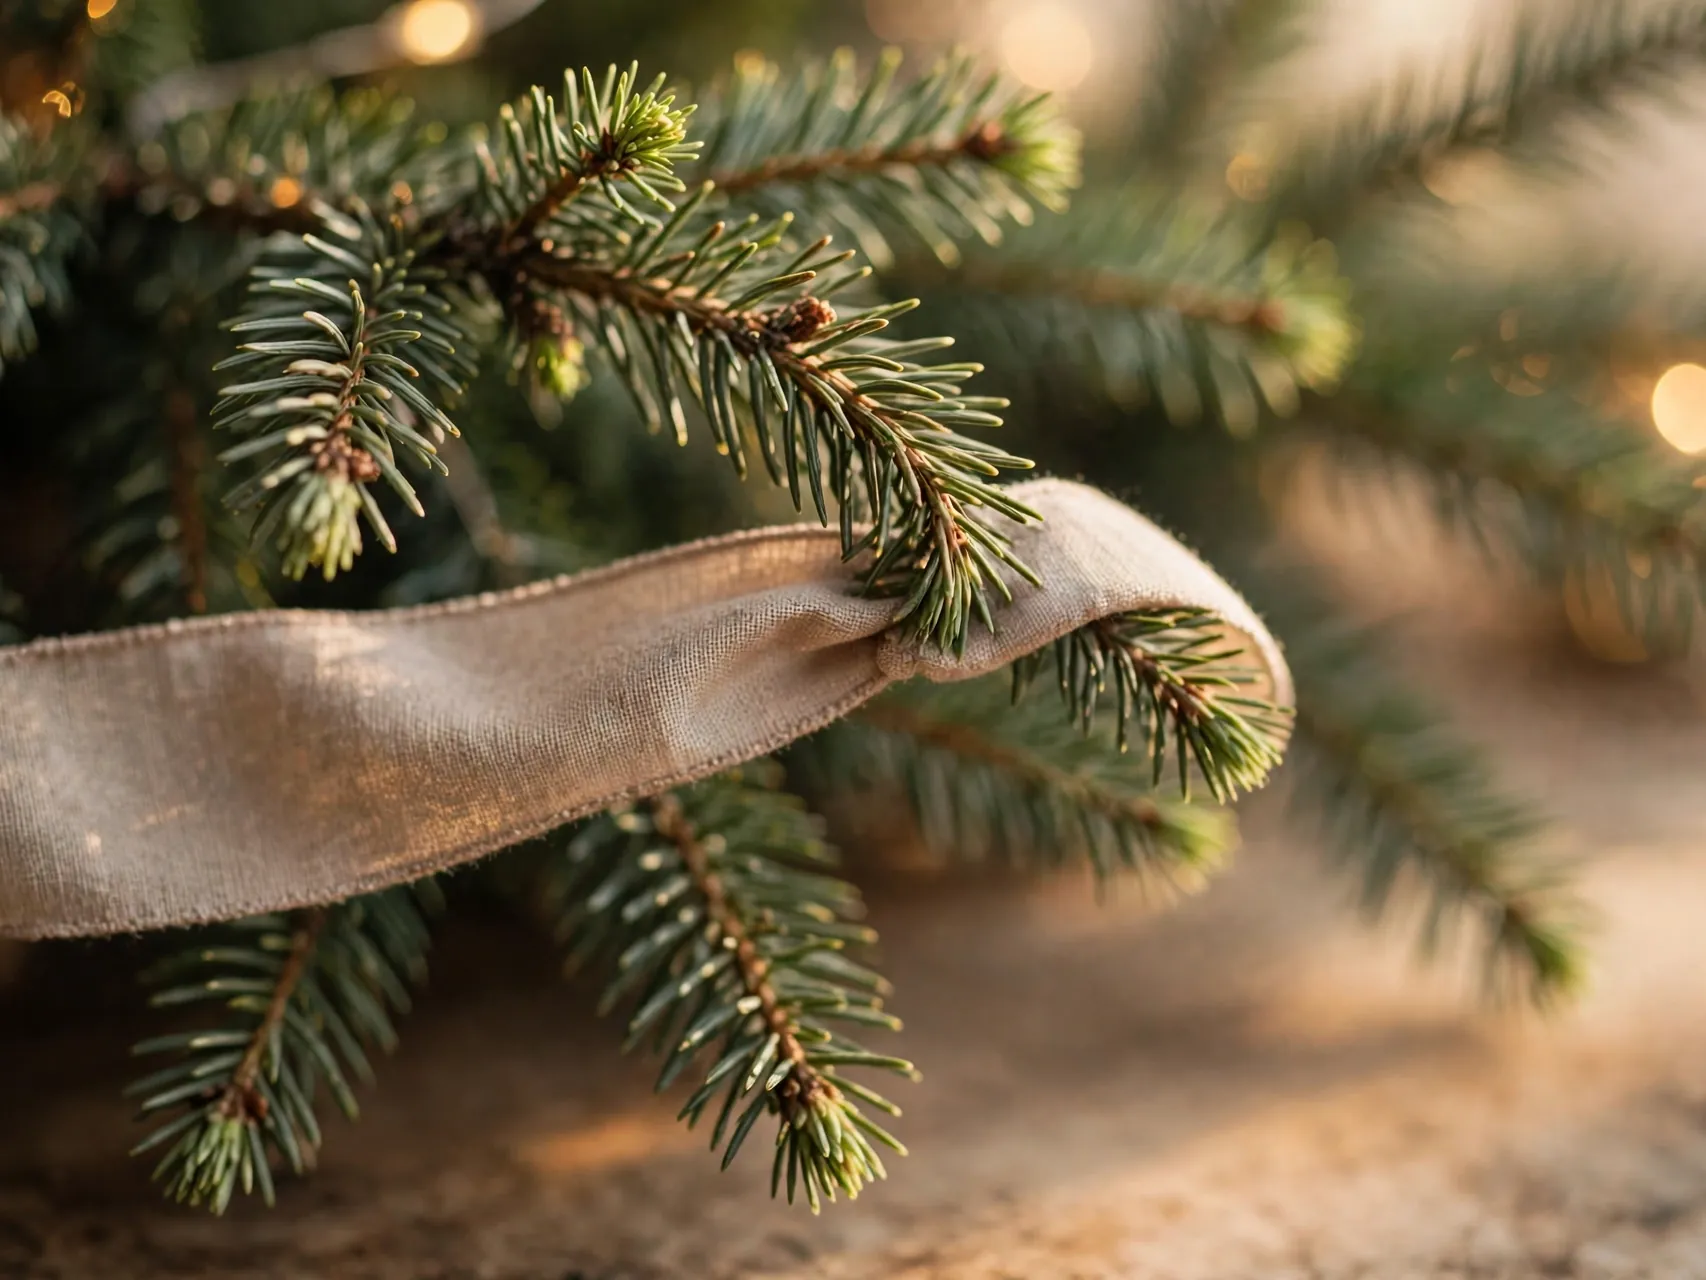
On most artificial trees, a bent branch tip holds ribbon perfectly well. Twist the tip gently around the gathered ribbon point and move on. This keeps the whole design removable in January with no clips to hunt for.
Use floral wire, pipe cleaners, or small pins only where branches are too soft or the tree is real. Whatever you use, keep sharp ends tucked inward and away from hands, kids, and pets exploring the lower branches.
18. Keep Ribbon Clear of Bulbs and Heat
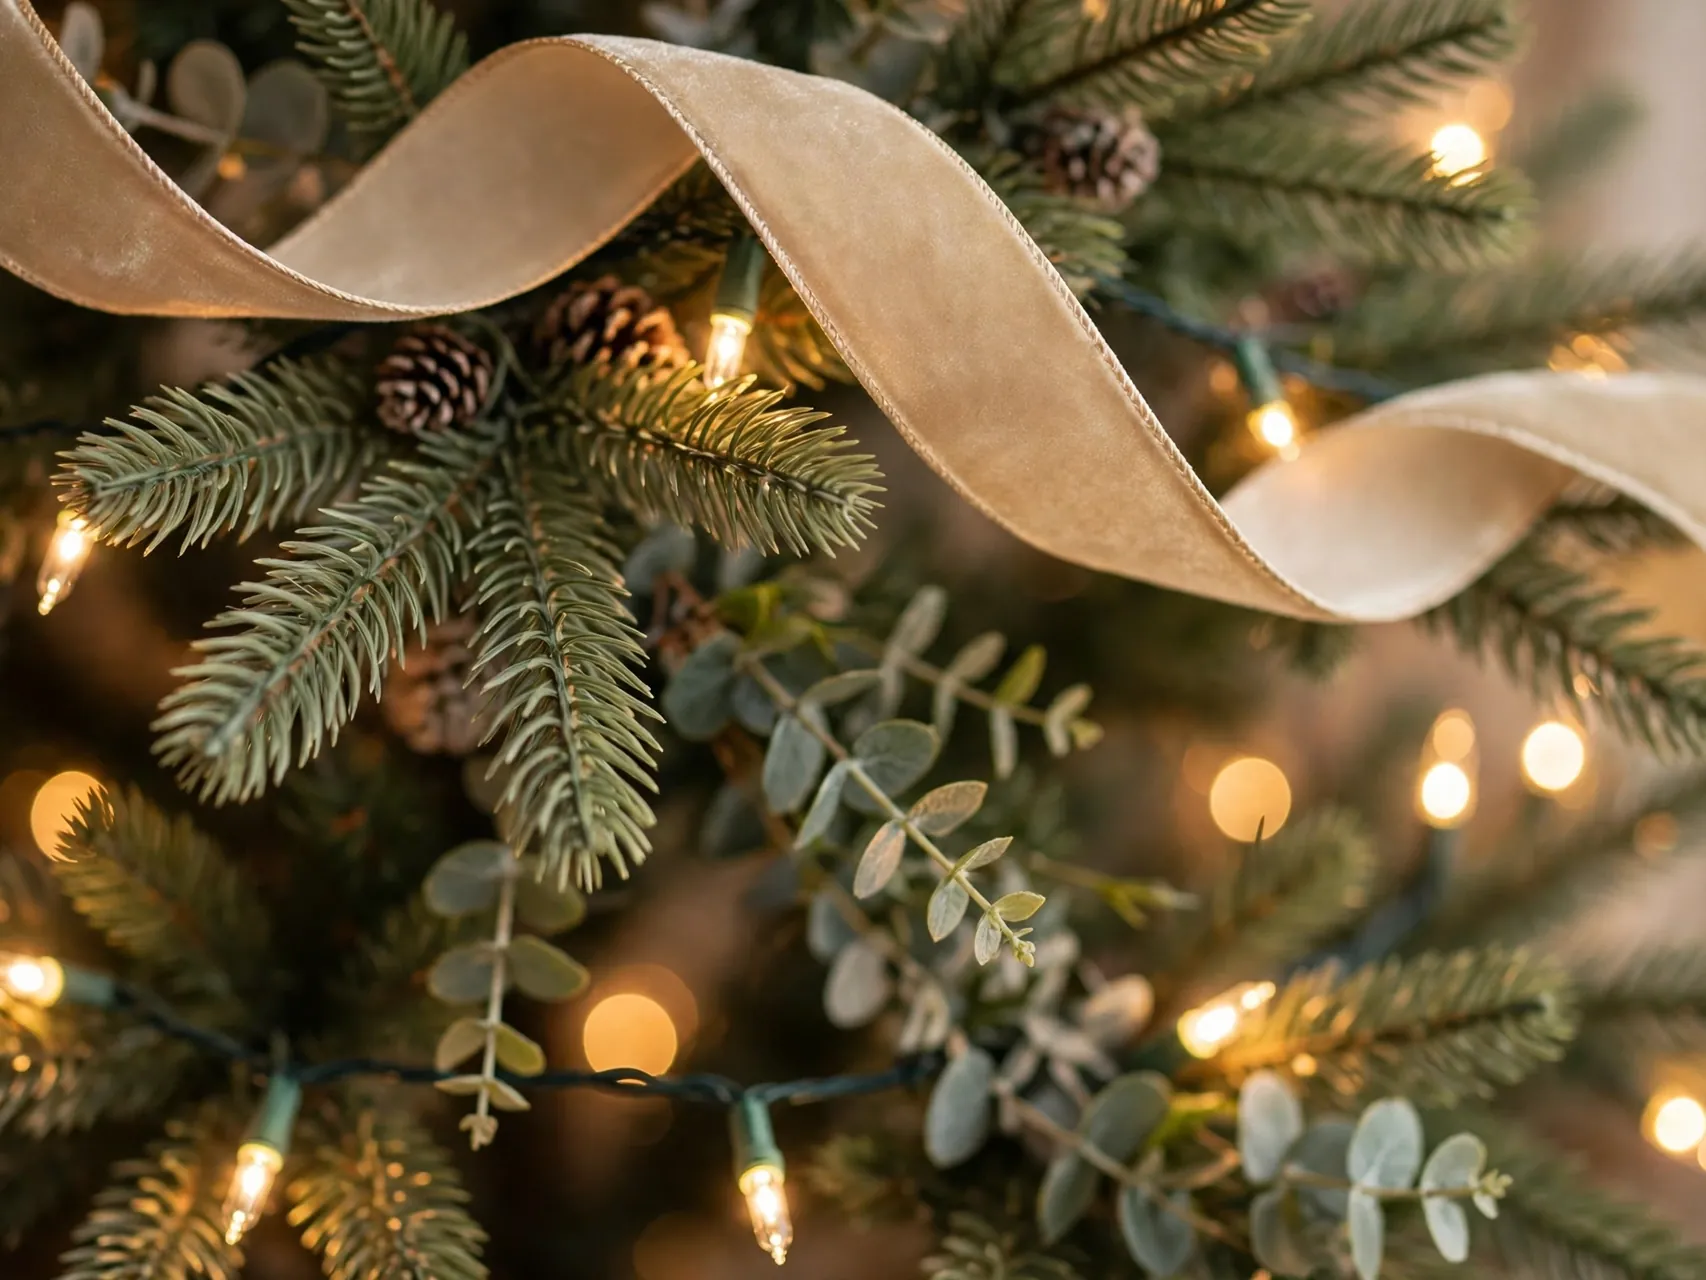
Ribbon should sit near lights for glow, not pressed against bulbs. Leave a little space around each bulb, especially with older light sets, and never drape ribbon over a bulb or wedge it against one.
Inspect strands for worn cords or loose connections before ribbon goes on, and replace damaged sets. Keep the finished tree at least three feet from fireplaces, radiators, and other heat sources, as NFPA guidance advises for trees in general.
19. Work in Natural Light, Then Check at Night
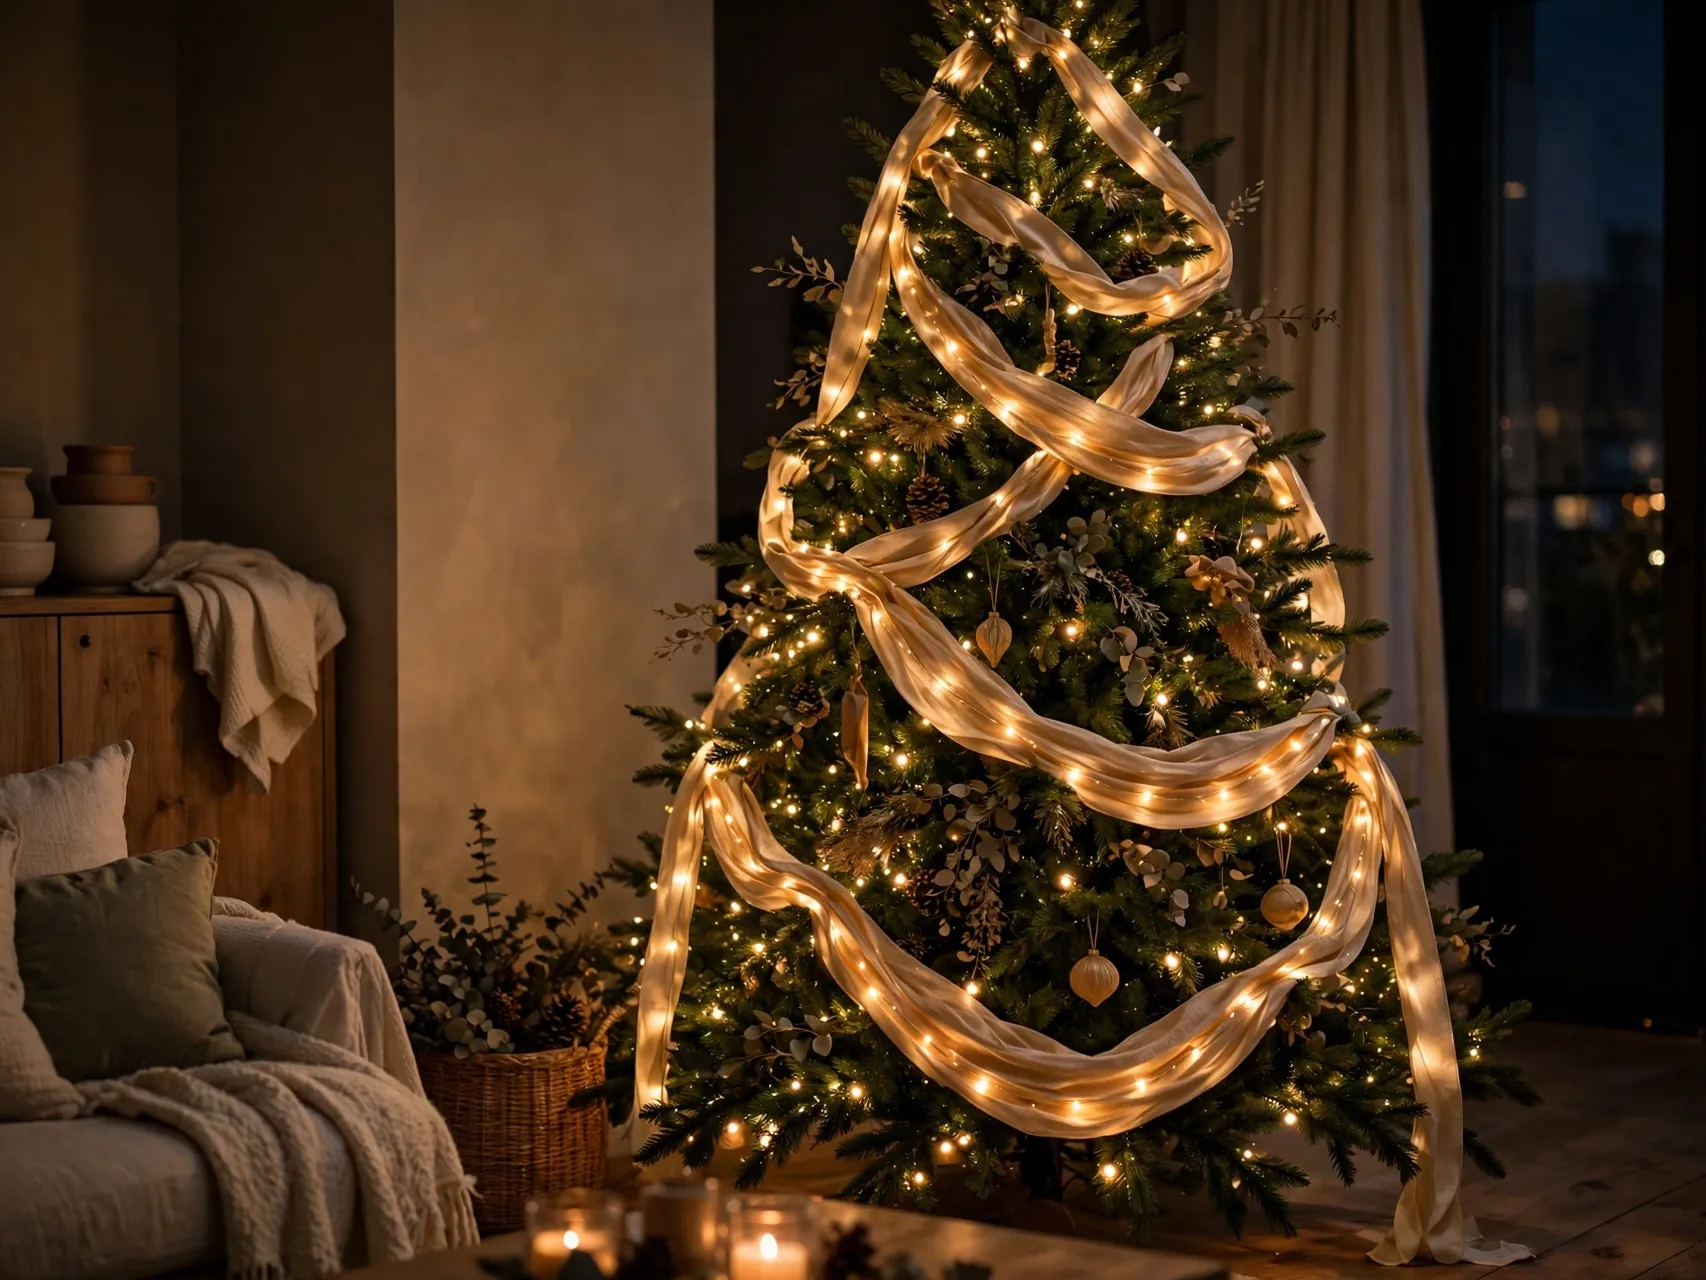
Ribbon color changes with light. Velvet that looks deep red at noon can look almost black at night, and metallic ribbon can glare under warm bulbs. Decorate in daylight for accuracy, then do a night check with only the tree lights on.
Adjust one or two loops after the night check rather than redoing sections. Most trees need only small moves, usually deepening a tuck or opening a loop where the lights make a shadow.
20. Photograph the Tree to Spot Ribbon Problems

Your phone is the best styling tool you own. A photo flattens the tree and instantly shows uneven spacing, flat sections, hidden ribbon, and one side doing all the work. Take one photo from the doorway and one from the sofa.
Fix only what the photo shows. It is easy to keep fussing up close and make a good tree fussy. Two photo checks, one halfway and one at the end, are enough for most homes.
21. Adjust for Slim and Pencil Trees

Slim trees need less ribbon and a lighter touch. Three cascades are often plenty, in a narrower width, with smaller loops that match the smaller branch scale. A heavy spiral will hide a pencil tree almost completely.
Let plenty of green or flocking show between cascades. On a slim tree, that breathing room is the design, and ornaments can be smaller and fewer too. The result reads tall and elegant rather than crowded.
22. Use Ribbon to Set the Color Story First

Because ribbon covers so much area, it decides the palette. Choose ribbon before ornaments, then pick ornaments that support it. Red plaid ribbon calls for warm, classic ornaments, champagne ribbon calls for gold and cream, black ribbon calls for strong contrast.
Repeat the ribbon color once in the room, in a mantel bow, a wreath, or gift wrap. That single repeat is what makes the tree feel like part of the room. This is the heart of learning how to put ribbon on a christmas tree like a stylist.
23. Fix Flat or Messy Ribbon With Steam and Hands

Crushed ribbon can usually be saved. Smooth it with your hands first, reshape the wired edges into gentle waves, and if the fabric allows, use light steam from a distance following the ribbon maker care guidance, never soaking it.
If one section refuses to behave, replace just that strip. Ribbon is forgiving and relatively inexpensive, and one fresh piece among styled pieces will blend in once the ornaments are on.
24. Store Ribbon on Spools So Next Year Starts Easy
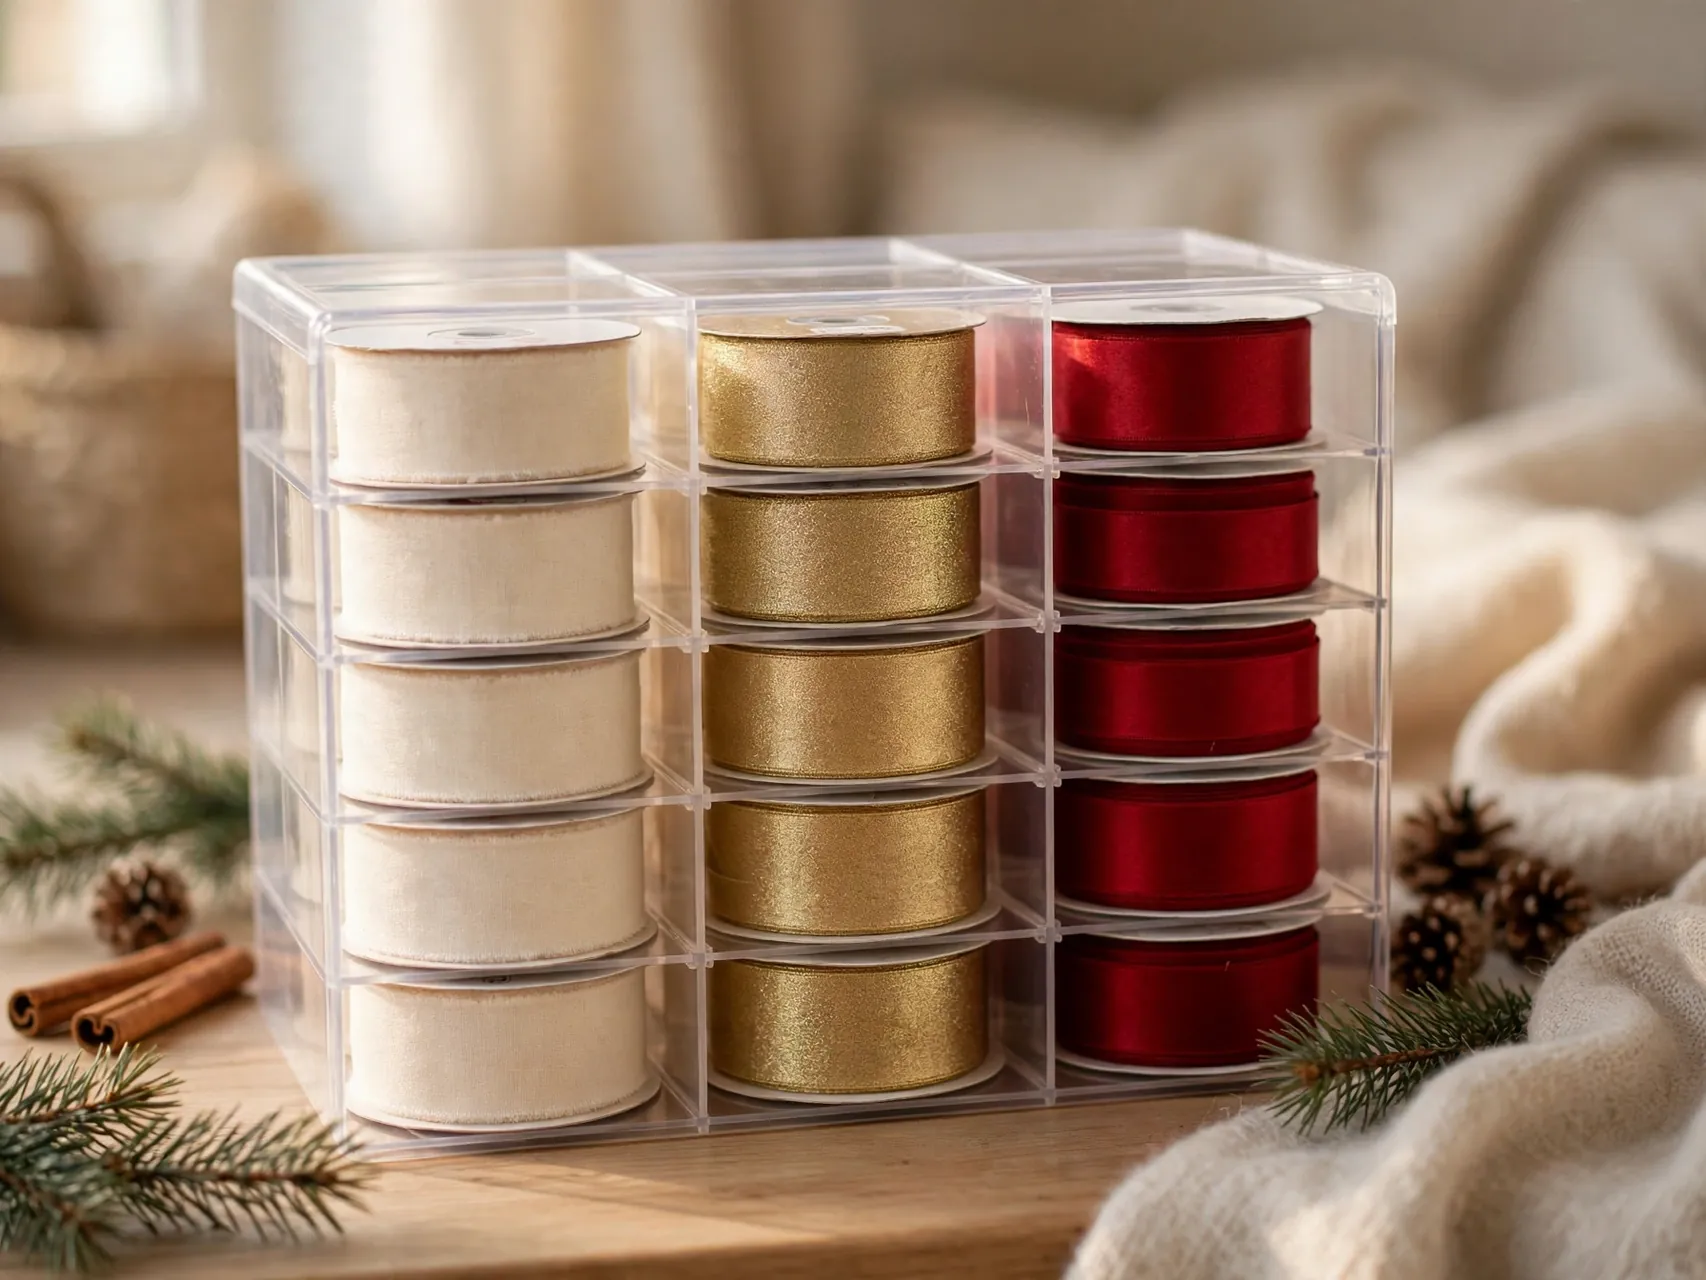
Roll ribbon back onto its spools or onto cardboard pieces in January, secure the ends with a pin or tape, and store it away from heat and crushing. Wired ribbon keeps its memory, so how you store it decides how it behaves next December.
Note your method and amounts on the spool or in your phone, including how many cascades you used. Next year you will know exactly what worked, and setup becomes a calm repeat instead of a new experiment.
FAQ
Does ribbon go on a Christmas tree before or after ornaments?
Ribbon goes on after the lights and before the ornaments. That order lets you tuck ribbon deep into the branches without knocking ornaments off, and the ornaments then fill small gaps and sit in front of the ribbon for a layered finish. Picks and toppers go on last of all.
What is the easiest ribbon method for beginners?
The vertical cascade with cut strips is the easiest. Each strip is placed on its own, anchored at the top, tucked once or twice as it falls, and finished at the bottom. If one strip looks wrong, you adjust only that strip, which keeps the whole job low stress.
How do I keep ribbon from sliding down the tree?
Use wired ribbon, tuck gathered points deep into the branches, and secure each tuck with a bent branch tip. On real trees or soft branches, add a small piece of floral wire or a pipe cleaner at the top anchor and at any point that carries weight. Avoid pulling ribbon tight, which makes sliding worse.
Can I use non wired ribbon on a tree?
You can, but it works best in bows and short tucked pieces rather than long cascades, because it will not hold loops or waves. Velvet and satin non wired ribbon drapes softly and suits swag styles. For any flowing method in this guide, wired ribbon will give a far better and longer lasting result.
How do I choose between a spiral and cascades?
Choose a spiral for a full, wide tree and a classic wrapped look, and cascades for slim, small, or modern trees and for showing off a beautiful ribbon pattern. Cascades also use less ribbon and are easier to adjust. Many homes mix them, cascades in front and simple loops at the back.
Key Takeaways
- Wired ribbon is non negotiable: It holds loops, waves, and cascades, while non wired ribbon sags and slips.
- Order is lights, ribbon, ornaments: That sequence protects your work and builds depth from the inside out when you practice how to put ribbon on a christmas tree.
- Depth beats wrapping: Push ribbon into the branches and let it billow out, never pull it tight around the tree.
- Even spacing, checked from afar: Step back and photograph the tree, small spacing fixes make the biggest visual difference.
- Safety stays simple: Ribbon clear of bulbs, inspected listed lights, and the tree at least three feet from heat sources.
- Ready to style your tree? Pin this guide to your Christmas board on Pinterest so every tip is at hand on decorating day.