21 Camper Curtain Makeover Ideas That Look Brand New
Introduction
A dated camper often gives itself away at the windows. Heavy factory valances, faded pleated shades and stiff cornices make even a clean interior look tired, while fresh curtains soften every wall and pull a color scheme together in an afternoon. A good camper curtain makeover is one of the fastest, cheapest changes you can make, and most versions need no sewing at all.
Start by removing one old treatment and looking at the bare window. Note where screws sit, whether a cornice hides useful space, and how much privacy and darkness you actually need in that spot. Bedrooms want blackout, living areas want filtered light, and the kitchen wants fabric that washes easily and stays clear of the stove.
Measure every window separately, because camper windows are rarely identical. Keep fabric clear of heater vents, exits and the driver view, test any adhesive on a hidden spot first, and secure panels so they stay put on travel days. With those basics handled, pick the ideas below that fit your rig and your budget.
1. Remove the Factory Valances and Start Clean

Taking off bulky upholstered valances and cornice boxes is the single biggest visual change in most campers. Unscrew them slowly, keep the screws in a labeled bag in case you ever want them back, and fill or cover old holes with matching trim or a rod mounted higher.
Once the boxes are gone, windows look taller and more light reaches the room. Many owners find the bare window already looks newer, which makes choosing a simpler, lighter curtain treatment much easier.
Work one window at a time and keep a small tray nearby for screws and brackets so nothing gets lost in cushions or carpet. Wipe the wall and frame with a damp cloth once the box is off, because dust and old adhesive show up clearly once the bulky cover is gone and fresh paint or trim is easier to judge on a clean surface.
2. Mount Rods High to Make Windows Look Taller
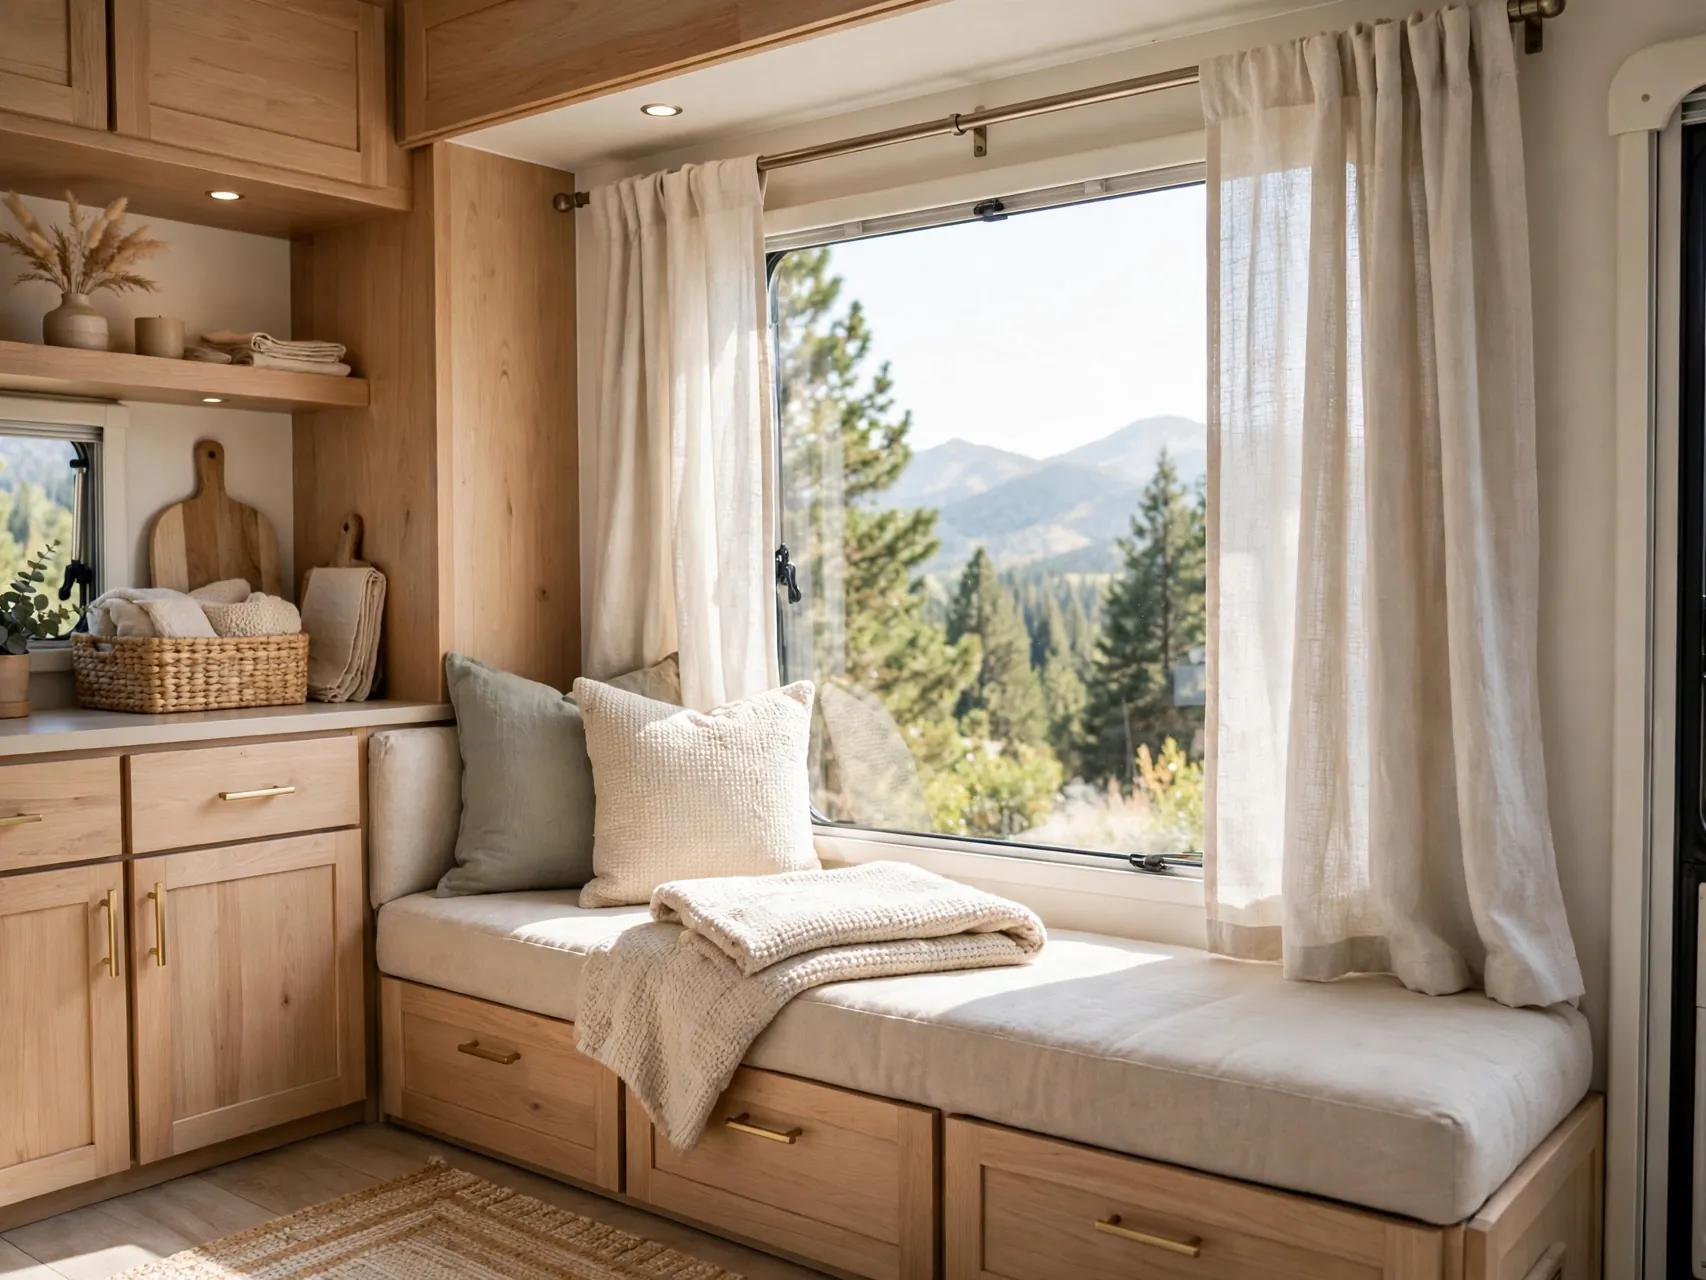
Hang curtain rods close to the ceiling or the top of a slide out wall instead of right at the window frame. The extra fabric above the glass tricks the eye into reading a taller window, the same trick used in small apartments.
Use lightweight rods and brackets made for the thin walls in campers, and check for wiring or structure before drilling. In slide outs, confirm the rod and finials clear the slide seals when the room moves in and out.
3. Sew Simple Panels From Flat Sheets
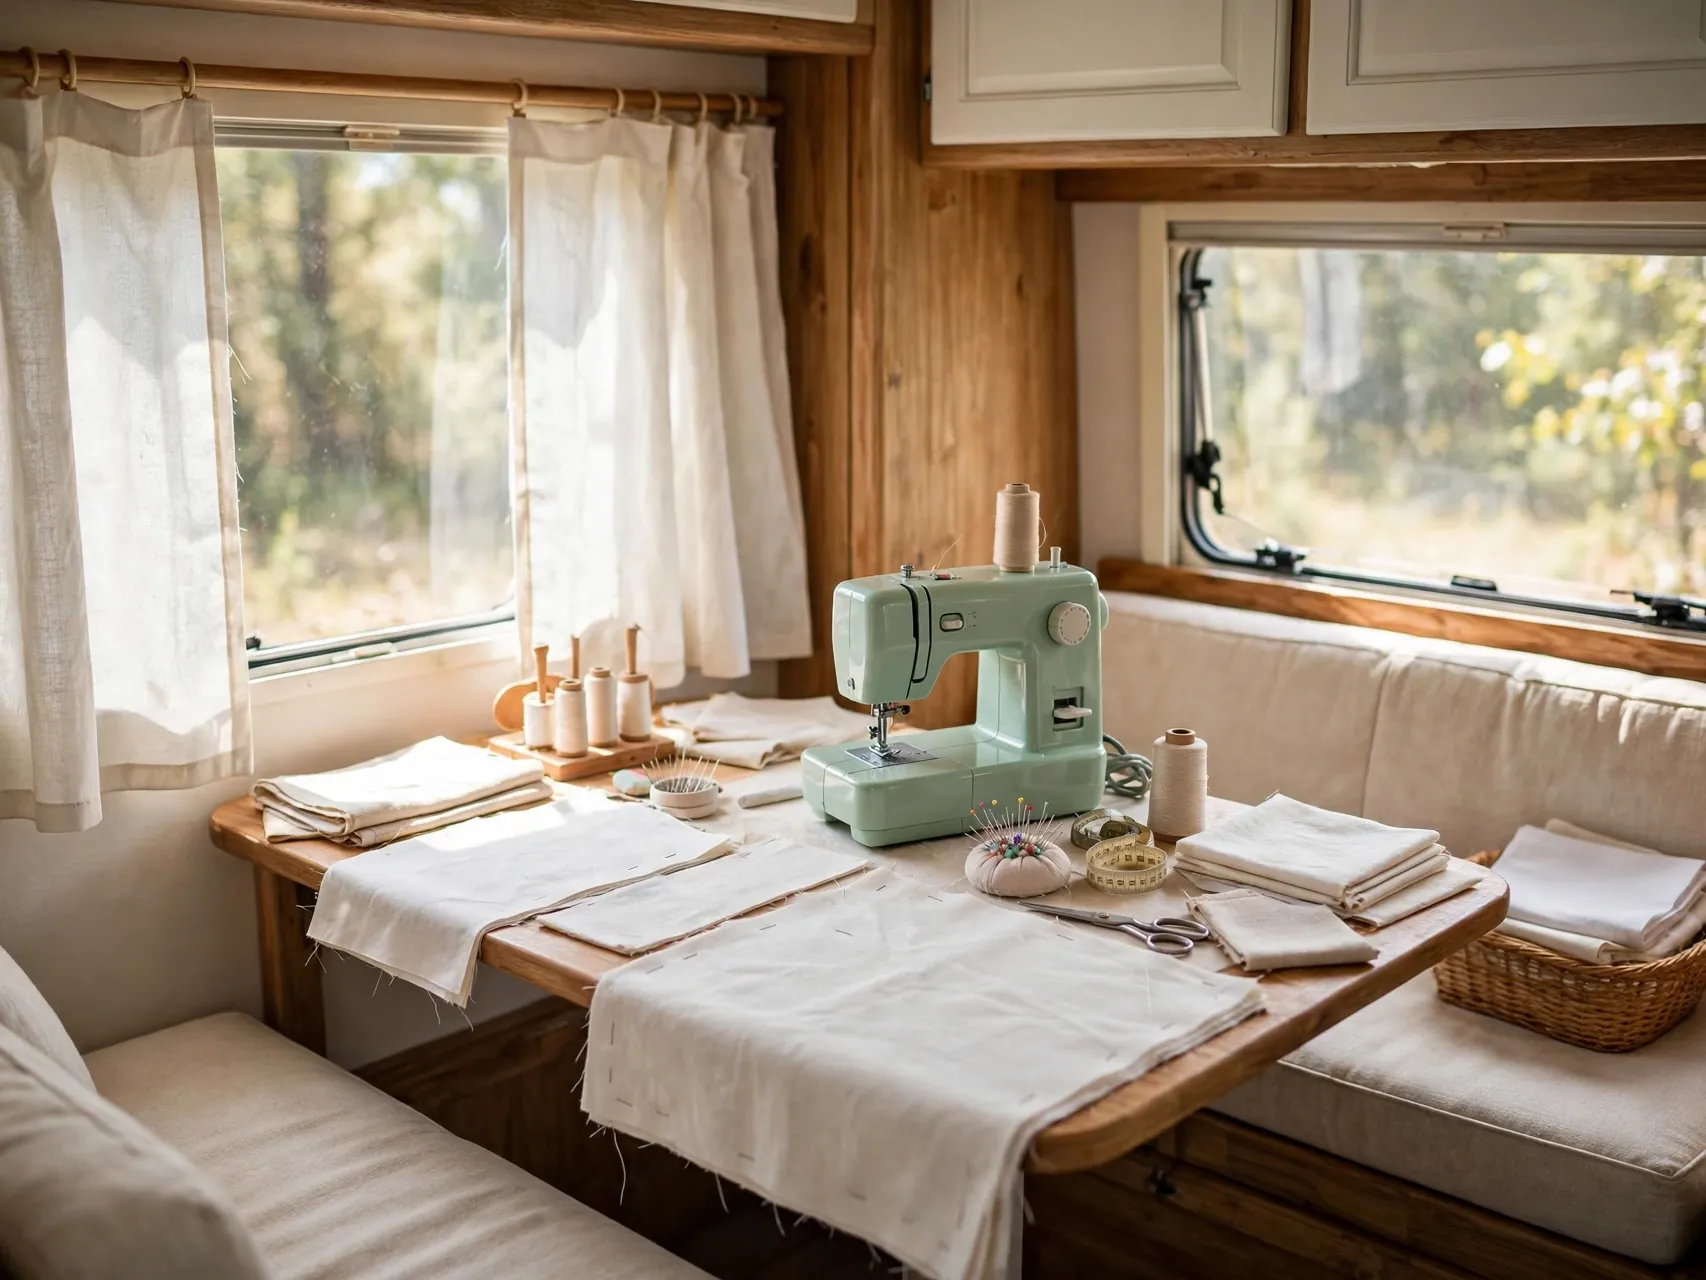
Flat twin sheets are a classic budget source for camper curtains because the edges are already hemmed. Cut each sheet to length, fold and stitch or fuse a rod pocket at the top, and hem the bottom with iron on tape if you do not sew.
White sheets give a bright, sheer like look with more privacy than true sheers. Patterned sheets work too, and because sheets wash and dry fast, this is a forgiving first project for a kitchen or kids bunk area.
4. Try No Sew Curtains With Hem Tape and Clip Rings

If sewing is not your thing, clip rings plus iron on hem tape can build a full set of panels in one afternoon. Fold the top edge, press it flat, and clip rings evenly across so the fabric hangs in soft, even folds.
Choose lightweight cotton, linen look fabric or tea towels for small windows. Clip rings also make panels easy to slide, remove for washing, and swap seasonally, which suits campers that change decor with the trip.
Space clip rings about 4 to 5 inches apart so the top edge does not sag between clips. Press the hem tape with a warm iron and let each section cool fully before hanging, because moving the panel while the bond is still warm can pull the fold loose.
5. Add Blackout Panels in the Sleeping Areas

Bedroom and bunk windows benefit most from blackout fabric, which helps with early campground light, parking lot lighting and midday naps for kids. Hang panels high and a little wide so edges overlap the frame and block light leaks.
You can buy ready made blackout panels cut down to size, or add blackout lining behind a decorative fabric you love. Keep the decorative layer light in color so the room still feels airy when the curtains are open during the day.
6. Use Sheer Panels to Soften the Living Area

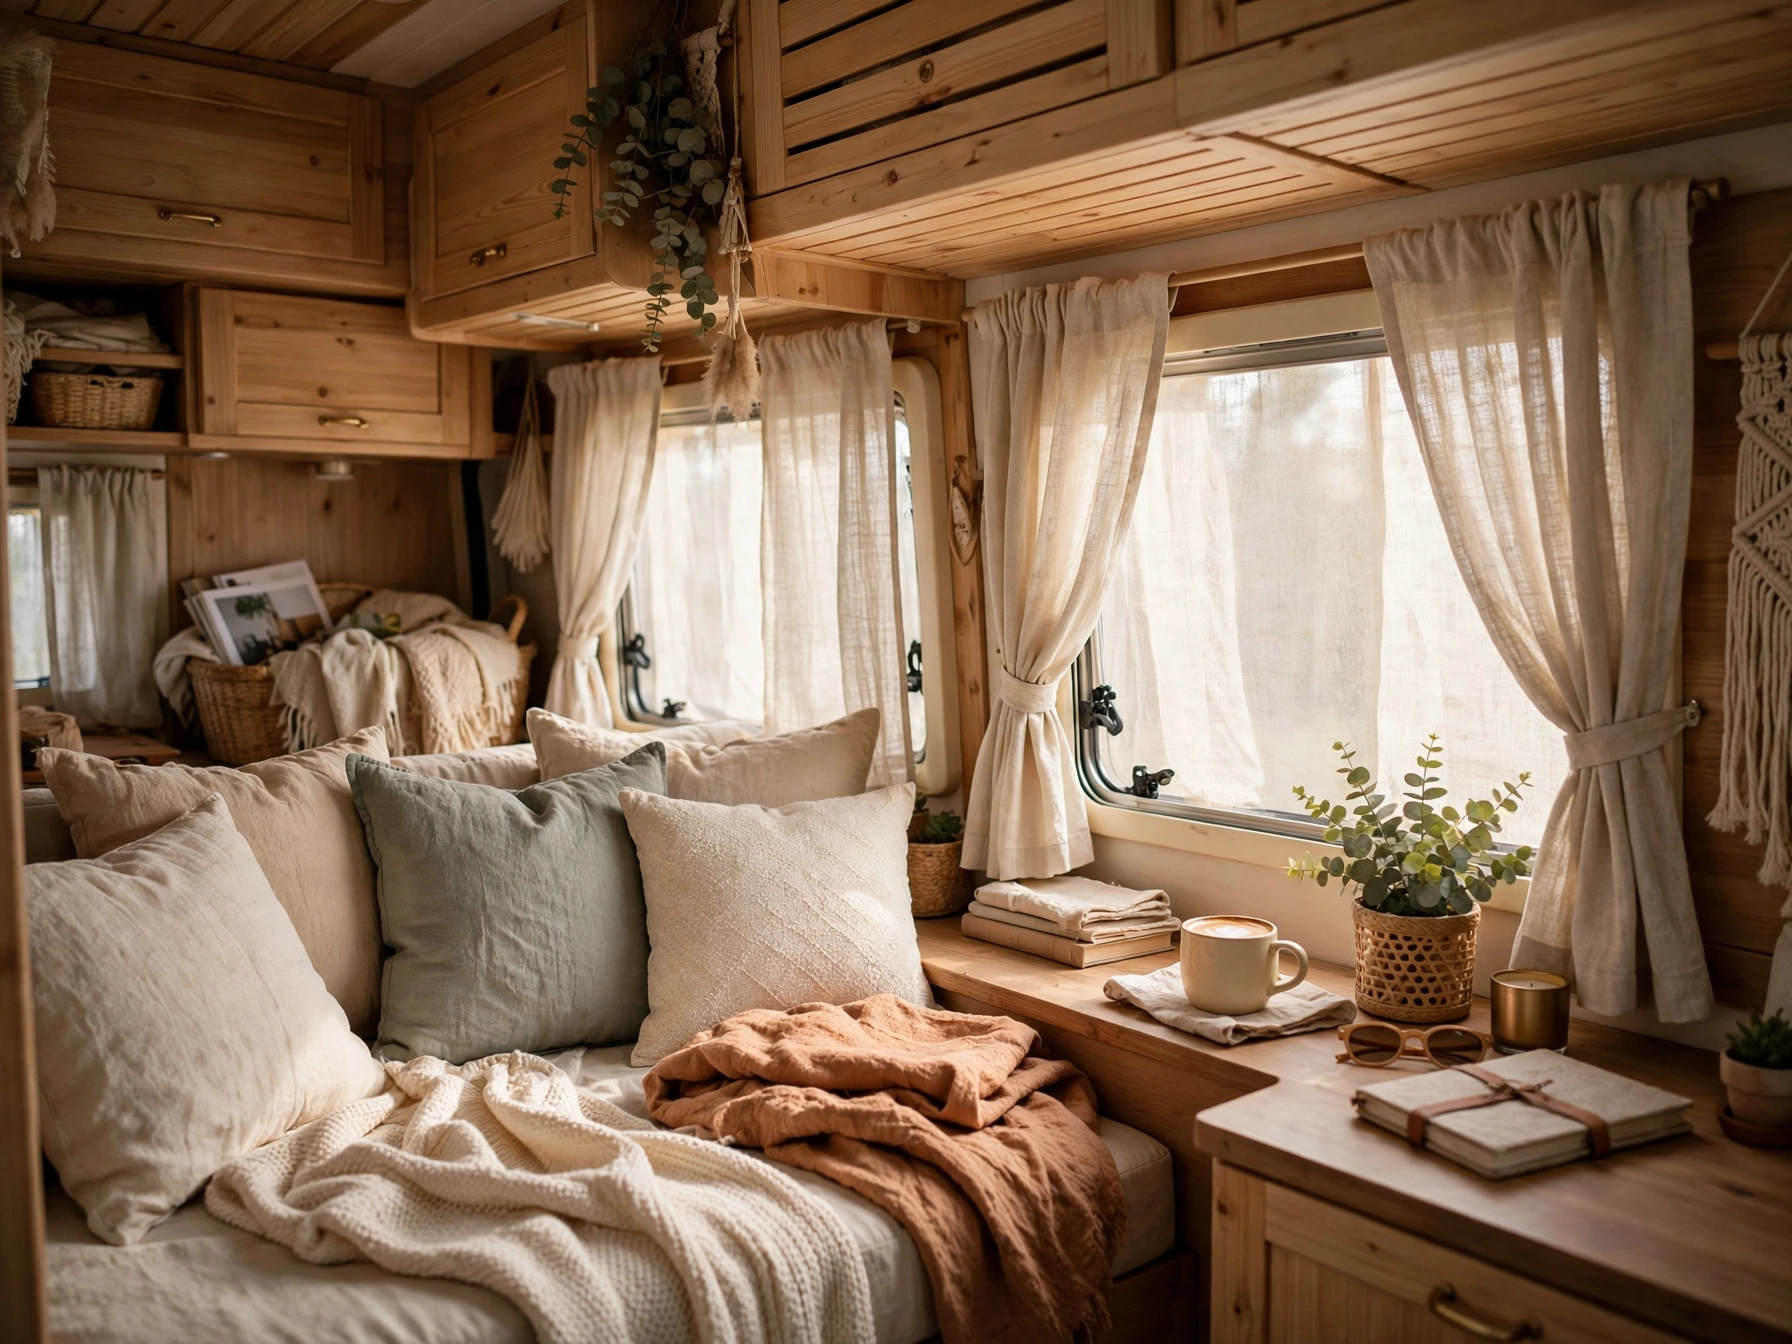
Sheers filter harsh sun, cut glare on screens and give daytime privacy without darkening a small living space. In a camper lounge, that soft light makes upholstery and wood tones look warmer and the room feel calmer.
Layer sheers on a tension rod inside the frame, then add a heavier side panel only if you need evening privacy. Washable sheer fabrics are best, because road dust shows quickly on white panels near doors and kitchen windows.
7. Layer Bamboo Shades With Light Curtains

Woven bamboo or wood look shades bring texture that flat camper walls often lack. Mounted inside or just above the frame, they handle the privacy job while short curtain panels at the sides add color and softness.
This pairing shows up again and again in renovated campers because it suits farmhouse, coastal and boho styles alike. Choose cordless shade styles where possible, and secure the bottom rail so the shade does not swing while you drive.
8. Hang Curtains on Tension Rods Inside the Frame

A spring tension rod tucked inside the window frame or inside a leftover cornice needs no screws and leaves no holes. It is the classic renter friendly and commitment free way to test a new curtain look.
Tension rods work best with light fabrics like cafe curtains, sheers and thin cotton panels. Check the fit after your first drive, because vibration can loosen a marginal fit. A small strip of non slip material at the ends helps.
Twist the rod to extend it about half an inch longer than the opening, then compress it into place so the spring tension holds it firmly. If the frame is slightly uneven, add a small felt pad to the low side first so the rod sits level and the curtain hangs straight.
9. Make Cafe Curtains for Kitchen and Bathroom Windows
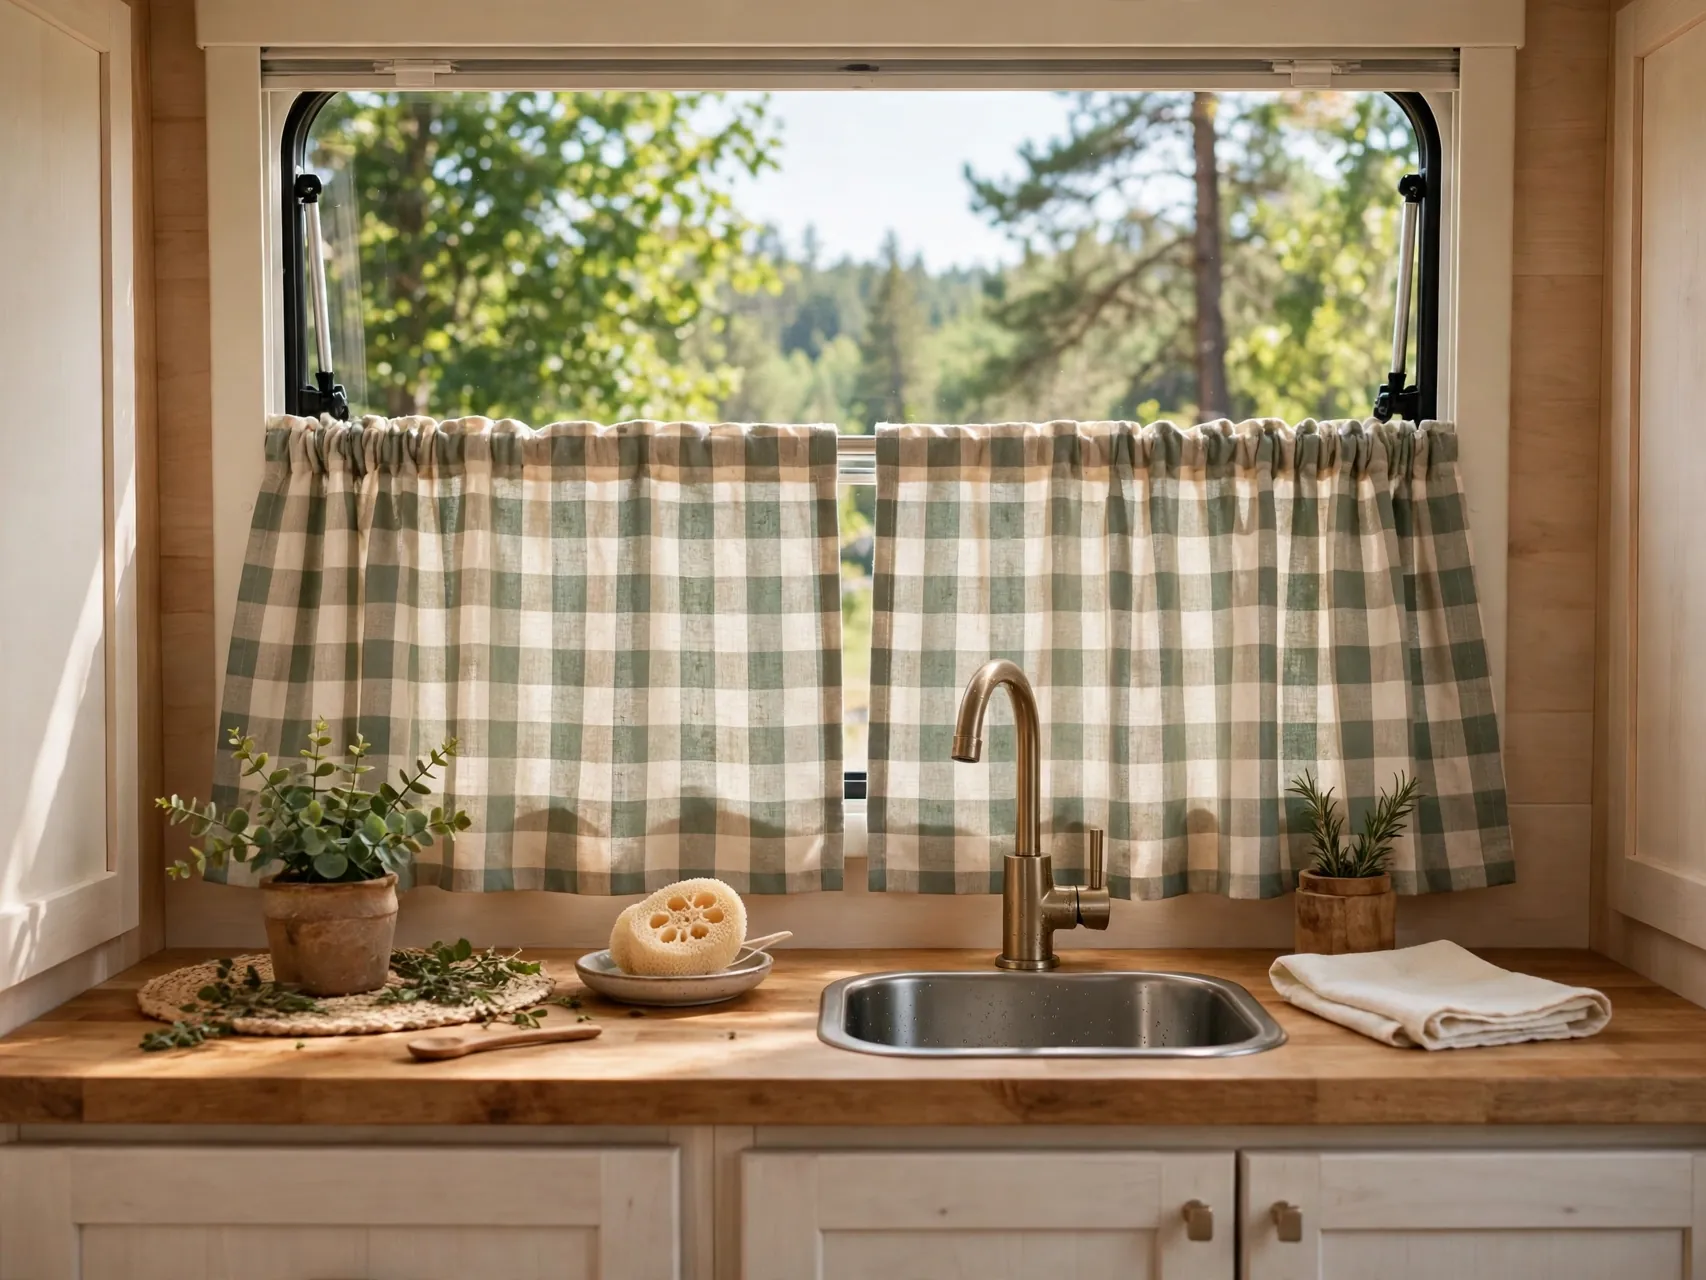
Cafe curtains cover only the lower half of a window, giving privacy at seated eye level while daylight pours in above. They suit kitchen sinks and bathroom windows where full panels would crowd counters and fixtures.
Gingham, small florals and simple stripes all read well at this scale. Keep kitchen cafe fabric well clear of burners and choose a washable material, because sink splash and cooking steam will find it. A slim rod keeps the profile neat.
10. Turn Mini Blinds Into DIY Roman Shades
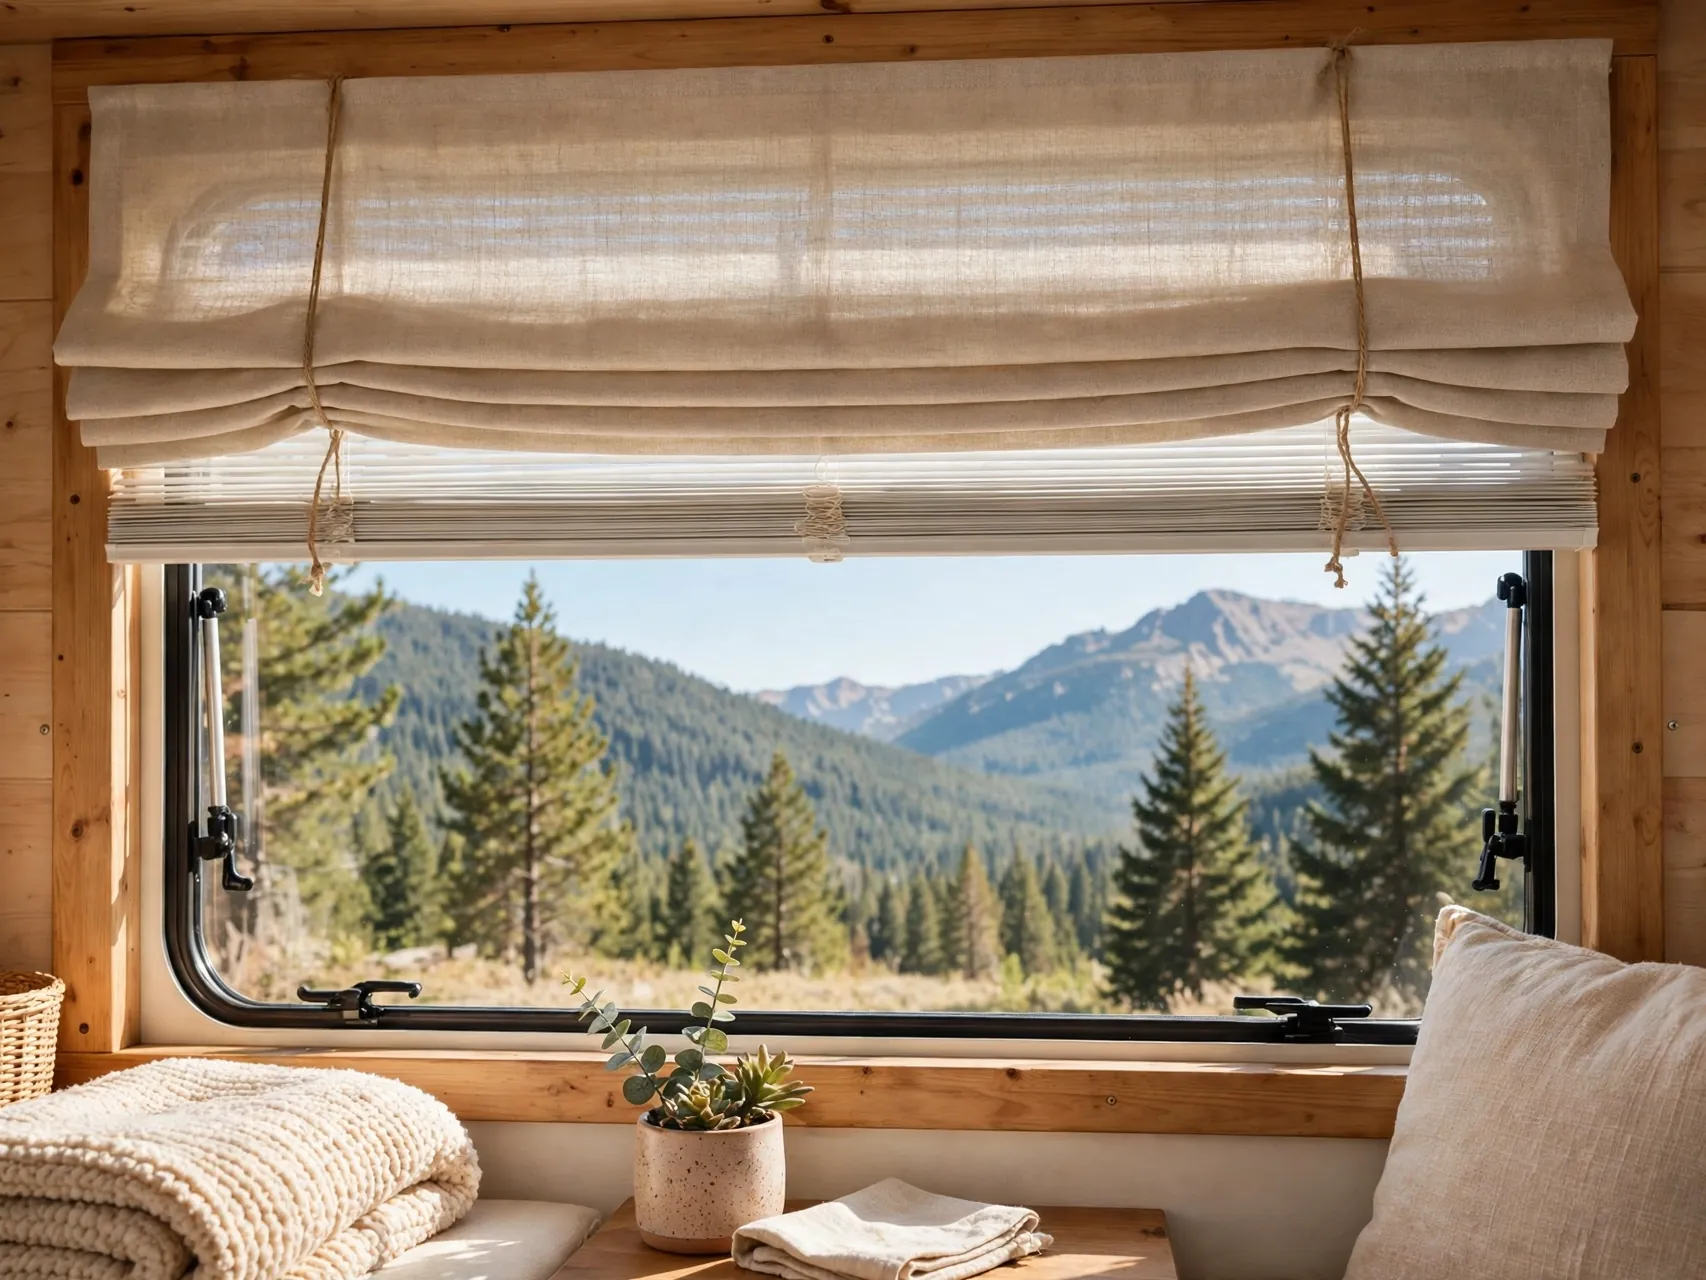
An inexpensive set of mini blinds can become the working skeleton for a fabric Roman shade. Remove most slats, keep a few spaced evenly, and glue your chosen fabric to the remaining slats following the many step by step guides for this project.
The result looks custom and folds neatly, which helps in tight dinettes where loose fabric gets caught. Test the lift cords before final gluing, use fabric glue sparingly, and let everything dry flat so the shade hangs straight.
11. Use Tiebacks to Open Up Small Windows

Simple fabric ties, rope loops or magnetic tiebacks pull panels into a soft curve that lets in far more light than panels hanging straight. In a small camper, that extra daylight changes how big the room feels.
Tiebacks also keep fabric off dinette cushions and away from cooking areas. Match the tieback material to another accent in the room, like pillow fabric or a woven basket, so the windows feel planned rather than improvised.
Fit tiebacks at about two thirds of the way down the panel for a relaxed curve, or higher for a more open, formal sweep. Magnetic styles are the quickest to use with one hand, which matters when you are opening curtains first thing in the morning with a coffee cup in the other.
12. Cover Cornices With Fresh Fabric Instead of Removing Them
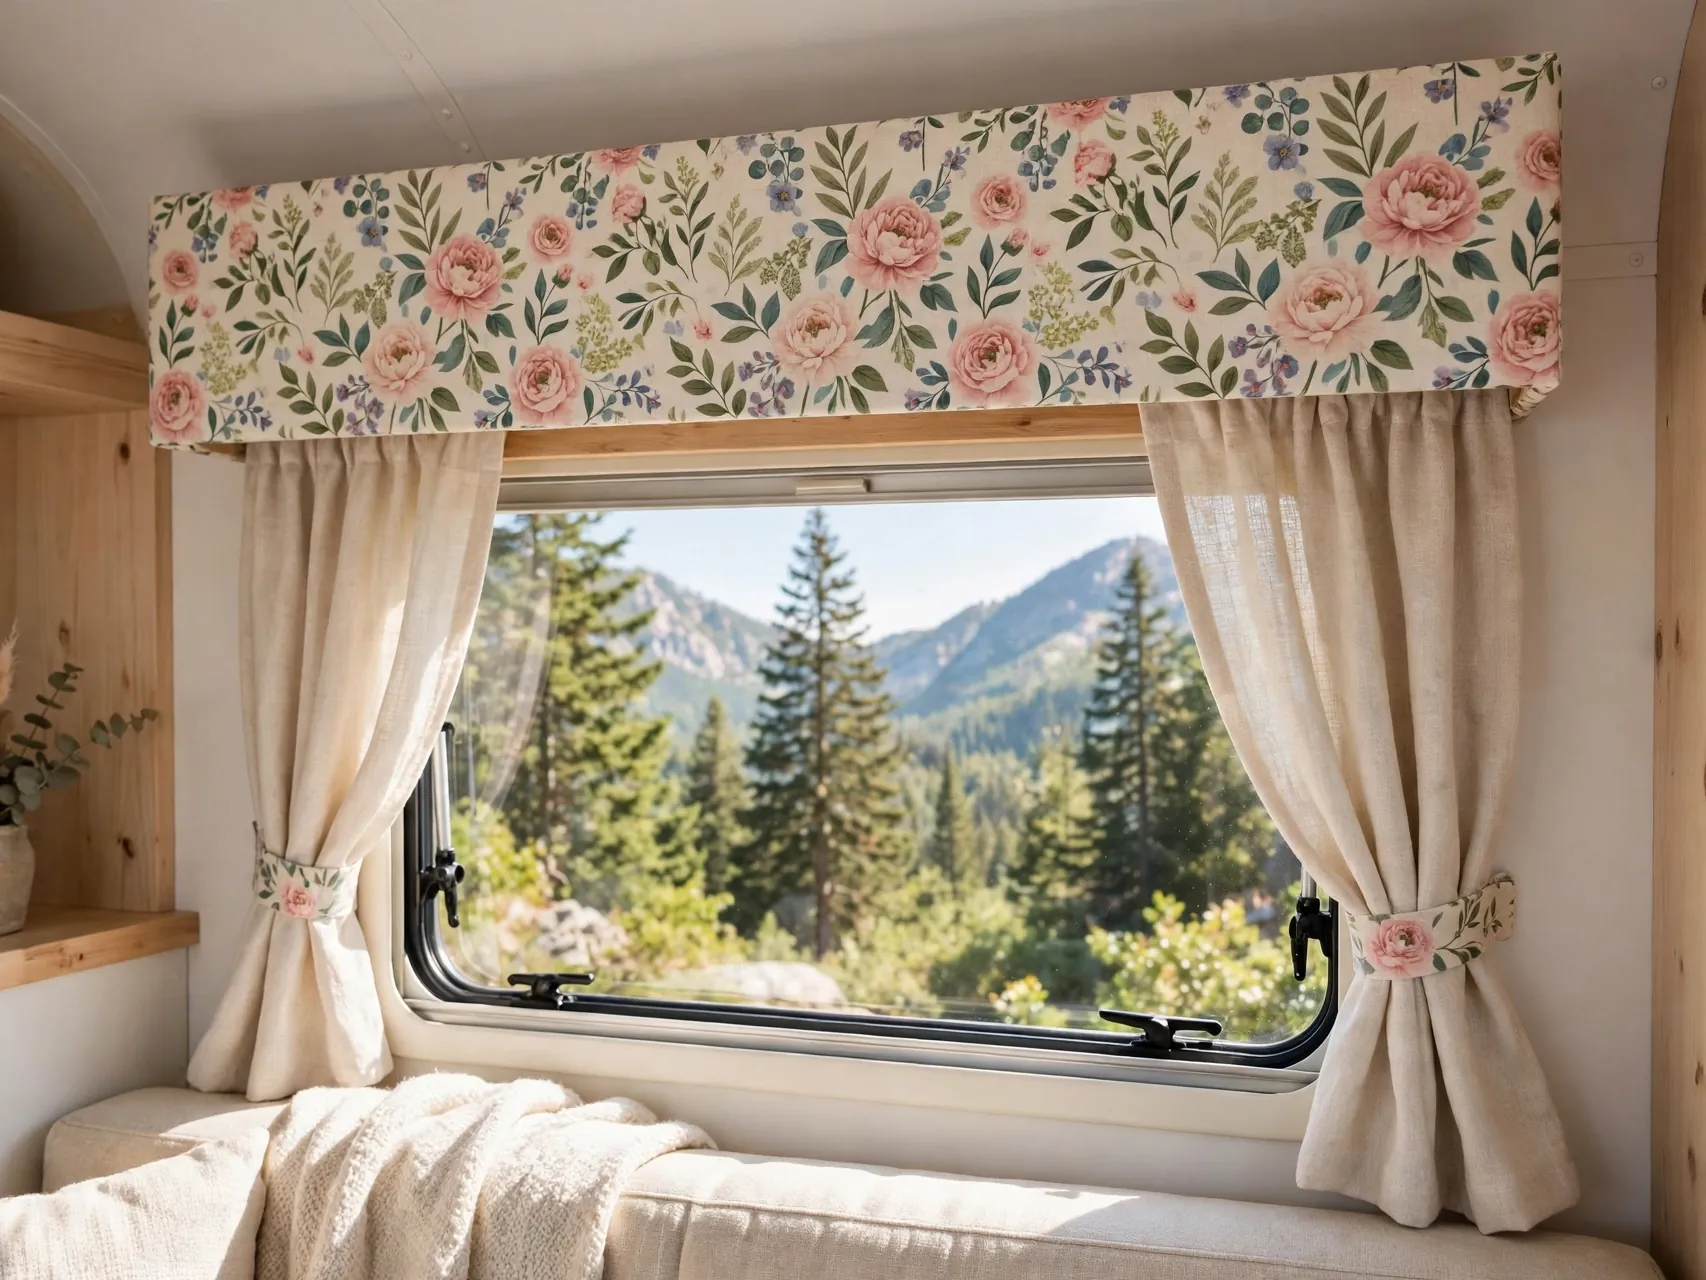
If your cornices are solid and you like the structure, recover them instead of removing them. Wrap new fabric around the box, pull it smooth, and staple it on the back where the staples will not show.
This is a fast weekend fix that keeps the finished, built in look while losing the dated pattern. Choose a solid or small scale print, because large patterns are hard to align on a narrow box. Add plain panels below for softness.
13. Add a Privacy Curtain Across the Cab

In motorhomes and camper vans, a curtain behind the cab seats closes off the driving area at night. It adds privacy, helps insulate the living space from a cold windshield, and hides the dashboard from view.
Hang it from a tension rod, a ceiling track or adhesive hooks rated for the fabric weight. Choose a lined, mid weight fabric, and make sure the curtain stores fully clear of pedals, mirrors and airbags when you are on the road.
14. Create Bunk Curtains Kids Actually Want to Close
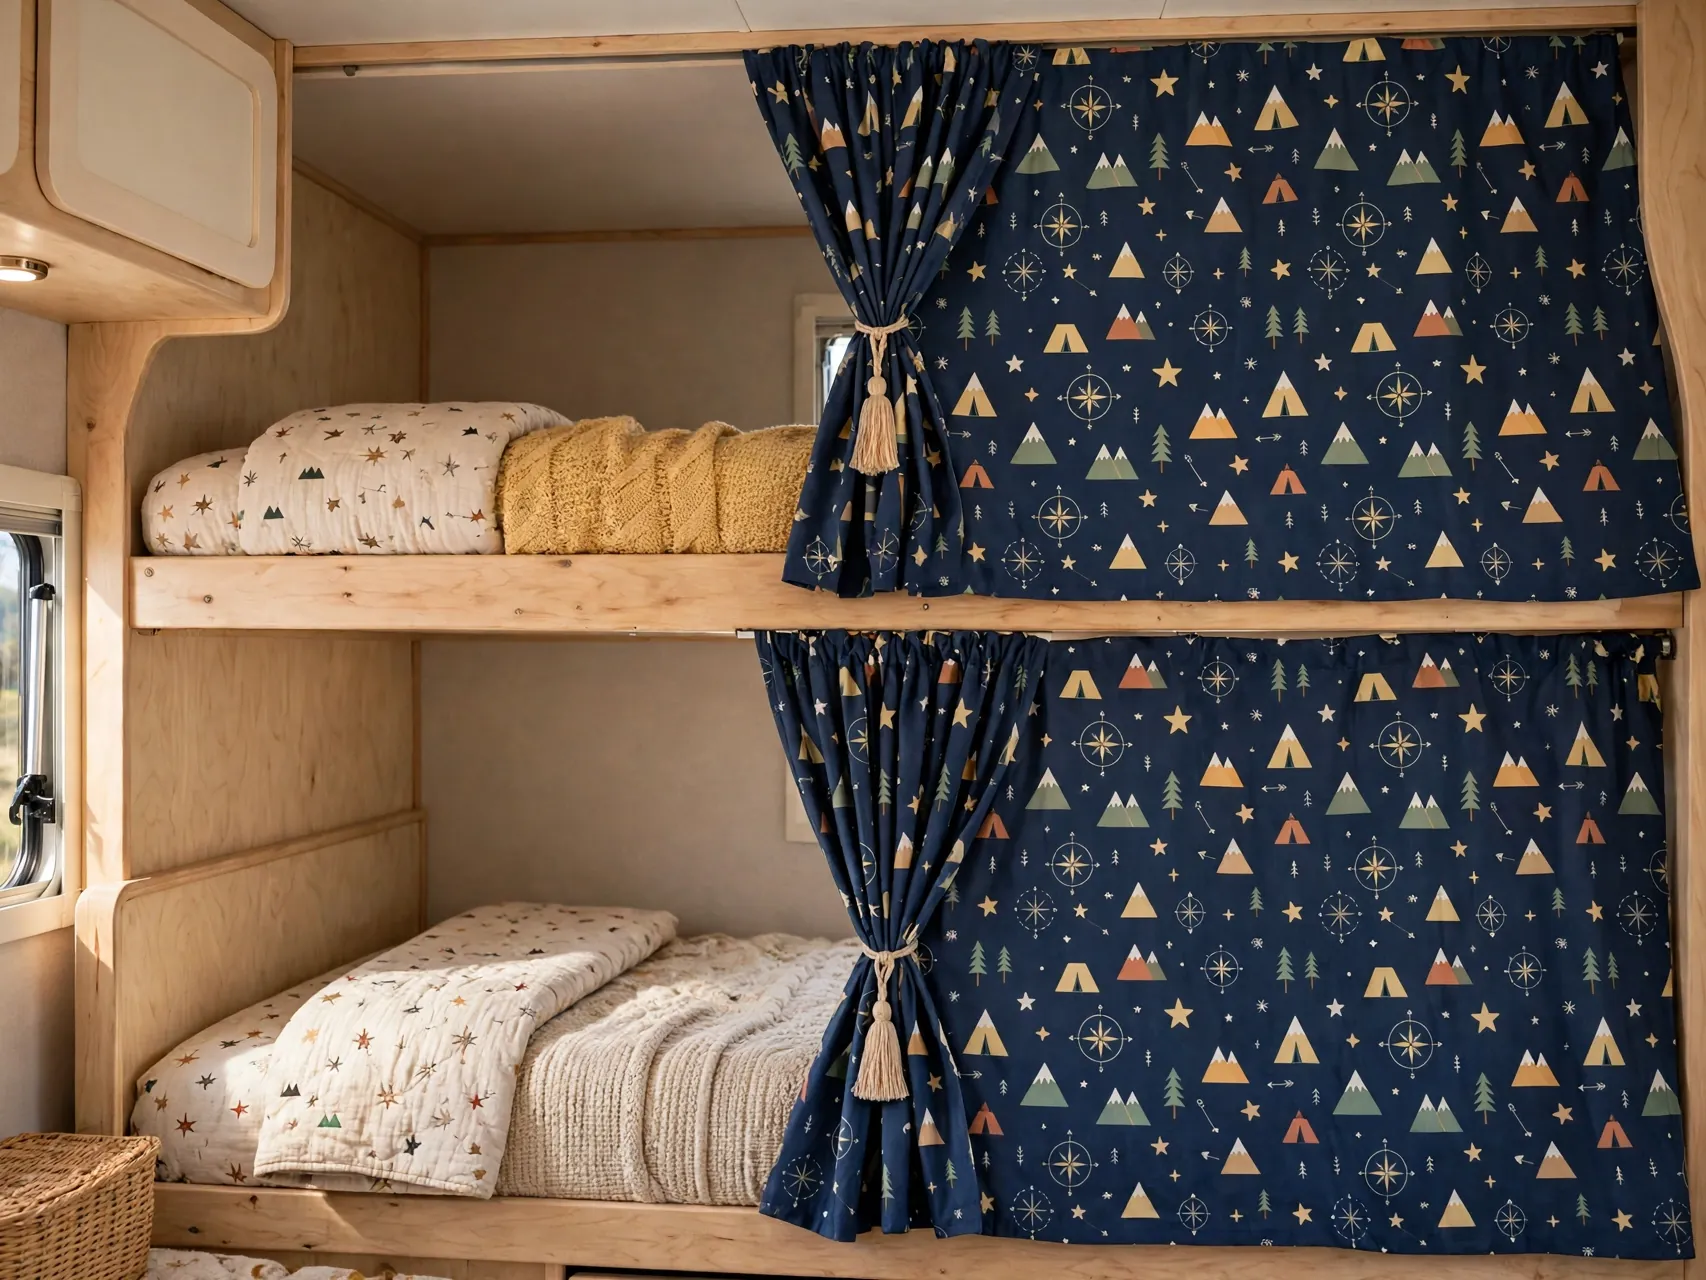
Each bunk feels like a private fort with its own curtain, and that small change can transform bedtime in a family camper. Use a tension rod or a wire cable with small clips at the bunk opening.
Let kids pick a fun print, then add blackout lining if early light is an issue. Keep cords and clips simple and secure, check that fabric does not cover any bunk heater vent, and leave the top gap open for air flow.
15. Swap to Grommet Panels for an Easy Glide

Grommet top panels slide smoothly on a rod and fall into clean, even folds without clips or rings. In a camper bedroom where curtains open and close daily, that easy glide is worth the small extra effort.
Measure so grommets sit above the rod pocket line you are replacing, and choose metal finishes that match your other hardware. Grommets add a little weight, so pair them with a properly mounted rod rather than adhesive hooks.
16. Try Magnetic Curtains for Metal Framed Windows
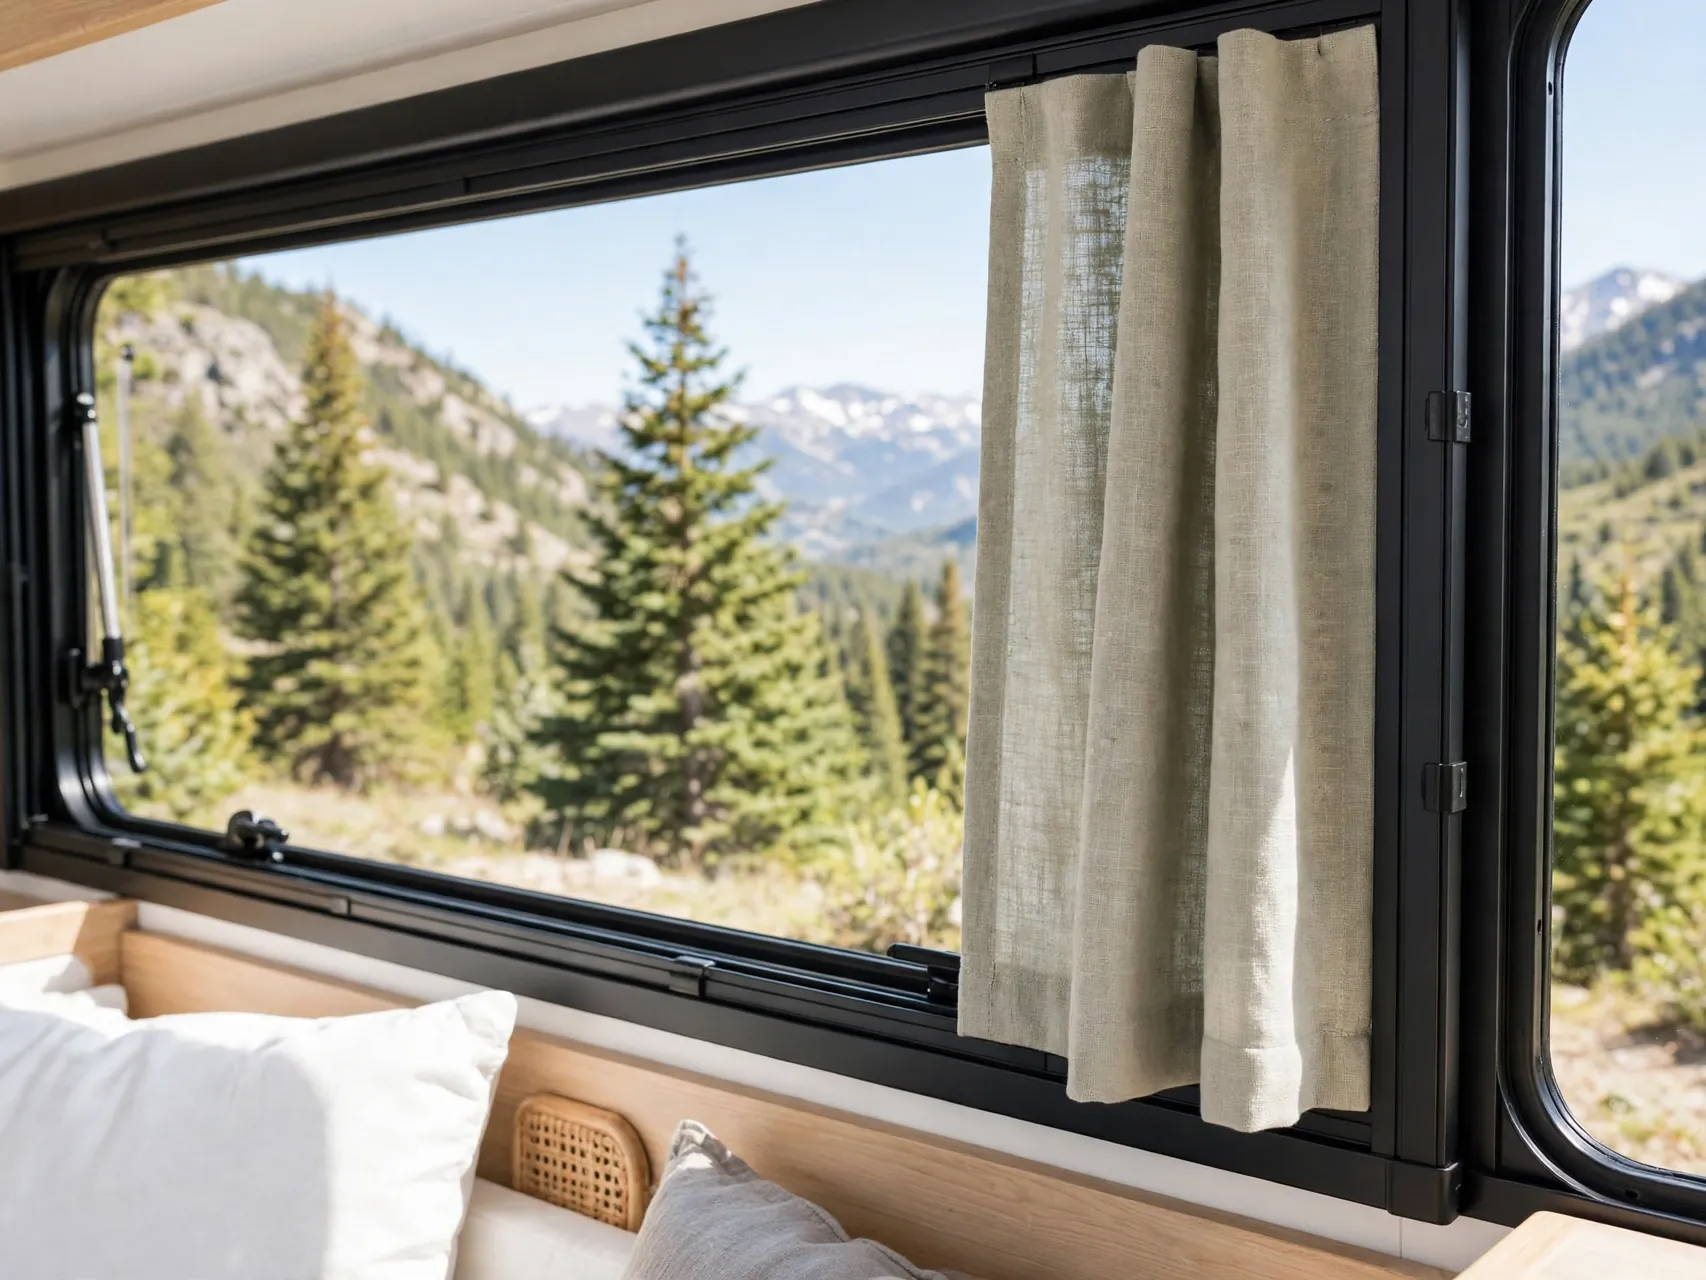
Some camper and van windows sit in or near metal framing where magnetic rods or magnetic hem weights can hold a panel in place. Magnets make panels quick to remove for full light or for washing.
Test magnet strength on a rough road day before trusting them with heavier fabric. This method suits small, flat windows and privacy panels for doors. Keep strong magnets away from cards and devices that makers advise protecting from magnets.
17. Use Velcro Panels for Odd Shaped Windows
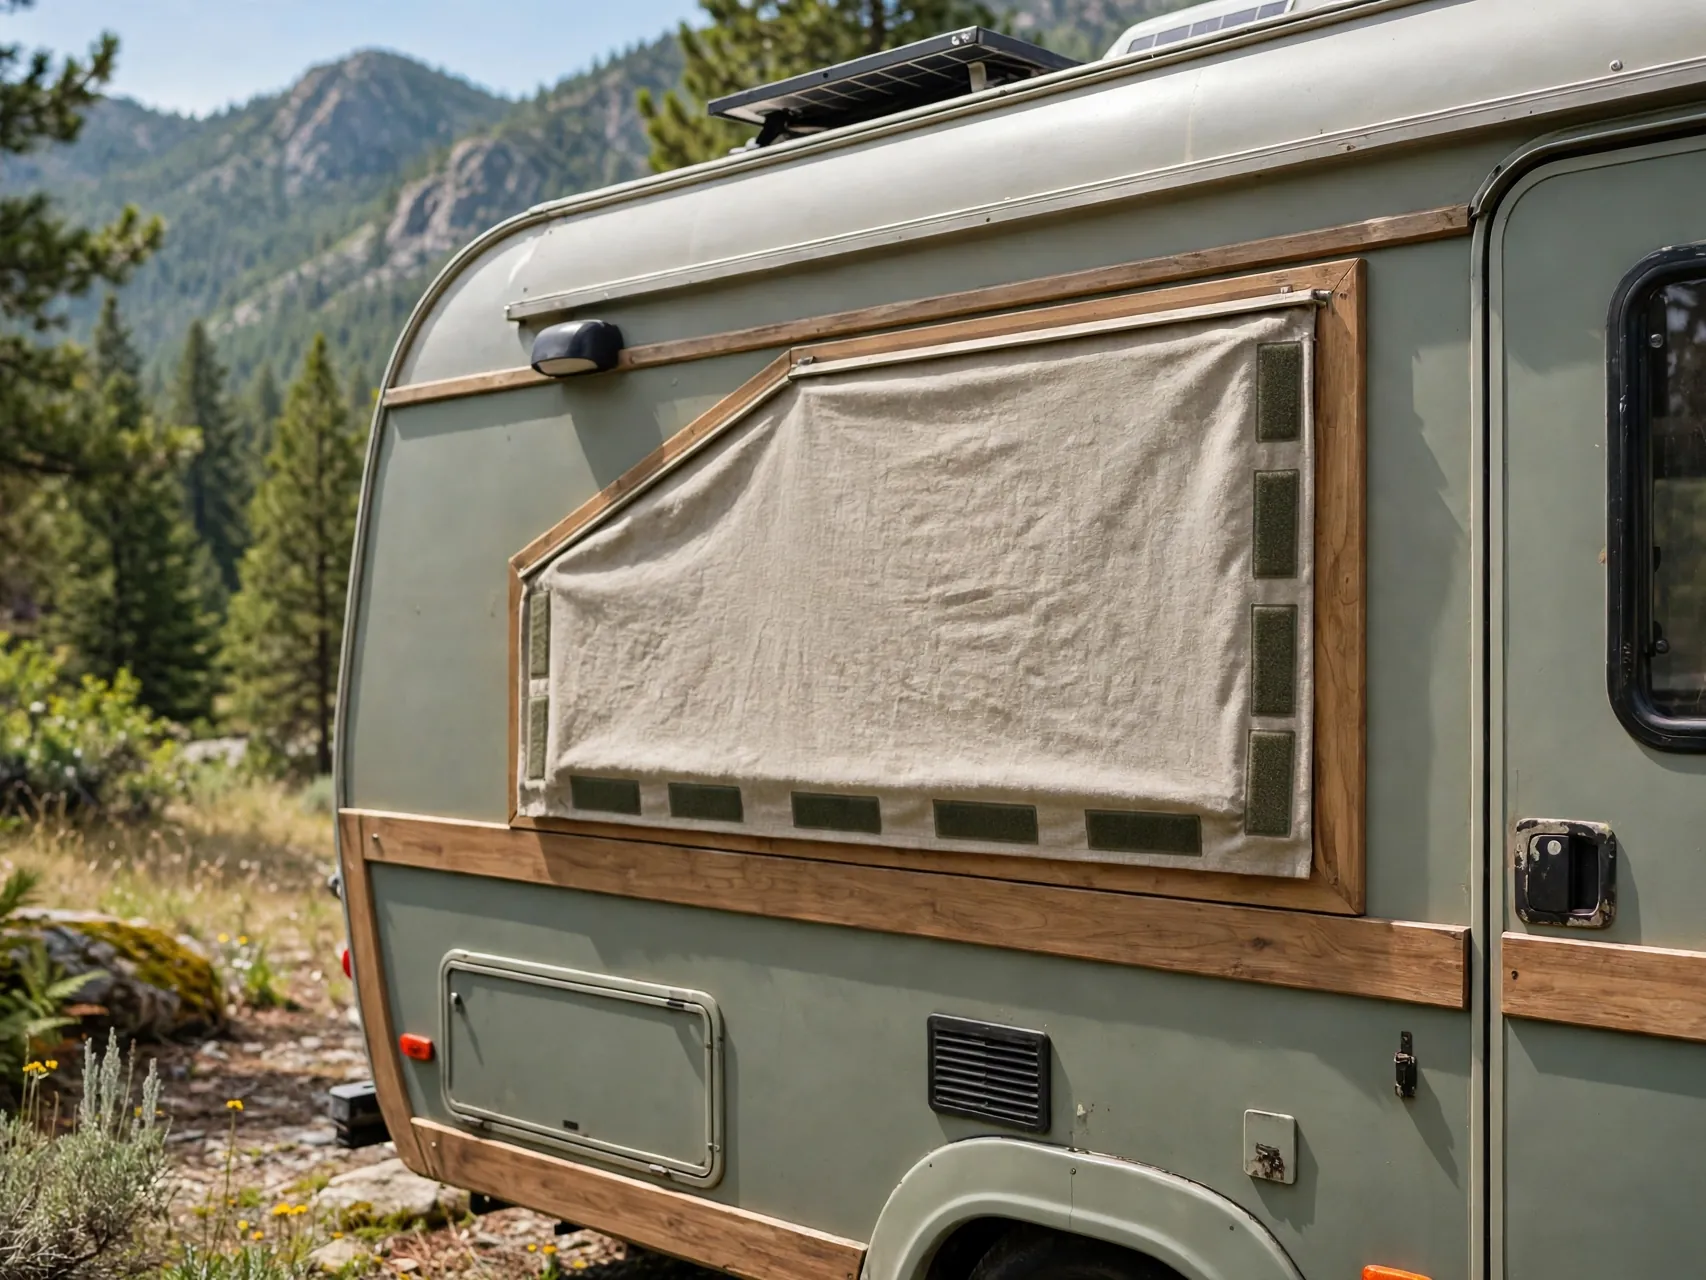
Skylight style windows, angled cab windows and small bathroom panes rarely fit standard curtains. A fabric panel cut to shape with hook and loop tape around the edge sticks flat, blocks light fully and peels off in seconds.
Sew or glue the soft side of the tape to the fabric and use adhesive backed tape on the frame, letting the adhesive cure as the maker directs. Label each panel by window so rehanging after washing takes minutes.
18. Refresh With a Bold Pattern on Just One Window
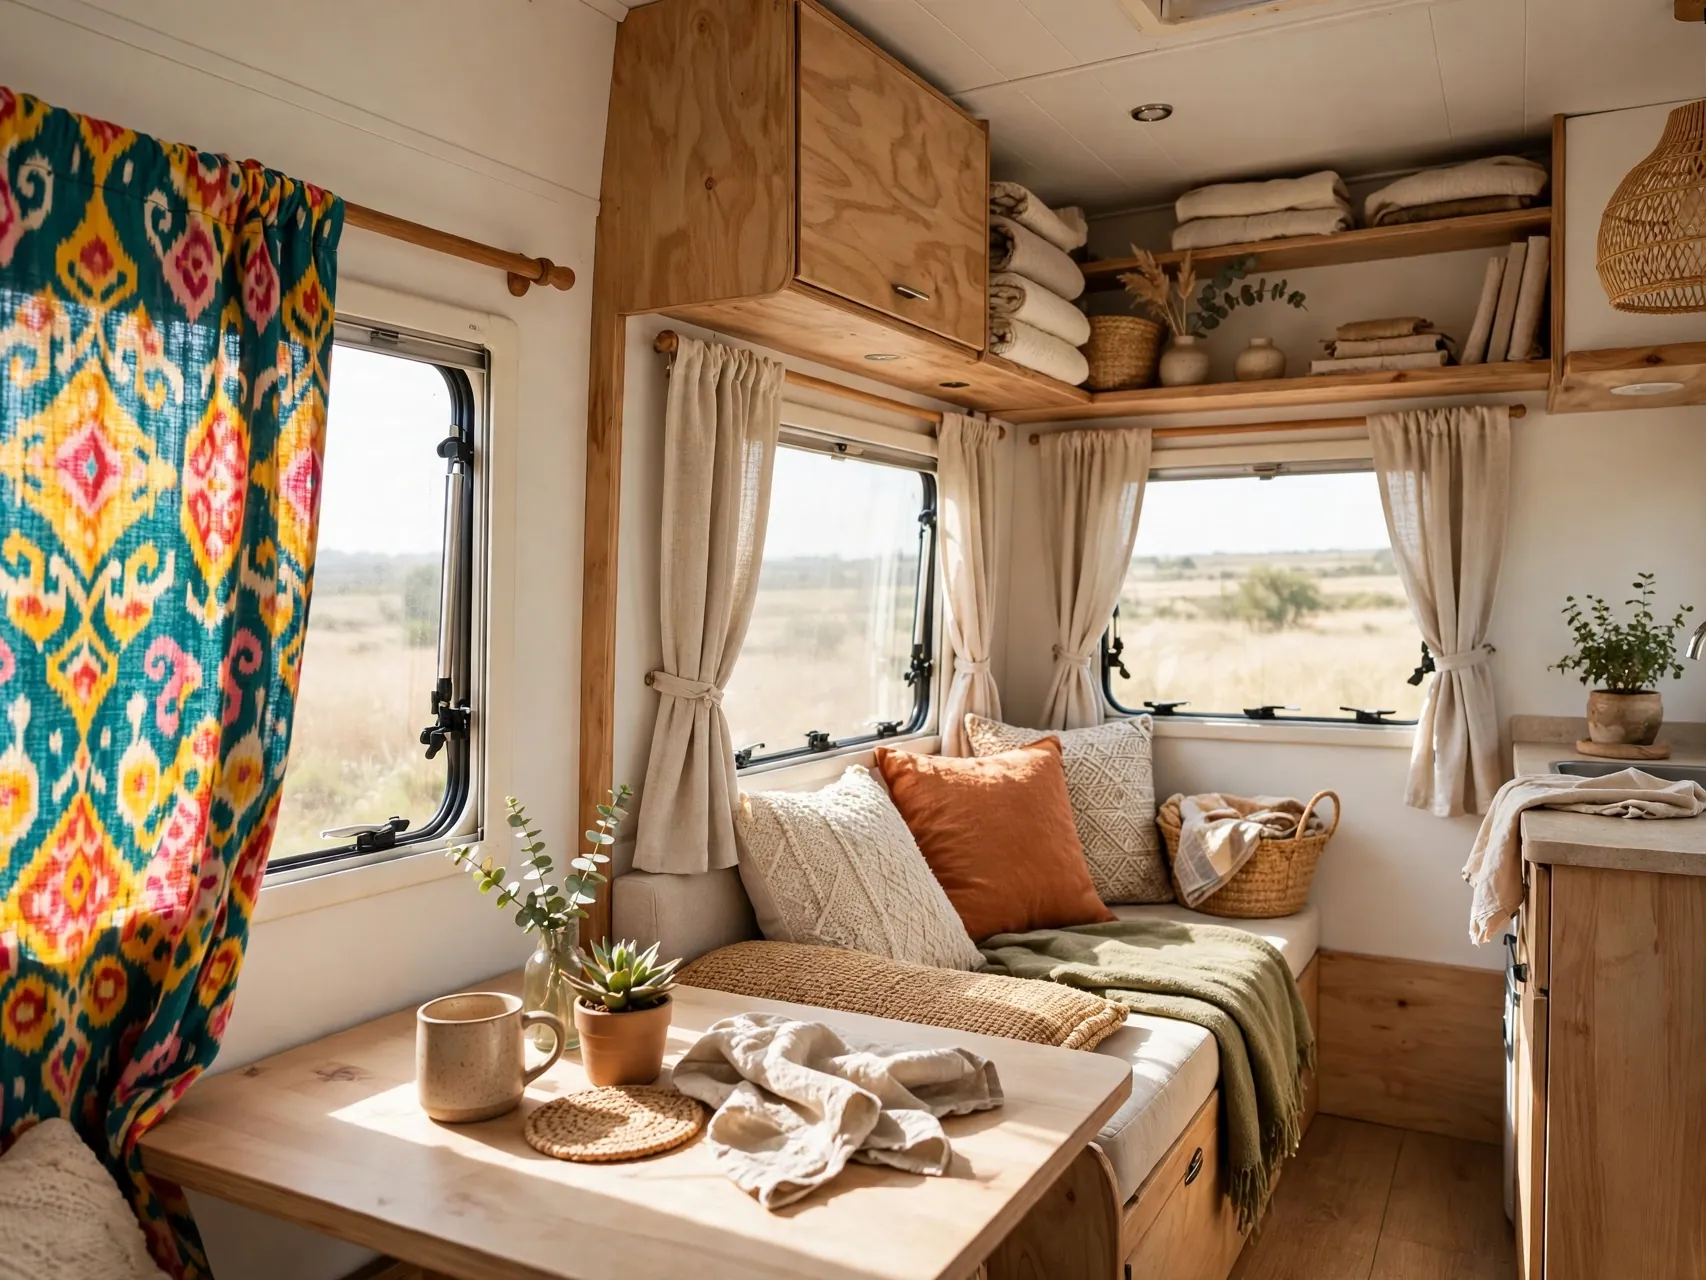
If new curtains everywhere feels like too much, start with one statement window, usually the big rear or dinette window. A bold botanical, stripe or retro print there sets the palette for the whole room.
Pull two colors from that print for solid panels on the smaller windows and for pillows or a runner. One patterned moment looks intentional, while pattern on every window in a tiny space can feel busy and close the room in.
19. Shorten Long Panels to the Right Camper Length
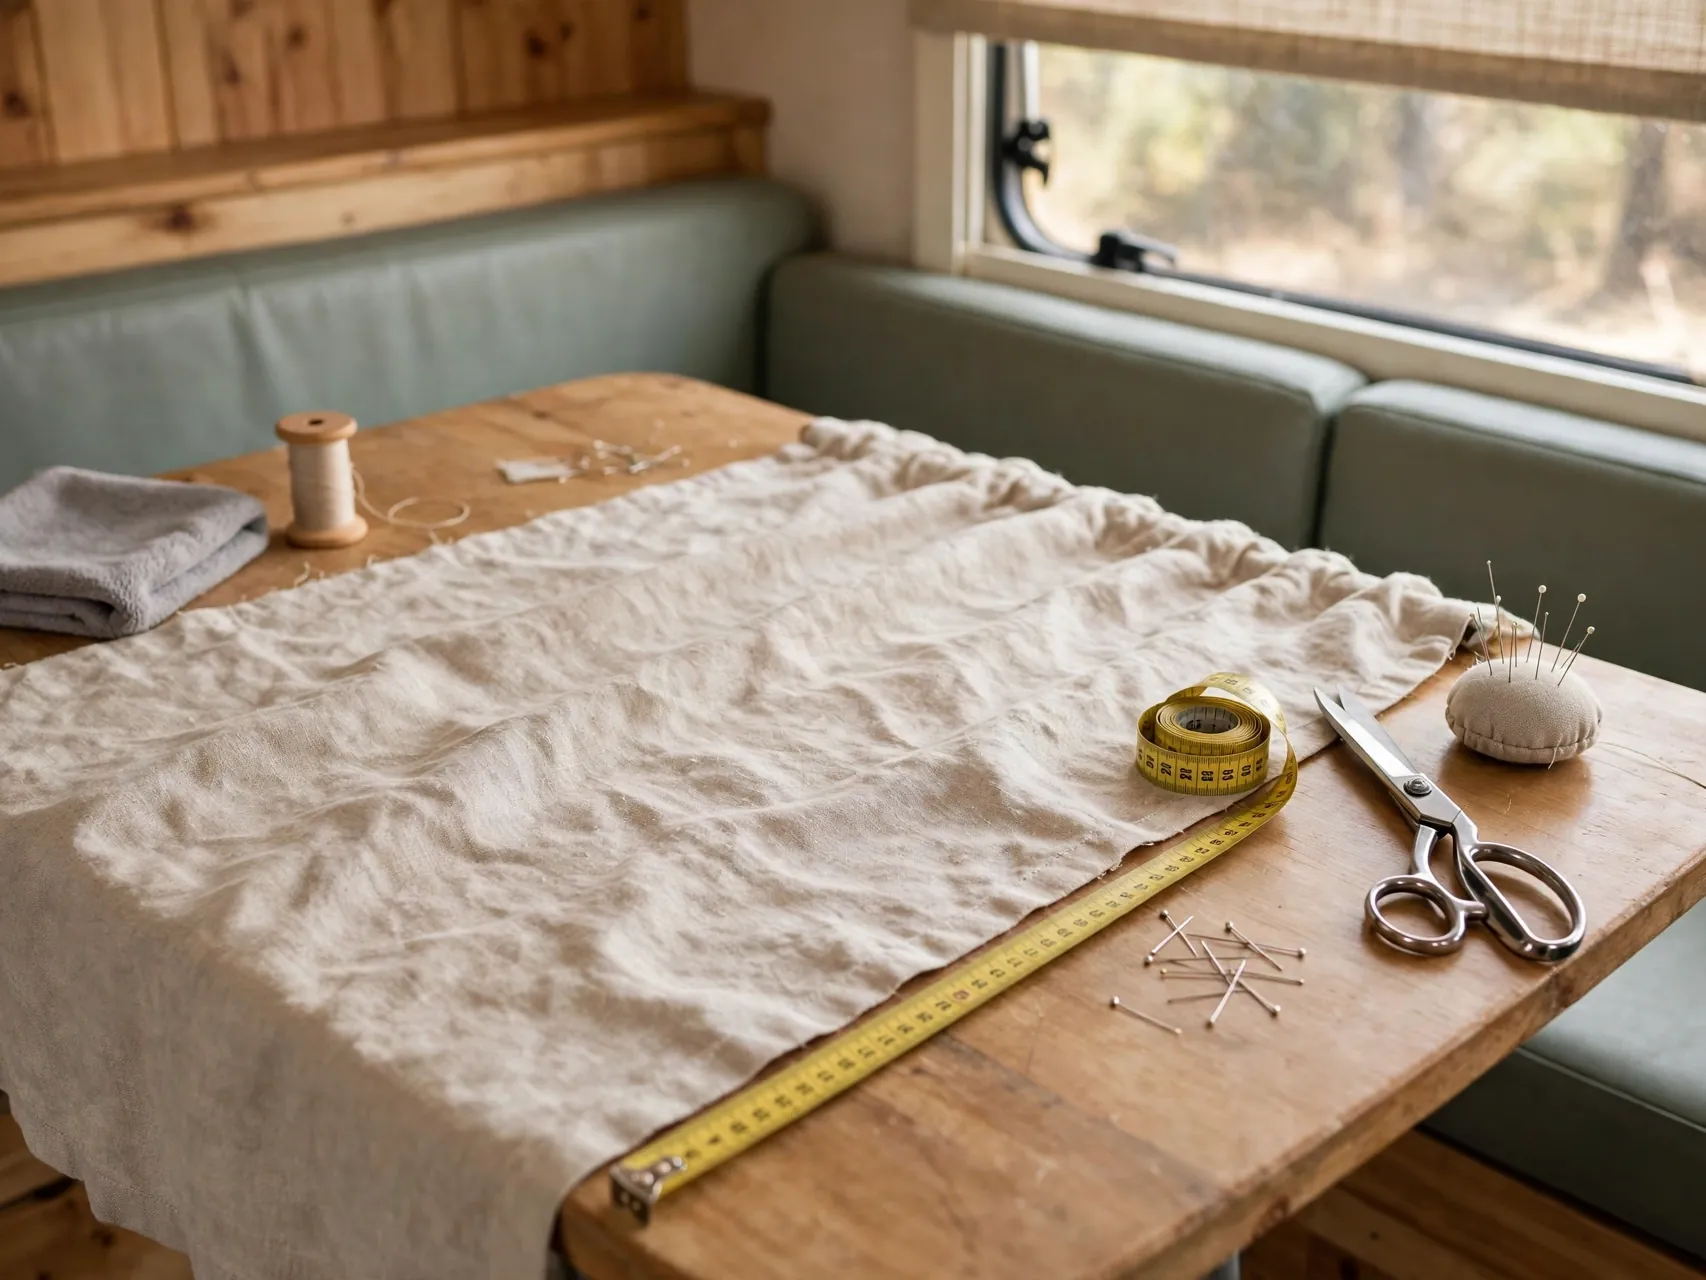
Ready made curtains are almost always too long for camper windows, and pooling fabric collects dust and crowds seating. Hem panels to end just below the sill or to skim the top of the dinette bench instead.
That tailored length is what makes store bought panels look custom. Use iron on hem tape for a no sew finish, and hem after hanging so you can pin the exact drop with the rod already in place and the slide out open.
Pin the hem while the camper is level, because a panel that looks even on a slope can hang crooked later. Leave about half an inch of extra fabric inside the fold if you can, so you have room to let the hem down or adjust it after the first wash.
20. Add Washable Fabrics Where Life Happens

Kitchen, entry and kids areas need curtains that can go straight into the wash after a muddy, saucy weekend. Cotton blends, outdoor fabrics and sheeting all handle frequent washing better than delicate decorative fabrics.
Keep a simple rule: any curtain within reach of food, pets or little hands should be machine washable and quick to rehang. Save the special fabric for the bedroom window where it stays cleaner and lives a gentler life.
21. Finish With Matching Hardware and a Travel Check

New fabric on mismatched, bent rods still looks unfinished. Matching rods, finials and clip rings in one finish, black, brushed nickel or warm brass, pulls the whole makeover together for very little extra effort.
Before your first trip, do a travel check. Close every curtain, confirm nothing blocks vents or exits, secure loose panels with a soft tie, and drive a short loop. Adjust any rod or magnet that shifted, and your makeover is road ready.
FAQ
How do I measure camper windows for new curtains?
Measure each window separately, including the frame if you want coverage beyond the glass. Decide rod placement first, high mounting needs more length, then add a little extra width so panels gather softly instead of stretching flat. Write measurements on tape stuck to each window while you shop or sew.
Can I hang camper curtains without drilling holes?
Yes. Tension rods inside the frame, adhesive hooks within their weight rating, magnetic rods on suitable metal frames and hook and loop panels all avoid screws. Test adhesives on a hidden area first, let them cure as directed, and choose lightweight fabrics for no drill methods.
What fabric is best for RV curtains?
Light to mid weight cotton, linen look blends and sheeting hang well and wash easily. Use blackout or lined fabric in sleeping areas, sheers where you want filtered light, and washable fabrics near the kitchen and bunks. Avoid very heavy fabrics on adhesive or tension mounts.
How do I keep curtains from moving while driving?
Close panels before travel, add soft ties or a low clip to hold them, and make sure rods are firmly seated. Bottom hem weights or magnets on suitable windows help small panels stay put. A quick check after the first few miles shows what needs adjusting.
Should I remove the valances in my camper?
Removing dated valances is the most common first step because it makes windows look larger and more modern. If the boxes are solid and you like a built in look, recovering them with fresh fabric is a good middle option. Keep the hardware if you may want to restore them later.
Key Takeaways
- Start with the valances: Removing or recovering factory cornices is the fastest way to make windows look brand new in any camper curtain makeover.
- Mount high, hang light: Rods near the ceiling make windows look taller, while light fabrics keep small rooms bright.
- Match treatment to room: Blackout for bunks and bedrooms, sheers for living areas, washable cafe curtains for kitchens.
- No drill options work: Tension rods, clips, magnets and hook and loop panels give renters and new owners a reversible start.
- Measure every window: Camper windows vary, so measure each one and hem panels to a tailored, sill skimming length.
- Save and pin it: Ready to refresh your windows? Pin this guide to your camper board on Pinterest so the ideas are handy on makeover day.