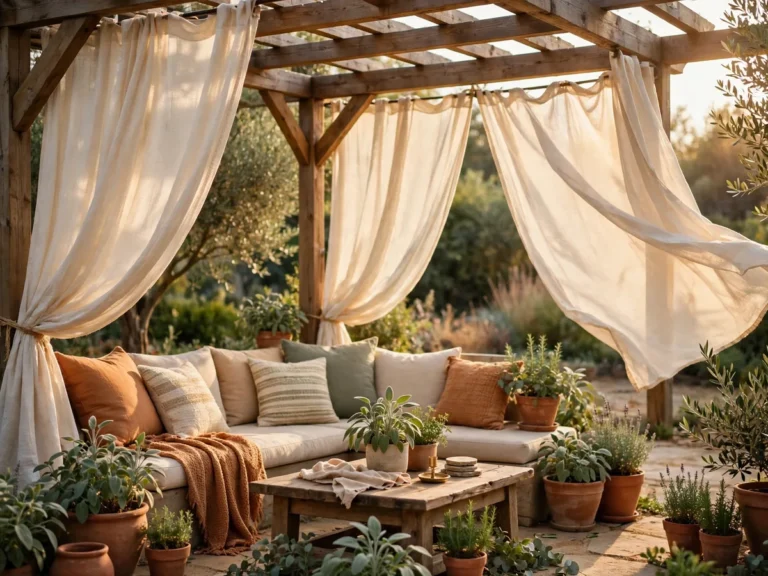
23 Backyard Makeover Before and After Ideas That Inspire
Introduction
There is a reason backyard makeover before and after photos stop the scroll. A yard that felt muddy, bare or a bit embarrassing suddenly has a patio for coffee, planting that hides the fence and a corner that glows at night. The change looks dramatic, but most of it comes from ordinary projects done in a sensible order.
This list breaks that magic into 23 real transformations you can copy at your own pace. Some take an afternoon and a few bags of mulch. Others, like terracing or a pergola, are weekend or season long projects that still break into simple steps. Each idea starts with the honest before, then shows the after and how to get there.
Take photos before you touch a thing, from the same angles you will use later. Work zone by zone, keep the planting palette simple and repeat it, and let each finished corner inspire the next. By the end, you will have both a better yard and an album worth sharing with friends, family and anyone who needs proof that steady, small steps really do add up to a space you love spending time in every single day.
1. Patchy Lawn to Plush Green Carpet
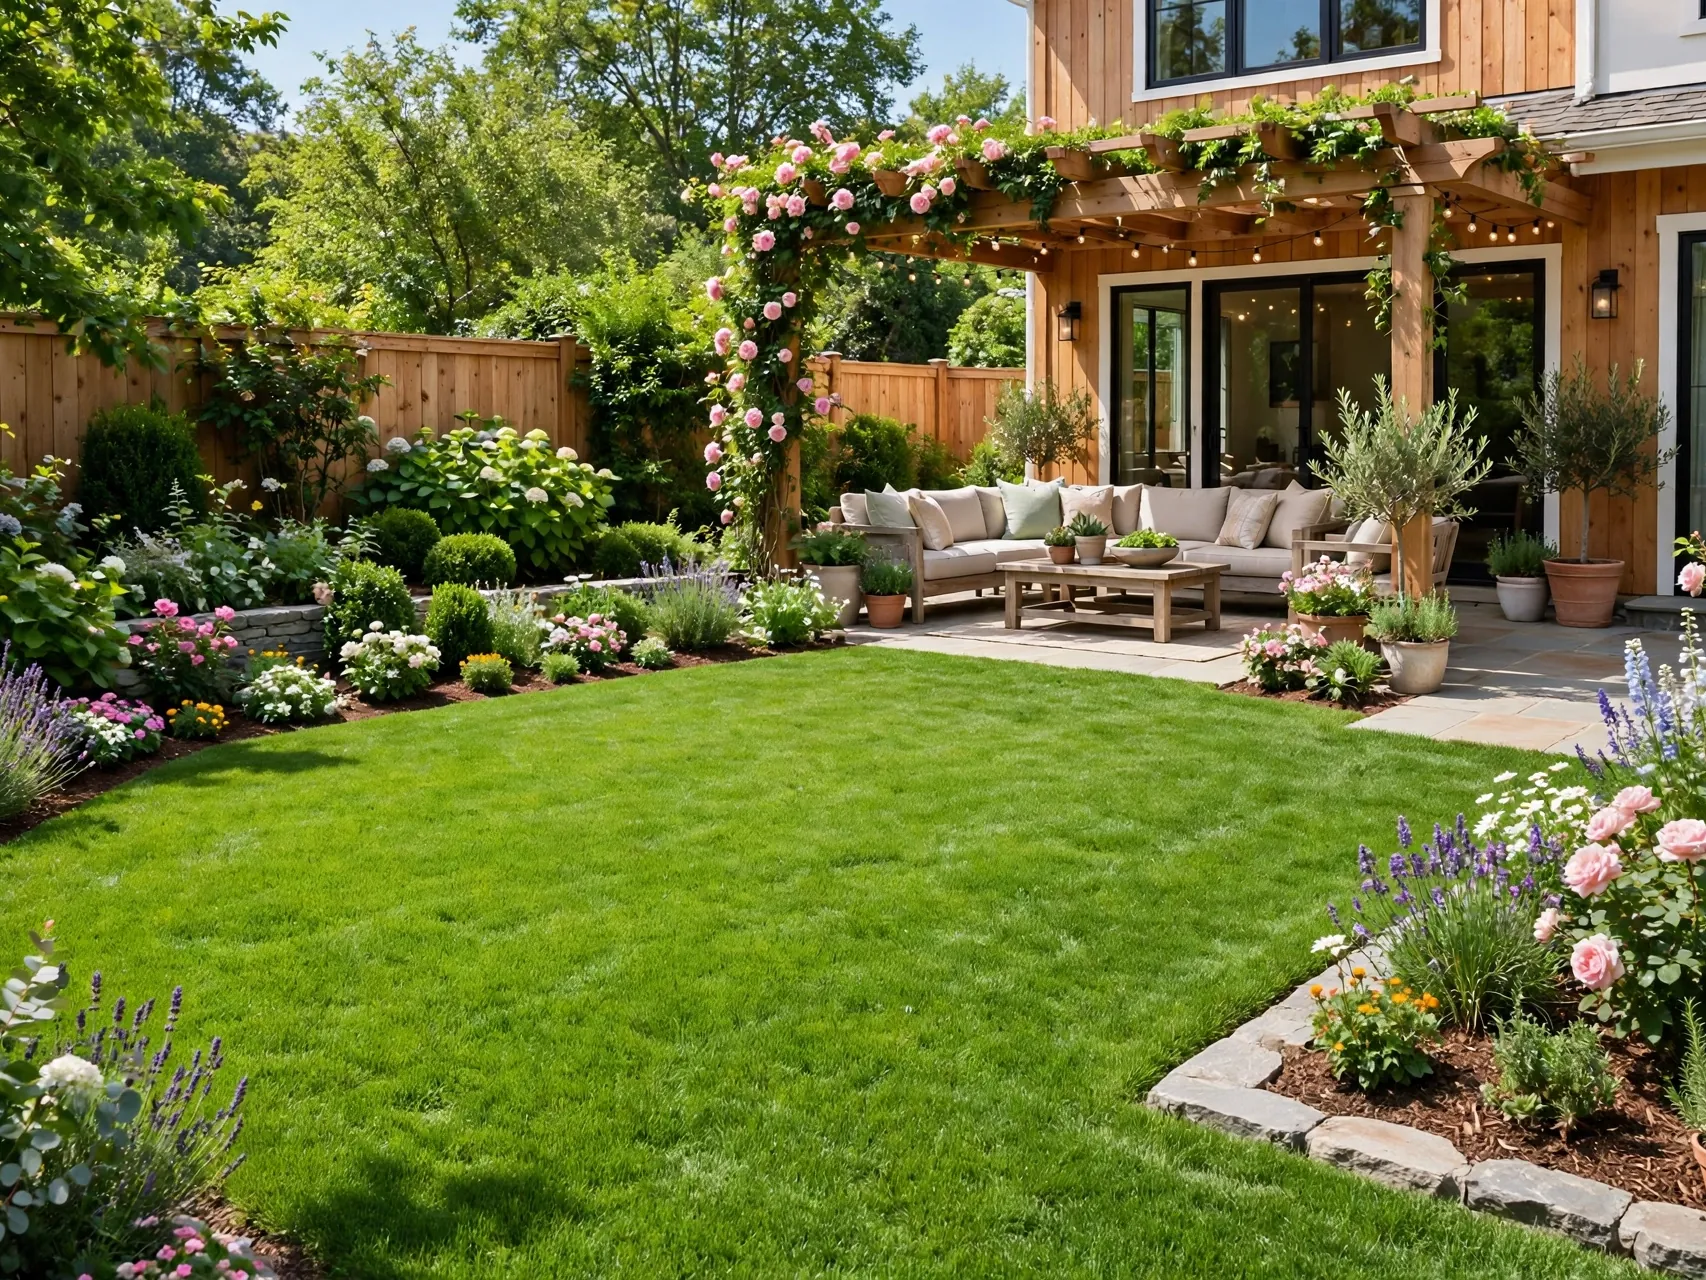
Before, the yard is thin, muddy in spring and dusty by July, with bare spots where feet and paws wear the same path. After fresh sod or a patient overseed and feed routine, that same view reads as a soft green carpet that invites bare feet.
Start by testing what you have. Rake out thatch, level low spots with topsoil, then seed or sod in cool weather and keep it moist. The backyard makeover before and after contrast is strongest here because green, even growth makes every other upgrade look finished.
2. Cracked Concrete to Paver Patio

Before, a gray slab with cracks and weeds feels cold and a little sad, even with nice chairs on top. After, large pavers with tight joints and a warm border turn the same footprint into a proper outdoor room for dining and lounging.
You do not always need to remove the slab. Many patios can be overlaid or extended with pavers on a compacted base. Add an outdoor rug, a shade sail and two planters, and the before photo will look like a different house.
3. Bare Fence to Layered Privacy Border

Before, a plain fence line leaves you staring at boards and feeling watched from every window next door. After, layered planting with a small tree, shrubs and perennials in front of that fence gives depth, privacy and color from spring to fall.
Work in odd numbers and repeat the same three plants along the run. That rhythm is what makes a small backyard transformation look designed instead of collected. Mulch deeply so the bed reads clean in photos.
4. Mud Pit to Gravel Hangout Zone
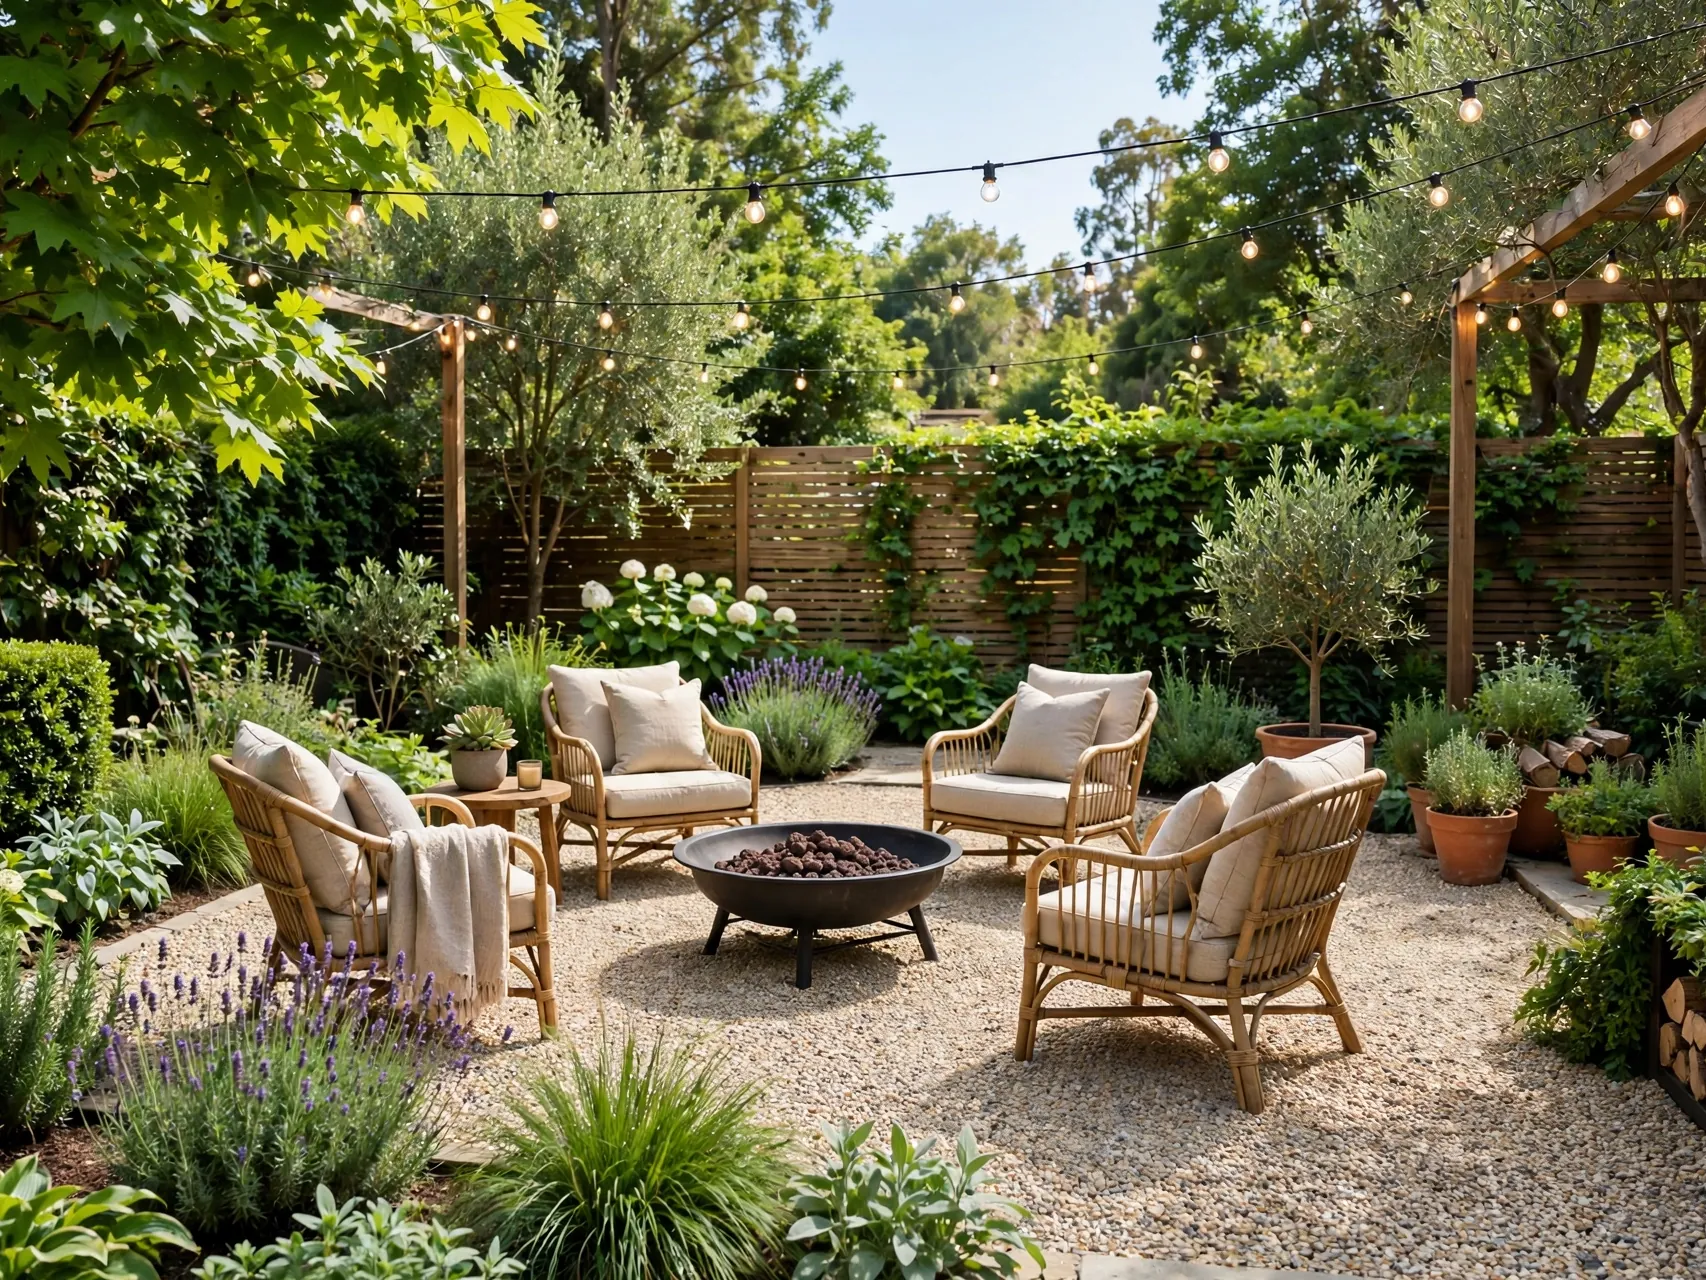
Before, the low corner stays soggy for days after rain and nobody wants to set a chair there. After excavation, landscape fabric and a thick layer of pea gravel, it becomes the fire pit or reading corner everyone claims first.
Gravel is one of the fastest budget backyard makeover ideas because it needs no curing and no perfect level. Edge it with steel or stone so stones stay put, and add stepping pads where feet land most.
5. Dark Corner to String Light Lounge

Before, the far corner is just storage for bins and a hose, too dark to use after dinner. After a simple cleanup, two poles and warm string lights, it turns into the coziest seat in the yard for evening drinks.
Hang lights with a gentle swag and keep bulbs over seating, not over planting beds. A weatherproof outdoor lamp or lanterns on a side table finish the glow without any wiring beyond one outdoor outlet.
6. Weedy Slope to Terraced Garden Beds

Before, a slope sheds mulch, erodes in storms and is miserable to mow. After low retaining walls or timber terraces, you get flat planting pockets for herbs, flowers or vegetables and a yard that finally holds together.
Terracing is heavier work, so phase it. Build one level per season if needed. Each finished terrace photographs beautifully and proves that a DIY backyard makeover can tame problem ground step by step.
7. Old Deck Boards to Fresh Stained Deck
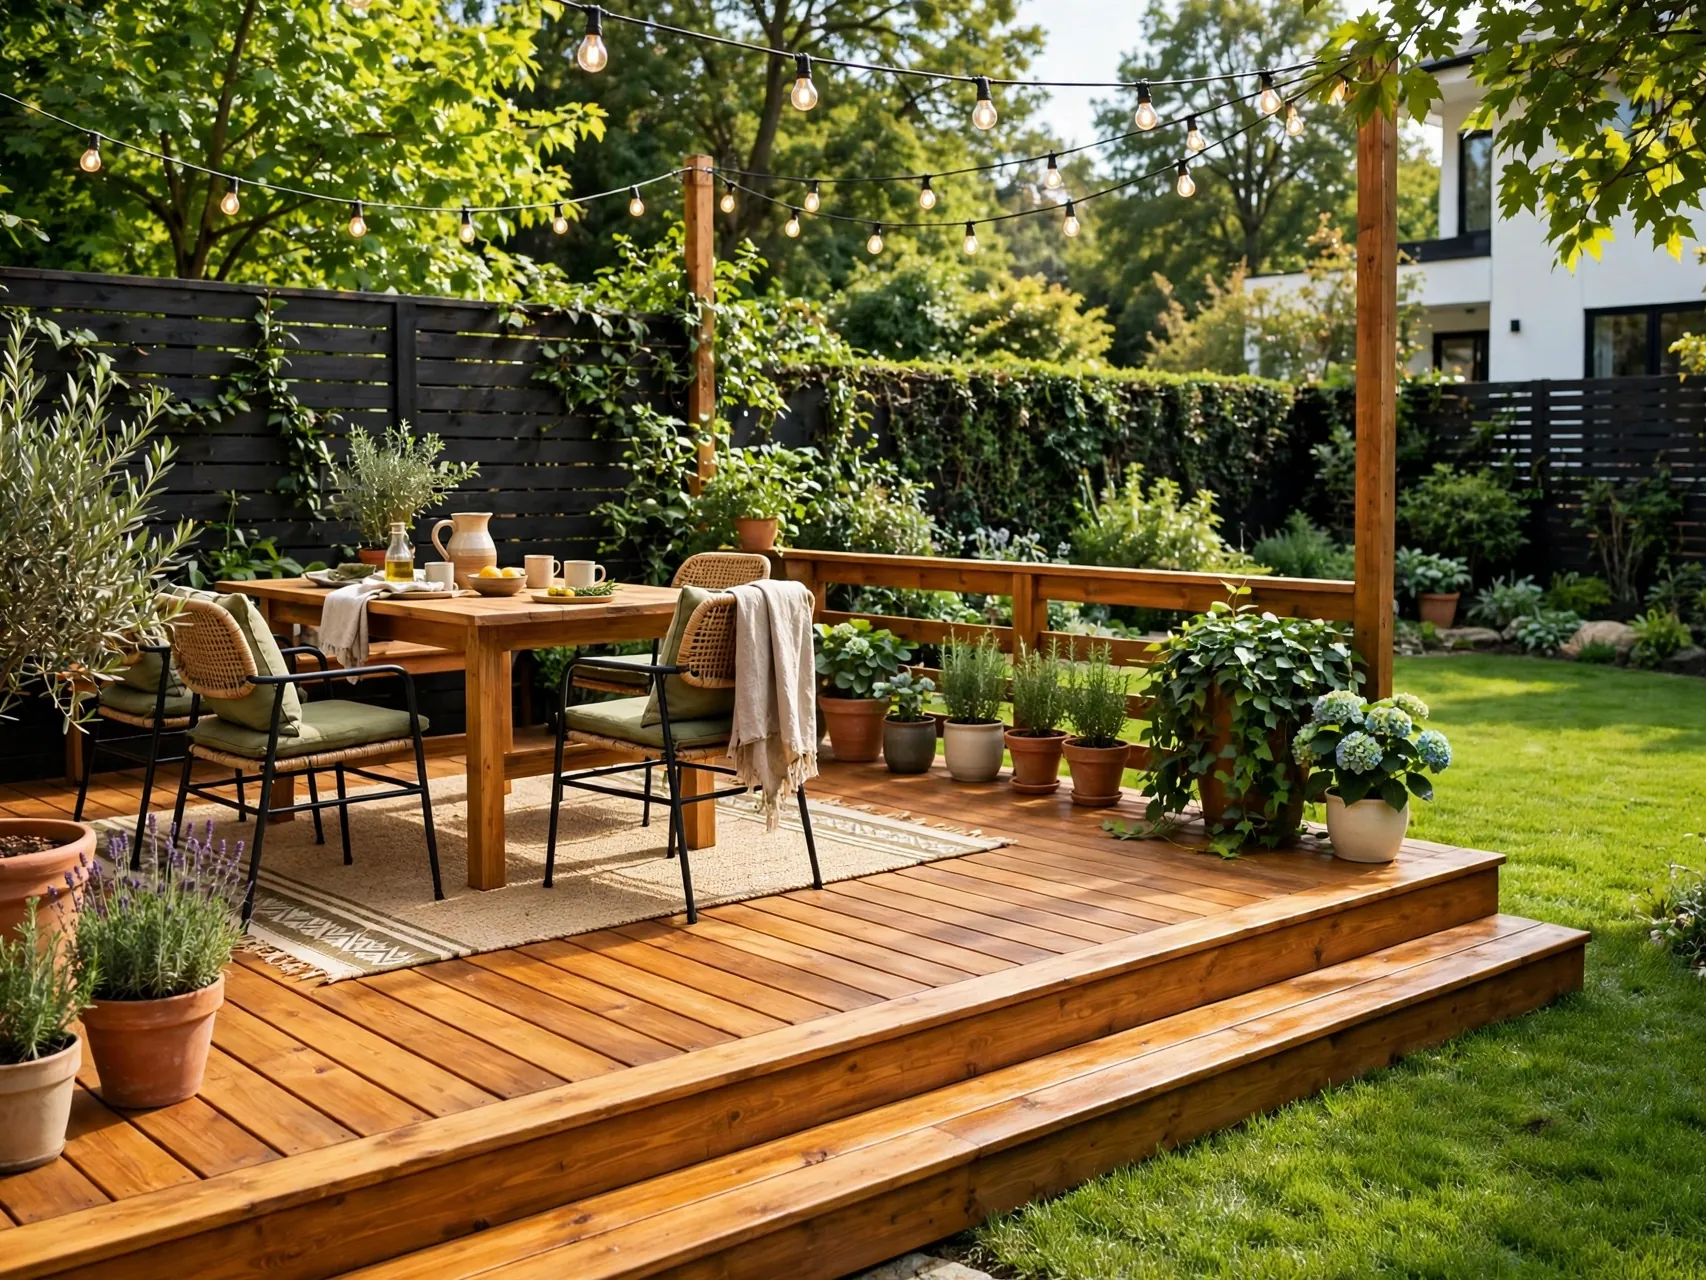
Before, gray, splintered boards and a wobbly rail make the deck feel like a chore. After a deep clean, sanding where needed and a rich stain or paint, the same deck looks new and safe for bare feet.
Check structure first and replace any soft boards. Stain in dry, mild weather and let it cure fully before furniture goes back. The color change alone delivers a dramatic before and after for very little money.
8. Empty Yard to Defined Activity Zones

Before, everything floats in one open rectangle, so dining, play and relaxing all compete. After you define zones with rugs, planters, paths and furniture groupings, the yard feels larger because each area has a clear job.
This Old House designers often stress the same point: clearly defined activity areas help a yard work harder. Start on paper, walk the routes, then place the biggest pieces first and fill gaps with plants.
9. Chain Link to Painted Fence Glow Up

Before, a silver chain link or tired picket fence dates the whole yard. After a coat of deep charcoal, black or warm white paint, the fence recedes and your planting pops against it like a gallery wall.
Prep matters more than paint brand. Clean, let it dry, prime bare spots and use exterior paint made for the material. A dark fence is a classic trick in backyard renovation ideas because greenery looks richer against it.
10. No Shade to Pergola Retreat

Before, midday sun drives everyone indoors by noon. After a simple pergola or a large cantilever umbrella, you gain a shaded room for lunch, laptops and long afternoon naps in a hammock chair.
Anchor posts properly and check local rules if you are building a permanent structure. Climbing vines or a retractable canopy let you tune the shade through the season, which keeps the space useful longer.
11. Dingy Shed to Cute Garden Cottage

Before, the shed is where tools hide and paint peels. After fresh paint, a window box, a gravel path and trim in a contrasting color, that same shed becomes the focal point people ask about first.
Treat the shed like a tiny house front. Add house numbers, a lantern and shutters if you like. It is a low risk place to test a bold color before you commit to it anywhere else.
12. Flat Lawn to Curved Flower Beds

Before, straight edges and a single strip of planting make the yard feel boxy and plain. After sweeping curved beds cut into the lawn, the space feels softer, wider and far more planted, even with the same plants.
Lay a hose to draw the curve, cut the edge cleanly and mulch. Curves create planting depth in the middle of the yard, which is where most backyard makeover before and after photos gain their lush, layered look.
13. Cluttered Patio to Outdoor Living Room

Before, mismatched chairs, a lonely grill and toys everywhere mean nobody lingers. After a real seating set arranged face to face, an outdoor rug and cushions in two colors, the patio works like a second living room.
Arrange seating for conversation first, views second. Add a coffee table surface for drinks and a storage bench for cushions. Small comforts, like a side table at elbow height, are what turn a photo into a habit.
14. No Path to Stepping Stone Walkway

Before, everyone cuts the same worn line through the grass to the gate or shed. After stepping stones or a simple paver path on that exact route, the worn line becomes a feature and the lawn recovers.
Follow the path people already take instead of forcing a new one. Set stones at a comfortable stride, level each one, and plant low creeping groundcover between them if your climate allows it.
15. Boring Border to Pollinator Flower Strip

Before, the sunny border is just shrubs and mulch. After you tuck in native perennials, herbs and flowering annuals, that strip hums with bees and butterflies and gives you cut flowers all summer.
Choose plants that bloom in sequence so something is always open. Leave seed heads standing in fall for birds. This kind of planting makes the after photo feel alive, not just tidy, which readers love to save.
16. Unused Side Yard to Herb and Veggie Alley
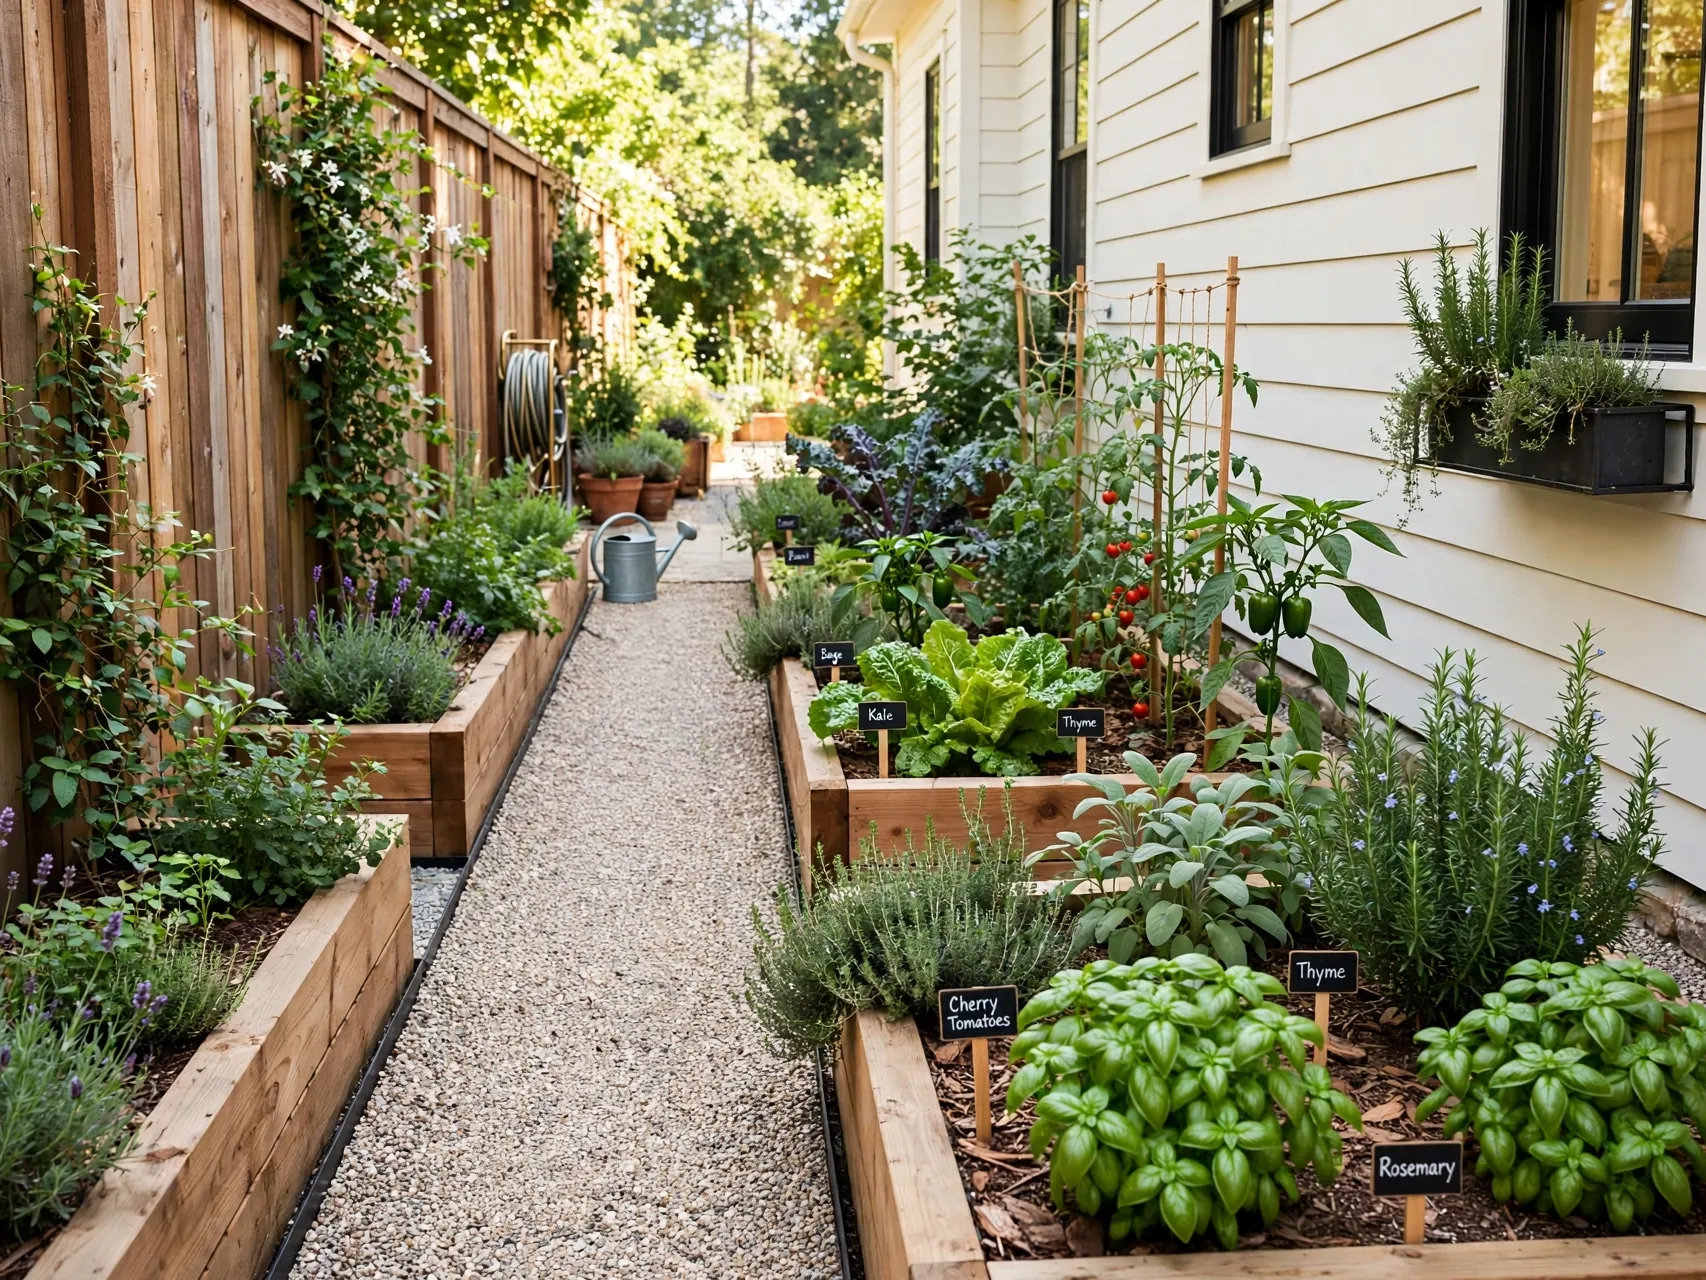
Before, the narrow side yard stores bins and grows weeds. After raised beds, a gravel floor and a simple trellis, it produces herbs, tomatoes and greens steps from the kitchen door.
Side yards often get great sun on one side. Put beds there and keep the path wide enough for a wheelbarrow. A budget backyard makeover like this pays you back at dinner, which few projects can claim.
17. Plastic Pool Chaos to Tidy Splash Zone
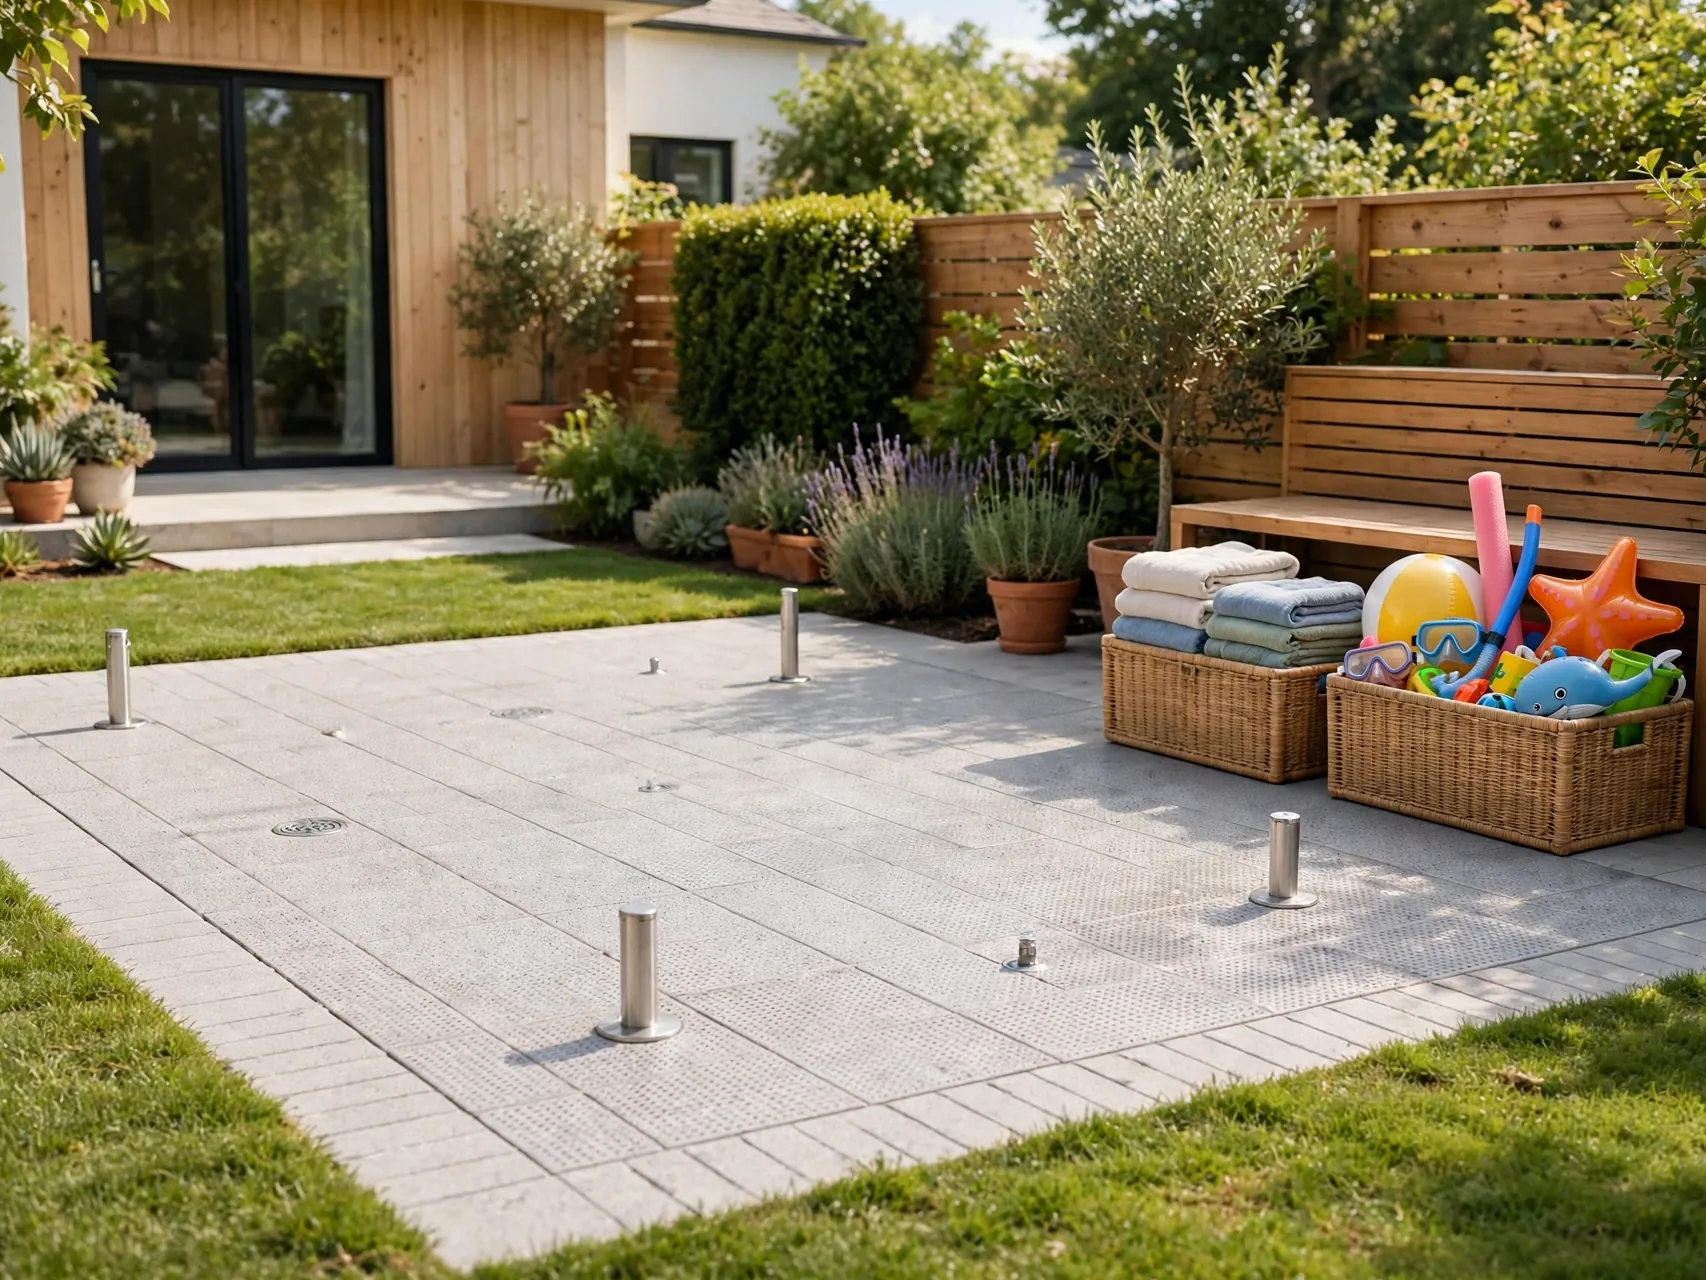
Before, kiddie pools, hoses and towels sprawl across the lawn. After a flat pad of pavers or deck tiles, hooks for towels and a storage box, family water play gets its own neat home base.
Keep water zones away from mud and give everything a drain and dry spot. When the season ends, the pad becomes a yoga or reading deck, so the makeover keeps earning its space year round.
18. One Tree to Shade Garden Sanctuary

Before, dry shade under a big tree grows nothing but roots and disappointment. After shade loving hostas, ferns and mulch, plus a bench, that same spot becomes the coolest retreat on hot afternoons.
Work with the shade instead of fighting it. Water new plants well while they establish, since tree roots compete hard. A small birdbath adds the finishing touch and brings daily visitors to your quiet corner.
19. Garage Wall to Vertical Garden Wall
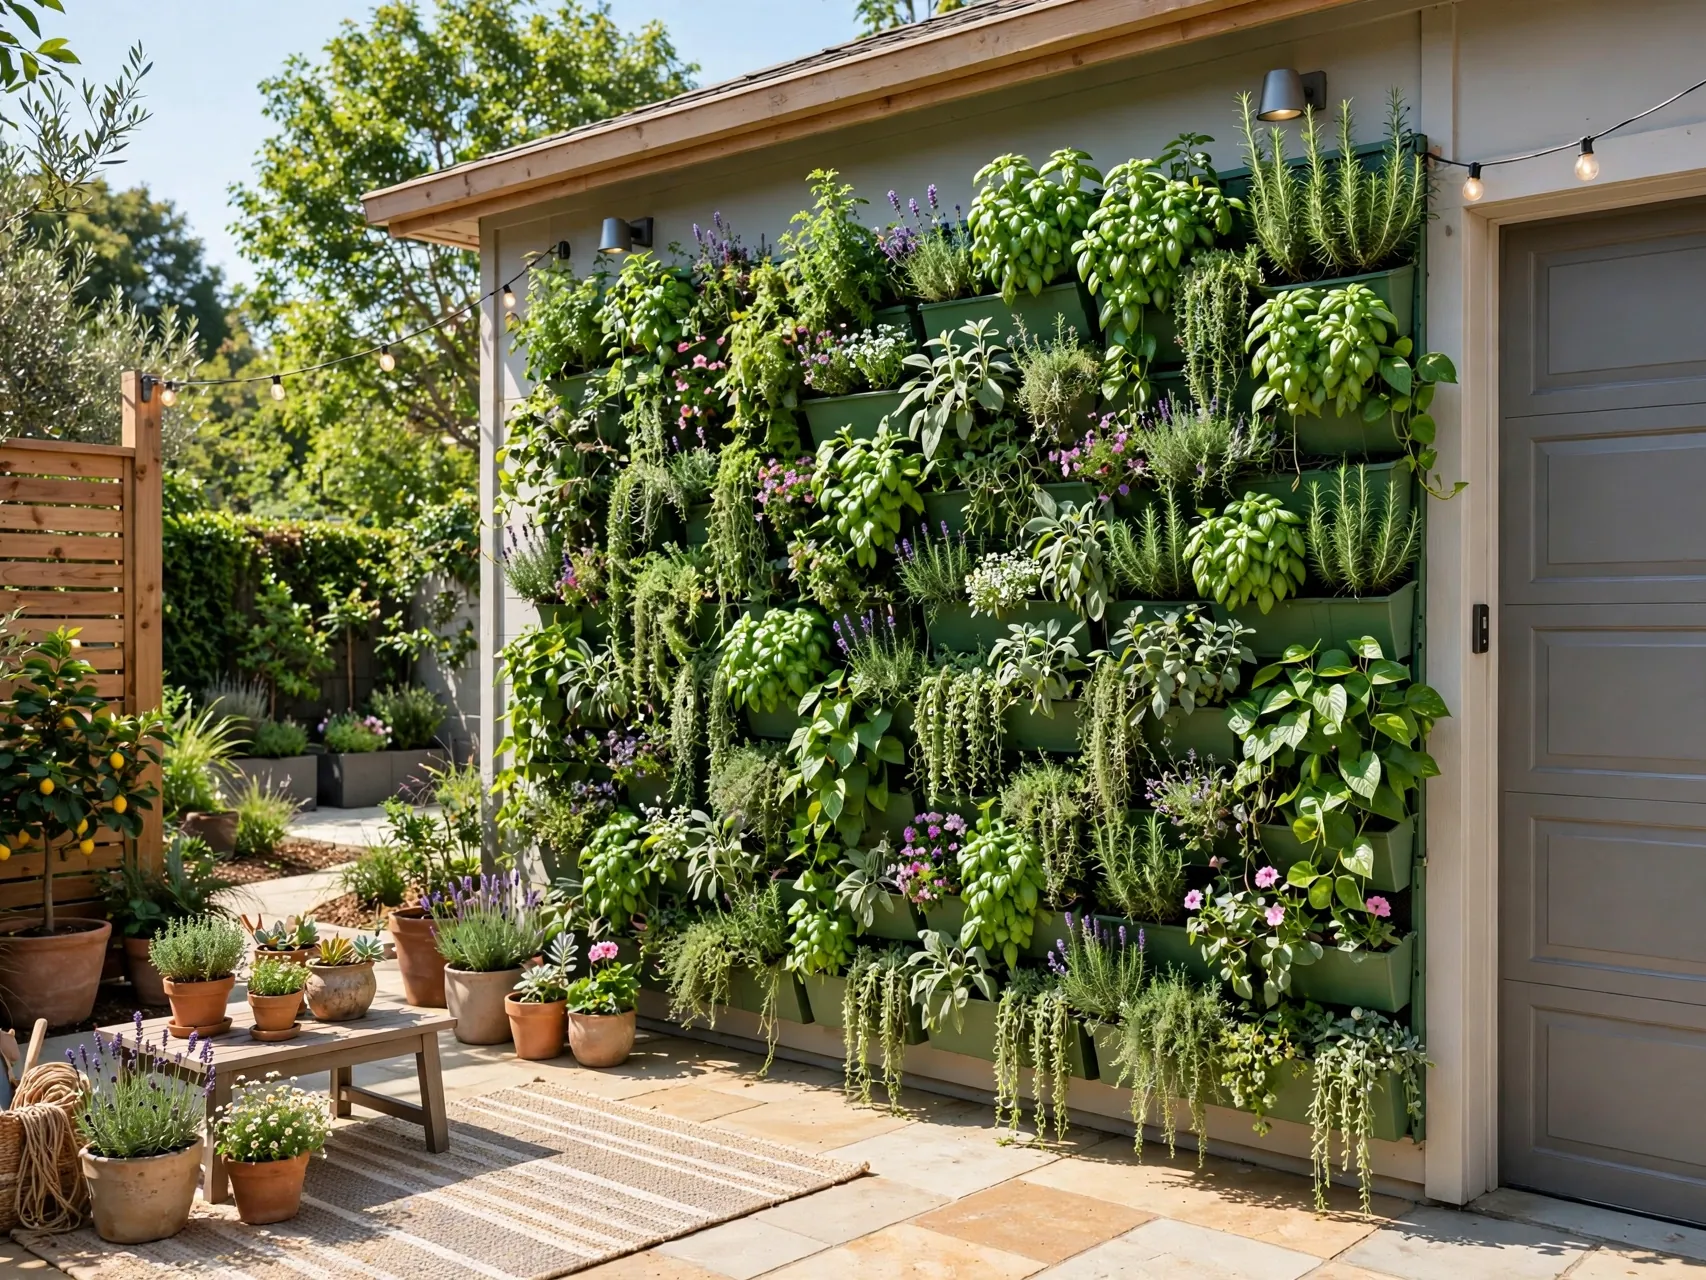
Before, a blank garage or house wall bakes in the sun and adds nothing. After wall planters, a trellis with climbers or hanging baskets, that vertical space turns green and cools the patio beside it.
Secure fixings into studs or masonry, not siding alone, and pick plants you can water easily. Vertical planting is a hero move for a small backyard transformation because it adds lushness without eating floor space.
20. Old Fire Scar to Stone Fire Pit Circle
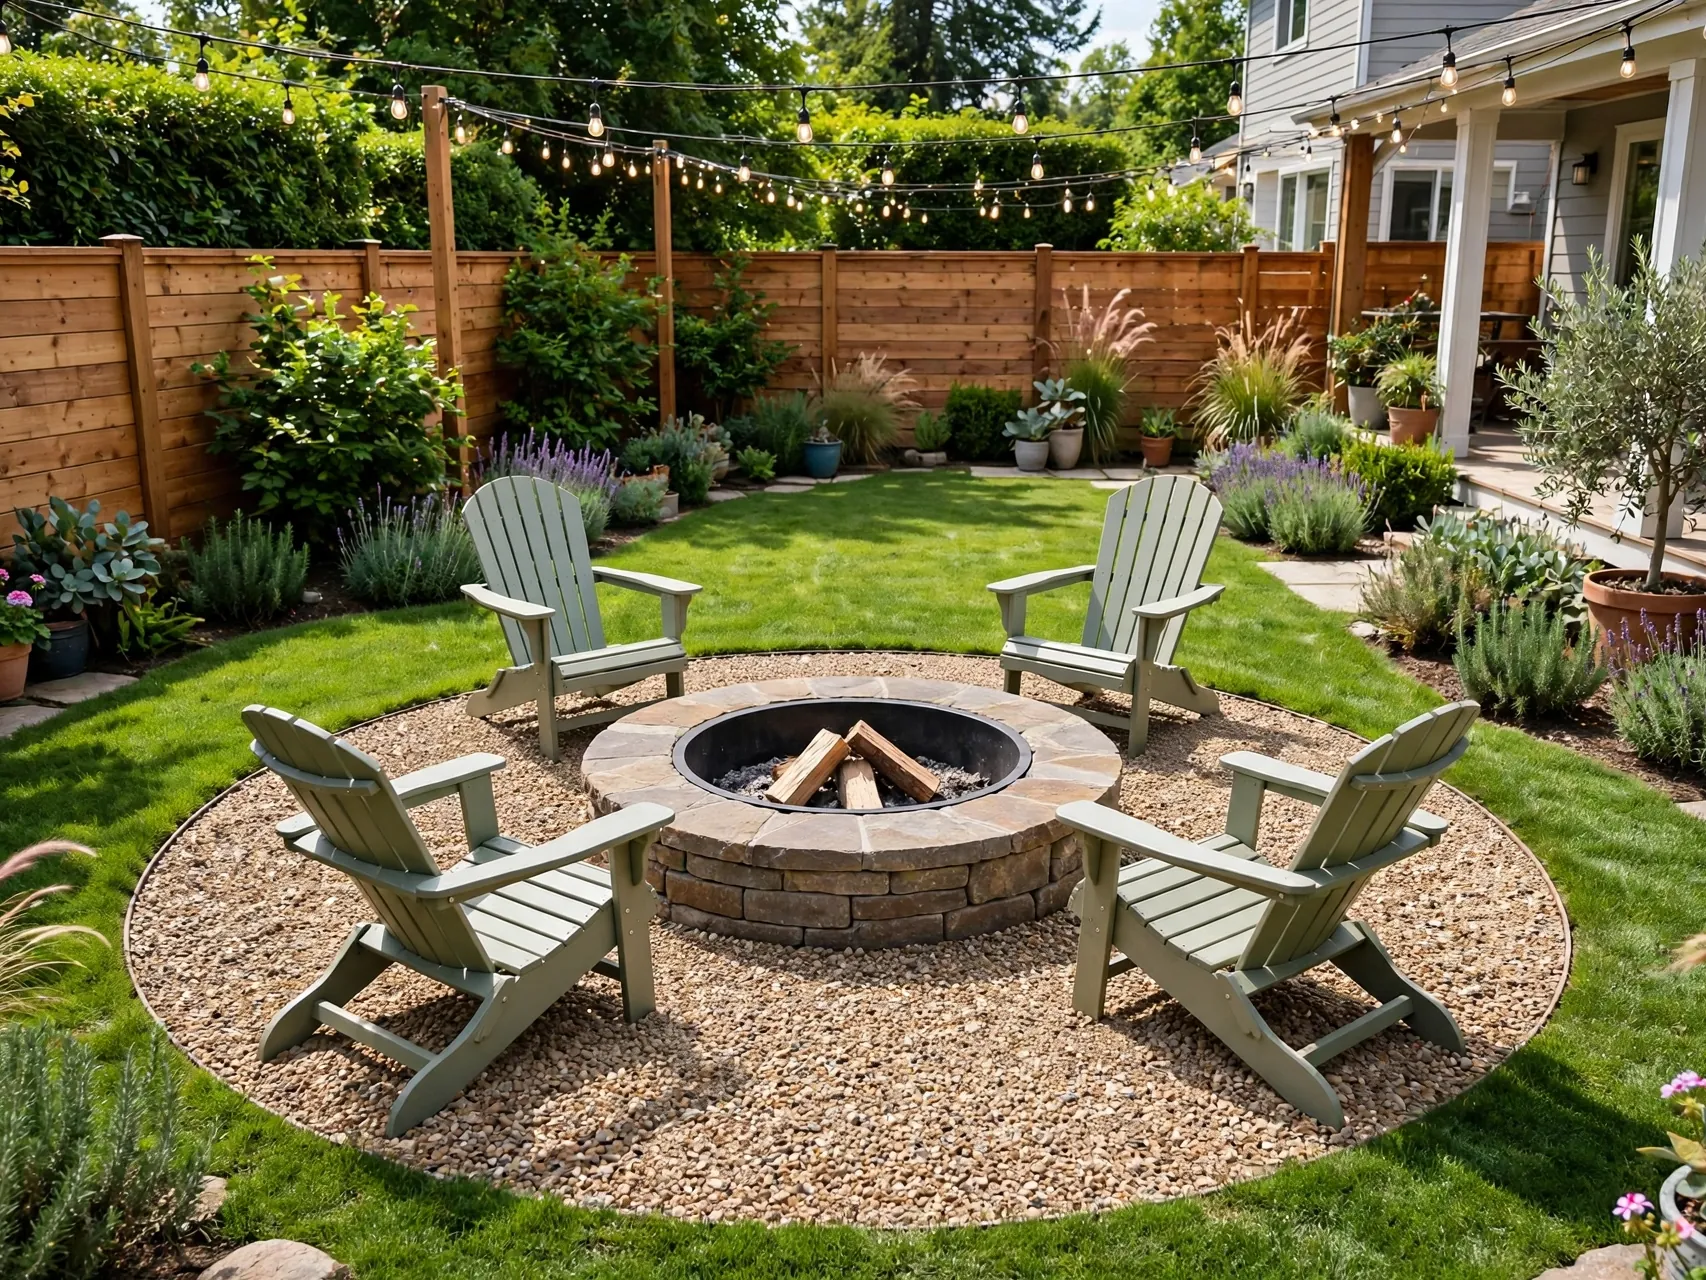
Before, there is a scorched patch and a ring of mismatched rocks. After a level gravel circle, a proper metal ring and built in or movable seating, the fire area looks intentional and hosts every cool evening.
Keep the pit well away from structures and overhangs and check local rules before you build. A tidy circle with room for chairs on all sides photographs like a resort and works even better in real life.
21. Neglected Beds to Mulch and Edge Refresh
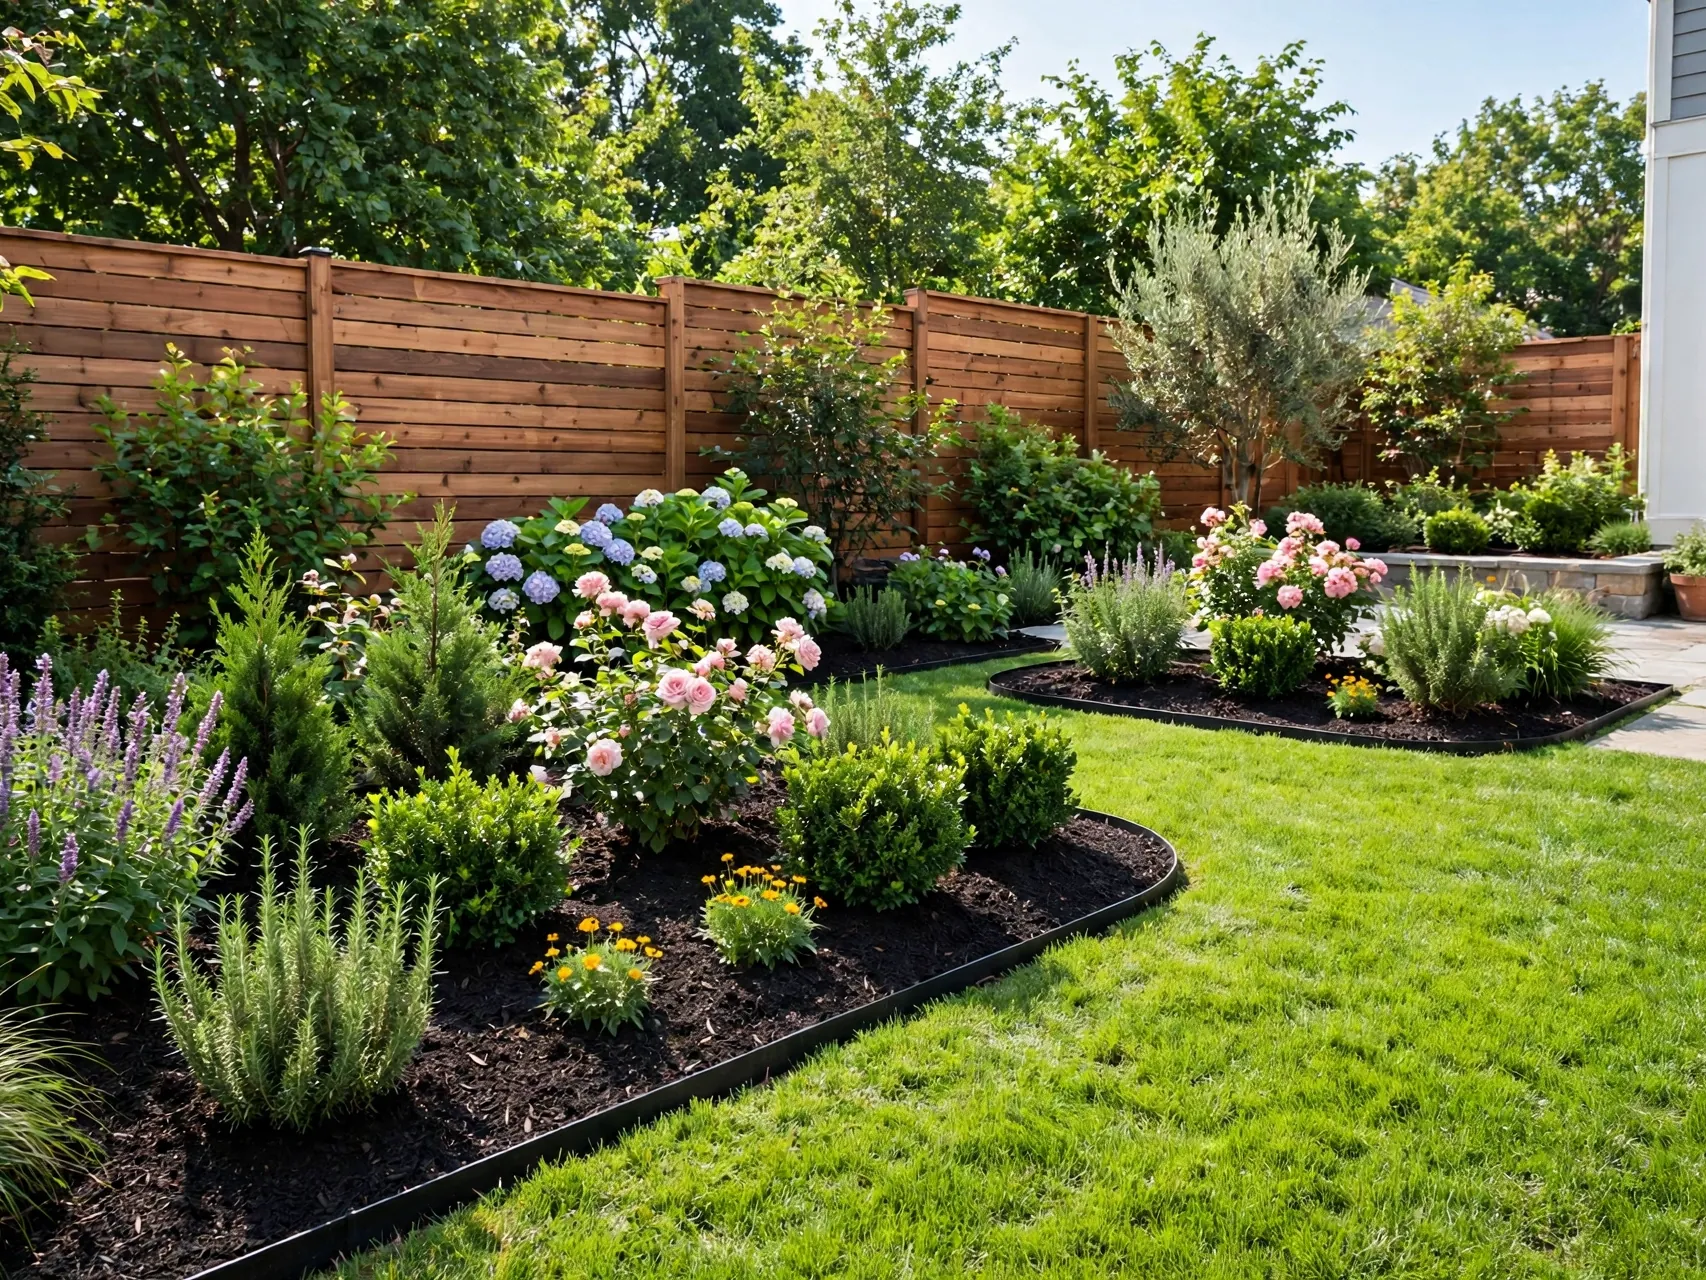
Before, beds blur into lawn and weeds win every week. After a clean cut edge, fresh mulch and a simple stone or metal border, the whole yard looks maintained in a single weekend of work.
This is the cheapest transformation on the list and often the most convincing. Sharp edges signal care. Repeat the refresh each spring and your before photos will keep getting harder to believe.
22. No Privacy to Living Green Screen
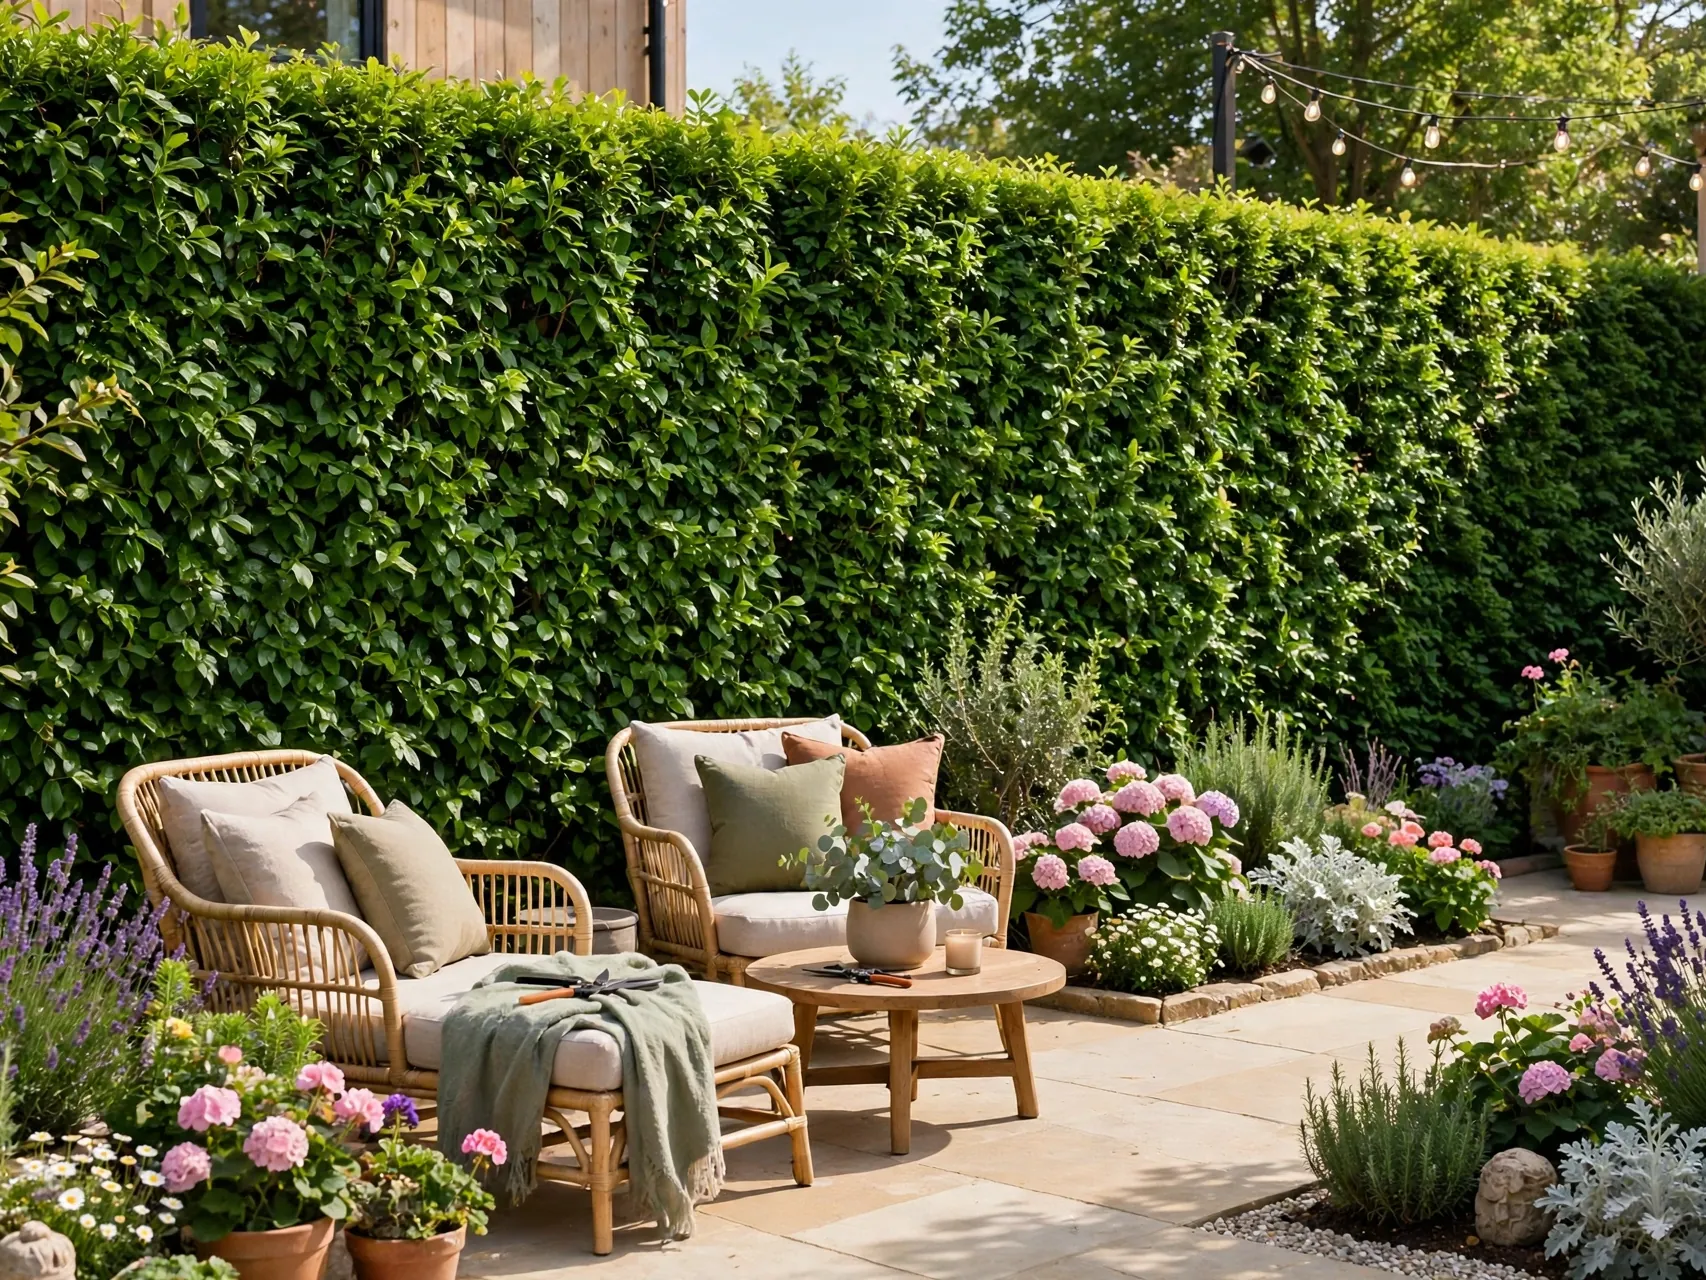
Before, the patio faces straight into a neighbor window. After a row of narrow evergreens, bamboo in containers or a trellis with vines, you get a soft green wall that moves in the breeze and blocks views.
Containers give renters and small yards control, since the screen can move with you. Water container screens often in summer. A living screen beats a tall fence for sound softening and for that calm, enclosed feeling.
23. Full Yard Phased Weekend Plan
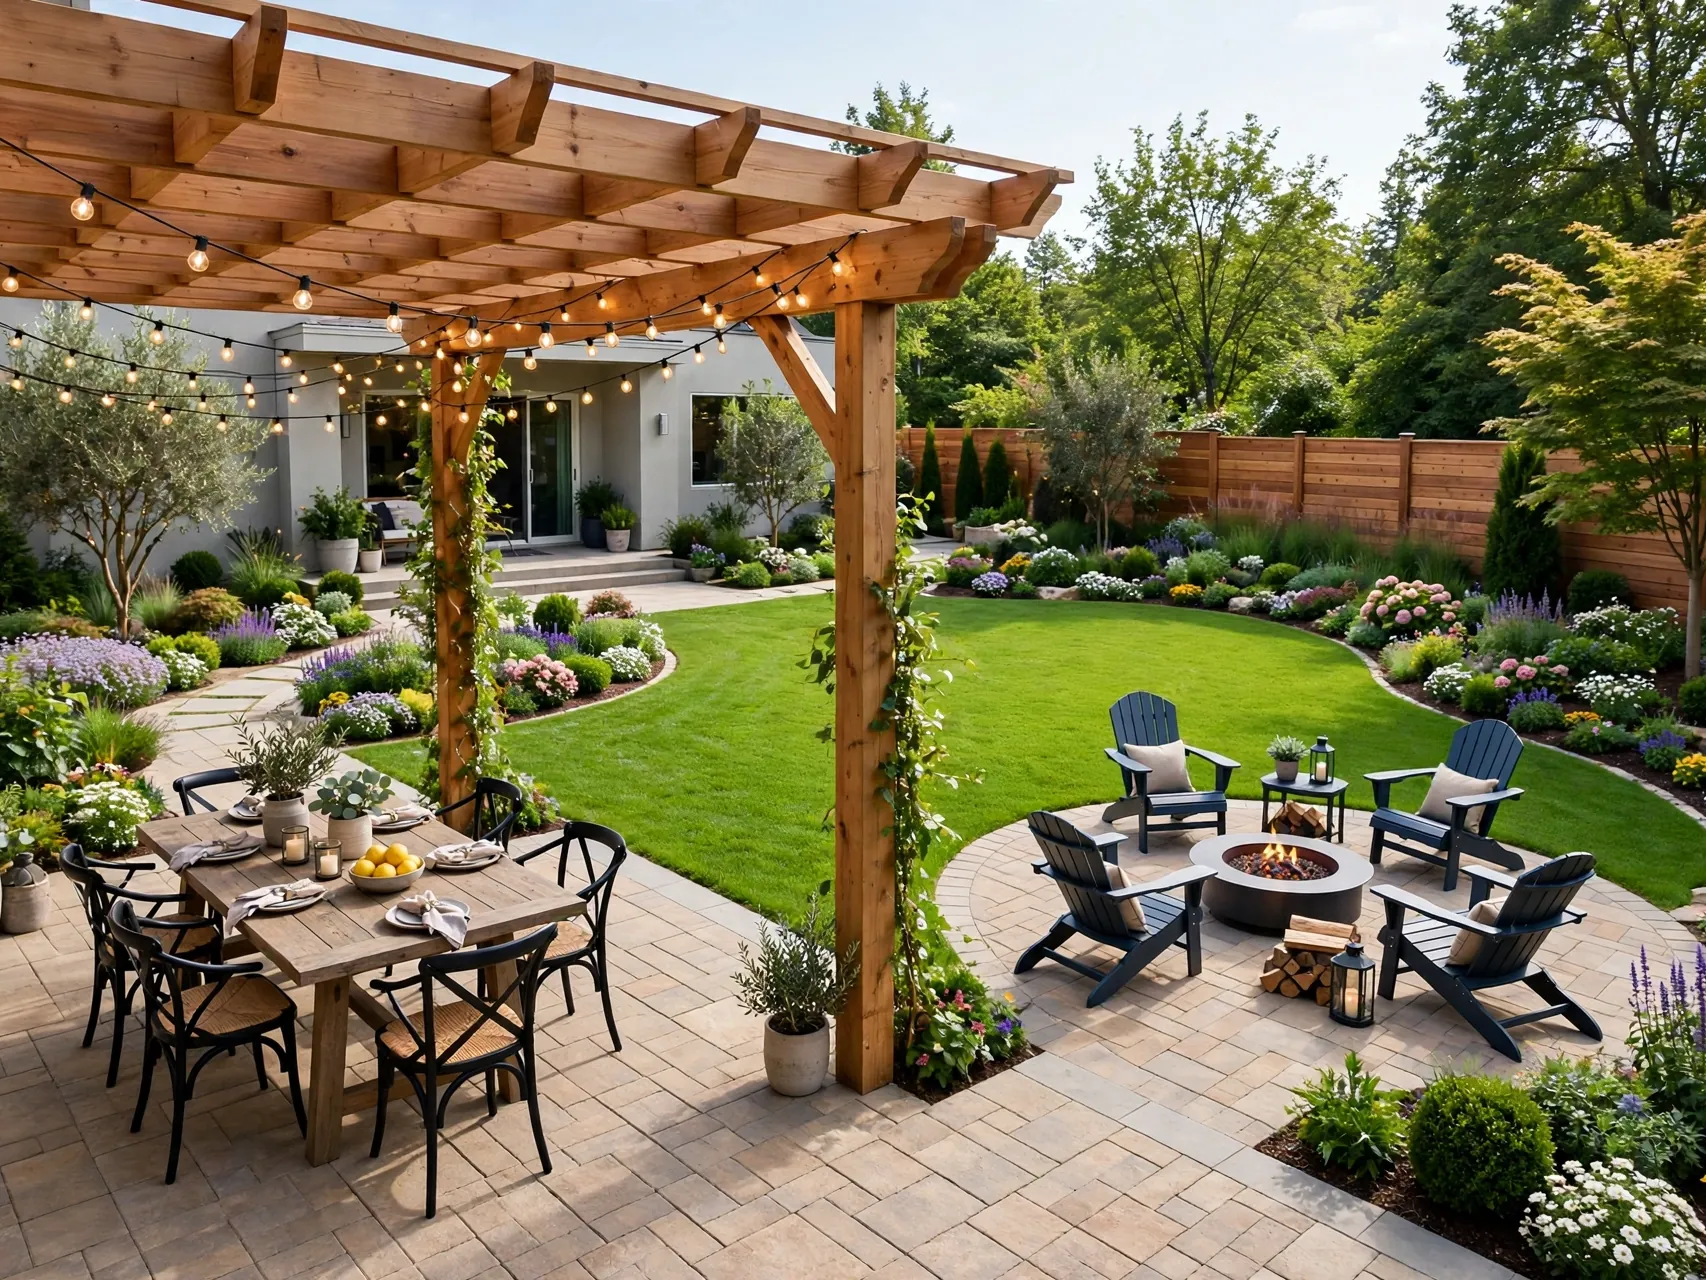
Before, the whole project feels too big, so nothing starts. After you split the yard into weekend sized phases, clean up, edges, one zone, then planting, each Sunday ends with a visible win and a new after photo.
Phasing protects your budget and your back. Photograph the same angle after every phase. By the final weekend, your backyard makeover before and after album tells a story that inspires friends to start their own.
Keep a simple materials list for each phase and buy once for the whole job where you can. Fewer trips means fewer impulse buys, and matching materials across zones is what makes separate weekend projects read as one calm, connected design when you step back and look at the full yard.
FAQ
Planning questions come up in almost every project, from budgets to renter friendly limits. The answers below cover the decisions that shape cost, timing and how bold you can be with permanent changes, so you can start with a clear plan instead of guessing as you go.
How much does a backyard makeover cost?
Costs range from under a few hundred dollars for mulch, paint and gravel refreshes to much more for patios, pergolas and terracing. Phase the work, reuse materials and do cleanup and planting yourself to keep the total down.
What is the cheapest backyard makeover idea?
A clean edge and fresh mulch refresh, plus fence or shed paint, usually gives the biggest visible change for the least money. Both can be done in a weekend with basic tools.
How long does a DIY backyard makeover take?
A single zone, like a gravel hangout or a patio restyle, often takes one weekend. A full yard done in phases usually takes a season of weekends, which keeps it affordable and manageable.
Can renters do a backyard makeover?
Yes, if you stick to reversible changes. Use containers, gravel over fabric where allowed, freestanding screens, string lights and furniture. Always check your lease and get permission before digging or building anything permanent.
What should I do first in a backyard makeover?
Start with cleanup, repairs and edges. Remove clutter, fix broken boards or stones, define beds, then add one main zone. Clean structure makes every later upgrade look better and last longer.
Key Takeaways
- Start with cleanup: Clear, edge and repair first so every later upgrade shows at full value.
- Zone the yard: Dining, lounging, play and growing areas make even small yards feel bigger.
- Use contrast: Dark fences, fresh mulch and green planting create the classic before and after pop.
- Phase the work: One finished zone per weekend keeps cost and effort under control.
- Plant in layers: Trees, shrubs and perennials repeated along borders give a designed, finished look.
- Photograph progress: Shoot the same angle each phase to track wins and stay motivated.
Save this list to Pinterest for later, and pin your favorite before and after idea to plan your own weekend transformation.