22 Pet Safe Weed Killer Recipes That Actually Work
Introduction
If a dog or cat shares your yard, every weed spray comes with a second question: what happens when paws walk through it an hour later? A good pet safe weed killer plan starts with honesty. No spray is automatically safe just because it is homemade, and the safest options for pet areas are often not sprays at all.
Here is the plain version, backed by university extension guidance. Boiling water, hand pulling, mulch, and smothering leave no chemical residue at all. Vinegar sprays burn the leaves they touch and are nonselective, and they are only a pet area option once the treated spot is fully dry. Salt mixes are the most limited of all, because salt stays in soil, moves with water, and can stop anything growing in that spot for a long time.
This list puts the residue-free methods first, then the careful spray recipes with their real limits, where to use each one, and where never to use it. Used in the right place, these 22 ideas will clear weeds without turning your yard into a worry.
1. Pour Boiling Water Right on the Crown

Boiling water is the truest pet safe recipe in this list because there is no recipe: just water, heated, poured slowly over the crown of weeds in cracks, gravel, and path edges. The heat collapses the top growth on contact.
Repeat on deep rooted weeds as they regrow, a little weaker each time. Keep pets and children indoors while you carry and pour, for the obvious scald reason, and take care not to splash nearby wanted plants. Once the spot cools, pets can walk there with nothing to lick off their paws.
2. Hand Pull After Rain With a Narrow Weeding Tool
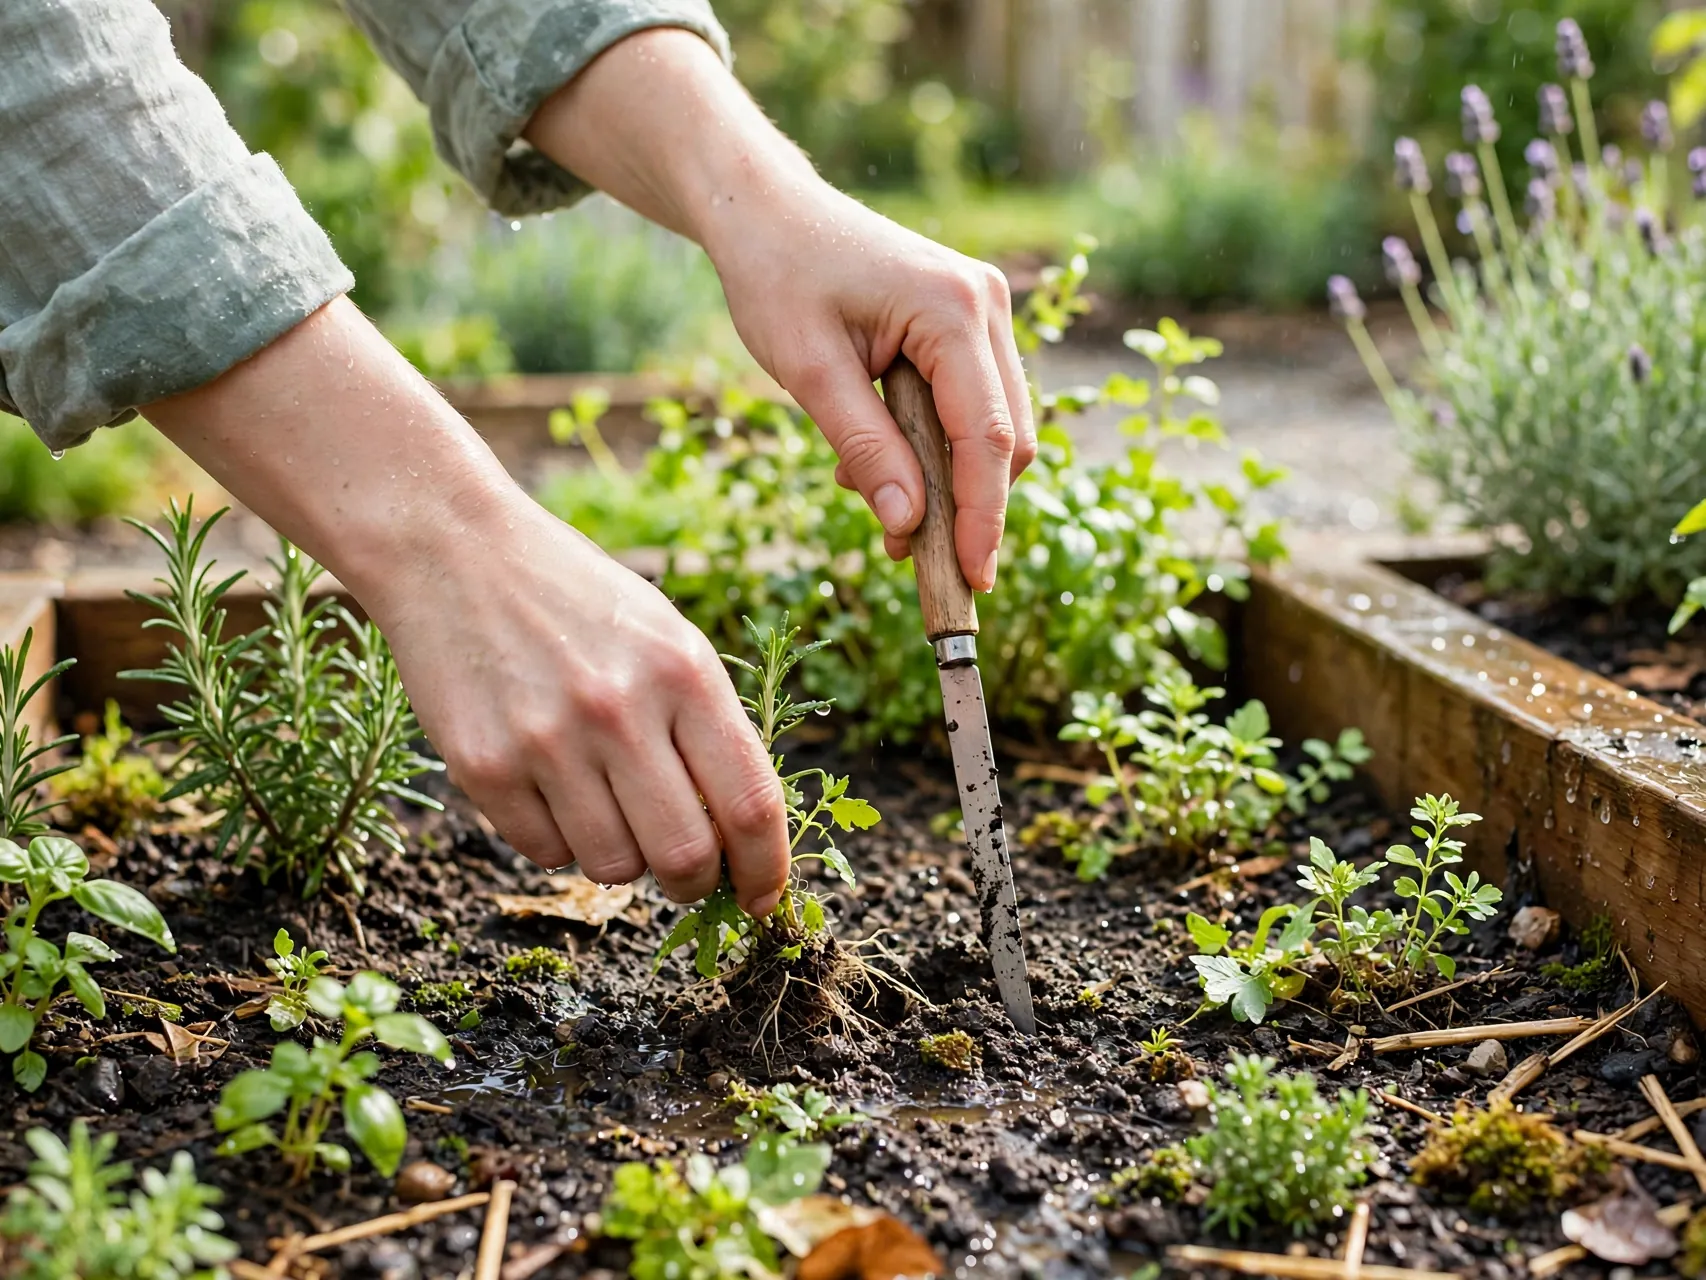
Hand pulling leaves zero residue and, done right, removes the root that sprays leave behind. Water the area or wait for rain, then use a narrow fork or dandelion tool close to the crown, levering slowly so taproots come out whole.
Ten minutes a week keeps most beds ahead of the weeds. Drop pulled weeds without ripe seed heads into the trash or a hot compost system, not back onto the soil. For pet owners, this simple habit is the homemade weed killer safe for pets that never needs a warning label.
3. Smother Patches With Cardboard and Mulch

For a weedy patch you want back as a bed, smothering beats spraying. Cut growth short, lay overlapping cardboard with no gaps, wet it well, and cover it with a thick layer of mulch. Without light, weeds fade while the cardboard softens into the soil.
Leave it for a full season for tough perennials. Keep the mulch layer topped up and pull the few shoots that find the edges. Pets can walk on a mulched, smothered bed the same day, which no spray in this list can promise.
4. Use Corn Gluten Meal to Stop Seeds, Not Plants

Corn gluten meal is a pre-emergent: spread on lawns and beds at label rates, it helps stop weed seeds like crabgrass from establishing. It does not kill weeds that are already growing, and honest expectations matter here.
Apply it in spring and fall when soil is moist and rain is expected to water it in, and do not use it where you have just sown seed you want, because it cannot tell one seed from another. Once watered in and dry, it is a low worry option around pets, but always follow the product label.
5. Spray Household Vinegar on Hardscape Weeds Only

Plain household vinegar, the standard kitchen strength, burns young weed leaves it touches on a calm, sunny day. Put it in a spray bottle, aim closely at weeds in driveway and patio cracks, and wet the leaves, not the soil around them.
Keep pets off the spot until it is completely dry, and expect repeat sprays on regrowth. Vinegar is nonselective, so drift will spot lawn and flowers too. This is a hardscape tool, not a lawn spray, and vinegar weed killer safety always means gloves, care around eyes, and no spraying in wind.
6. Mix Vinegar With a Drop of Soap for Leaf Coverage

Many recipes add a small amount of dish soap to vinegar so the spray spreads over waxy leaves instead of beading off. Extension sources are clear that dish soap is made for dishes, not plants, and can injure foliage, which is partly why it appears to help.
If you use this mix, use it only as a spot spray on hardscape weeds, keep it off wanted plants and soil you garden in, and keep pets away until fully dry. Never add soap mixes to beds or lawn. And never, under any circumstances, mix vinegar with bleach.
7. Save Salt Mixes for Cracks Where Nothing Should Grow

The famous vinegar, salt, and soap mix does kill weeds, and that is exactly the problem. Salt does not break down. It stays in the soil, moves with rain and runoff, and can injure nearby plants and stop regrowth in that spot for a long time.
Reserve any salt mix, if you use it at all, for the middle of gravel or paving where you truly want nothing to grow again, far from beds, lawns, tree roots, and drains. Never use it in soil you may plant later. For most pet yards, skipping salt entirely is the better call.
8. Try a Citric Acid and Vinegar Spot Spray

Citric acid is one of the active ingredients extension services list in store bought organic burndown sprays. A home spot spray of vinegar with dissolved citric acid or lemon juice works the same basic way: acid burns the leaf tissue it coats on a sunny day.
It shares every vinegar limit: nonselective, top growth only, repeat applications, and pets off until dry. Use it on young annual weeds in cracks and edges, test a small spot first, and store any mix labeled and out of reach of children and pets.
9. Use a Handheld Weed Torch on Paths With Care

A flame weeder passes heat over weeds in gravel and paving until the leaves wilt, with no residue left behind. The goal is a brief pass that heats the plant, not a fire that burns it to ash.
This is an adults only, label first tool. Never use it near dry mulch, dry grass, fences, or fuel, never on windy days, and keep pets well away until the area is cool and checked. Many gardeners will rightly decide boiling water does the same hardscape job with far less risk.
10. Pour Salt-Free Rubbing Alcohol Spray on Single Weeds
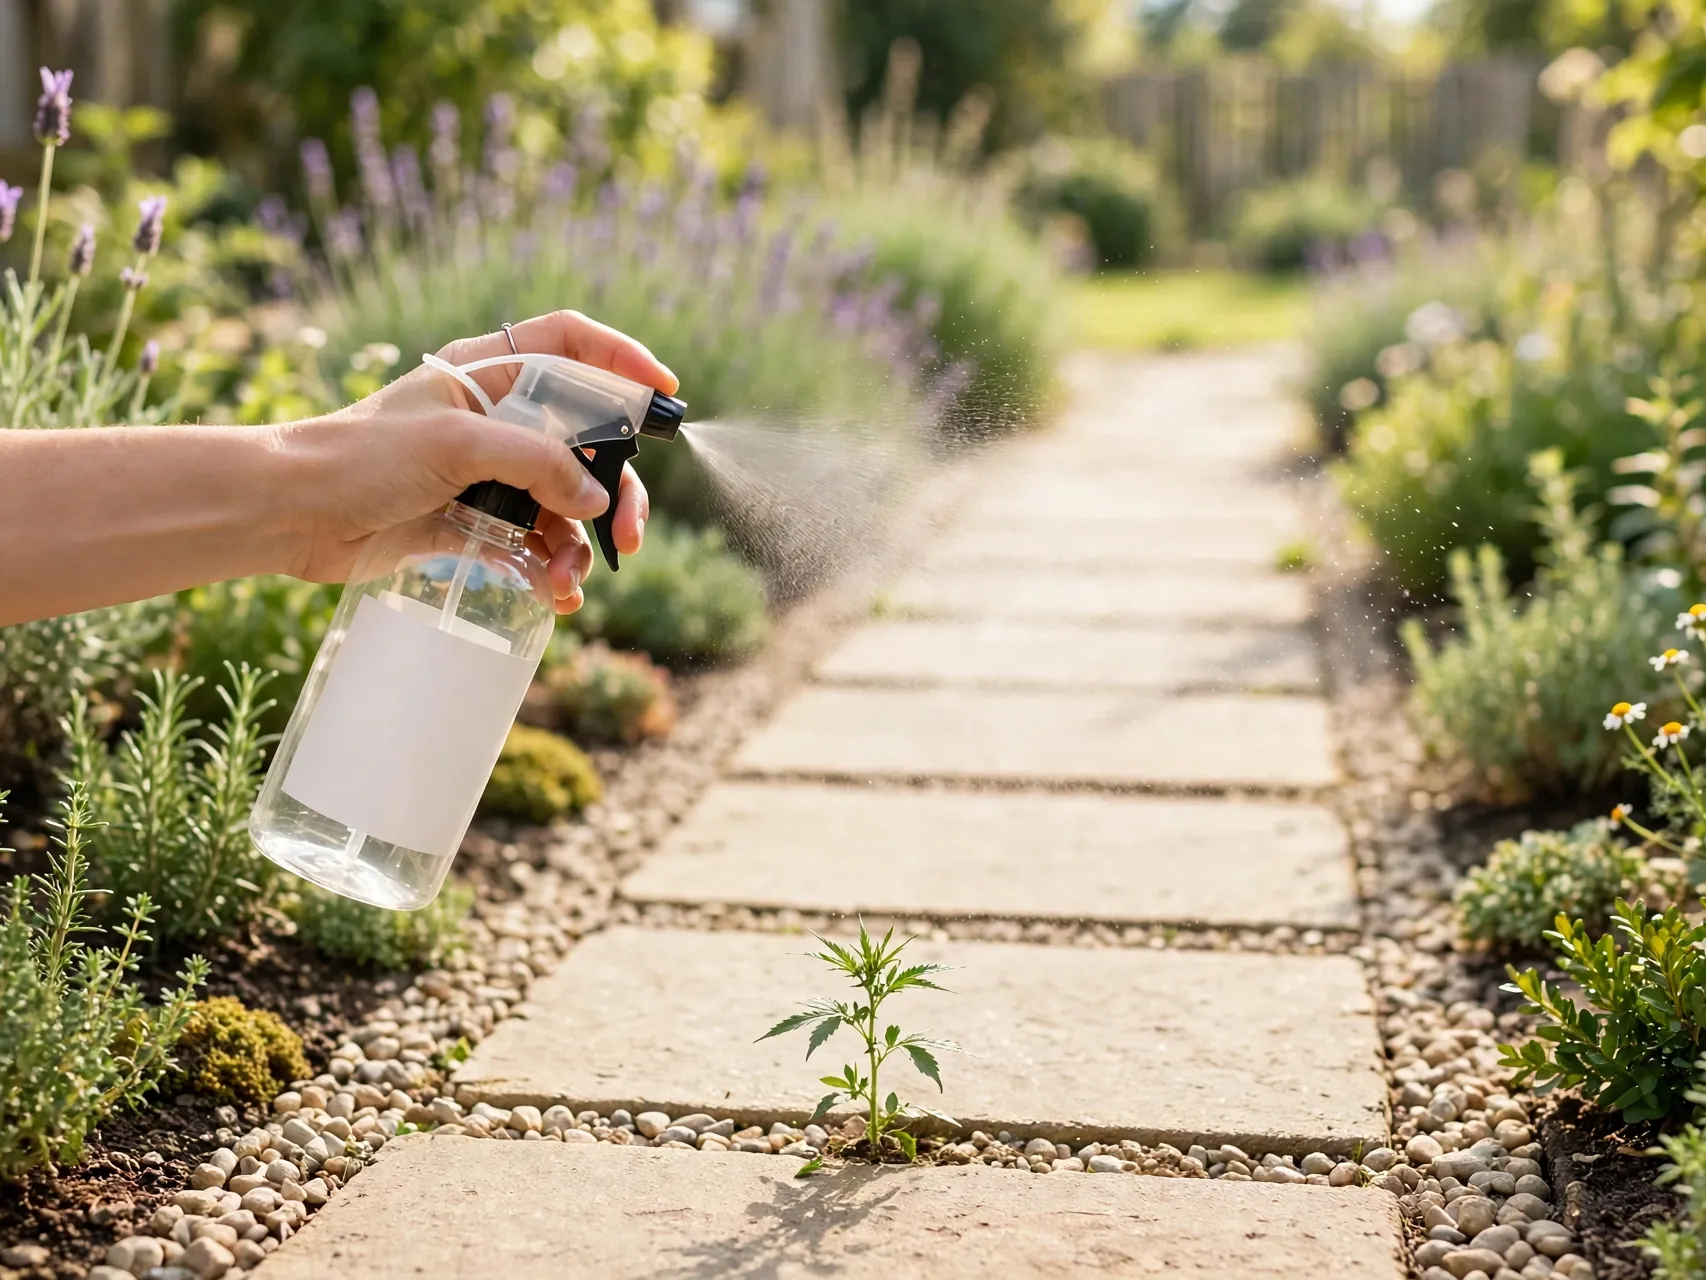
A diluted rubbing alcohol spray, roughly one part alcohol to four parts water in common home recipes, dehydrates small weeds it is sprayed on directly. It evaporates fast, which limits soil residue, but it is still nonselective and flammable before it dries.
Use it only for a few individual weeds on paving, spray closely on a calm day, keep the bottle stored safely away from pets and children, and keep everyone off the spot until dry. For more than a few weeds, boiling water or pulling is simpler, cheaper, and easier to control.
11. Lay Thick Mulch to Prevent Weeds Before They Start
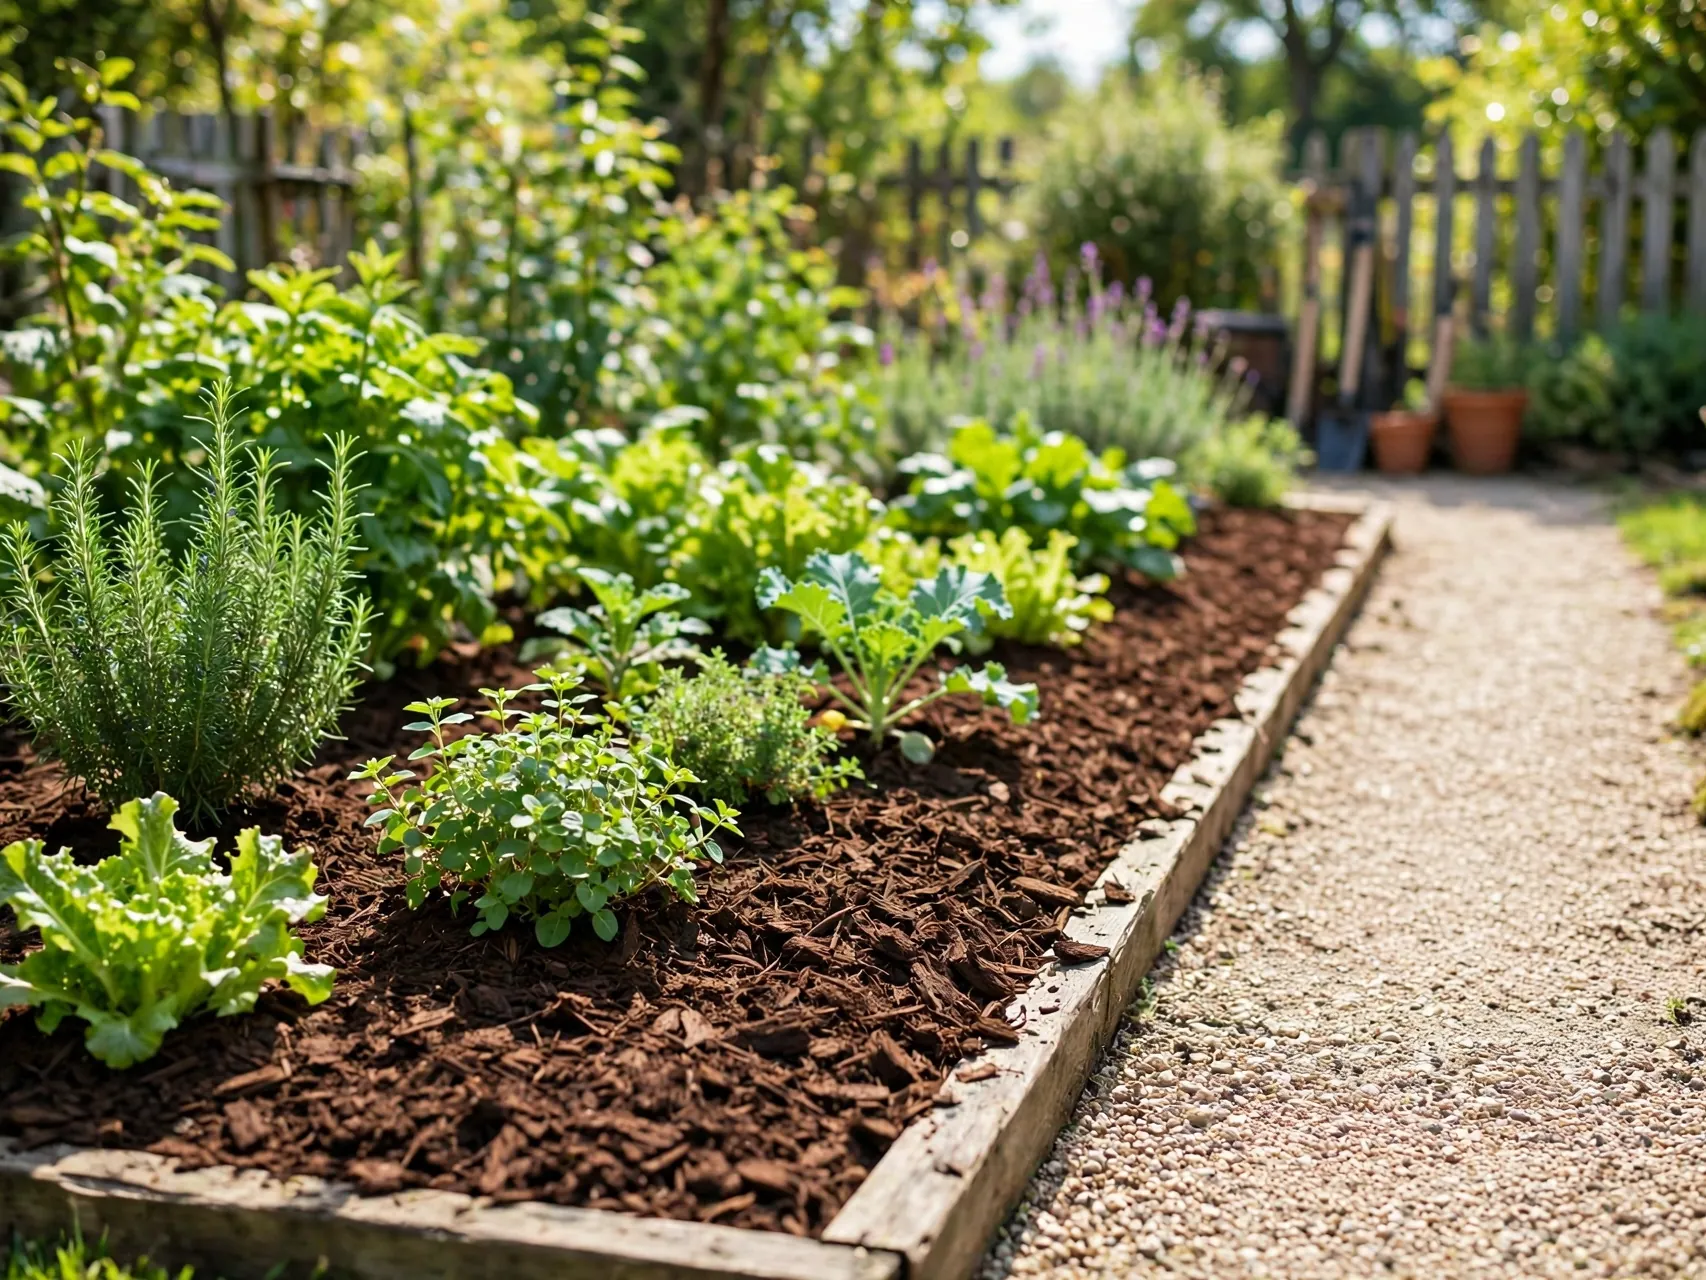
Prevention is a recipe too. A thick layer of mulch, about 3 to 4 inches in beds as extension guidance commonly advises, blocks light, holds moisture, and stops most weed seeds from ever getting started. Top it up as it settles.
Keep mulch a little away from stems and trunks. In lawns, the equivalent is mowing a bit higher and keeping grass thick so it shades its own soil. A yard that prevents weeds needs far fewer treatments, which is the most pet friendly outcome of all.
12. Solarize a Bad Patch With Clear Plastic in Summer

For a bed or lawn section too weedy to save, summer heat does the work. Water the patch, cover it tightly with clear plastic, seal the edges with soil, and leave the sun to heat the top layer of soil for several weeks in the hottest part of the year.
Solarizing reduces many weed seeds and young weeds near the surface without any spray at all. Remove the plastic, avoid deep digging that brings up fresh seed, and replant promptly. Keep pets off the plastic while it is down so it stays sealed and undamaged.
13. Edge and String Trim So Weeds Never Set Seed

One weed left to seed can undo a month of careful work. Regular edging along paths and beds, plus trimming weed tops before flowers turn to seed, steadily drains the seed bank in your soil with no product at all.
Sweep clippings with seed heads into the trash rather than onto beds. This habit pairs with every other idea here: sprays and pulling clear what is growing, while seed control stops the next generation. Pets can supervise the whole job, which they usually insist on doing.
14. Spot Treat With a Foam or Gel Applicator

Drift is the enemy of spot spraying. A foam brush, sponge, or refillable brush bottle lets you paint a vinegar based mix onto the leaves of one weed at a time, with almost nothing reaching the grass or flowers beside it.
Painted application is slow, so save it for scattered weeds in lawns and beds where a spray would do real damage. Wipe leaves on a calm day, mark treated weeds if you need to find them again, and keep pets off each painted plant until it is fully dry.
15. Choose a Labeled Natural Burndown Product and Follow It Exactly

Store bought burndown products based on ingredients like acetic acid, citric acid, or plant oils have one advantage home mixes lack: a tested label. Extension guidance favors labeled products because rates, protective gear, and re-entry times have actually been checked.
Read the whole label, use only the stated sites and rates, wear what it specifies, and keep pets off for the full label time, not a guessed shorter one. Natural on the bottle does not mean harmless, strong acid products can burn skin and eyes, so storage and care still matter.
16. Dig Out Deep Roots With a Stand-Up Weed Puller
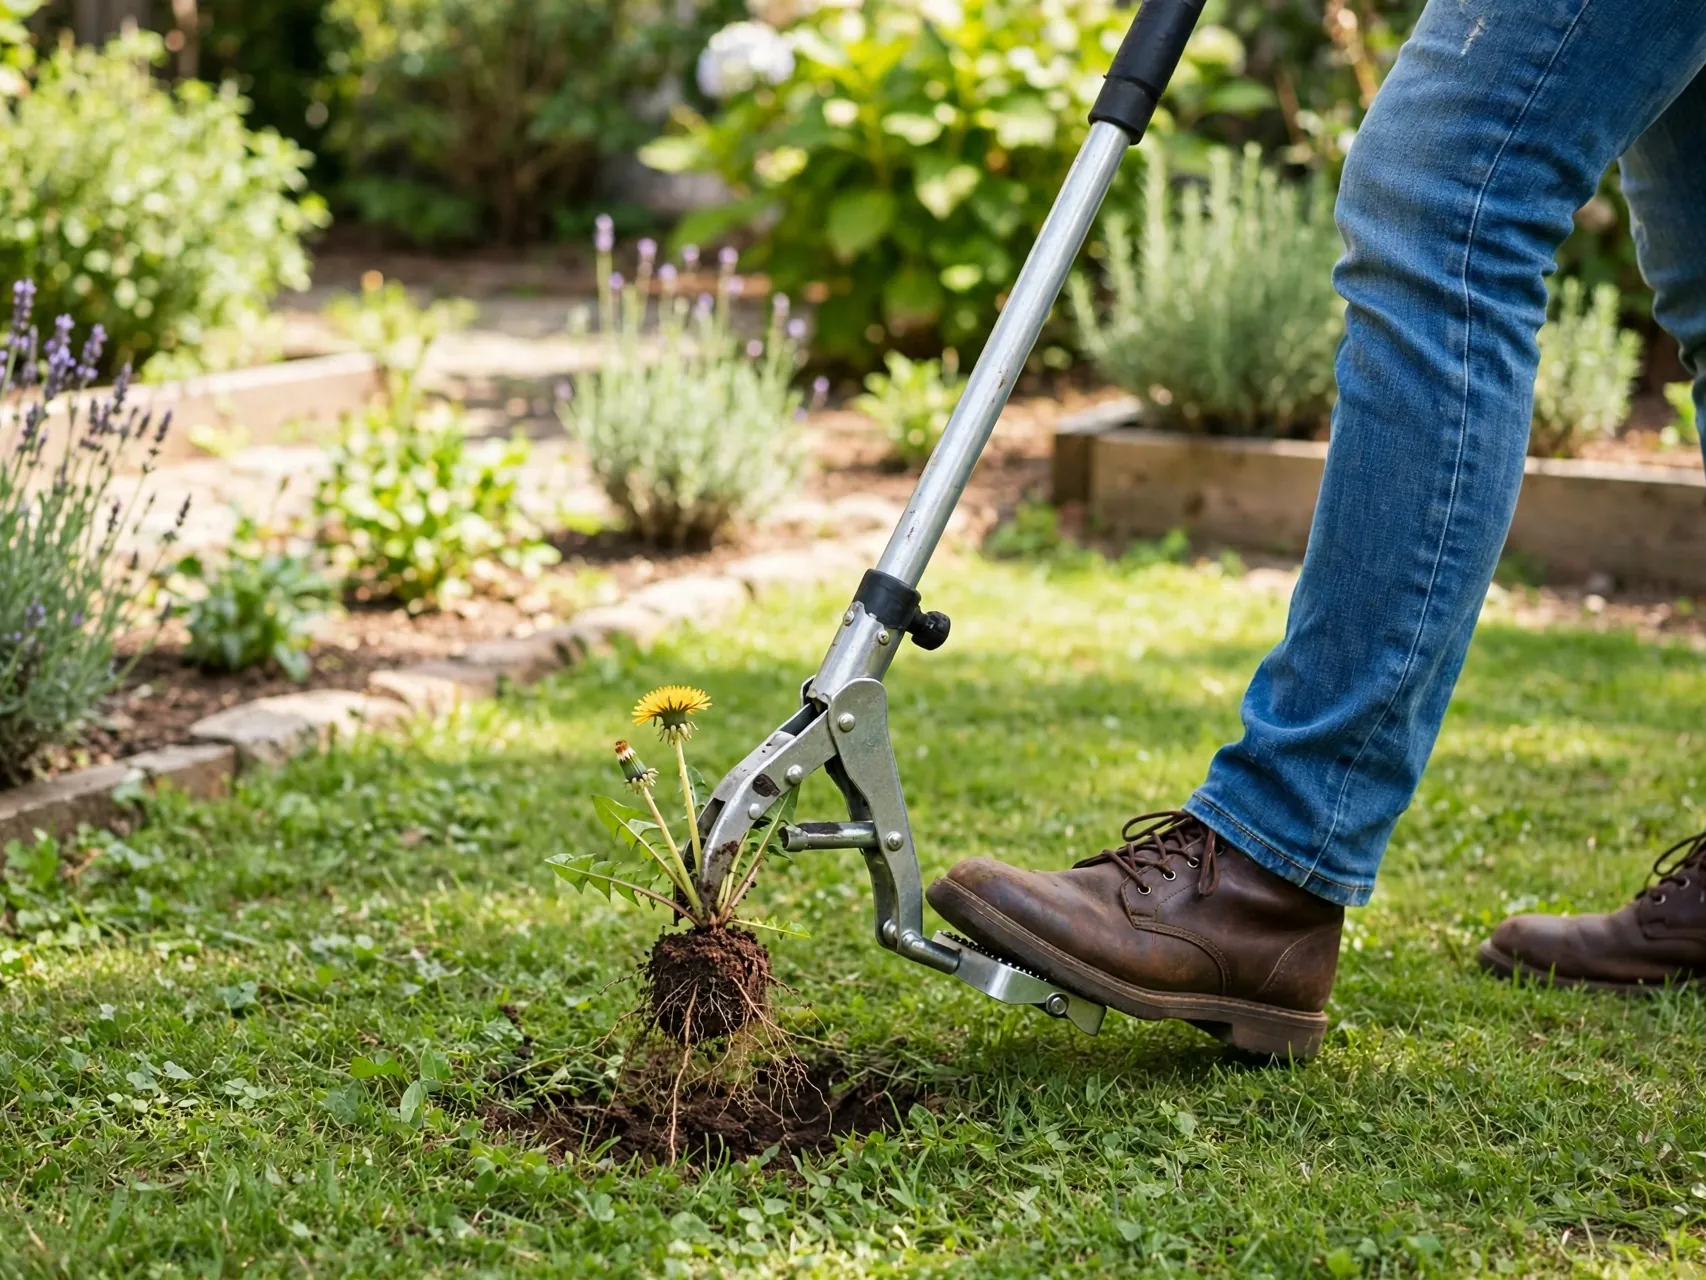
Dandelions, thistles, and docks laugh at leaf burn sprays because their roots simply regrow. A stand-up weed puller grips the crown and levers the whole taproot out, which is why one good pulling often ends a weed that three sprays only trimmed.
Work when soil is moist, fill the small holes in lawn so they do not become new weed spots, and overseed bare patches in season. For perennial weeds in pet play areas, root removal is the most complete natural weed killer for lawns approach there is.
17. Repeat Light Treatments Instead of One Harsh One

Burndown methods, vinegar included, kill leaves, not deep roots. Perennial weeds regrow, and the winning move is to treat the regrowth promptly, again and again, until the root runs out of stored energy. Light and often beats harsh and once.
Track treated spots, check them weekly, and combine methods: pull what you can, spot spray the rest on paving, mulch the beds. Giving up after one spray and reaching for a stronger mix is how soil damage and pet worries start. Patience is an active ingredient.
18. Keep a No-Spray Zone Around Bowls, Toys, and Grazing Spots

Decide in advance where sprays never go: around water bowls, pet beds, favorite sunbathing paving, vegetable beds pets wander through, and any grass your pet grazes. In those zones, use only pulling, boiling water after pets are inside, mulch, and trimming.
Move bowls and toys before treating anywhere nearby, wash them if spray could have drifted, and rinse paws if a pet crosses a treated area early. A simple zone rule removes most day to day risk without giving up the careful spot sprays that work elsewhere.
19. Time Every Spray for a Calm, Dry, Sunny Window
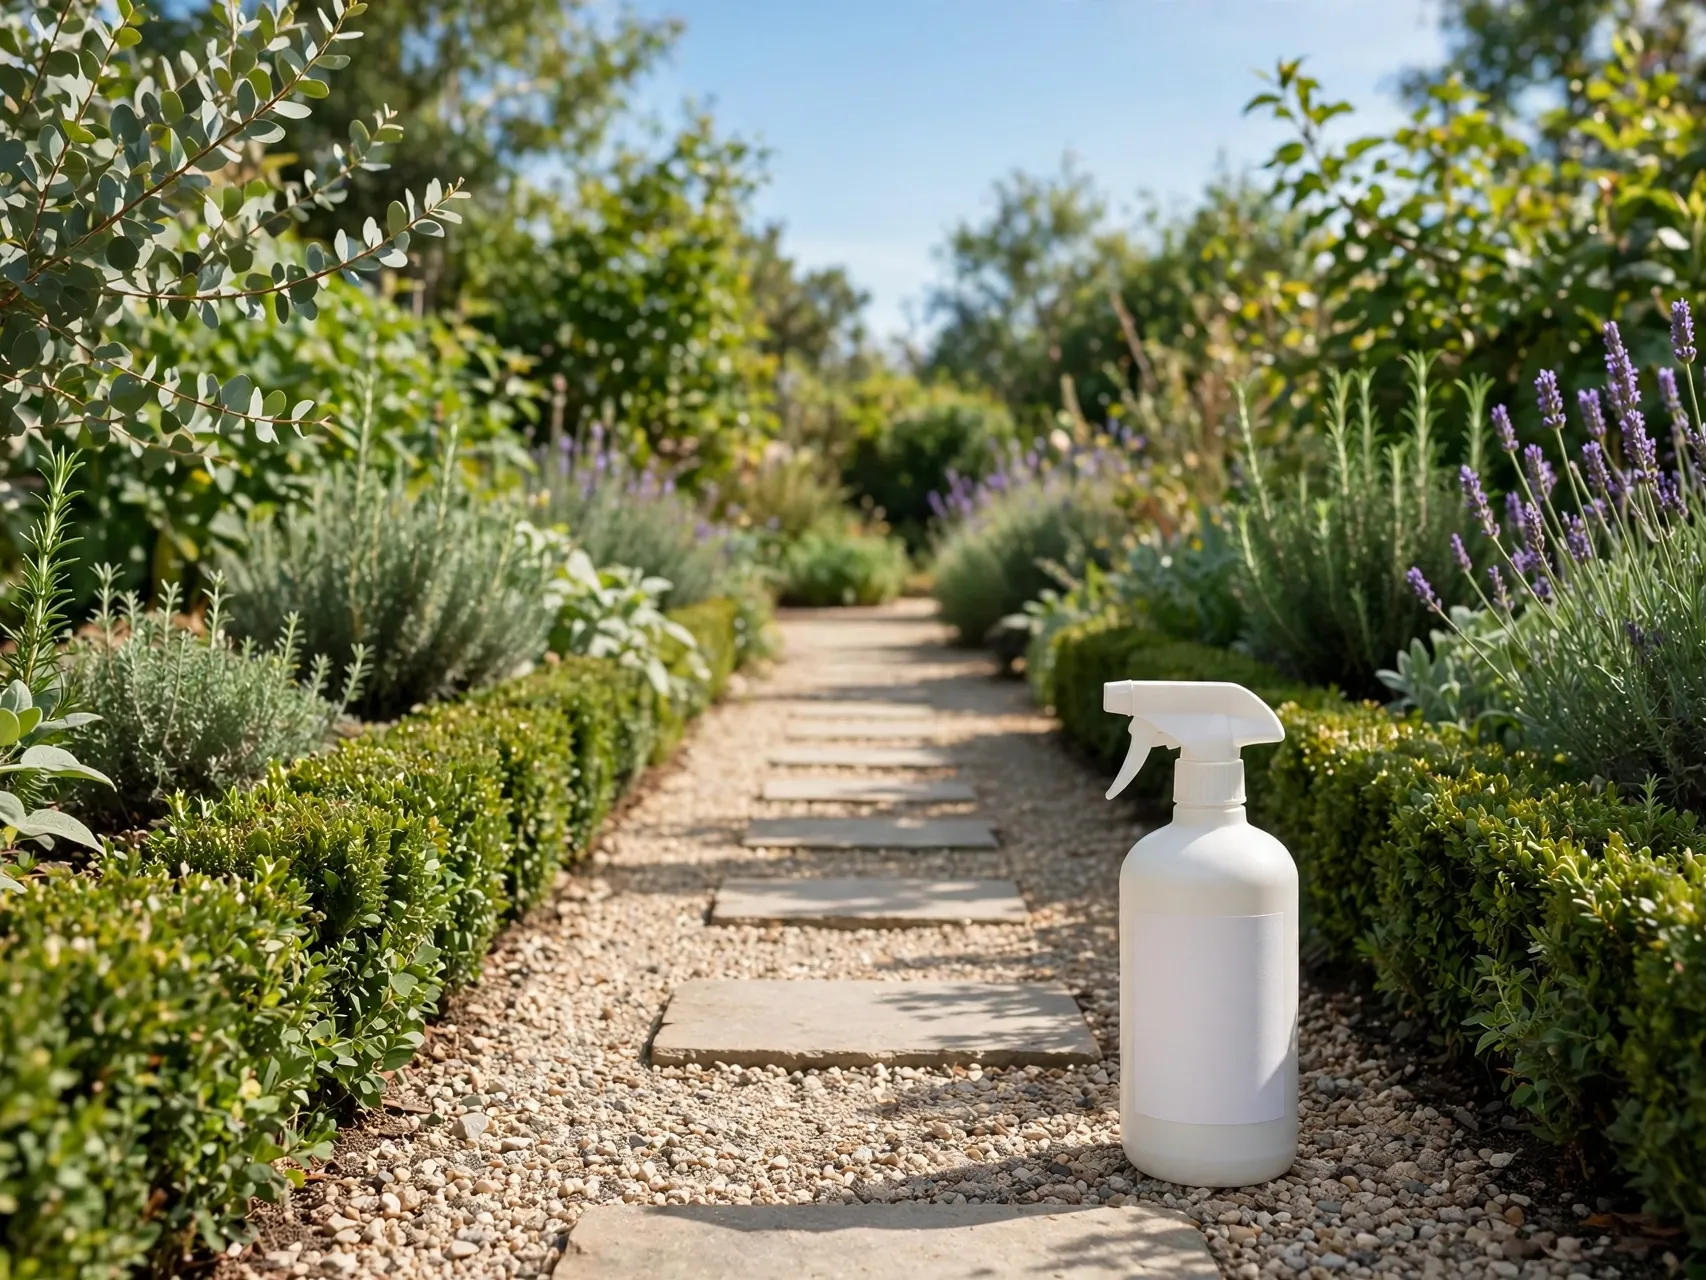
Timing makes weak recipes work and strong ones safer. Spray burndown mixes late on a calm, dry morning with sun ahead, no rain expected, and no wind to carry droplets onto wanted plants or a neighbor bed.
Bring pets in before you start, treat only the weeds on your list, then keep the area closed until every leaf is fully dry. Never spray before hosting, before rain that will wash mix into beds, or when you cannot supervise the drying window. Good timing is free and it doubles the value of DIY weed killer recipes.
20. Skip Horticultural Vinegar Unless You Will Use Full Protection

Horticultural vinegar at 10 to 20 percent acetic acid kills weeds faster than kitchen vinegar, and extension specialists warn plainly that it can cause serious, even irreversible, skin and eye damage on contact. It is a corrosive product, not a stronger kitchen staple.
If you ever use it, treat it like the label demands: gloves, eye protection, long sleeves, no bystanders, pets nowhere near until dry, and secure storage. Most home gardeners do not need it. Kitchen strength spot sprays, boiling water, and pulling cover nearly every pet yard job with far less hazard.
21. Test Every New Mix on a Small Spot First

Every recipe in this list behaves differently on your paving, your soil, and your weeds. Test any new mix on two or three weeds in an out of the way crack, wait a full day, and check what it did to the weed, the surface, and the plants nearby.
Testing catches staining on stone, overspray damage, and mixes that simply do not work on your weed type before you treat the whole path. It takes one day and saves real regret. Note what worked, at what strength, in a garden notebook or phone note.
22. Build a Weekly Ten Minute Weed Walk Routine

The recipe that holds all the others together is a routine. Once a week in the growing season, walk the yard with a bucket and a hand tool, pull what is small, note what needs a spot treatment, and cut any seed heads you see.
Small weeds pull in seconds, roots and all, before any spray is needed. Over a season, the walk gets shorter, the mulch and prevention start winning, and your pet safe weed killer use drops to the occasional crack in the path. That is the outcome worth pinning.
FAQ
Are vinegar weed killers really safe for pets?
Only with conditions. Vinegar sprays can irritate skin, eyes, and paws while wet, and they are not safe for a pet to walk through or lick during application. Use them only as close spot sprays on hardscape, keep pets completely off until the area is fully dry, and rinse paws if a pet crosses early. Boiling water once cool, pulling, and mulch are the options with no residue to worry about.
Why should I avoid salt weed killer in garden soil?
Salt does not break down in soil. It stays, moves with rain and watering, and makes it hard for roots to take up water, so nearby lawn, flowers, and shrubs can be damaged long after the weeds died. Extension services advise against salt in planted areas for this reason. If salt is used at all, it belongs only in paving cracks where nothing should ever grow again.
What is the safest weed killer for a lawn my dog plays on?
For a play lawn, skip sprays as your first plan. Hand pull or use a stand-up puller for taproot weeds, keep grass mowed a little higher and well fed so it crowds weeds out, overseed thin spots, and consider corn gluten meal in spring and fall to reduce new weed seeds. If you use any labeled product, follow its re-entry time exactly.
Does boiling water kill weeds permanently?
It kills the top growth it touches and, repeated on regrowth, it can exhaust many weeds, including some perennials. A single pour rarely kills a deep taproot outright, so expect to repeat it as new leaves appear. Its advantage is total: no residue, no drift chemistry, and once the water cools the spot is simply a wet patch pets can cross.
How long should pets stay off a treated area?
For home vinegar spot sprays, until the treated leaves and surface are completely dry, and longer is always safer. For any store bought product, the label re-entry time is the rule, so read it and follow it exactly rather than using a general number. When in doubt, wait, rinse paws after the first walk back, and keep the no-spray zones around bowls and beds spray free at all times.
Key Takeaways
- Residue-free first: Boiling water, hand pulling, mulch, and smothering are the truly worry-free options for pet areas.
- Vinegar has limits: It burns leaves on contact, is nonselective, needs repeats, and pets stay off until the spot is fully dry.
- Salt is a last resort: Salt persists in soil and harms future planting, so keep it out of beds and lawns entirely.
- Labels beat recipes: A labeled product gives tested rates and re-entry times that home mixes cannot, so follow it exactly.
- Prevention wins: Thick mulch, dense grass, and a weekly weed walk cut your need for any pet safe weed killer spray.
- Found this honest guide useful? Save it to Pinterest and pin it before your next yard weekend.