25 Bathroom Cleaning Hacks That Save You Time and Effort
Introduction

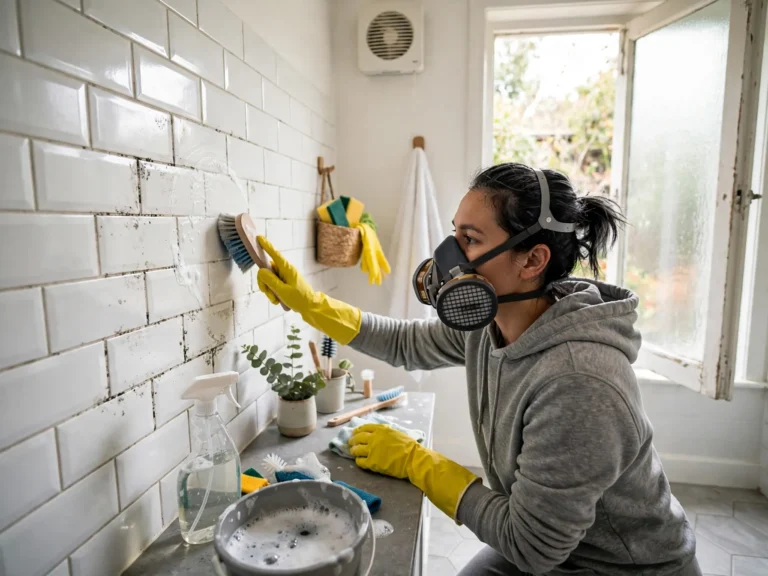
The bathroom is the hardest working small room in the house, and it shows. Water spots, soap film, toothpaste dots, and damp towels can make even a tidy home feel behind. The good news is that most of the mess is predictable, and predictable mess responds well to small systems instead of occasional marathon scrubbing sessions. This guide shares practical bathroom cleaning hacks that save real time, from a dish wand that lives in the shower to a five minute weekly reset that keeps grime from building up. Each idea uses basic supplies you probably own, favors ventilation and moisture control, and follows safe cleaning habits backed by the EPA and the CDC. Work through the list in order the first time, then keep only the habits that fit your household. A family bathroom with daily showers needs different attention than a small guest bath, so adapt the timing, keep the order top to bottom, and focus on drying surfaces fully. Small, repeated steps beat harsh products and long sessions every time.
1. Keep a Filled Dish Wand in the Shower
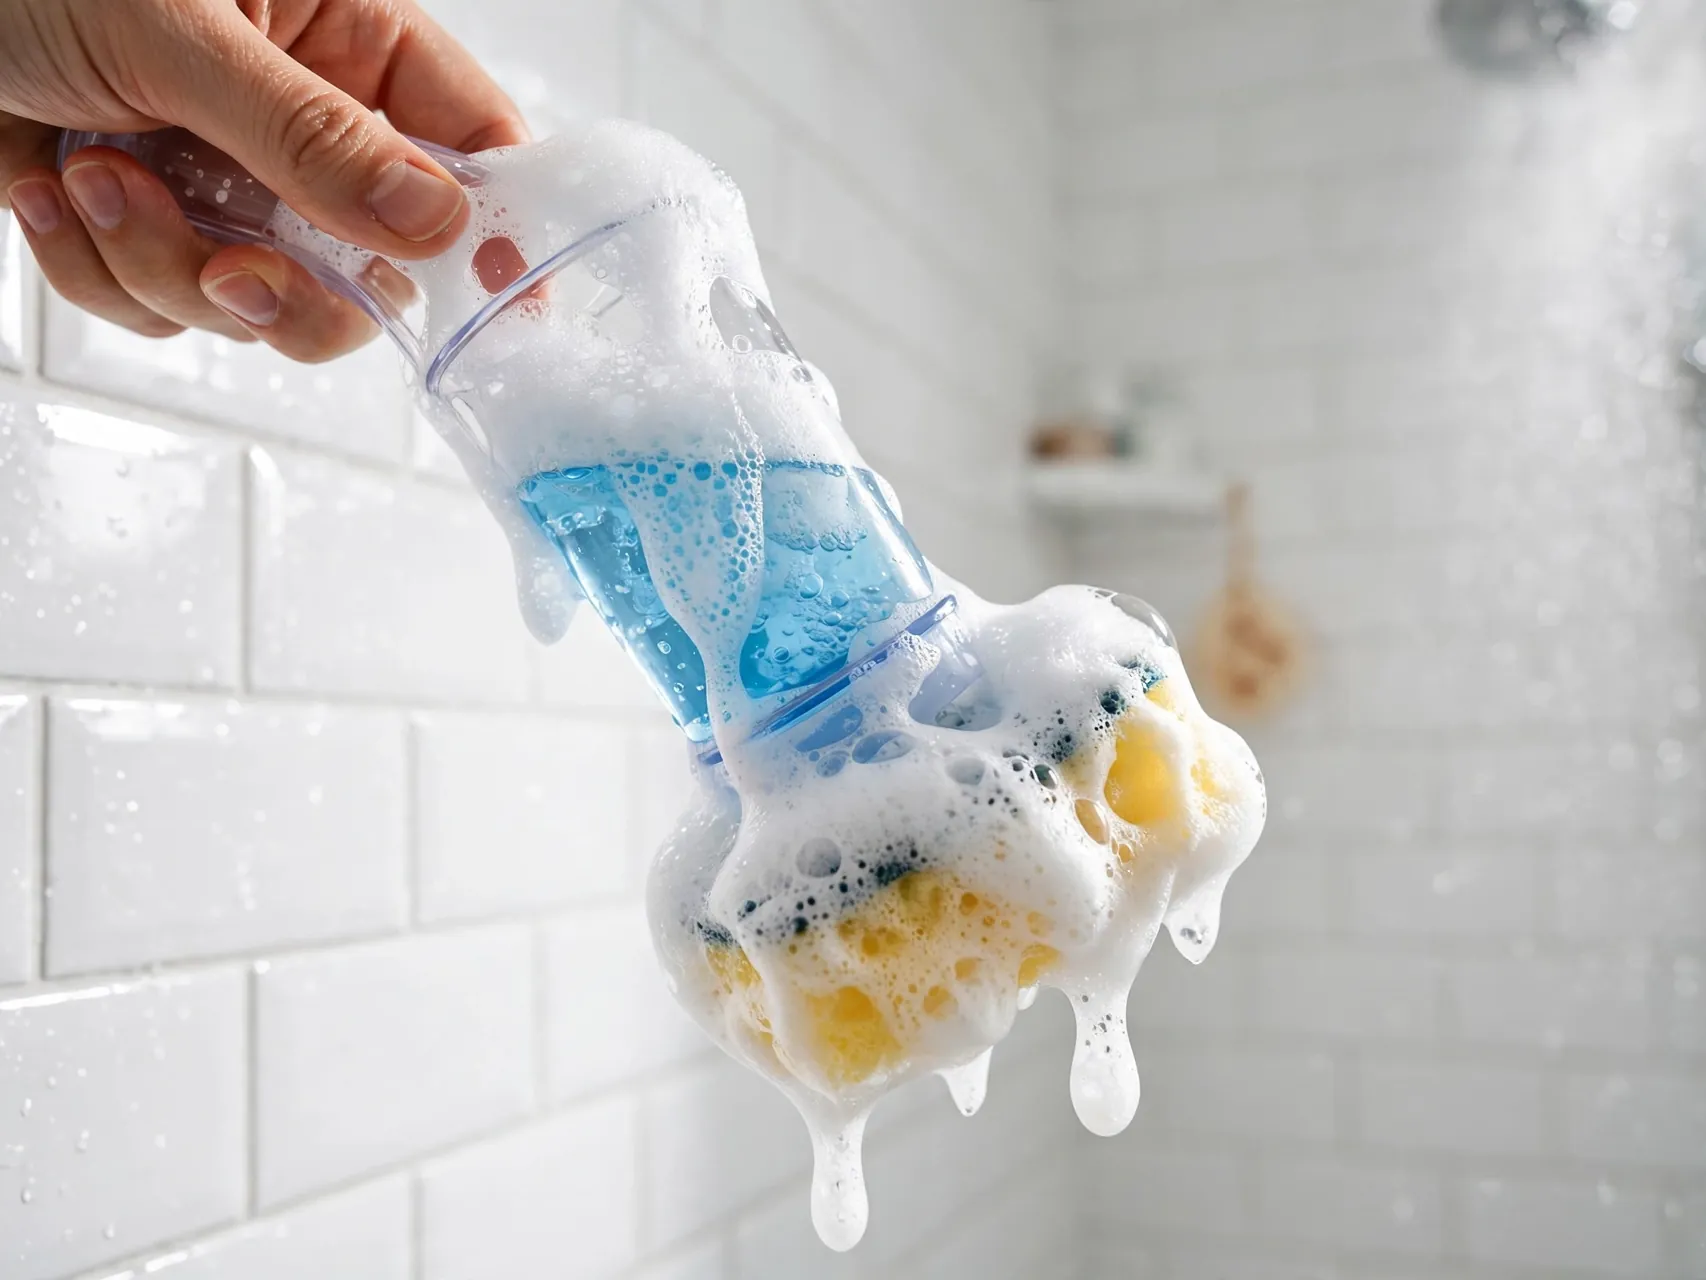
Keep a dish wand filled with dish soap and water right inside the shower, hung from a hook or sitting in a corner caddy. It turns dead time into cleaning time, because you can give the walls a quick pass while conditioner sits in your hair.
Two minutes here prevents the slow build up of soap scum that later takes serious scrubbing. Rinse the wand after use, refill it weekly, and replace the sponge head when it looks worn or starts to smell.
2. Squeegee the Walls After Every Shower
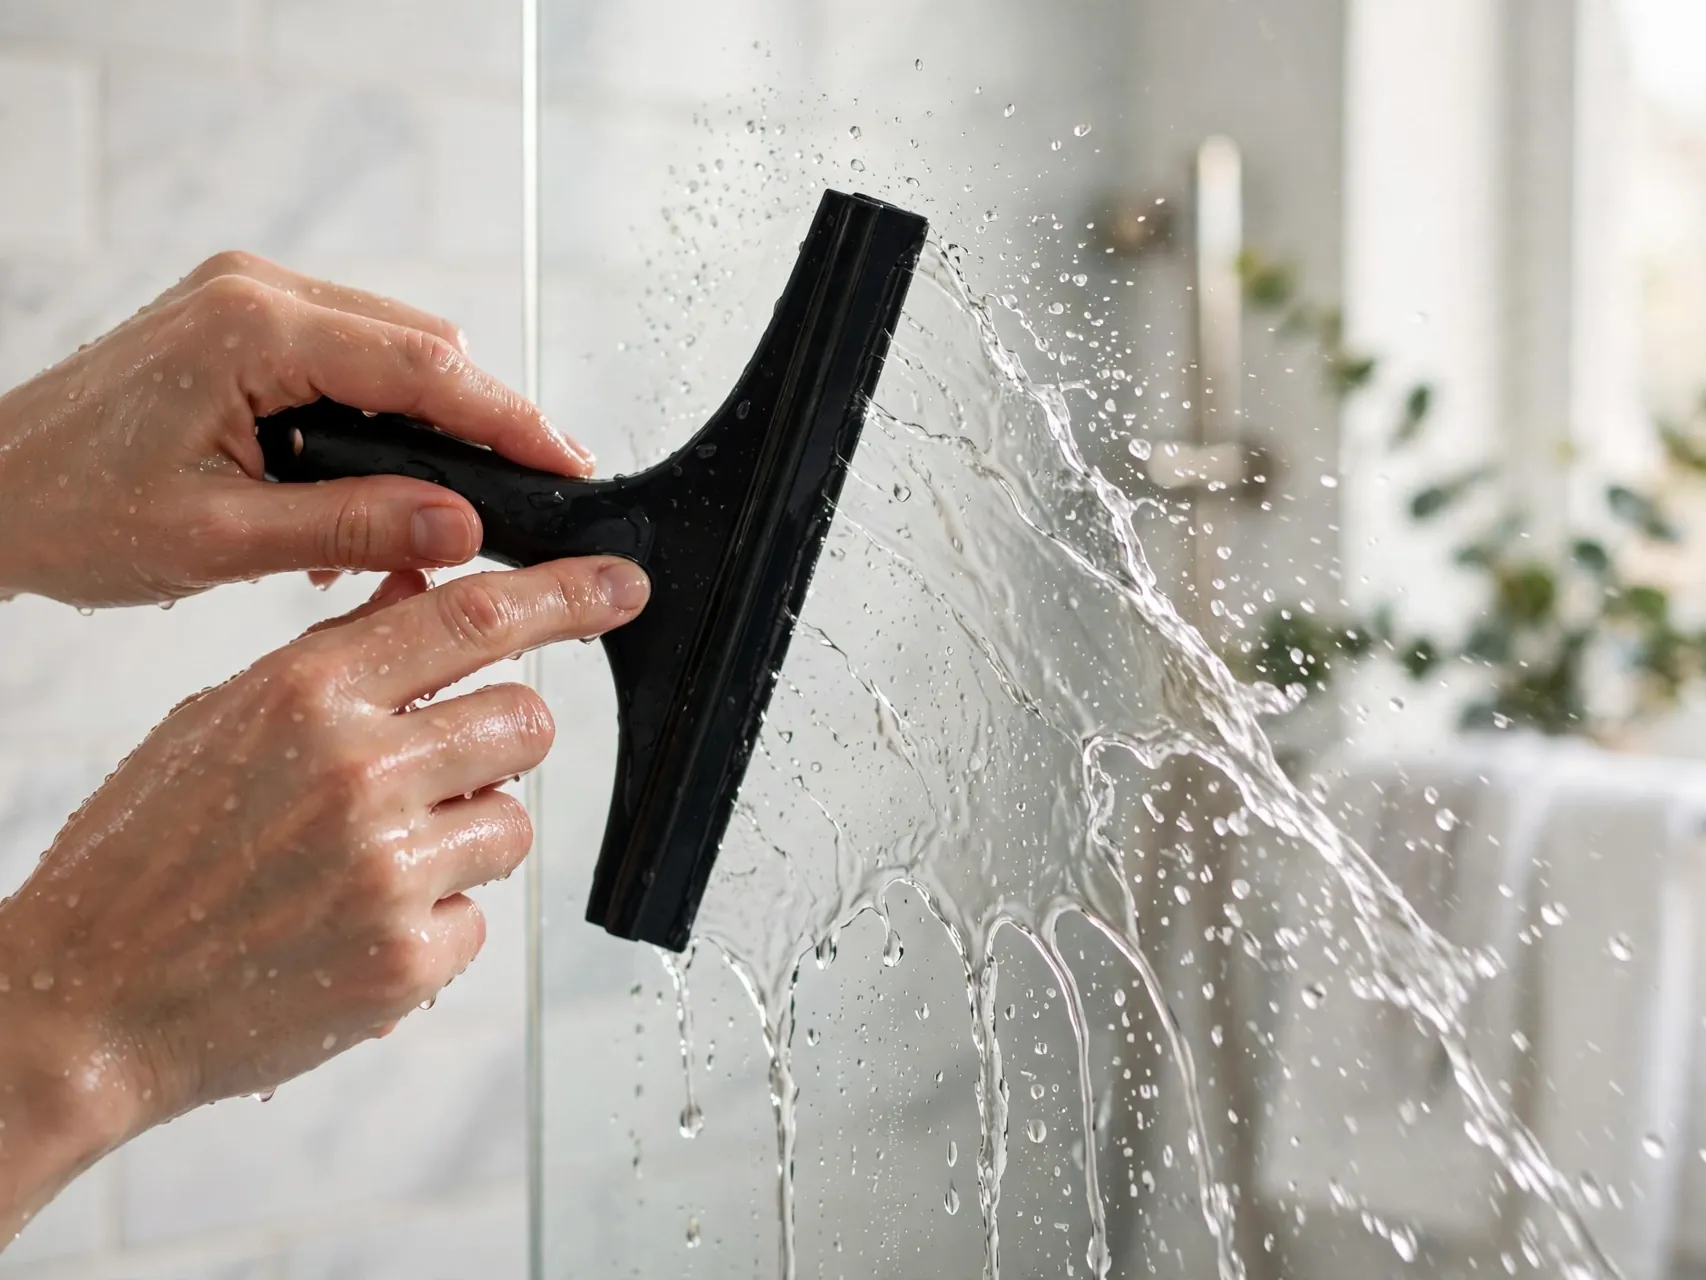
A small squeegee is the cheapest time saver in the whole bathroom. Run it down the shower walls, glass, and door after each shower to pull water into the drain instead of leaving it to dry into spots and scale.
The EPA notes that controlling moisture is the key to keeping mold from returning in damp rooms. Less standing water means less mildew on grout, fewer water marks, and a deep clean that actually stays clean for longer between sessions.
3. Soak the Showerhead in a Vinegar Bag

If spray holes look clogged and water shoots sideways, fill a sturdy plastic bag with white vinegar, pull it up over the showerhead, and secure it with a rubber band. Leave it for a few hours or overnight, then remove the bag and run hot water to flush loosened mineral deposits out.
Test vinegar on a small hidden spot first on delicate finishes, and skip this trick on specialty coatings if the maker advises against acids. For most standard chrome heads, it restores flow without taking any plumbing apart.
4. Let Cleaner Dwell Before You Scrub
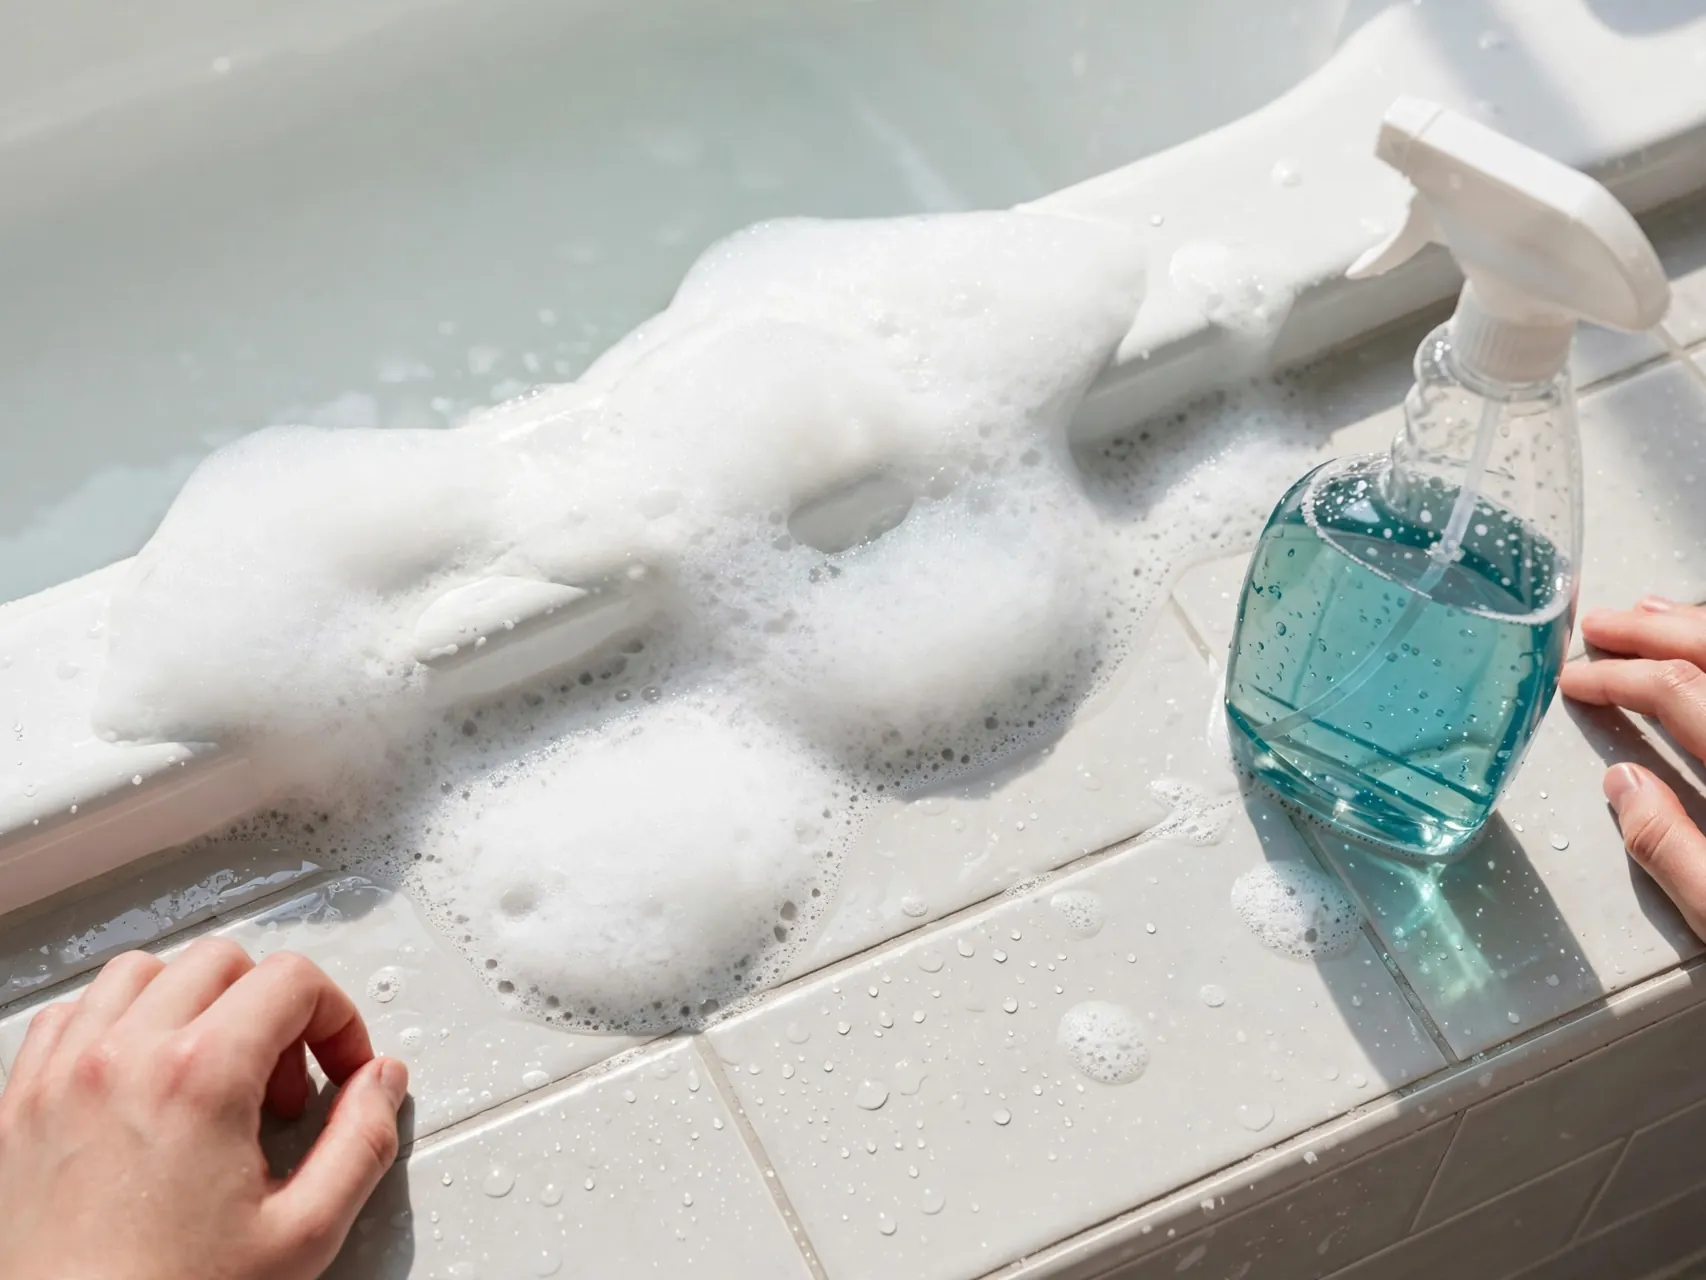
Spray tile, tub, and sink surfaces first, then clean the mirror and counters while the cleaner sits. That dwell time does the hard work for you, softening soap film and toothpaste splatter so a light wipe replaces hard scrubbing.
Follow the contact time on the product label if you are disinfecting, because wiping too early can stop it working as intended. This one habit is the core of how to clean a bathroom fast without feeling rushed or missing spots.
5. Declutter Counters Before You Start
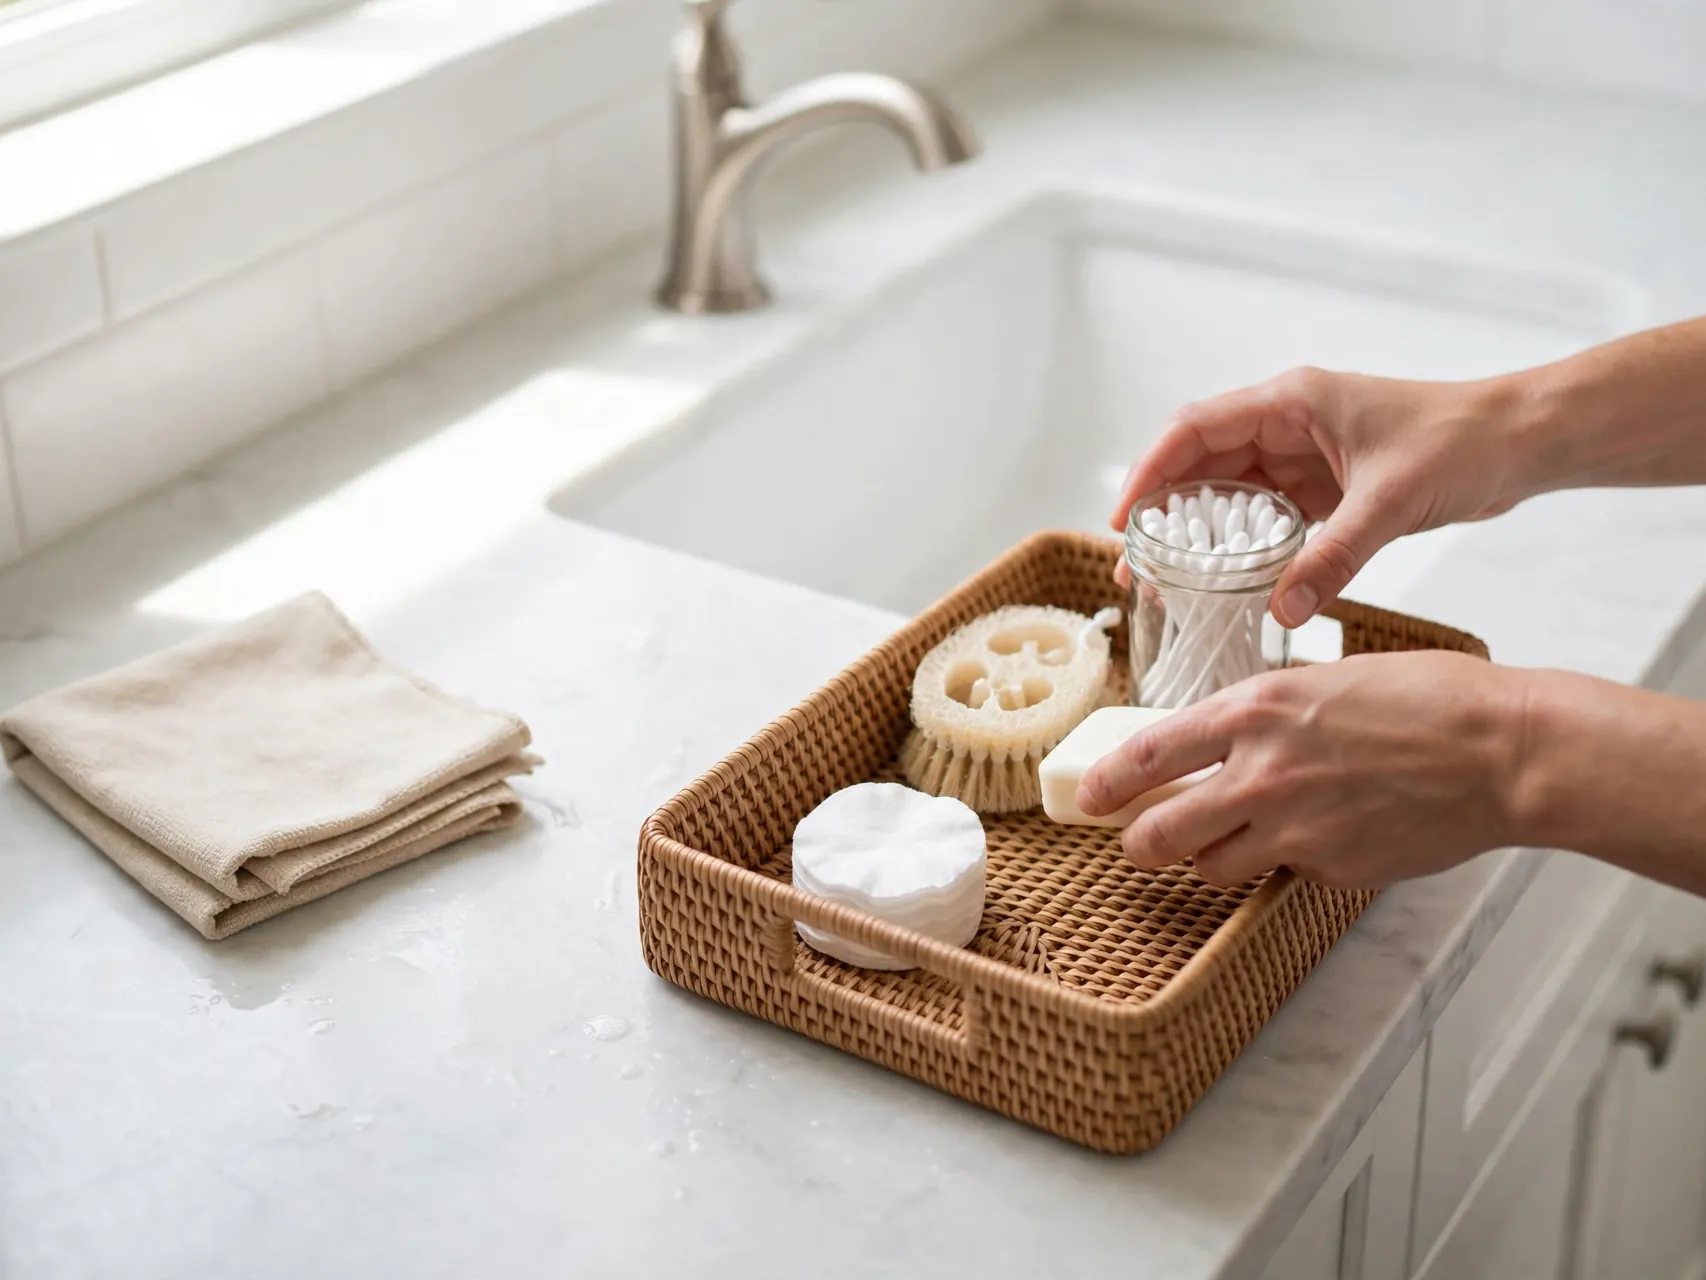
Move bottles, brushes, and decor off the counter and out of the tub ledge before any water flies. Cleaning around objects leaves rings of grime under each one and doubles your time, because you keep stopping to shift things.
Use a small basket to carry everything out in one trip. Put items back only after the surfaces are dry, and take the moment to toss empties and combine half used bottles. A clearer counter stays cleaner all week.
6. Work Top to Bottom Every Time
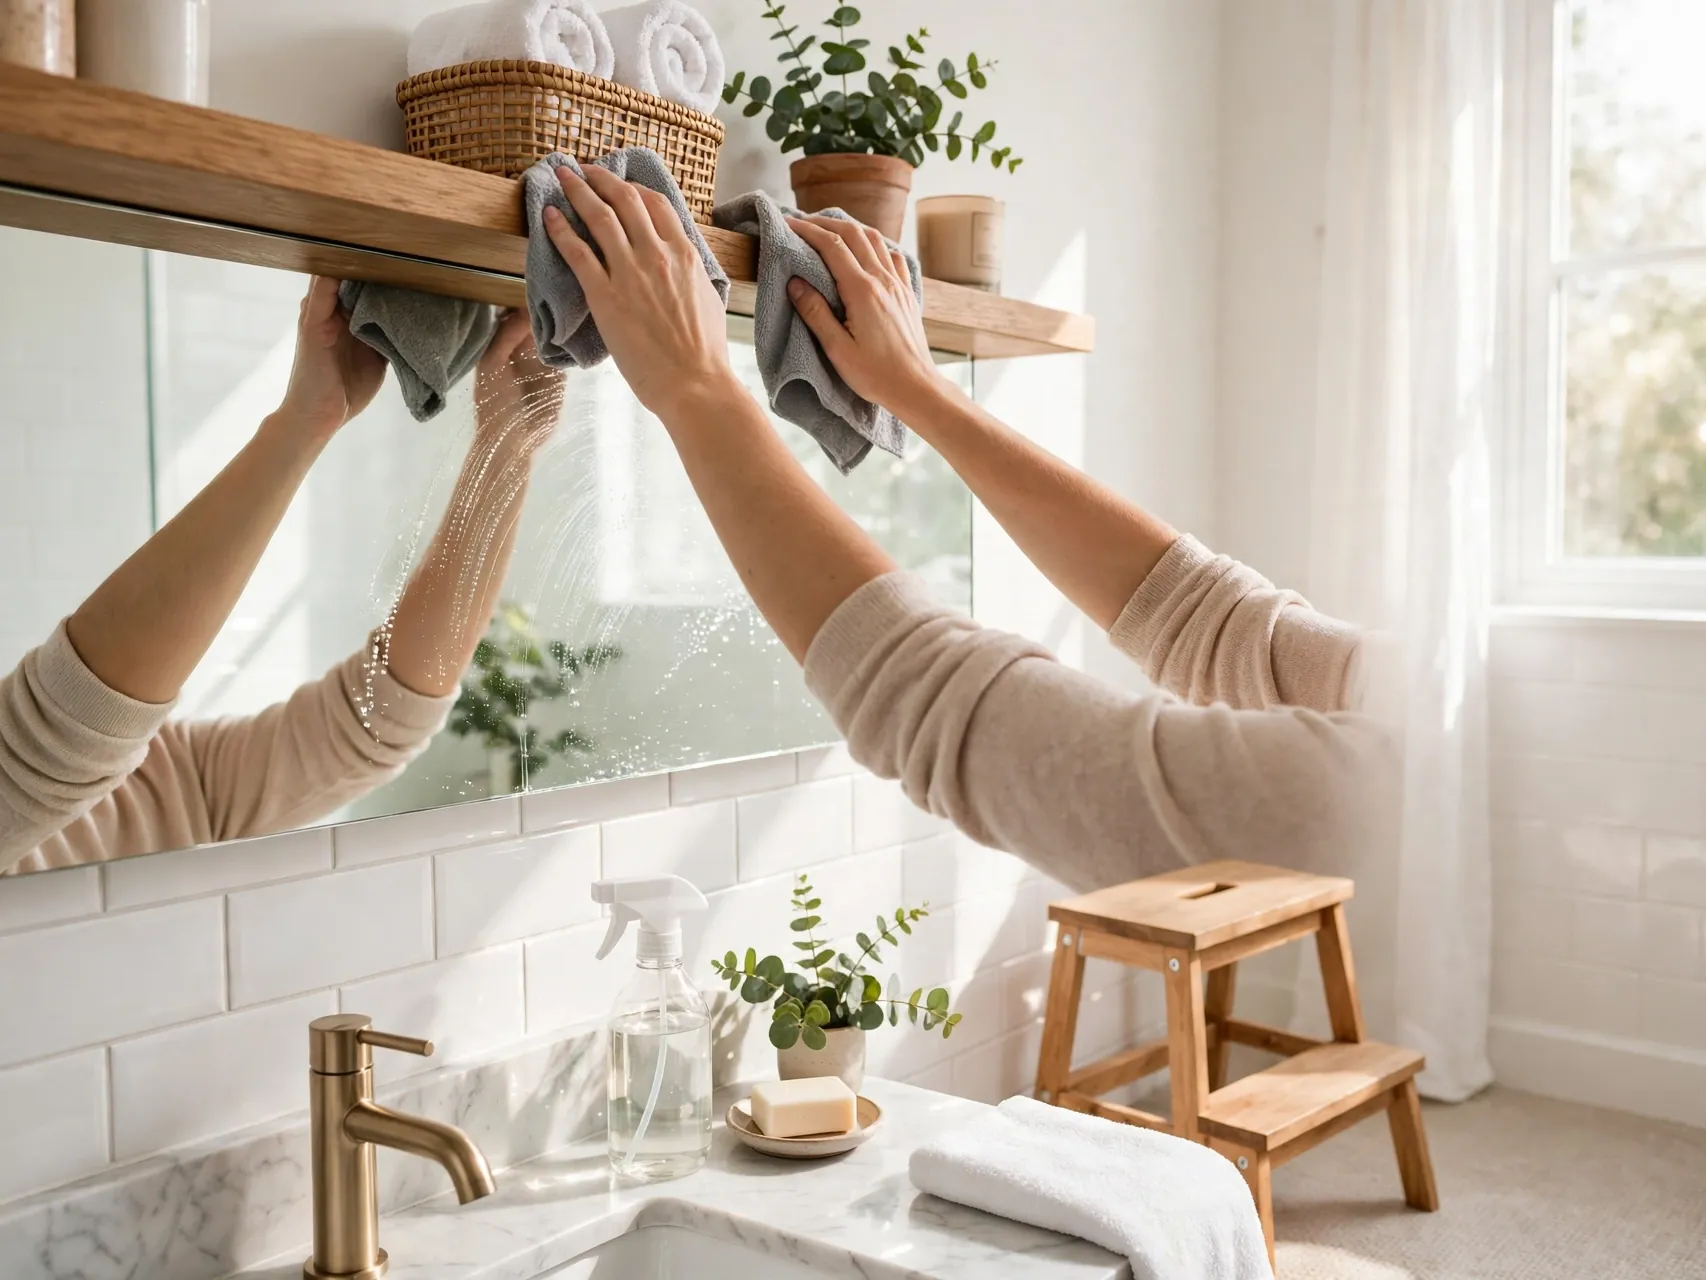
Start high with mirrors, shelves, and light fixtures, then move to counters, sink, tub, and toilet, and finish with the floor. Dust and drips fall downward, so this order means you never clean the same surface twice.
It sounds simple, but a fixed order turns cleaning into a routine you can do on autopilot. You will finish faster, miss fewer corners, and know exactly what is left when time is short and guests are on the way.
7. Use a Grout Brush on Tile Lines

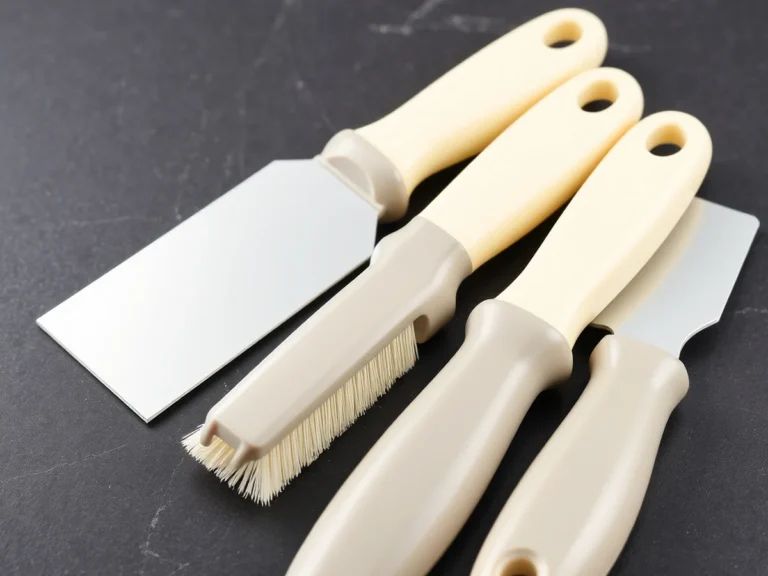
A stiff grout brush or an old toothbrush reaches the narrow lines a sponge skips. Work a paste of baking soda and a little water along the grout, let it sit for ten minutes, then scrub in short strokes and rinse well.
Dark grout is often surface grime and mildew sitting on moisture, not permanent damage. Dry the lines with a towel after rinsing, and keep up ventilation so the problem returns slowly instead of within days.
8. Polish Faucets and Dry Them Last
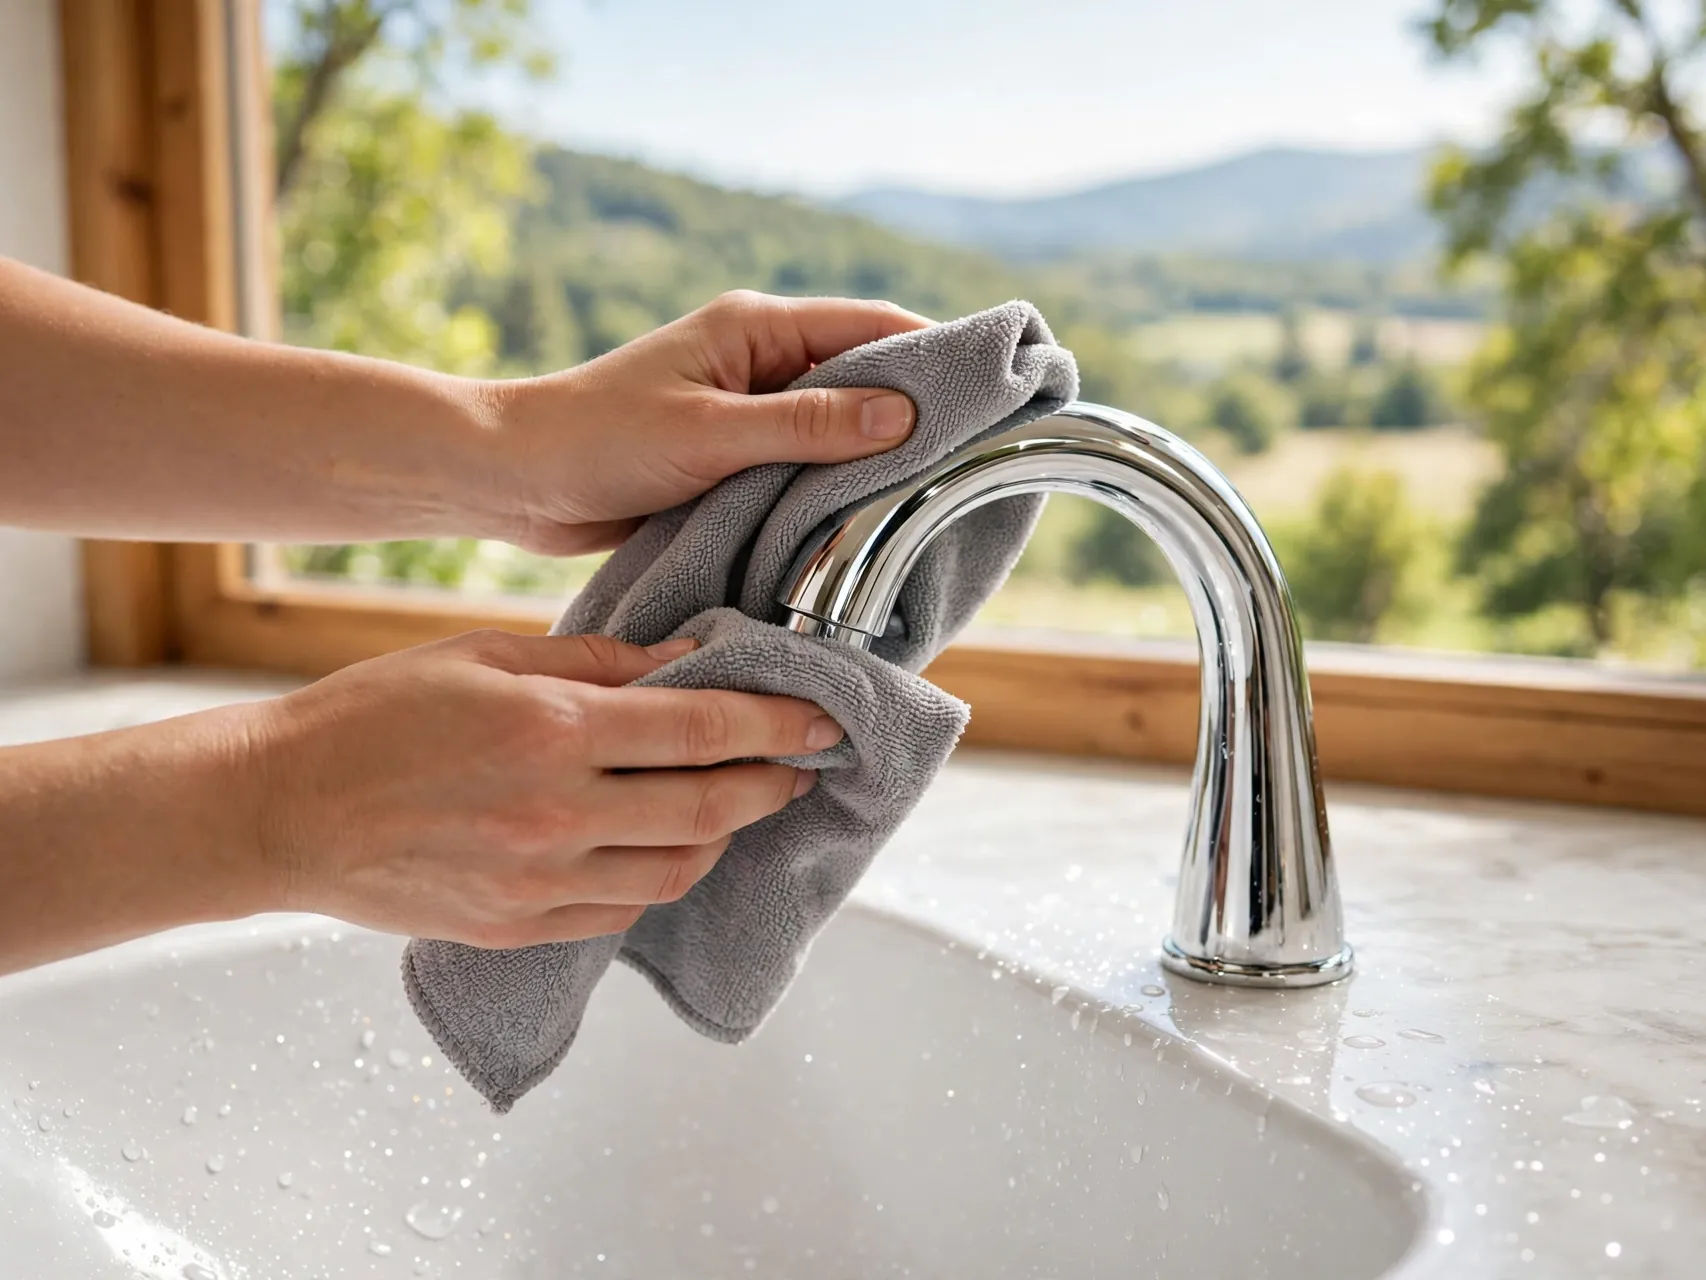
Water spots make a clean bathroom look unfinished. After cleaning, buff faucets, handles, and the towel bar dry with a clean microfiber cloth until they shine. Dry metal holds its shine far longer than metal left to air dry.
Make this the last thirty seconds of every clean. It is a small finishing touch that photographs beautifully for a Pinterest worthy reveal, and it also helps you spot slow drips early before they stain or waste water.
9. Clean the Mirror With a Microfiber Cloth
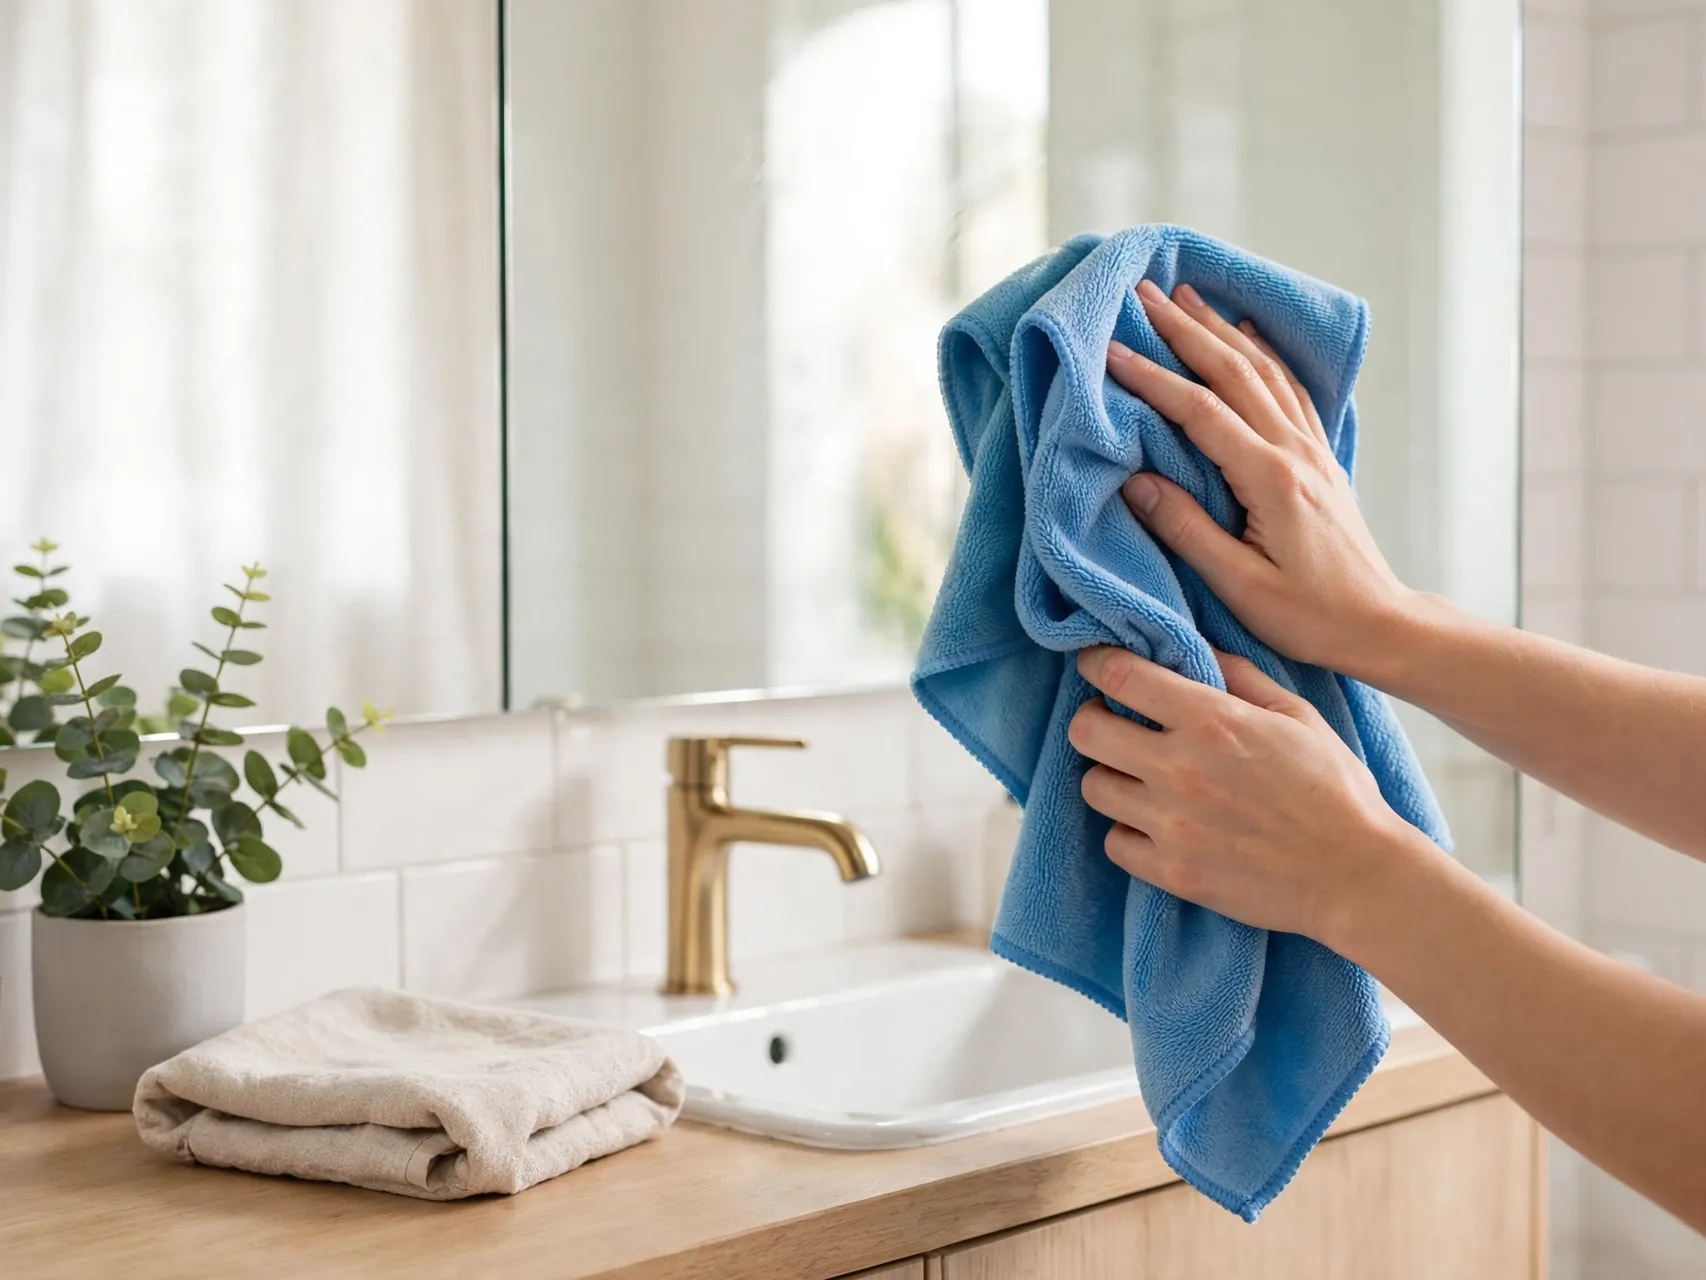
Spray glass cleaner onto the cloth, not directly onto the mirror, to keep liquid from running behind the glass and darkening the edges. Wipe in a wide S pattern from top to bottom for fewer streaks than circular scrubbing.
A dry second cloth for a final buff removes the faint haze that shows up in bright bathroom light. Clean mirrors also make a small bathroom feel larger and brighter, which is why this quick step has such an outsized effect.
10. Freshen the Drain With Baking Soda

For a slow or stale smelling sink drain, pour half a cup of baking soda down the drain, let it sit for about thirty minutes, then flush with hot water. It helps loosen light build up and neutralizes everyday odors without harsh drain chemicals.
Repeat monthly as maintenance, not as a fix for a full blockage. If water still drains slowly after basic care, the clog is likely deeper in the line and needs a snake or a plumber, not more powder.
11. Scrub the Toilet Base and Hinges

The bowl gets attention, but odor often hides at the base, around the seat hinges, and behind the toilet where dust and splashes collect. Use a small brush and bathroom cleaner on these spots during every deep clean, not just the visible porcelain.
Wipe the floor around the base last and dry it fully. Checking for dampness here also helps you catch a failing wax ring or a slow leak early, before it damages flooring or feeds mildew growth underneath.
12. Wash the Shower Curtain Liner

A grimy liner can make a spotless tub look dirty. Most fabric and many plastic liners can go in the washing machine on a gentle cycle with towels for friction, then hang straight back up to dry fully.
Check the care label first, and replace a liner that stays stained or stiff after washing. Keeping the liner pulled closed after showers, so it dries flat instead of bunched, slows the pink and gray film that builds up in folds.
13. Ventilate While You Clean

Run the exhaust fan or open a window before you start and keep air moving the whole time. Ventilation protects your lungs while you use cleaning products and pulls out the humidity that encourages mildew on grout and caulk.
The CDC advises good ventilation when using bleach products indoors, and the same habit helps with any strong cleaner. Leave the fan running for at least twenty minutes after showers too, not just during cleaning sessions.
14. Wipe High Touch Handles and Switches

Faucet handles, flush levers, door knobs, and light switches are touched constantly and cleaned rarely. Give them a quick wipe with a cloth dampened with your bathroom cleaner during the weekly clean, then dry them so they do not spot.
When someone at home is sick, follow the label directions for a disinfectant on these high touch points and let it sit for the full contact time. It is a fast step with real payoff during cold and flu season.
15. Descale Faucet Aerators Monthly

Unscrew the small mesh aerator at the tip of the faucet, rinse out grit, and soak it in vinegar if flow has slowed from mineral build up. Rinse, screw it back on by hand, and run the water to check for leaks.
Better flow means faster hand washing and less splashing around the sink, which keeps counters drier. If parts are cracked or heavily corroded, replacement aerators are inexpensive and usually available at any hardware store.
16. Keep a Small Caddy Ready to Go
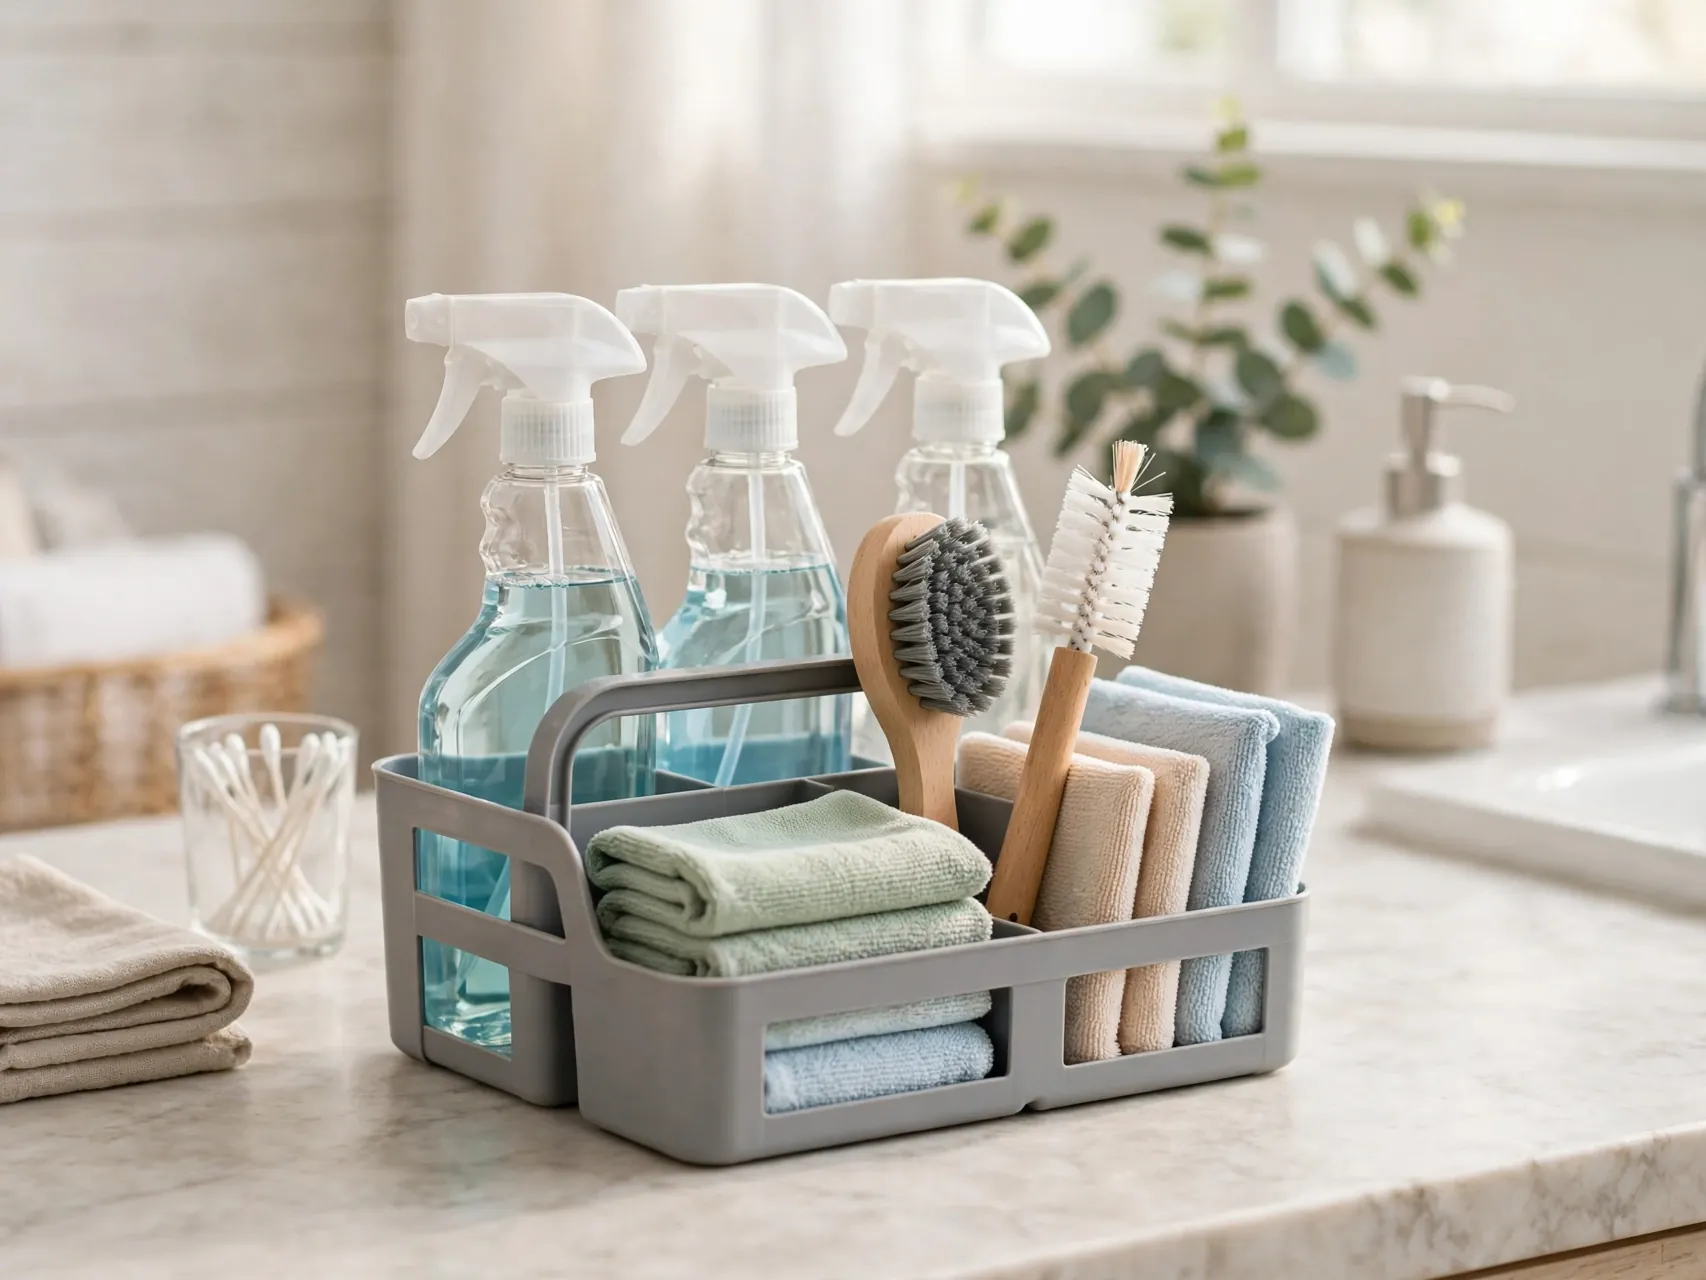
Store your core supplies together in one small caddy: all purpose bathroom cleaner, glass cleaner, baking soda, a grout brush, a squeegee, and two microfiber cloths. When the caddy is ready, starting feels easy and you never waste minutes hunting for products.
Restock the caddy as part of your weekly reset. Fewer, well chosen natural bathroom cleaners and basics beat a cabinet full of half used specialty bottles that crowd the space and expire before you finish them.
17. Tackle Soap Scum Before It Hardens

Soap scum is easiest in its first week and stubborn after a month. A weekly pass with your dish wand or a non scratch sponge and bathroom cleaner keeps tub walls smooth, so the monthly deep clean becomes a quick refresh instead of a workout.
Pay extra attention to the waterline of the tub and the corners where shampoo bottles sit. Rinse those ledges after baths and showers, because pooled soapy water is exactly where the dull film forms first.
18. Dry the Tub After Baths for Kids
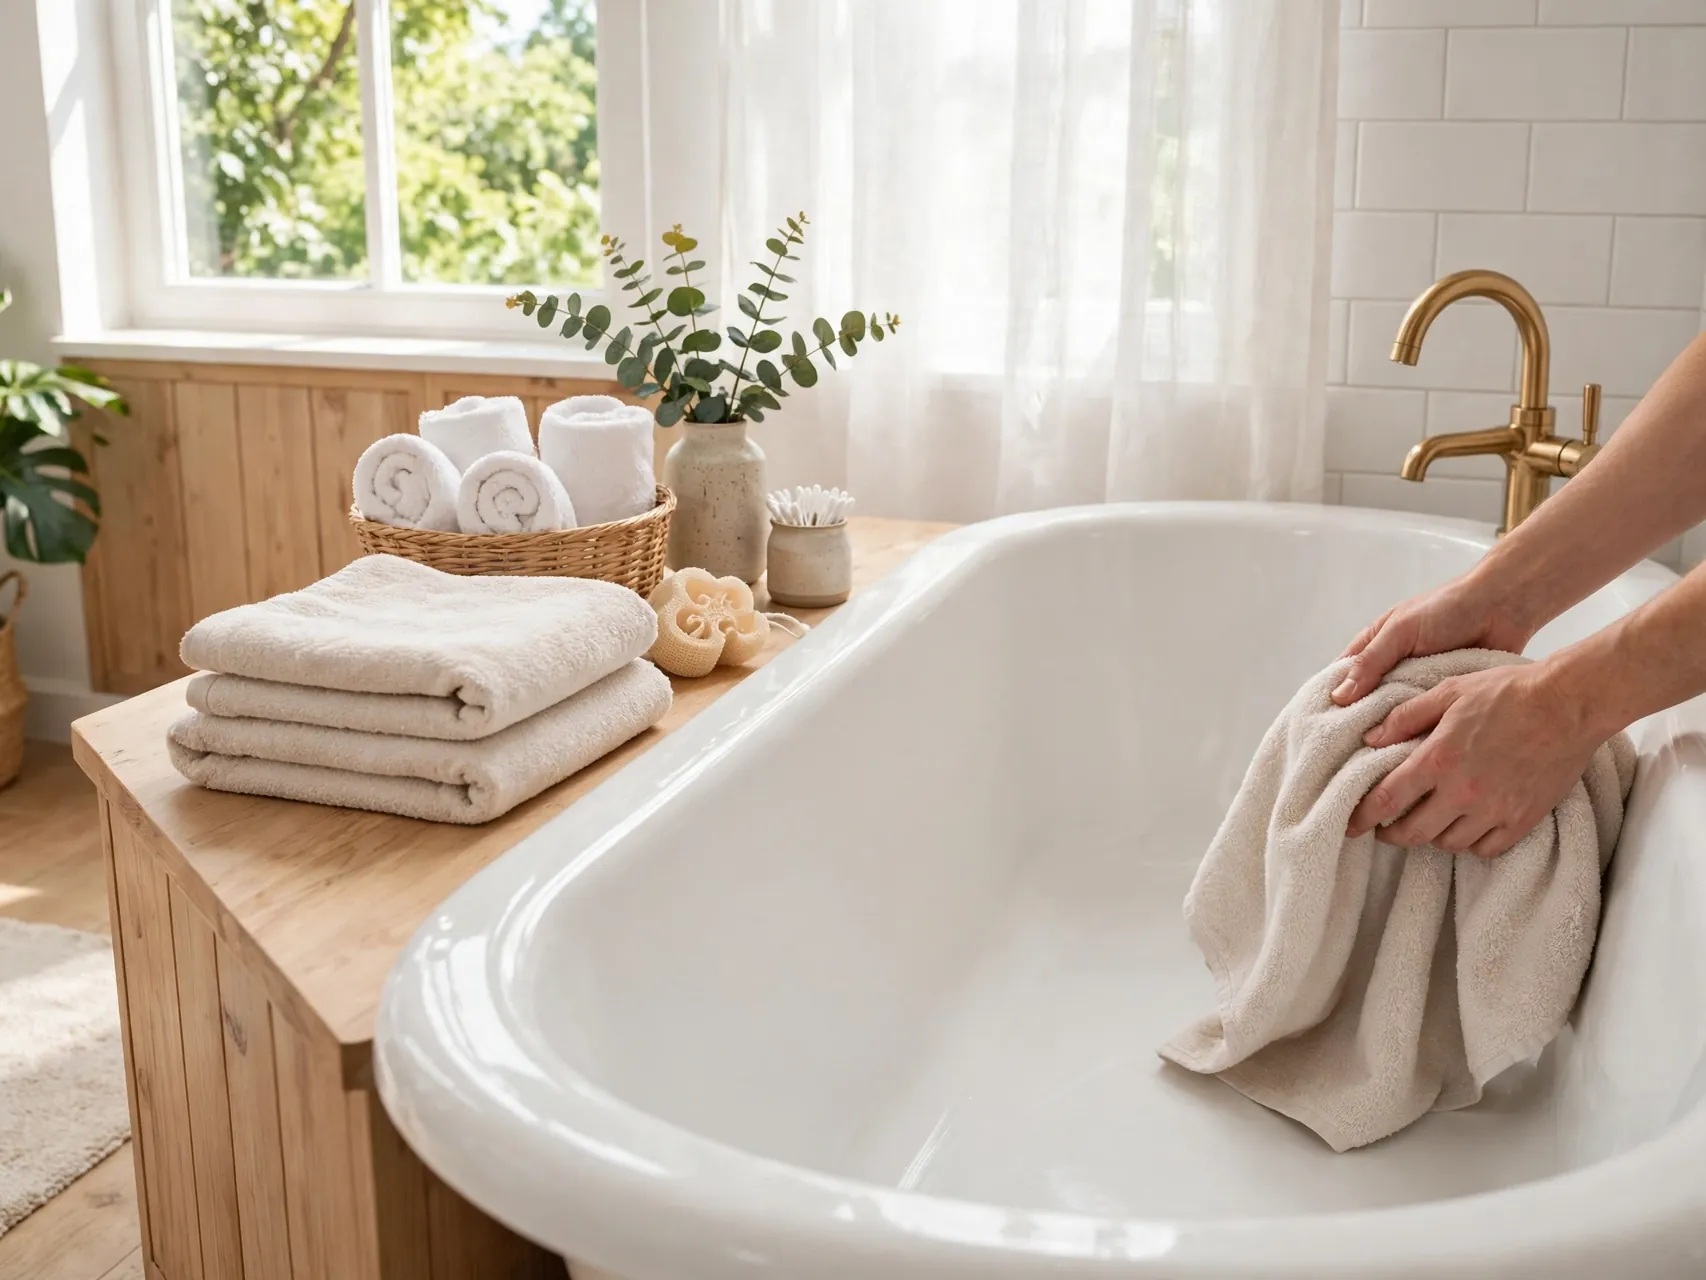
After bath time, drain the tub, give it a fast rinse to send toys, bubbles, and grit toward the drain, and wipe the waterline. Two minutes now prevents the ring that otherwise bakes on and needs soaking and scrubbing later.
Keep bath toys in a mesh bag or bin with drainage holes so they dry between uses instead of sitting in pooled water. Dry toys smell better, last longer, and are far less likely to grow mildew inside.
19. Clean the Exhaust Fan Cover

A dusty fan cover means a weaker fan, and a weaker fan means more moisture, more mildew, and more cleaning. Vacuum the cover with a brush attachment monthly, and wipe it with a damp cloth when dust looks thick or fuzzy.
Turn the power off at the switch before removing any cover for a deeper wash, and let it dry fully before replacing it. This quiet maintenance step supports every other hack on this list.
20. Empty and Wash the Trash Can
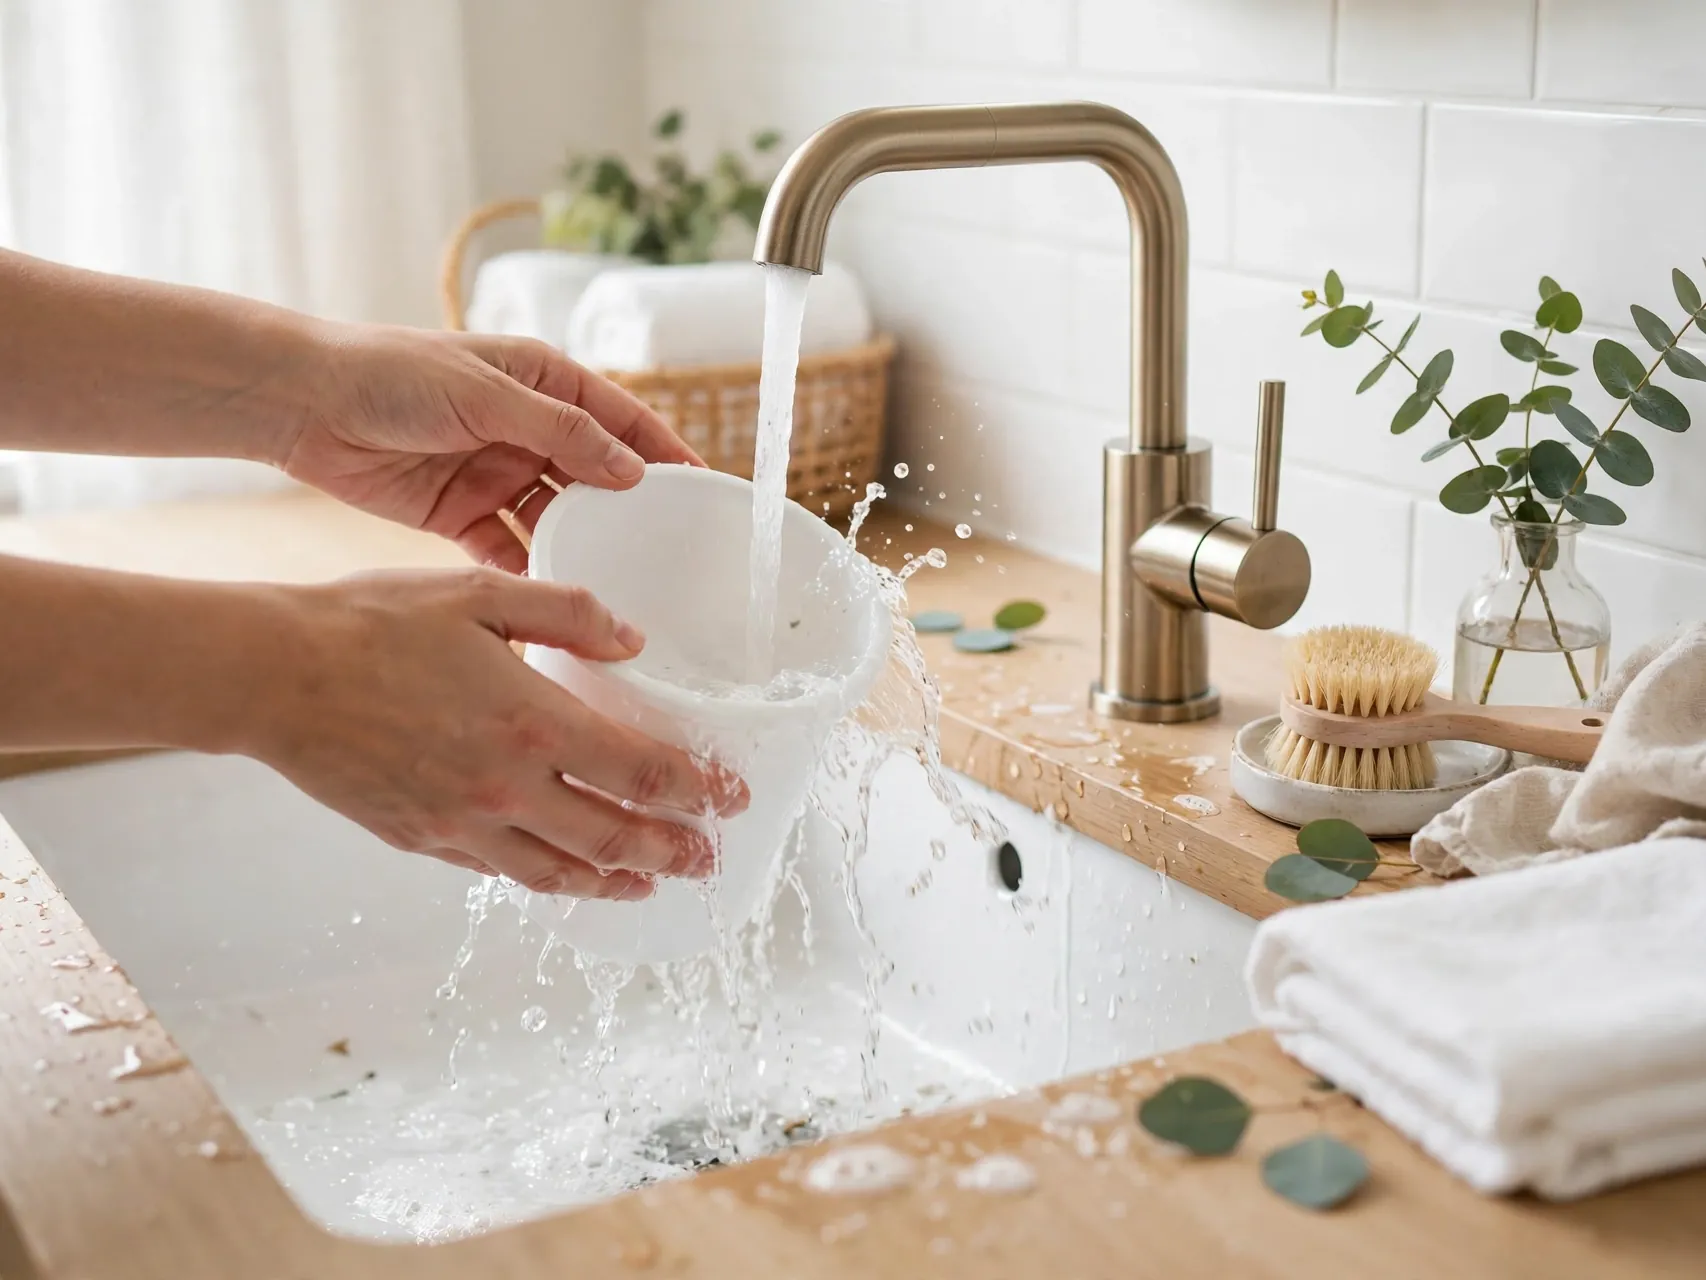
Bathroom bins hold tissues, floss, and cotton pads that quickly turn stale. Empty the bin weekly, wash it with warm soapy water or wipe it with cleaner, dry it fully, and add a fresh liner only when the inside is dry.
A sprinkle of baking soda in the bottom before the new liner helps absorb odor between changes. Small bins fill fast in family bathrooms, so a twice weekly empty keeps smells from undoing your cleaning work.
21. Use One Cleaner at a Time Safely
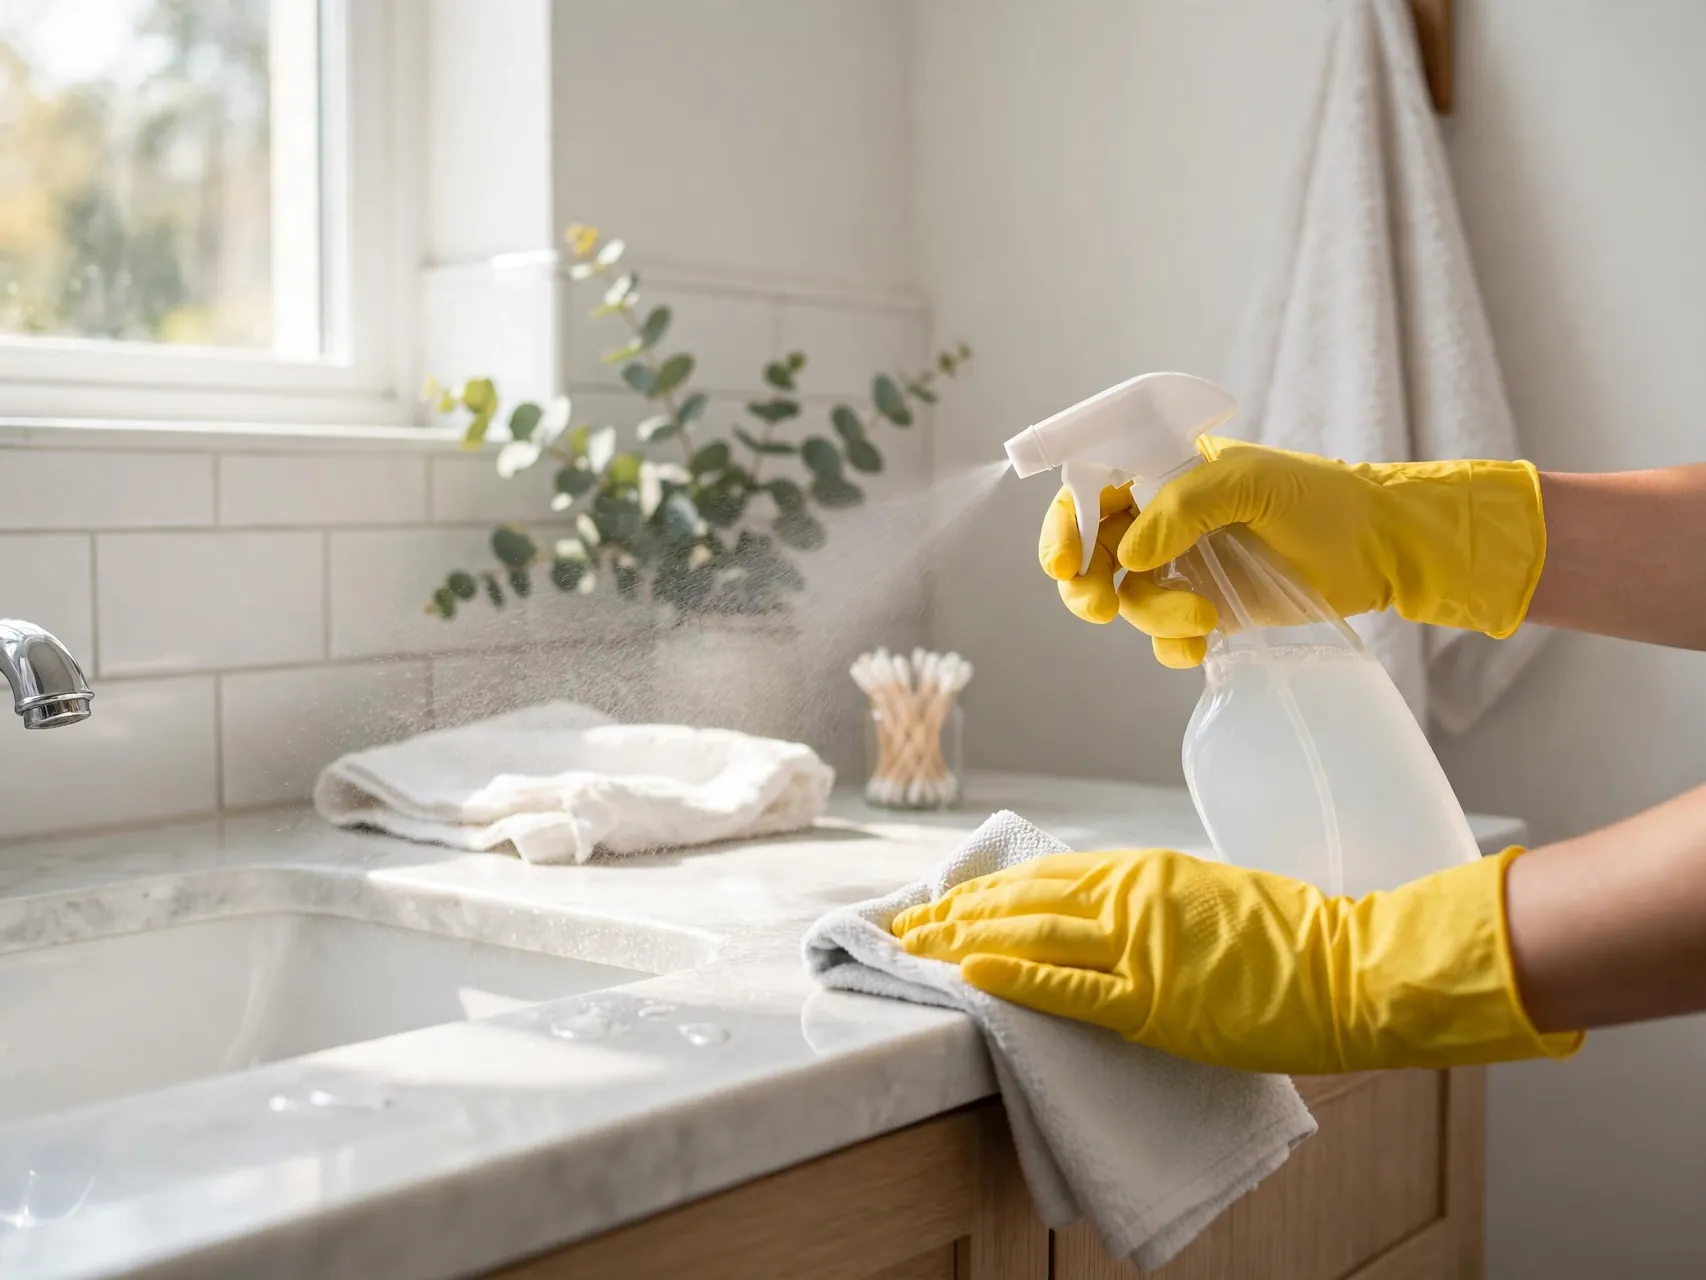
Never mix cleaning products, especially bleach with ammonia, vinegar, or any other cleaner, because the mix can release vapors that are dangerous to breathe. The CDC is clear on this point, and it applies to homemade and store bought products alike.
Use one product, rinse if needed, and ventilate before switching to another. Read labels, wear gloves when directed, and store bottles in their original containers so everyone in the house knows what they are handling.
22. Spot Clean Walls Around the Sink
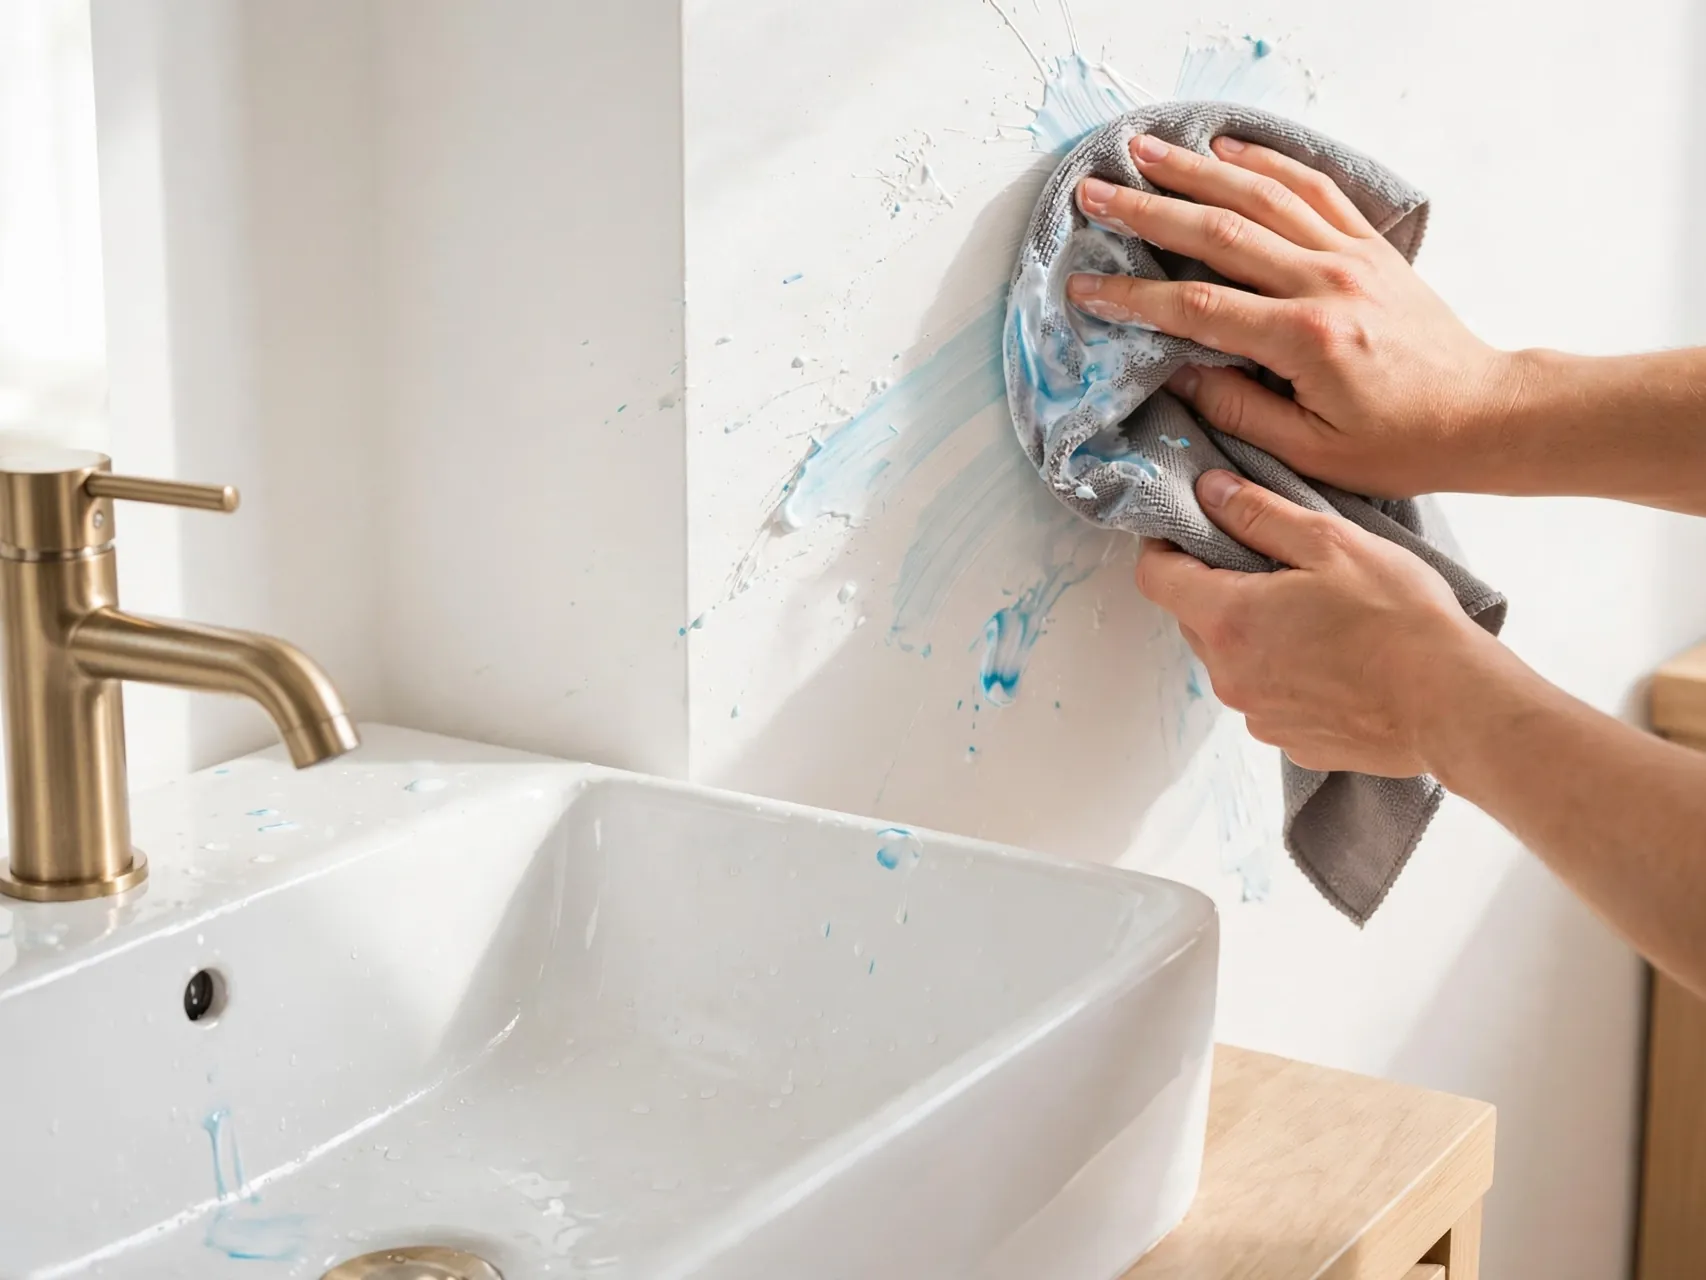
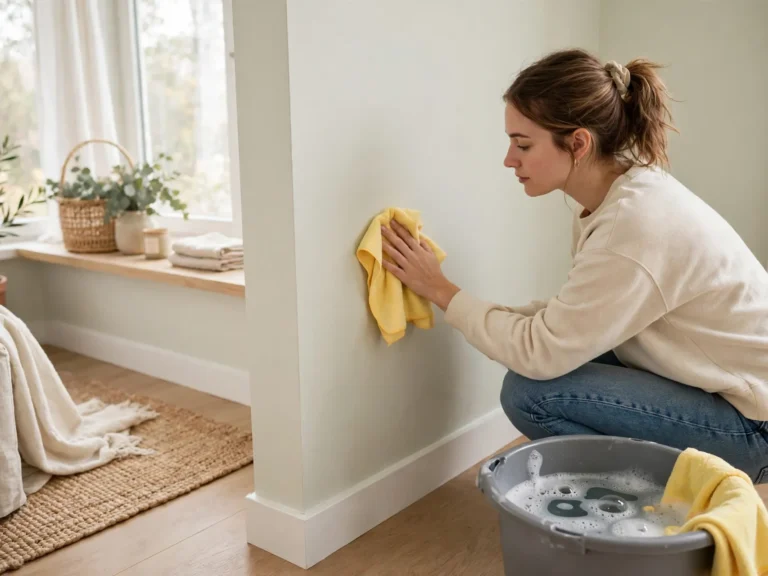
Toothpaste dots, hair spray mist, and water splashes build up on the wall and backsplash around the sink. Wipe this zone weekly with a damp microfiber cloth and a drop of cleaner, working gently on painted walls to protect the finish.
Do the same for the side of the vanity cabinet, which catches drips you rarely notice from above. These small vertical surfaces are a hidden reason a bathroom can look tired even after the main fixtures sparkle.
23. Rinse Cloths Often to Avoid Spreading Grime
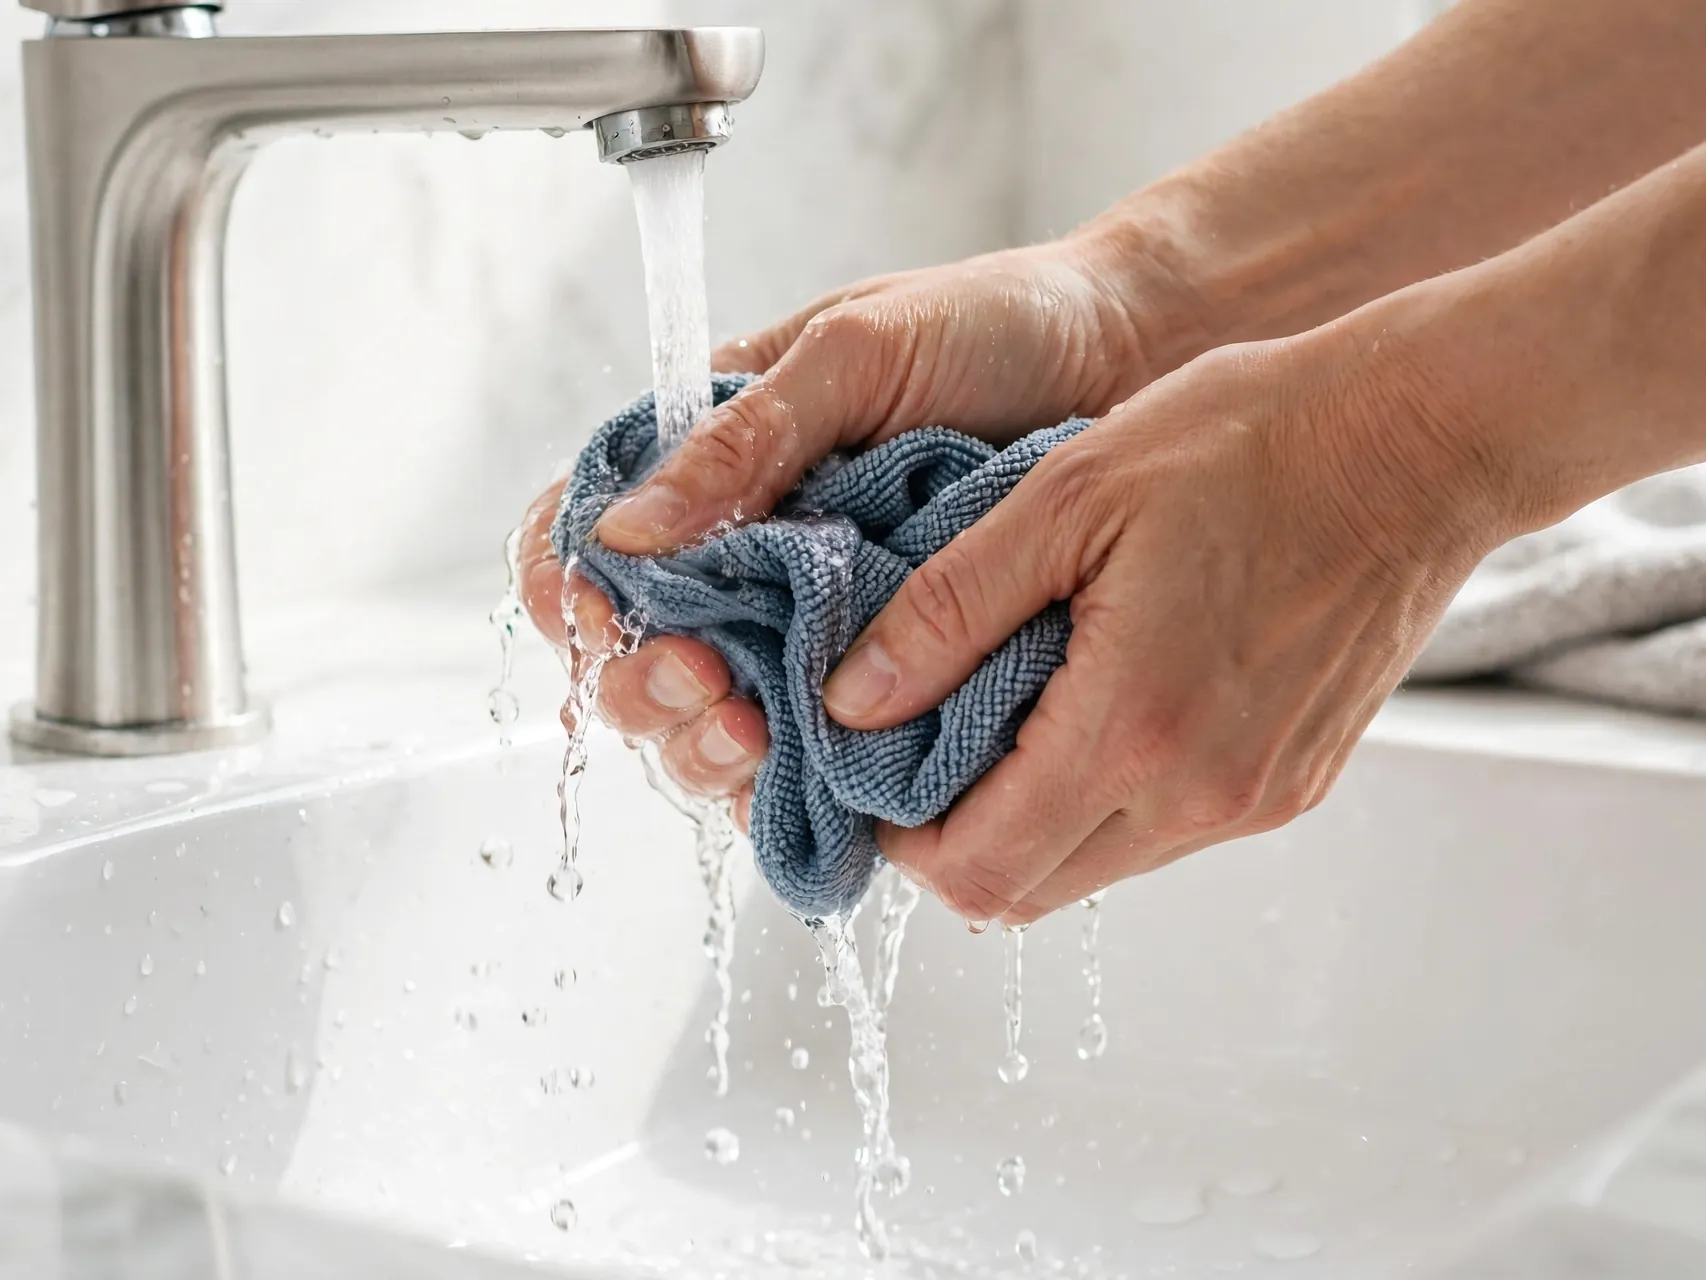
A dirty cloth just moves grime from the toilet area to the sink. Rinse cloths often in hot water as you work, use separate cloths for the toilet zone and the sink zone, and wash them after each deep clean.
Color coding helps in busy homes: one color for mirrors and sinks, another for toilet and floor. Toss cloths that stay gray or sour smelling after washing, because worn microfiber stops picking up soil effectively.
24. End With a Quick Floor Sweep and Mop
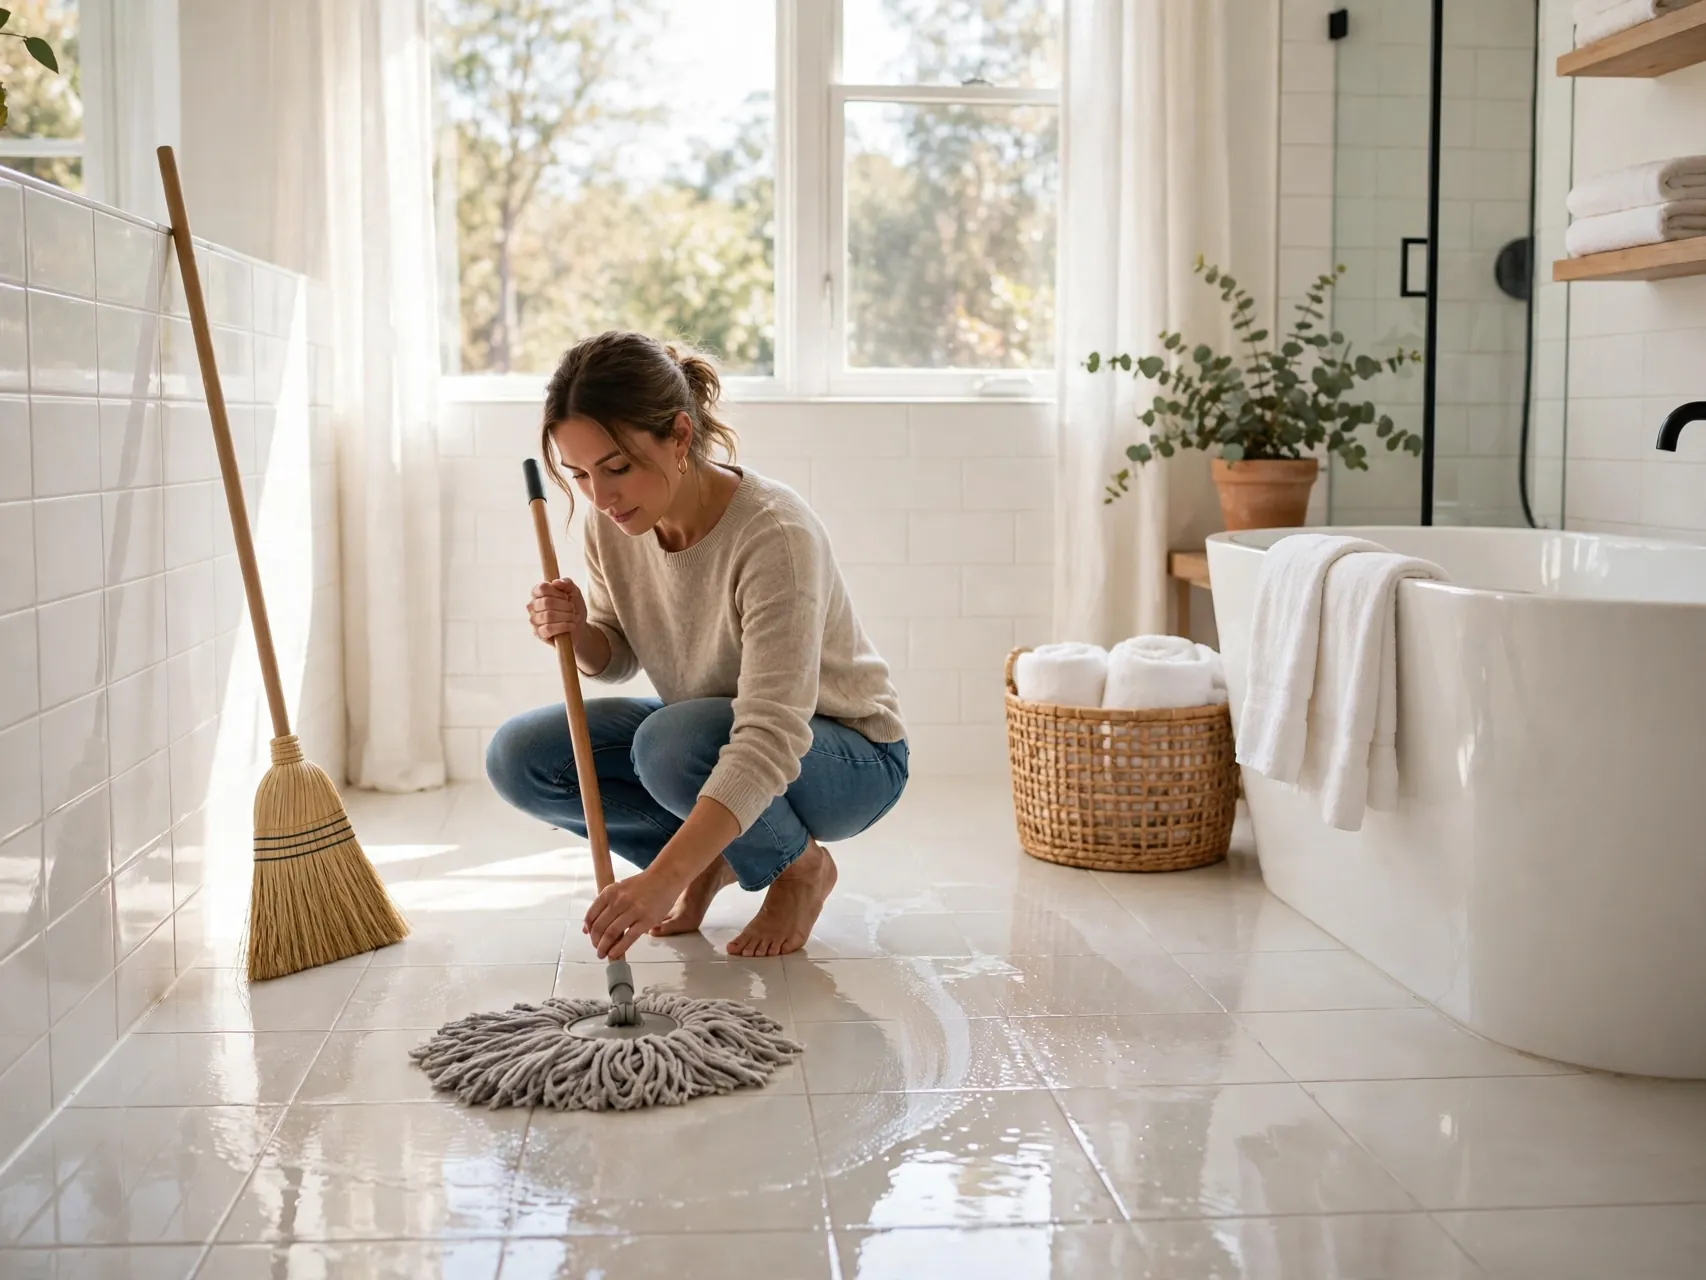
Floors come last, after every drip and dust pile has fallen. Sweep or vacuum up hair and dust first, working from the far corner toward the door, then mop with a well wrung mop so the floor dries fast and does not stay damp.
Get behind the toilet and along the baseboards, where hair collects most. A washable bath mat, shaken outside and washed weekly, finishes the job and keeps the floor from smelling musty between deep cleans.
25. Do a Five Minute Weekly Reset

Set a timer once a week and do only the fast wins: wipe the sink and mirror, scrub the toilet bowl, squeegee the shower, empty the trash, and swap the hand towel. Five focused minutes keeps the room guest ready and stops small messes becoming weekend projects.
Pair the reset with a laundry load of towels and bath mats so everything cycles together. This simple bathroom cleaning checklist habit is what makes the deep clean hacks above feel easy instead of overwhelming.
FAQ

How often should I deep clean my bathroom?
Most bathrooms do well with a weekly surface clean and a deeper scrub of the tub, grout, and toilet base every two to four weeks. Homes with hard water, several daily showers, or kids in the tub may need the deeper pass more often. Ventilation and daily drying habits stretch the time between deep cleans.
What is the safest cleaner for everyday bathroom use?
For routine cleaning, warm water with soap or detergent handles most soil, and the CDC notes that cleaning alone removes most germs in normal situations. Use a disinfectant when someone is sick or the label task calls for it, follow the contact time, ventilate well, and never mix products.
Can I use vinegar on every bathroom surface?
No. Vinegar helps with mineral deposits on many fixtures and glass, but acids can damage natural stone like marble and granite and may dull some finishes. Test any cleaner on a hidden spot first, check the maker guidance for specialty surfaces, and rinse well after use.
How do I stop mold and mildew from coming back?
Control moisture first. The EPA advises fixing leaks quickly, increasing ventilation with a fan or window, cleaning damp areas more often, and drying wet materials within 24 to 48 hours. Squeegee shower walls, hang towels open, and run the fan after showers to keep growth to a minimum.
What should I clean first when time is very short?
Start with the toilet bowl and seat, the sink and faucet, and the mirror, because those are what guests notice and use most. Empty the trash, swap the hand towel, and do a fast floor sweep if you have one more minute. That five minute order gives the biggest visible payoff.
Key Takeaways

- Moisture first: Squeegee, ventilate, and dry surfaces daily so mildew and water spots never get a head start.
- Dwell time works: Spray first and wipe later, letting cleaner soften soil while you move to the next task.
- Top to bottom order: Mirrors to counters to fixtures to floor means no surface gets cleaned twice.
- Small tools, big payoff: A dish wand, grout brush, and microfiber cloths cover almost every job in the room.
- Safety stays simple: Use one cleaner at a time, never mix bleach with other products, and keep air moving.
- Weekly reset wins: Five focused minutes each week prevents the long, tiring deep clean nobody wants.
Love these ideas? Save this pin to your cleaning board on Pinterest so you can find them again before your next reset.