21 Ways to Clean Walls Without Removing Paint or Finish
Introduction
Walls collect far more than we notice day to day: fingerprints by the light switches, scuffs in the hallway, cooking film in the kitchen, and a soft layer of dust that dulls the whole room. The worry is real, though. One hard scrub with the wrong product can lift paint, leave a shiny patch, or turn a small mark into a big repainting job.
The good news is that learning how to clean walls without removing paint is mostly about starting gentle and staying patient. Paint makers like Benjamin Moore recommend the softest method first, warm water on a non abrasive sponge, and only moving to mild soap when water alone is not enough. Pressure and product choice matter more than elbow grease.
This guide walks through 21 safe ways to handle dust, stains, grease, crayon, and everyday grime, matched to your paint finish. Work through the gentle methods first and test everything in a hidden spot, and your walls will look freshly painted without ever opening a paint can.
1. Dust the Walls Before Any Water Touches Them

Always start dry. Run a vacuum brush attachment, a clean dry microfiber mop, or a duster over the walls from top to bottom to lift dust, cobwebs, and loose dirt. This step takes five minutes and prevents the biggest beginner mistake.
If you wipe a dusty wall with a damp cloth, the dust turns to muddy streaks that smear into the paint and are much harder to remove. Dry dusting also shows you which marks are just surface dirt and which are real stains that need washing, so you clean less and protect the finish more.
2. Test Every Cleaner in a Hidden Spot First

Before you wash a visible area, test your method behind a door, inside a closet, or behind furniture. Apply the solution, wait a few minutes, rinse, and let it dry fully. Check for color lift on your cloth, dullness, or a change in sheen.
This two minute test is the single best protection against damage, because paints vary widely in age, quality, and finish. What is safe on a new satin wall can dull an older flat wall. Once the test spot dries clean and unchanged, you can work on the rest of the room with confidence.
3. Start With Plain Warm Water
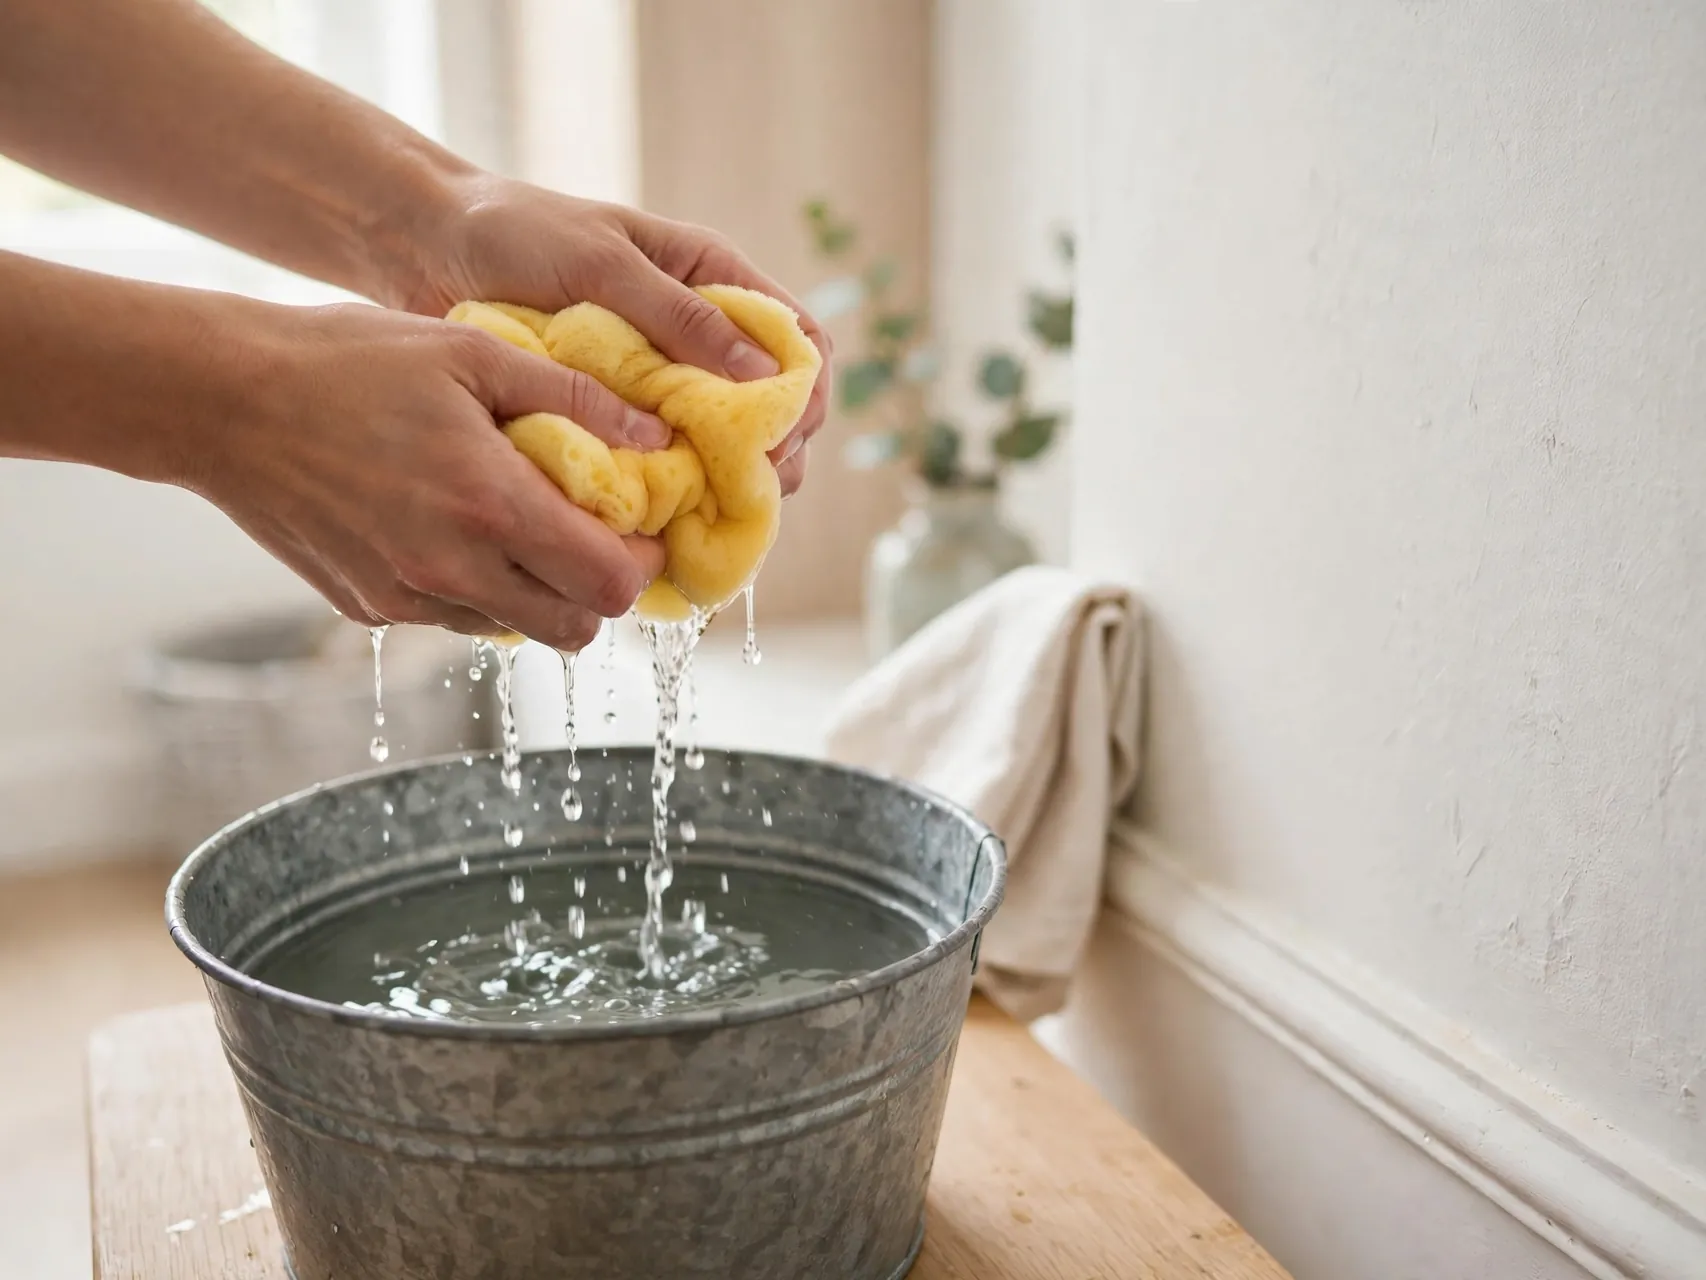
For light dirt and many everyday marks, plain warm water on a soft sponge or microfiber cloth is genuinely enough. Benjamin Moore advises this as the first method for most walls. Wring the cloth until it is just damp, not dripping, and wipe in gentle circular motions.
Work on one small section at a time and change the water when it looks cloudy. You may be surprised how much brightness returns with water alone. Save soaps and sprays for the marks that remain afterward, and your paint will thank you for the gentle approach.
4. Add a Few Drops of Mild Dish Soap

When water is not enough, mix warm water with a small amount of mild, dye free dish soap. A few drops in a bucket is plenty. Too much soap leaves a film that attracts new dirt and causes streaks, so keep the solution weak and your cloth well wrung.
Wash gently, then rinse that section with a second cloth dampened in clean water. This mild soap solution is the workhorse method for painted walls. It handles fingerprints, light grease, and general grime while staying safe for most latex and oil based paints when tested first.
5. Use the Two Bucket Method to Stop Streaks

Professionals wash walls with two buckets for a reason. One holds your cleaning solution and the other holds clean rinse water. Wash a section with the first cloth, rinse it with the second, and you never spread dirty solution back over a clean wall.
Refresh both buckets when the rinse water turns cloudy. This method is the main secret to streak free wall washing, along with using very little moisture. It feels slower at first, but it prevents the drip lines and gray film that force people to wash the same wall twice.
6. Wash From the Bottom of the Wall Upward

It sounds backwards, but paint experts recommend cleaning from the bottom up. Dirty water dripping down over a dry, dirty wall leaves stubborn streaks that are hard to remove. If drips run over an already cleaned and damp section, they wipe away easily.
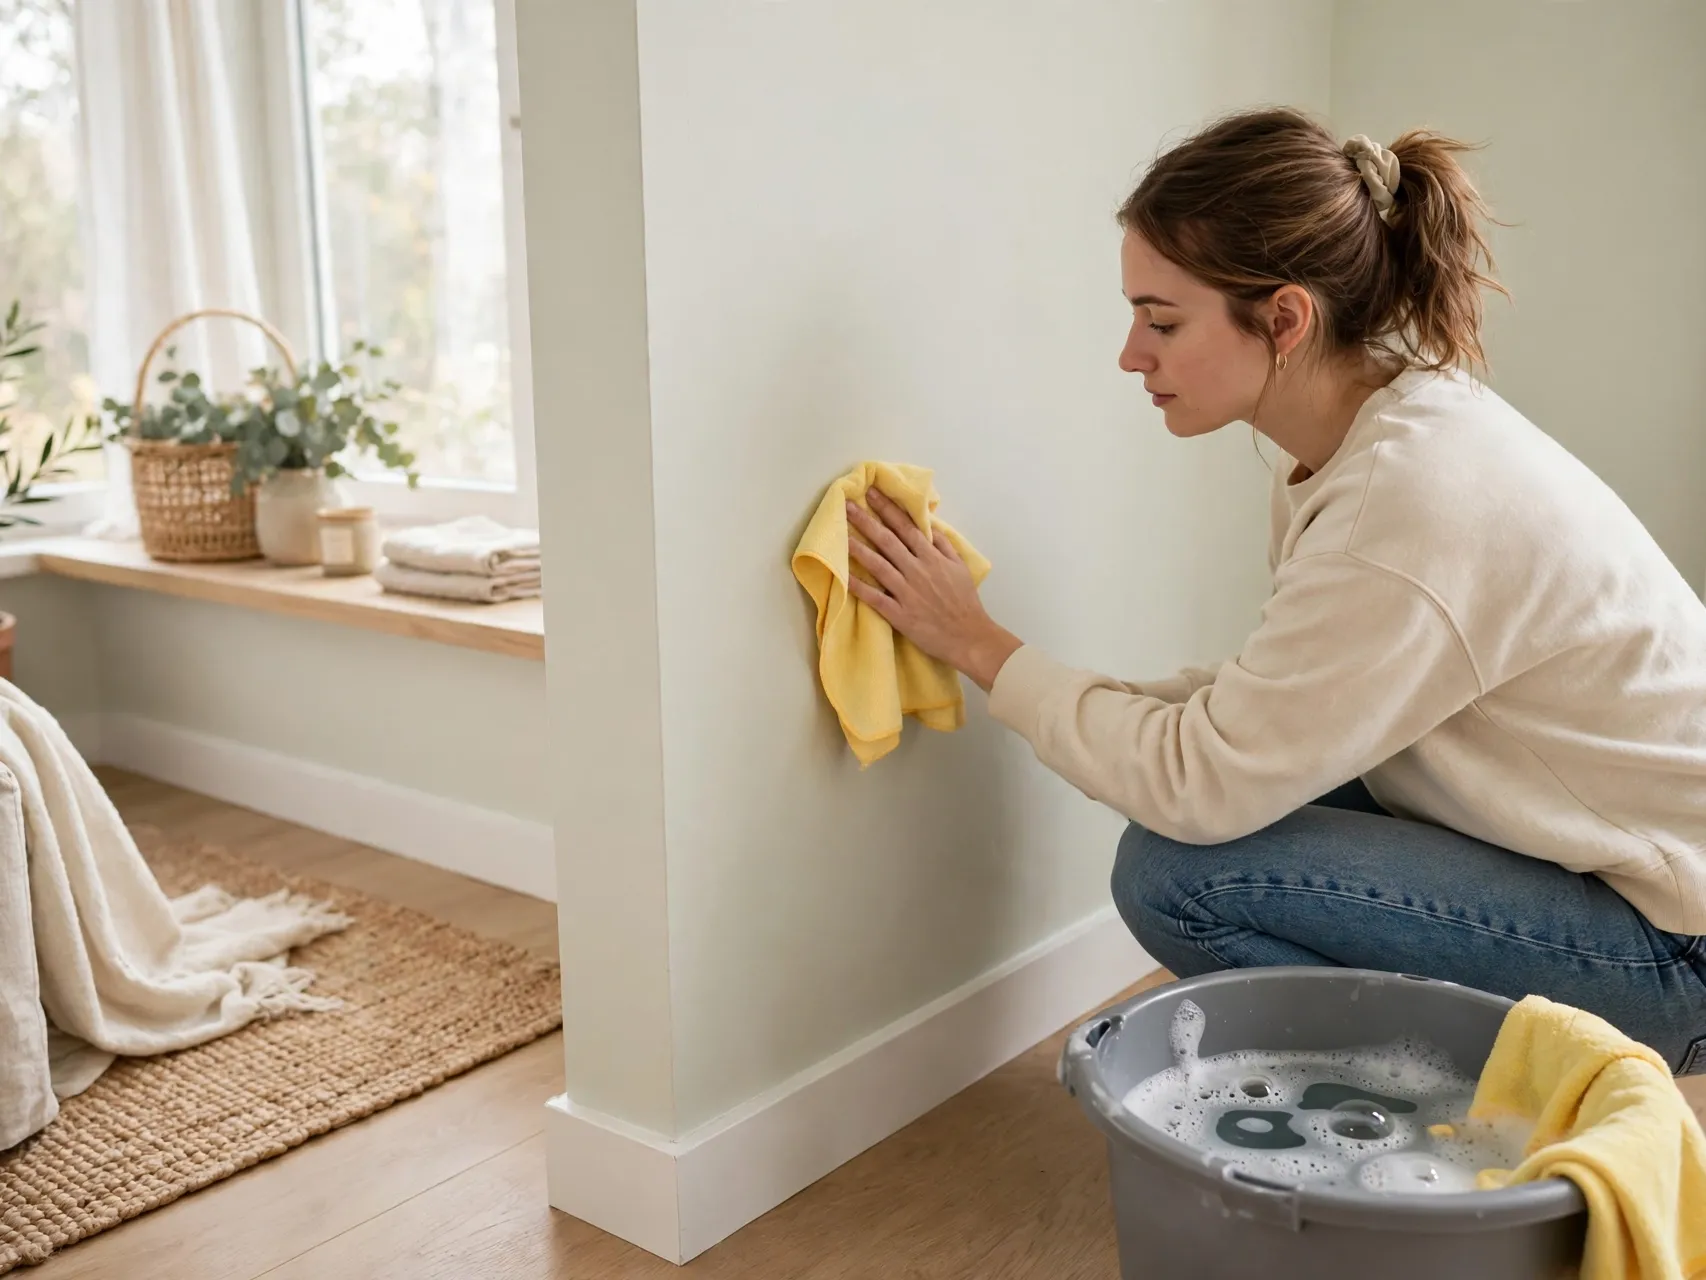
Work in small overlapping sections about two feet wide, moving upward, and rinse and dry each section as you go. Keep a dry towel in hand for drips. This order, combined with a barely damp sponge, is how you get an even finish with no tide marks on the paint.
7. Choose a Soft Microfiber Cloth or Sponge

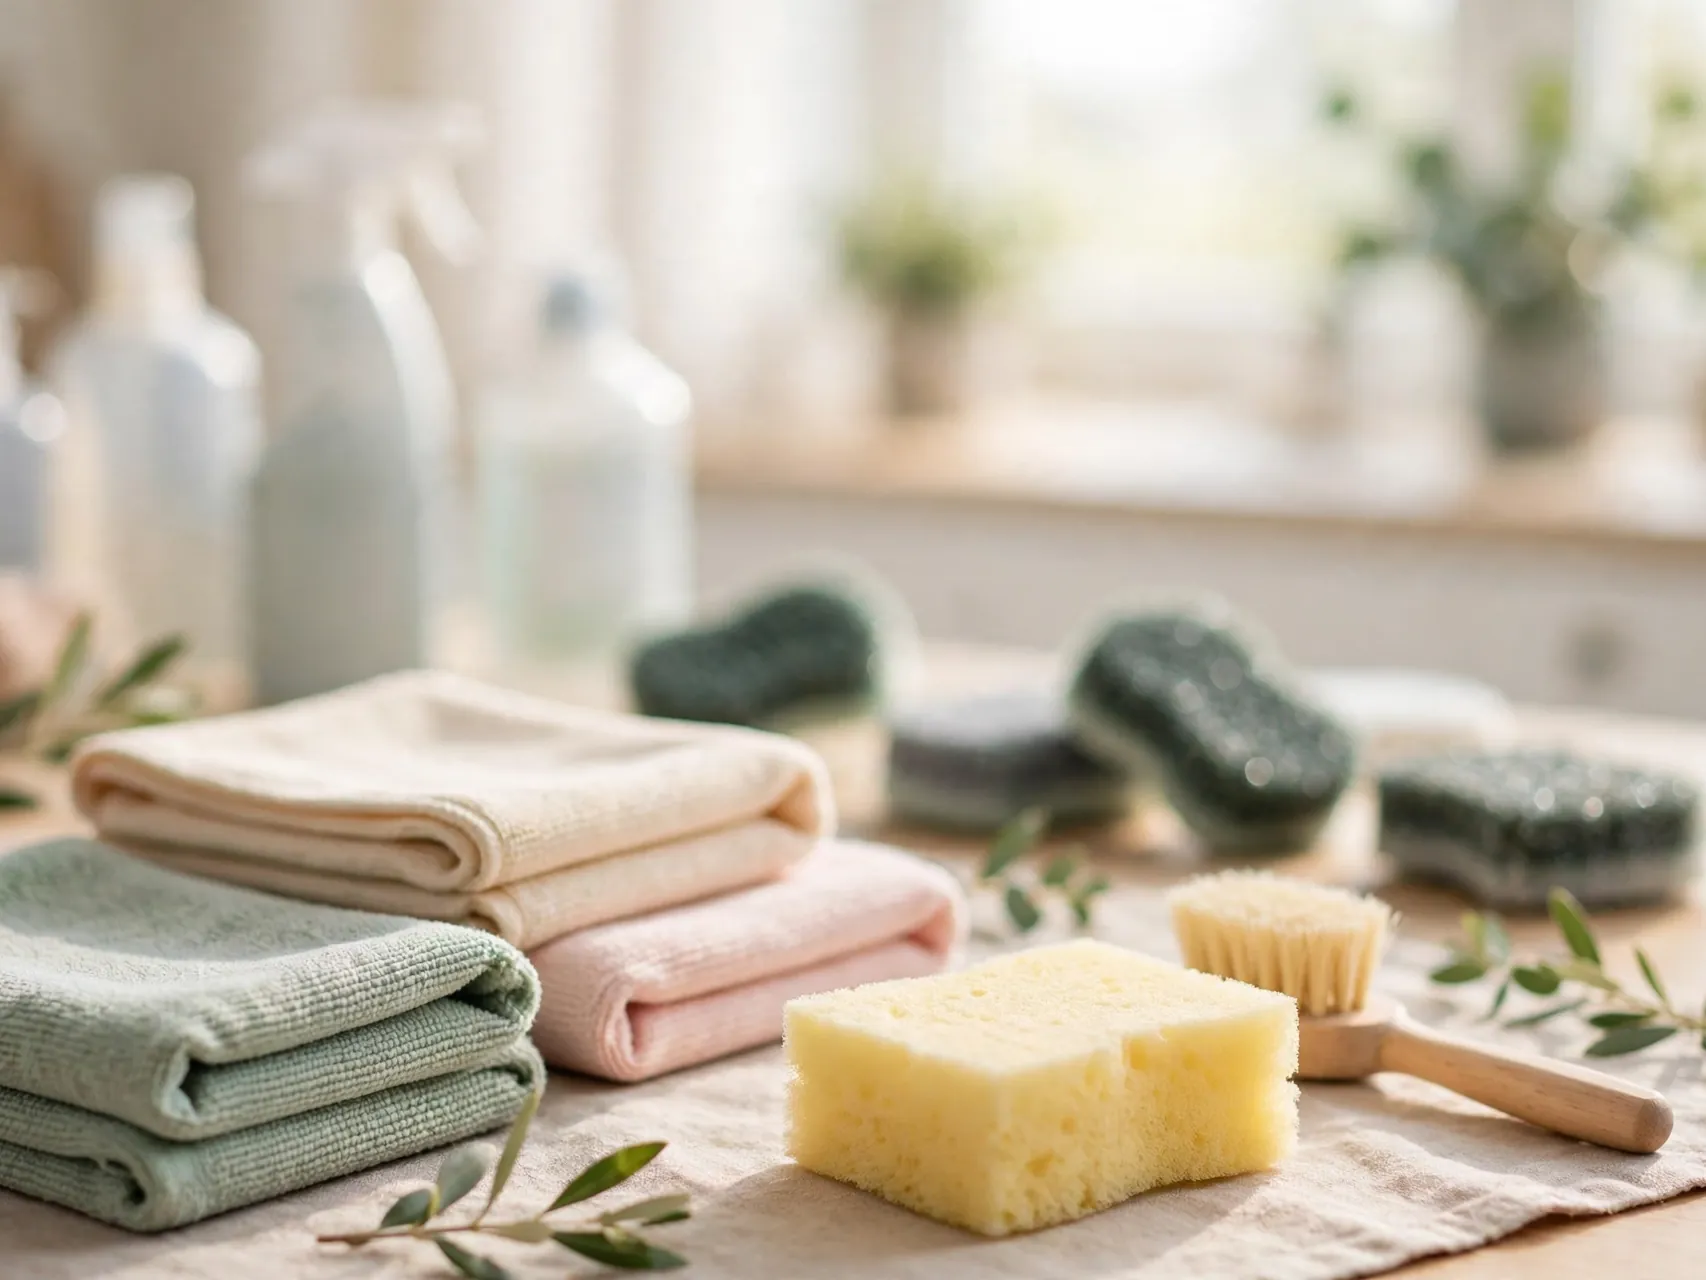
Your tool matters as much as your cleaner. Use a large, non abrasive sponge or a soft microfiber cloth, and nothing with a scouring side. Rub in small circular motions with light pressure and let the moisture and soap do the work instead of your arm.
Avoid dyed sponges and colored cloths, which can transfer color onto light paint when wet. White or undyed tools are the safe choice. Replace or rinse your cloth often, since a gritty cloth can act like fine sandpaper and quietly dull or scratch the finish you are trying to protect.
8. Match Your Method to Your Paint Finish

Not all paint can be cleaned the same way. Higher sheen finishes such as satin, semi gloss, and gloss are the most washable and tolerate a damp cloth and mild soap well. Eggshell sits in the middle and needs a lighter touch.
Flat and matte finishes are the most delicate. Use minimal moisture, blot rather than rub, and accept that some marks may not fully lift. Hard rubbing on flat paint creates a shiny burnished spot that cannot be washed away. If you do not know your finish, treat the wall as flat until a test proves otherwise.
9. Lift Fingerprints Around Switches and Doors
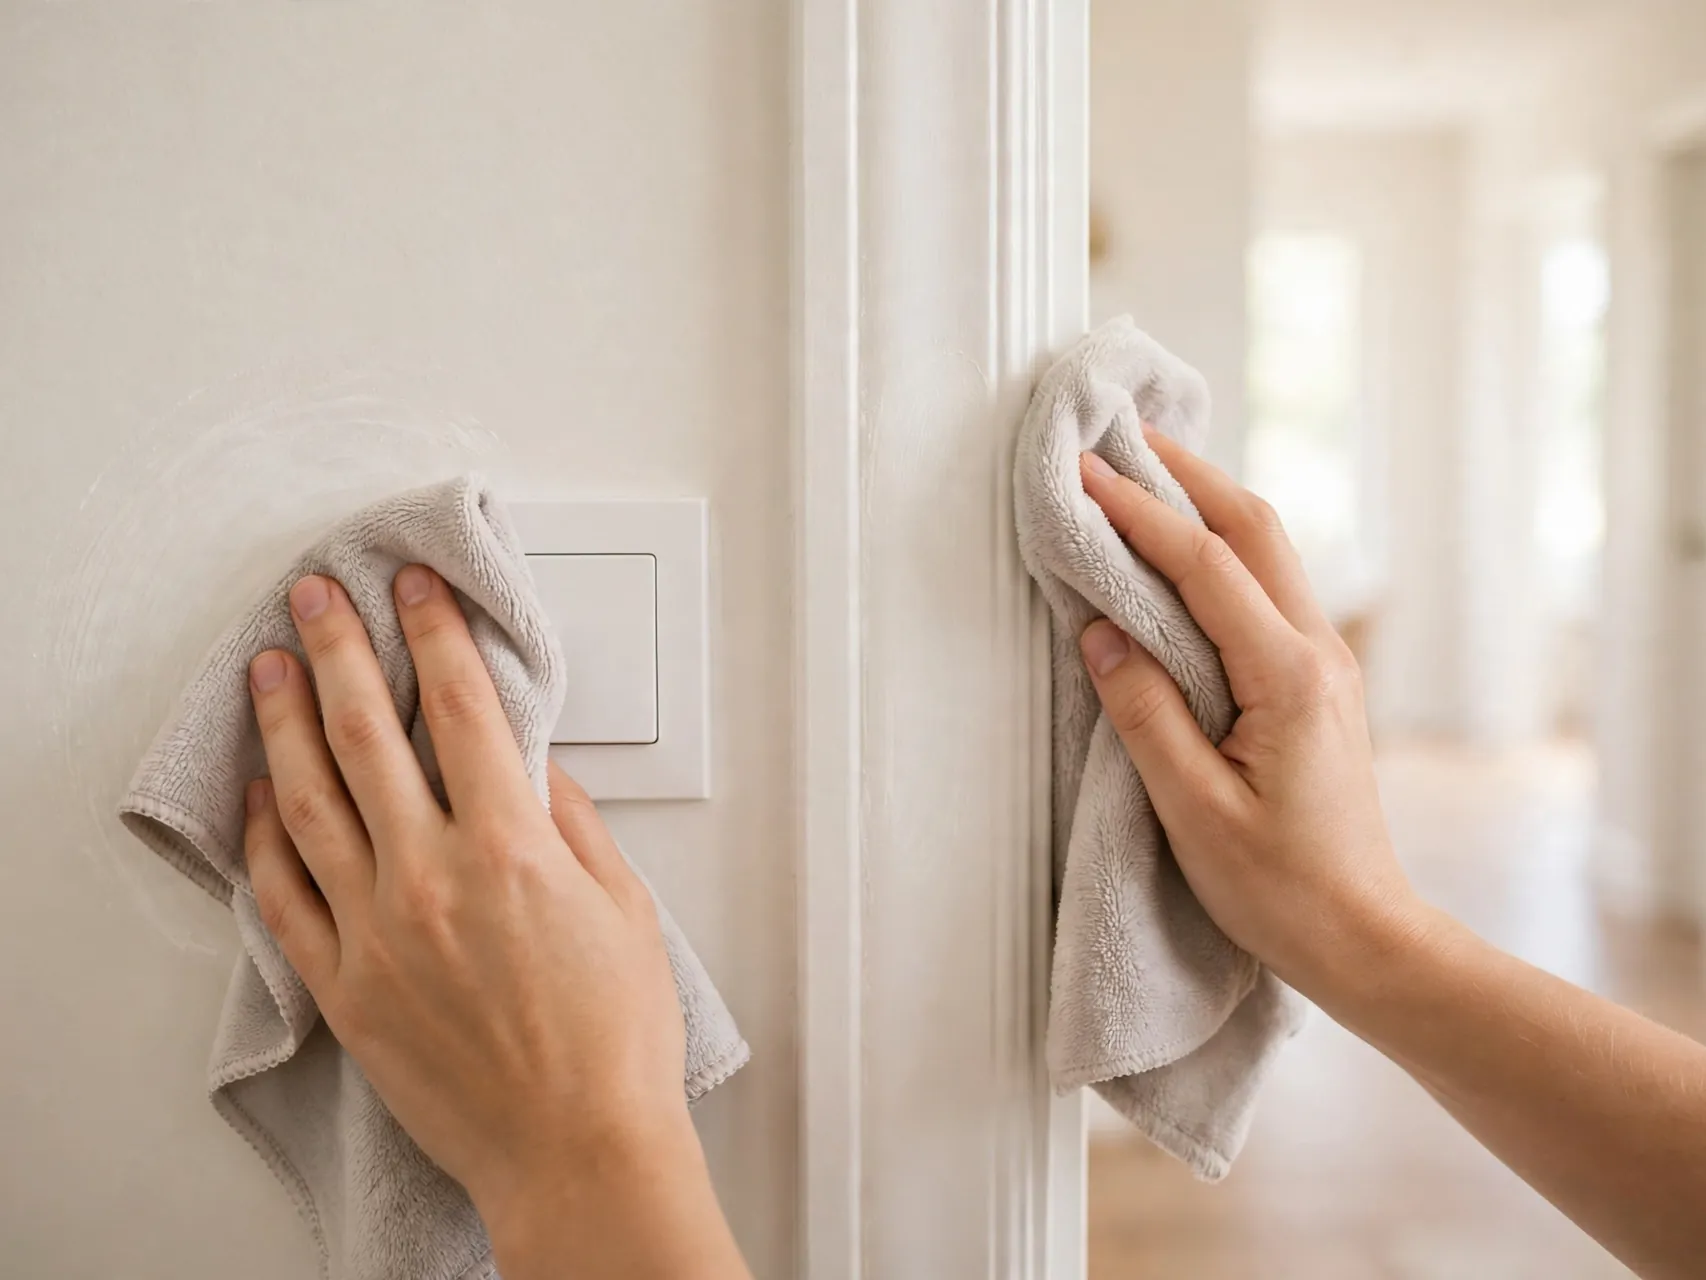
The areas around light switches, door handles, and stair rails collect skin oils that darken paint over time. These spots usually respond well to a microfiber cloth dampened with warm water and a drop of dish soap. Wipe gently, rinse with a clean damp cloth, and dry.
For switch plates themselves, remove the plate if needed and wash it in the sink, making sure it is fully dry before replacing it. Never spray cleaner directly near switches or outlets. Apply any solution to your cloth, not the wall, so moisture stays away from electrical parts.
10. Ease Scuffs Off With Gentle Pressure

Shoe scuffs and furniture rub marks often sit on the surface of the paint rather than in it. Start with a damp microfiber cloth and mild soap, rubbing lightly in circles. Many fresh scuffs lift with patience alone, especially on satin and semi gloss finishes.
For a stubborn scuff, a slightly damp white eraser style cleaning pad can help, but test it first and use the lightest pressure possible, since these pads are mildly abrasive. Work for a few seconds, wipe, and check. Stop as soon as the mark fades, because extra rubbing is what removes paint and sheen.
11. Try a Baking Soda Paste for Stubborn Marks
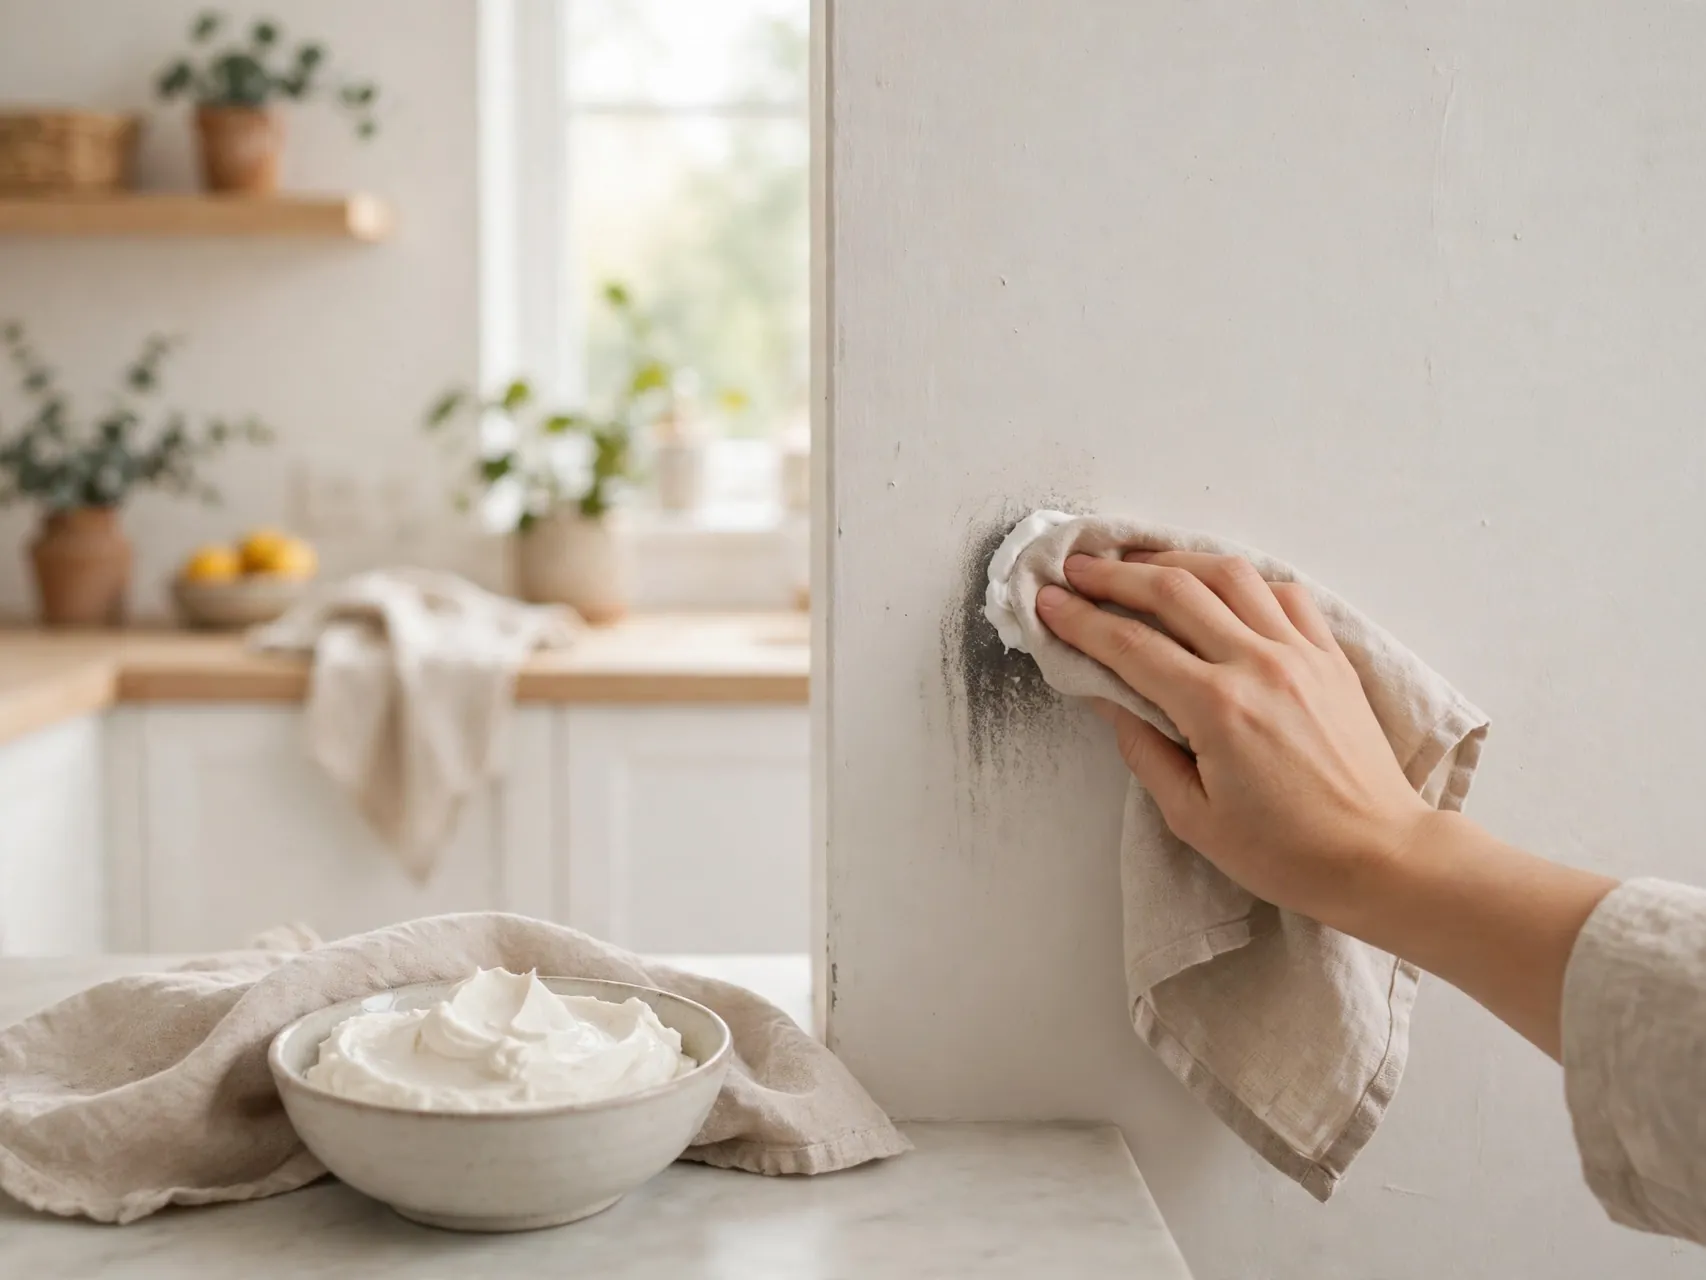
For a mark that survives soap and water, mix baking soda with a little water to make a soft paste. Apply it with a soft cloth and rub very gently. Baking soda is a mild abrasive, so this is a step up in strength and should always come after a hidden test spot.
Rinse the area well with a clean damp cloth, since baking soda can leave a white film if it dries on the paint. Use this method only on the stain itself, not for whole walls. It works well on heel marks and some pencil lines on durable finishes.
12. Cut Kitchen Grease With a Careful Degreasing Wash

Kitchen walls near the stove collect a sticky film of cooking oil mixed with dust. Wash these walls with warm water, mild dish soap, and a little extra patience, changing your rinse water often. Dish soap is designed to cut grease, and a weak solution is safe for most kitchen paints, which are often satin or semi gloss.
Wipe in sections and dry as you go so the film does not resettle. For heavy buildup, repeat the gentle wash a second time rather than reaching for a harsh degreaser, which can soften or dull paint and leave a patch that shows in daylight.
13. Remove Crayon With Heat and Patience

For crayon on painted walls, gentle heat helps. Hold a hair dryer on a low setting a few inches from the mark for a short time to soften the wax, then wipe with a cloth dampened with mild soapy water. Work slowly and keep heat moving so you do not overheat the paint.
Blot rather than scrub, and rinse with a clean damp cloth. Test this method first, especially on flat paint. Leftover color shadows sometimes remain on very matte walls, and in that case a tiny paint touch up is safer than continued rubbing that wears through the finish.
14. Use Melamine Sponges Only as a Last Resort

Melamine foam sponges, often sold as magic erasers, remove marks by acting like very fine sandpaper. That is why they work, and also why they can dull sheen, lighten color, and create a visible patch on flat or eggshell paint if you rub with any force.
If you use one, wet it, wring it well, and use feather light strokes on a tested, hidden area first. Reserve it for small, tough marks on durable finishes only. On delicate paint, skip it entirely. Gentle soap, water, and patience protect your walls far better in the long run.
15. Rinse Every Section With Clean Water

Soap left on paint dries into a dull, streaky film and can attract fresh dirt, undoing your work. After washing each section, go over it once more with a cloth or sponge rinsed in clean water and wrung nearly dry. This rinse step is quick but essential.
Watch for suds or a slippery feel, which means soap remains. Rinse again until the cloth glides cleanly. Proper rinsing is the difference between walls that look washed for a week and walls that look clean for months. It also protects the finish from repeated exposure to detergent.
16. Dry the Wall Right Away
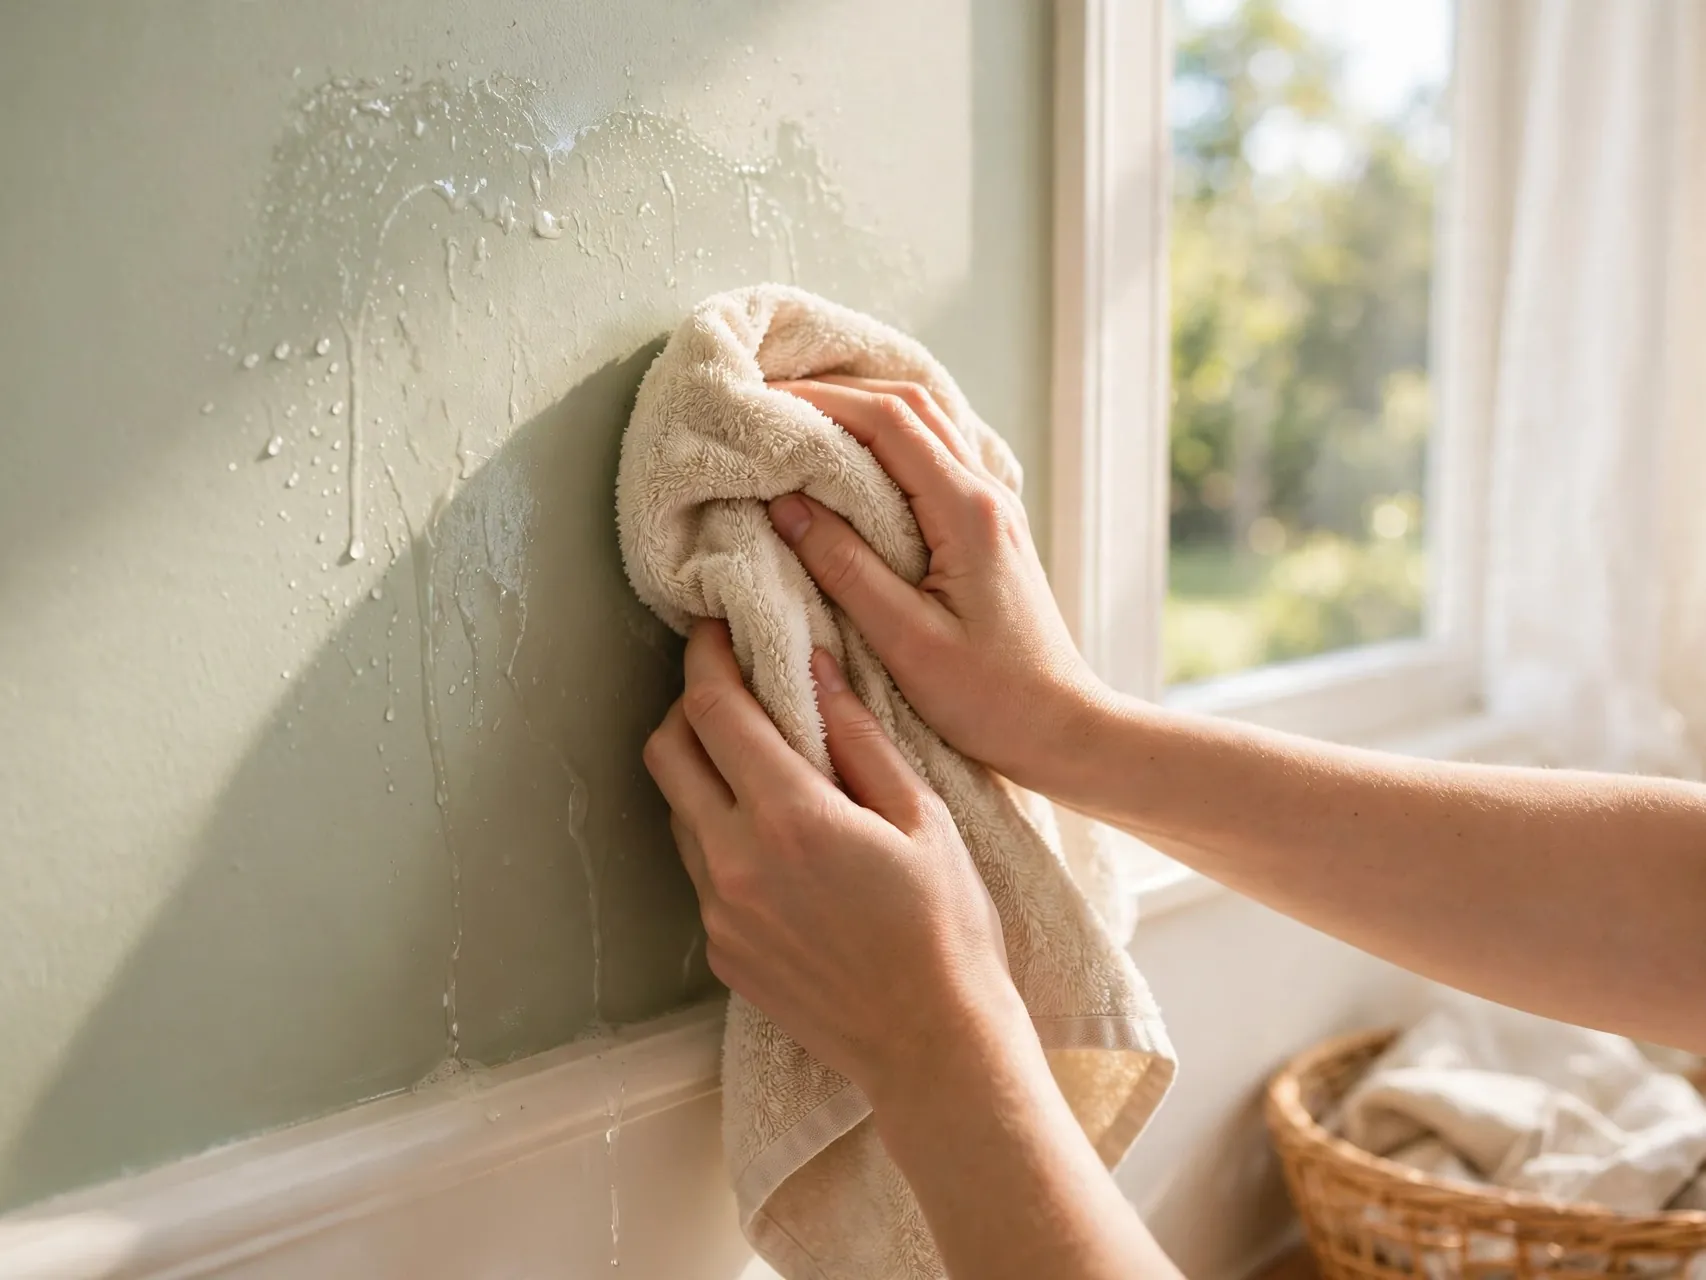
Do not leave walls to drip dry. After rinsing, pat and buff each section with a clean, dry microfiber towel. Immediate drying prevents water spots, streaks, and moisture soaking into seams, corners, and the bottom edge near baseboards where paint and drywall are most vulnerable.
Open a window or run a fan to help the room dry fully, especially in bathrooms and kitchens. Check corners and the wall behind doors, which dry slowest. Thorough drying also lets you see the true result, since damp paint looks darker and can hide a mark that reappears when dry.
17. Clean Baseboards and Trim on the Same Day

Freshly washed walls make dirty baseboards stand out. While your buckets are out, wipe baseboards and trim with the same mild soap solution and a well wrung cloth. Trim is usually painted in a glossier finish than walls, so it tolerates cleaning well and brightens quickly.
Work after the walls so drips do not undo your progress, and dry trim with a towel to prevent dust sticking to damp paint. This finishing touch makes the whole room look repainted, and it takes only a few extra minutes per wall once your supplies are ready.
18. Move Furniture and Clean What Hides Behind It

Dust and marks collect behind sofas, beds, and bookcases where air barely moves. Once or twice a year, pull furniture a few inches from the wall, vacuum the gap, and spot wash the wall with warm water and mild soap if needed. Let the wall dry fully before pushing furniture back.
Leave a small gap between furniture and walls year round to reduce rub marks and moisture trapping. Felt pads on the backs of frames and furniture pieces prevent fresh scuffs. This hidden area is also a good place to check for moisture or mold before it becomes a bigger problem.
19. Avoid Harsh Chemicals and Abrasive Tools
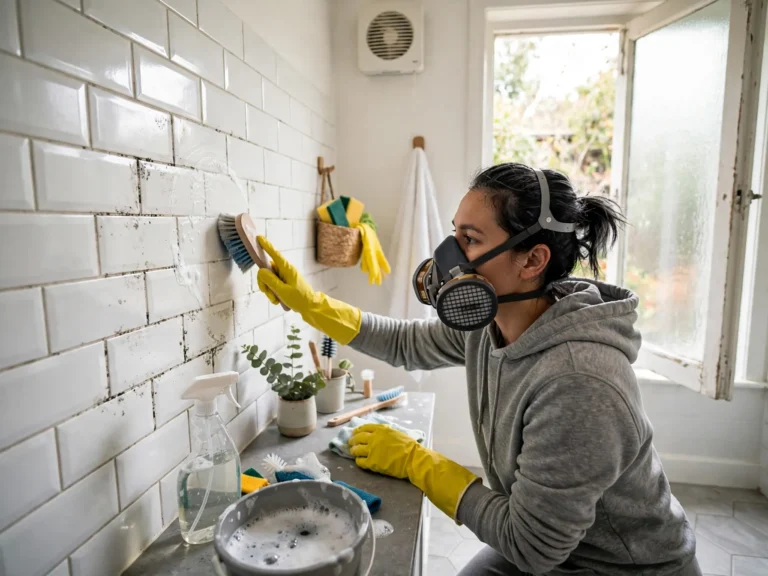
Strong products are the fastest way to damage paint. Avoid ammonia based cleaners, bleach, highly alkaline detergents, scouring powders, and stiff brushes on painted walls. These can dull the finish, fade color, soften paint, or strip it in patches that only repainting can fix.
Also avoid steam cleaners held close to painted drywall, which can force moisture into the surface. If a gentle method fails on a stain, accept a small touch up instead of escalating to a harsh chemical. Protecting the existing finish is always cheaper and faster than repainting a damaged section.
20. Know When a Touch Up Beats More Cleaning
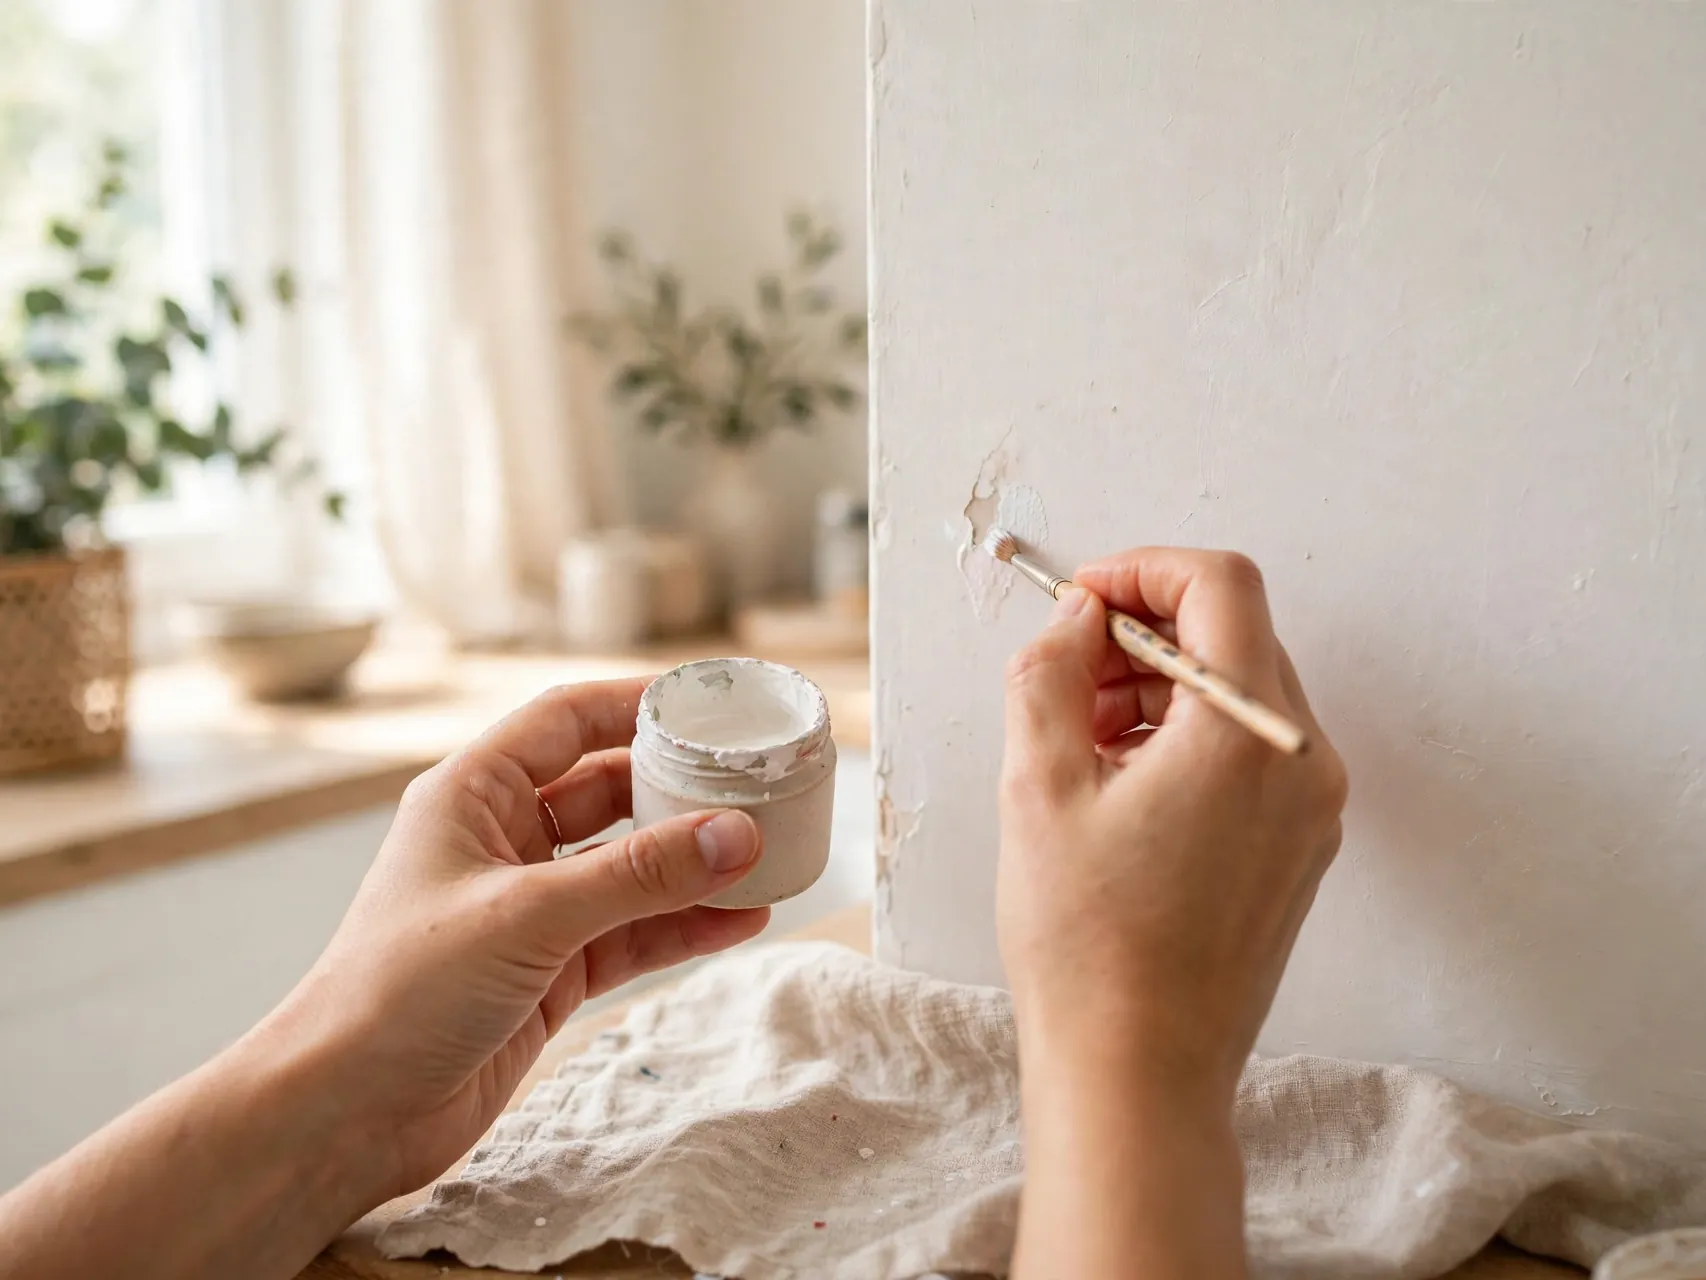
Some stains have soaked into the paint itself, including deep ink, old water stains, and nicotine discoloration. No safe amount of washing will remove them, and more scrubbing only damages the surrounding finish. In these cases, stop cleaning and plan a small touch up.
Use leftover matching paint if you have it, feathering the edges with a small brush or mini roller so the repair blends in. For water stains, the source must be fixed and the area fully dry first. Knowing when to stop is a real cleaning skill, and it saves walls from well meant damage.
21. Keep Walls Cleaner With Light, Regular Care

A little routine care prevents the need for a big annual wash. Dust walls and baseboards every few months, wipe fingerprints and splash marks as you notice them, and wash high traffic areas like entries and hallways once or twice a year with the gentle soap method.
Keep a microfiber cloth in the kitchen and bathroom for quick spot wipes. Catching a fresh mark takes seconds, while an old stain may take real effort. With this rhythm, your walls stay bright, your paint lasts its full life, and a gentle wall cleaning routine becomes one of the easiest jobs in the house.
FAQ
What is the best cleaner for painted walls?
Warm water with a few drops of mild, dye free dish soap is the safest and most effective everyday choice for most painted walls. Start with plain warm water for light dirt, as paint makers recommend, and add soap only when needed. Always rinse with clean water and dry the wall so no soap film remains.
Can you use vinegar to clean painted walls?
Diluted vinegar is sometimes used on durable satin or gloss finishes, but it is best avoided on flat and matte paint, since the acid can affect delicate finishes. If you try it, dilute it well, test it in a hidden spot, rinse thoroughly, and stop if you see dullness. Mild soap and water handles most wall dirt more safely.
How do you clean flat or matte painted walls without damage?
Use the least moisture and pressure possible. Dust first, then blot marks with a soft cloth that is barely damp, using plain water or a very weak soap solution. Do not scrub, since rubbing burnishes matte paint into shiny patches. Some marks on flat paint will not fully lift, and a light touch up is better than hard cleaning.
Will a magic eraser remove paint from walls?
It can. Melamine sponges work by fine abrasion, so they may dull the sheen, lighten color, or wear through delicate paint if you press hard. If you use one at all, test it in a hidden area, keep it damp, and use the lightest strokes possible on small marks only. Avoid it on flat and eggshell finishes.
How often should you wash your walls?
Spot clean marks as they happen, dust every few months, and give high traffic rooms like entries, halls, kitchens, and bathrooms a gentle wash once or twice a year. Low traffic bedrooms may only need washing every couple of years. Regular light care means each wash is faster and safer for the paint.
Key Takeaways
- Start dry and gentle: Dust first, then try plain warm water before any soap touches your walls.
- Test everything first: A hidden test spot protects you from dullness, color lift, and sheen changes.
- Use less of everything: Less water, less soap, and less pressure are the core rules for protecting paint.
- Know your finish: Gloss and satin forgive more, while flat and matte need blotting, not scrubbing.
- Rinse and dry as you go: Clean water rinses and immediate drying prevent streaks and soap film.
- Stop before damage: When a stain lives in the paint itself, a small touch up beats harsh cleaning every time.
Found this helpful? Save this pin for your next cleaning day and share it with a friend who is scared to wash their walls.