24 Tips on How to Clean Black Mold Safely and For Good
Introduction
Finding dark mold on a bathroom wall or under a sink is unsettling, and your first instinct may be to grab the strongest cleaner you own. Pause there. Safe mold cleanup is less about strong chemicals and more about size, moisture, protection, and thorough drying.
The US Environmental Protection Agency gives clear guidance for homeowners. If the moldy area is less than about 10 square feet, roughly a 3 foot by 3 foot patch, you can usually handle it yourself with care. Larger areas need a professional. For small jobs, the EPA method is simple: scrub mold off hard surfaces with detergent and water, then dry everything completely.
This guide explains how to clean black mold safely, following EPA and CDC guidance, including when to call a pro and how to keep mold from coming back.
1. Measure the Area Before You Touch It
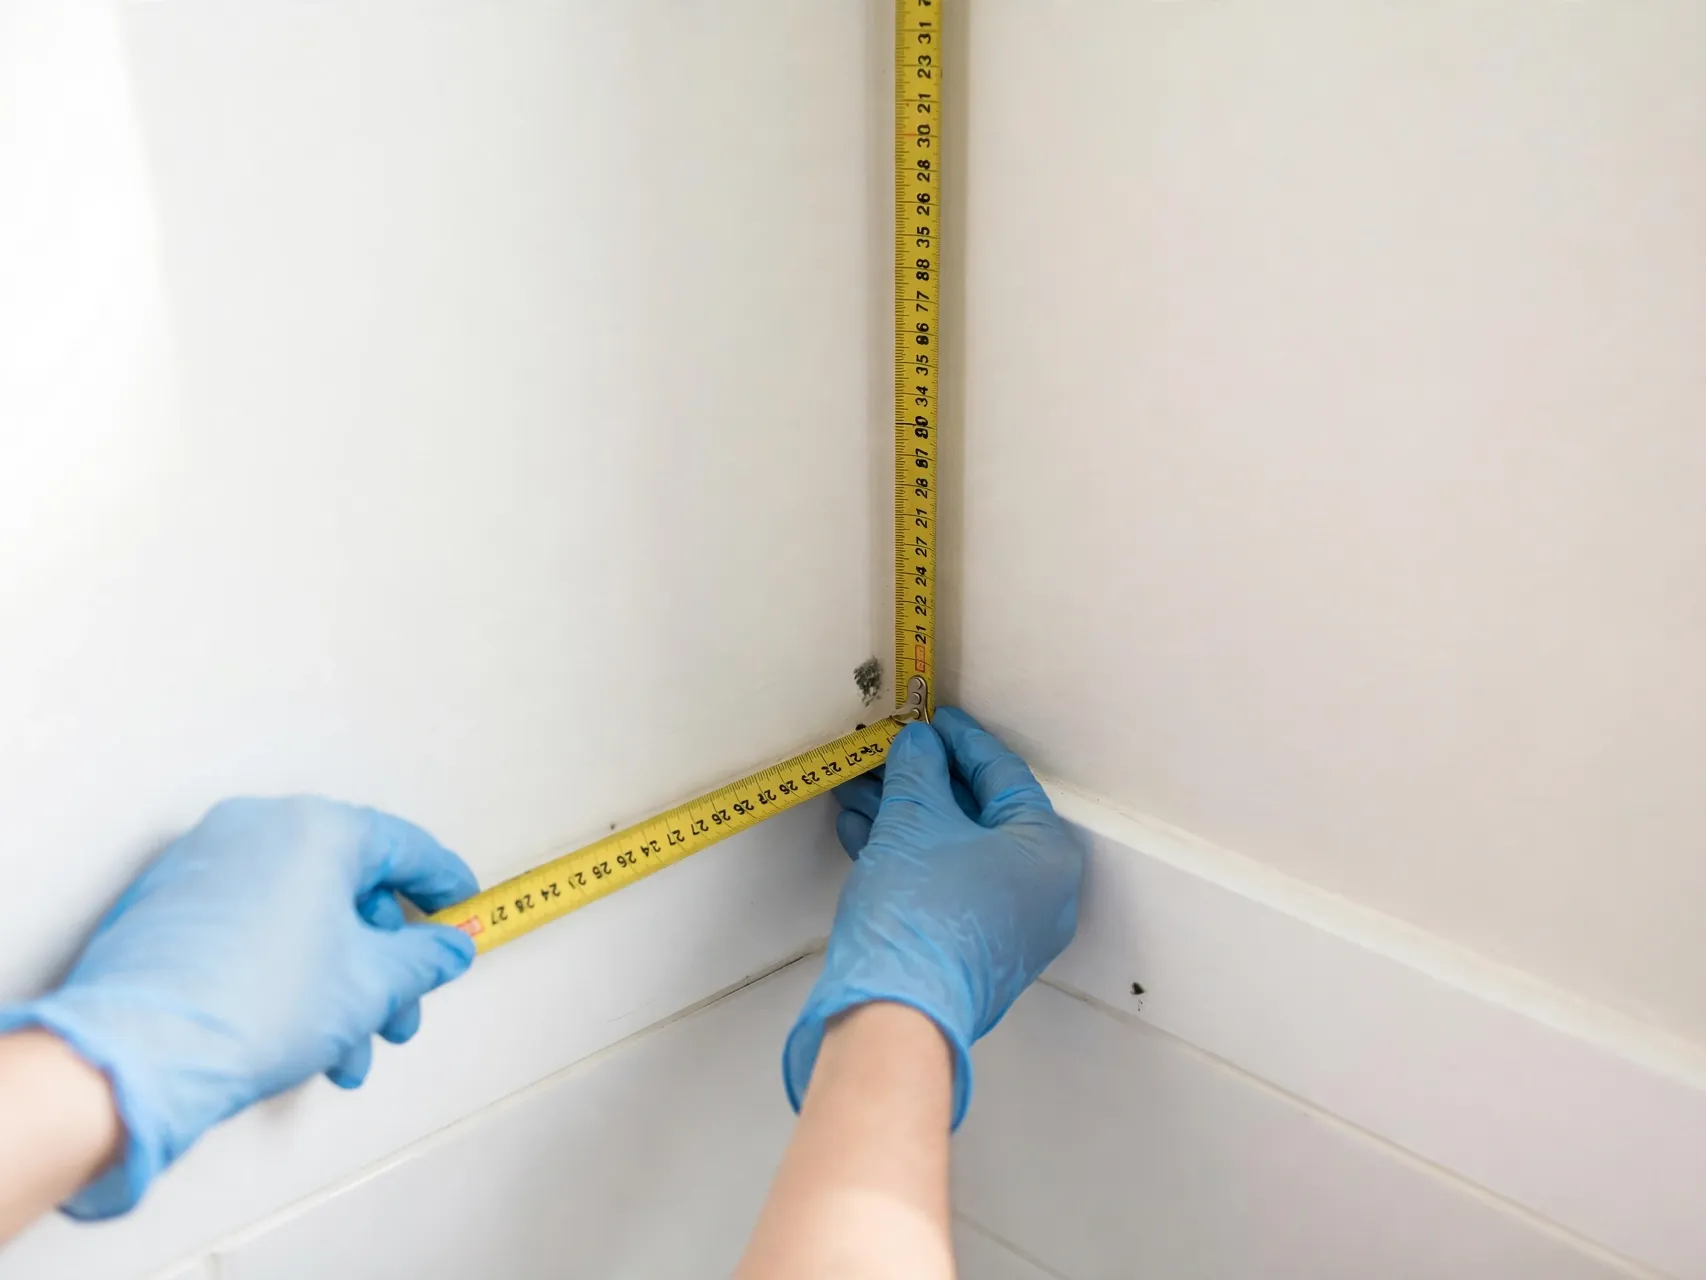
Start by honestly sizing up the problem. Look at the full patch, including spots spreading from corners, grout lines, and caulk edges. If the total moldy area is less than about 10 square feet, the EPA says a homeowner can usually clean it by following proper precautions.
If it covers more than that, stop and read the next tip. Mold hidden inside walls, in heating and cooling systems, or caused by sewage changes the job completely, even if the visible patch looks small.
2. Fix the Moisture Source First

Mold is a moisture problem wearing a disguise. Find where the water is coming from before you clean: a dripping pipe, a failed shower seal, condensation on a cold window, a slow roof leak, or a bathroom that never dries out. Repair the leak or improve ventilation first, or at the same time as cleaning.
If you clean but do not fix the water problem, the mold will almost certainly return. Dry wet materials quickly, ideally within 24 to 48 hours. No cleaner can outwork an active leak.
3. Know When to Call a Professional Instead

Call a qualified mold remediation professional if the area is larger than about 10 square feet, if water damage is extensive, if the mold followed sewage or contaminated flood water, or if you suspect mold inside your heating, ventilation, and air conditioning system. Do not run a system you suspect is contaminated, since it can spread spores through the house.
Also step aside if anyone in the home has asthma, a lung condition, or a weakened immune system. The CDC advises that people with immune suppression or lung disease should not be in the area during cleanup.
4. Put On the Right Protective Gear
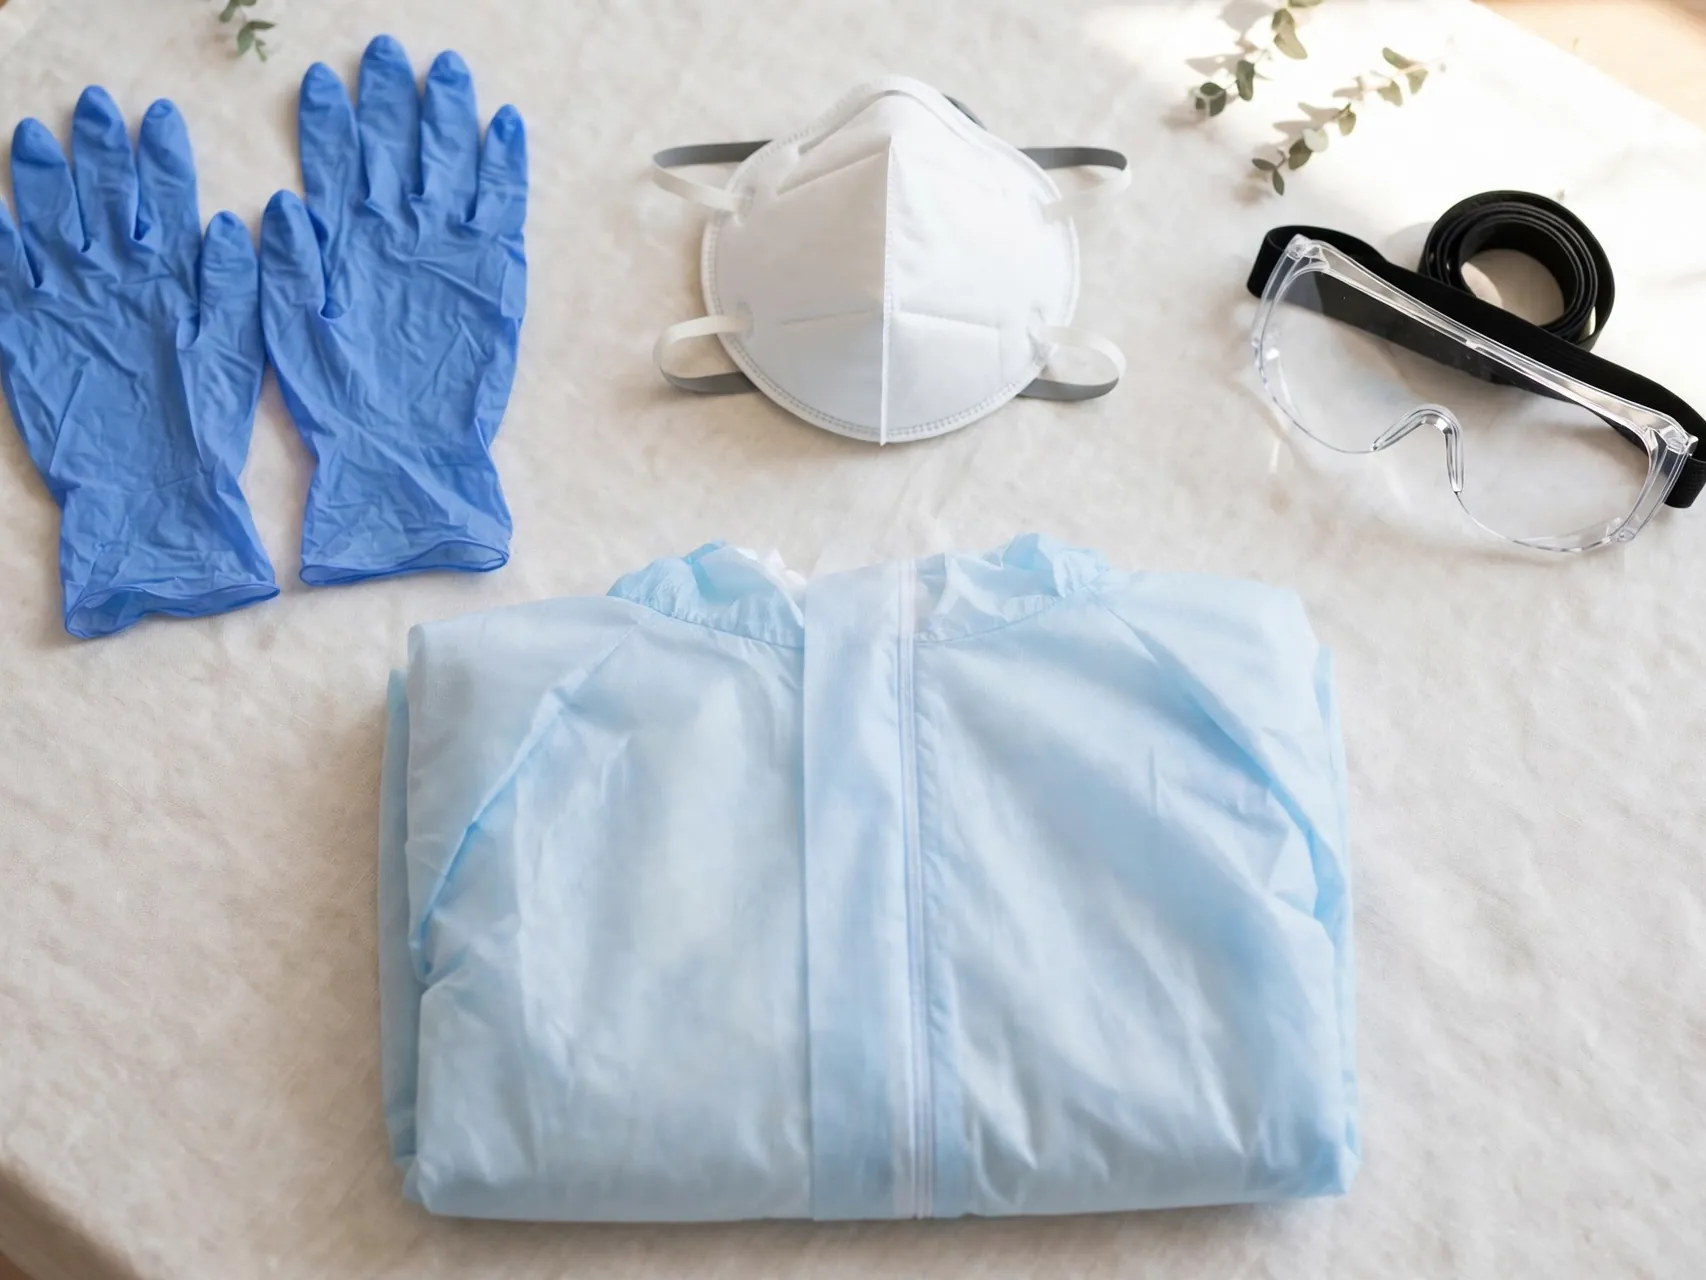
Before you disturb any mold, put on protection. The EPA and CDC recommend an N-95 respirator that fits snugly on your face, gloves, and goggles without ventilation holes, so dust and small particles cannot reach your eyes. Follow the fitting instructions on the respirator package, since a loose mask offers little protection.
Wear long sleeves and clothing you can wash afterward. Household rubber gloves are fine for soap and water. If you use a bleach solution, use nitrile, neoprene, or PVC gloves.
5. Ventilate Without Spreading Spores

Open a window in the room and, if you have one, run an exhaust fan that vents outdoors. Fresh air lowers your exposure while you work and helps drying afterward. Close the door to the rest of the home so spores disturbed during scrubbing do not drift into clean rooms.
Turn off central heating or cooling that serves the room. Never aim a fan directly at visible mold before it is cleaned, since that can blow spores onto new surfaces.
6. Contain the Work Area Simply

For a small home job, simple containment helps. Lay plastic sheeting or an old sheet under the work area to catch debris and dirty water. Keep children and pets completely out of the room until cleaning is finished and the area is dry.
Seal removed material in a plastic bag inside the work area before carrying it through the house. Avoid dry sweeping mold, which launches spores into the air.
7. Gather Simple Supplies Before You Start
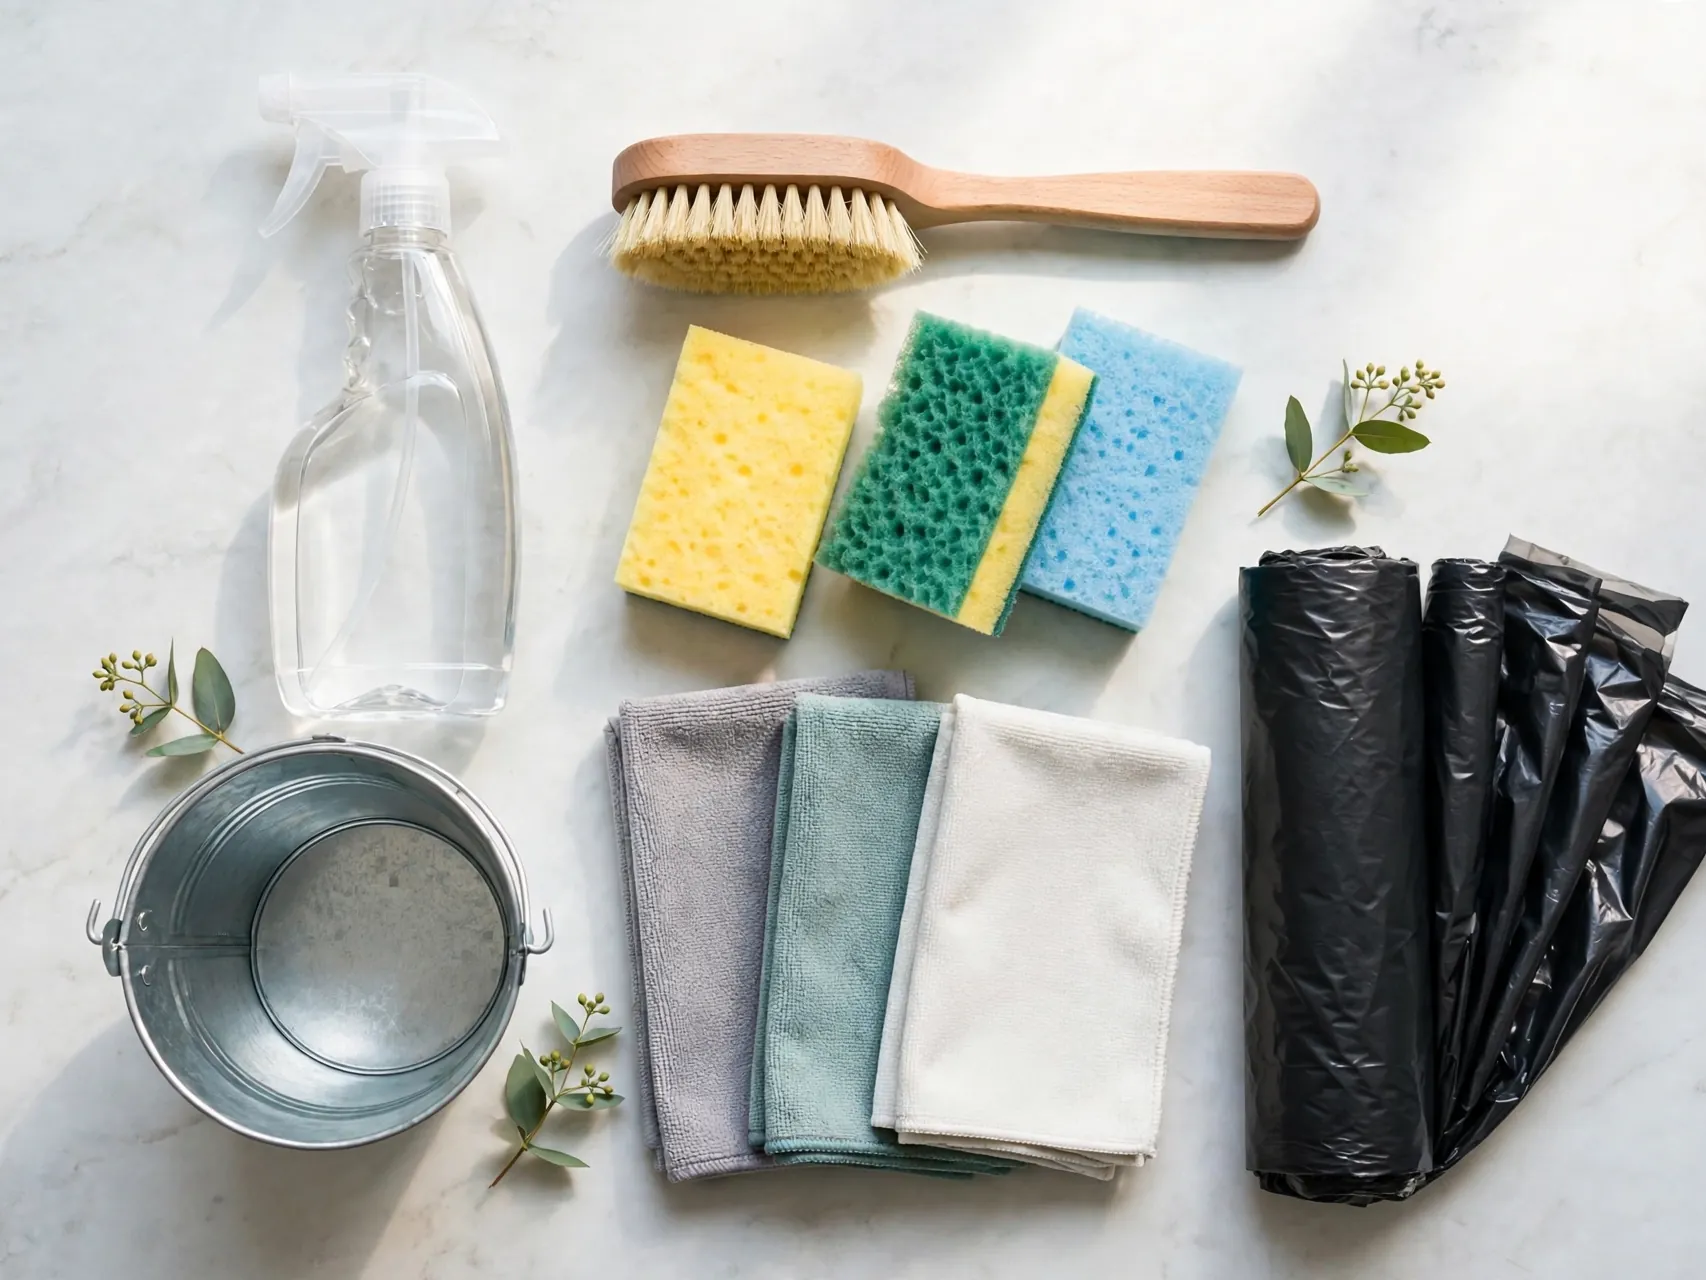
You need less than you might expect: detergent or dish soap, warm water, buckets, a stiff brush for hard surfaces, sponges or cloths you can throw away, plastic trash bags, a spray bottle of plain water, and your protective gear. A flashlight helps you see into corners and under fixtures.
The EPA notes that biocides such as chlorine bleach are not recommended as a routine part of mold cleanup, because the goal is to remove the mold, not just kill it. Dead mold can still cause allergic reactions.
8. Lightly Dampen the Mold Before Scrubbing
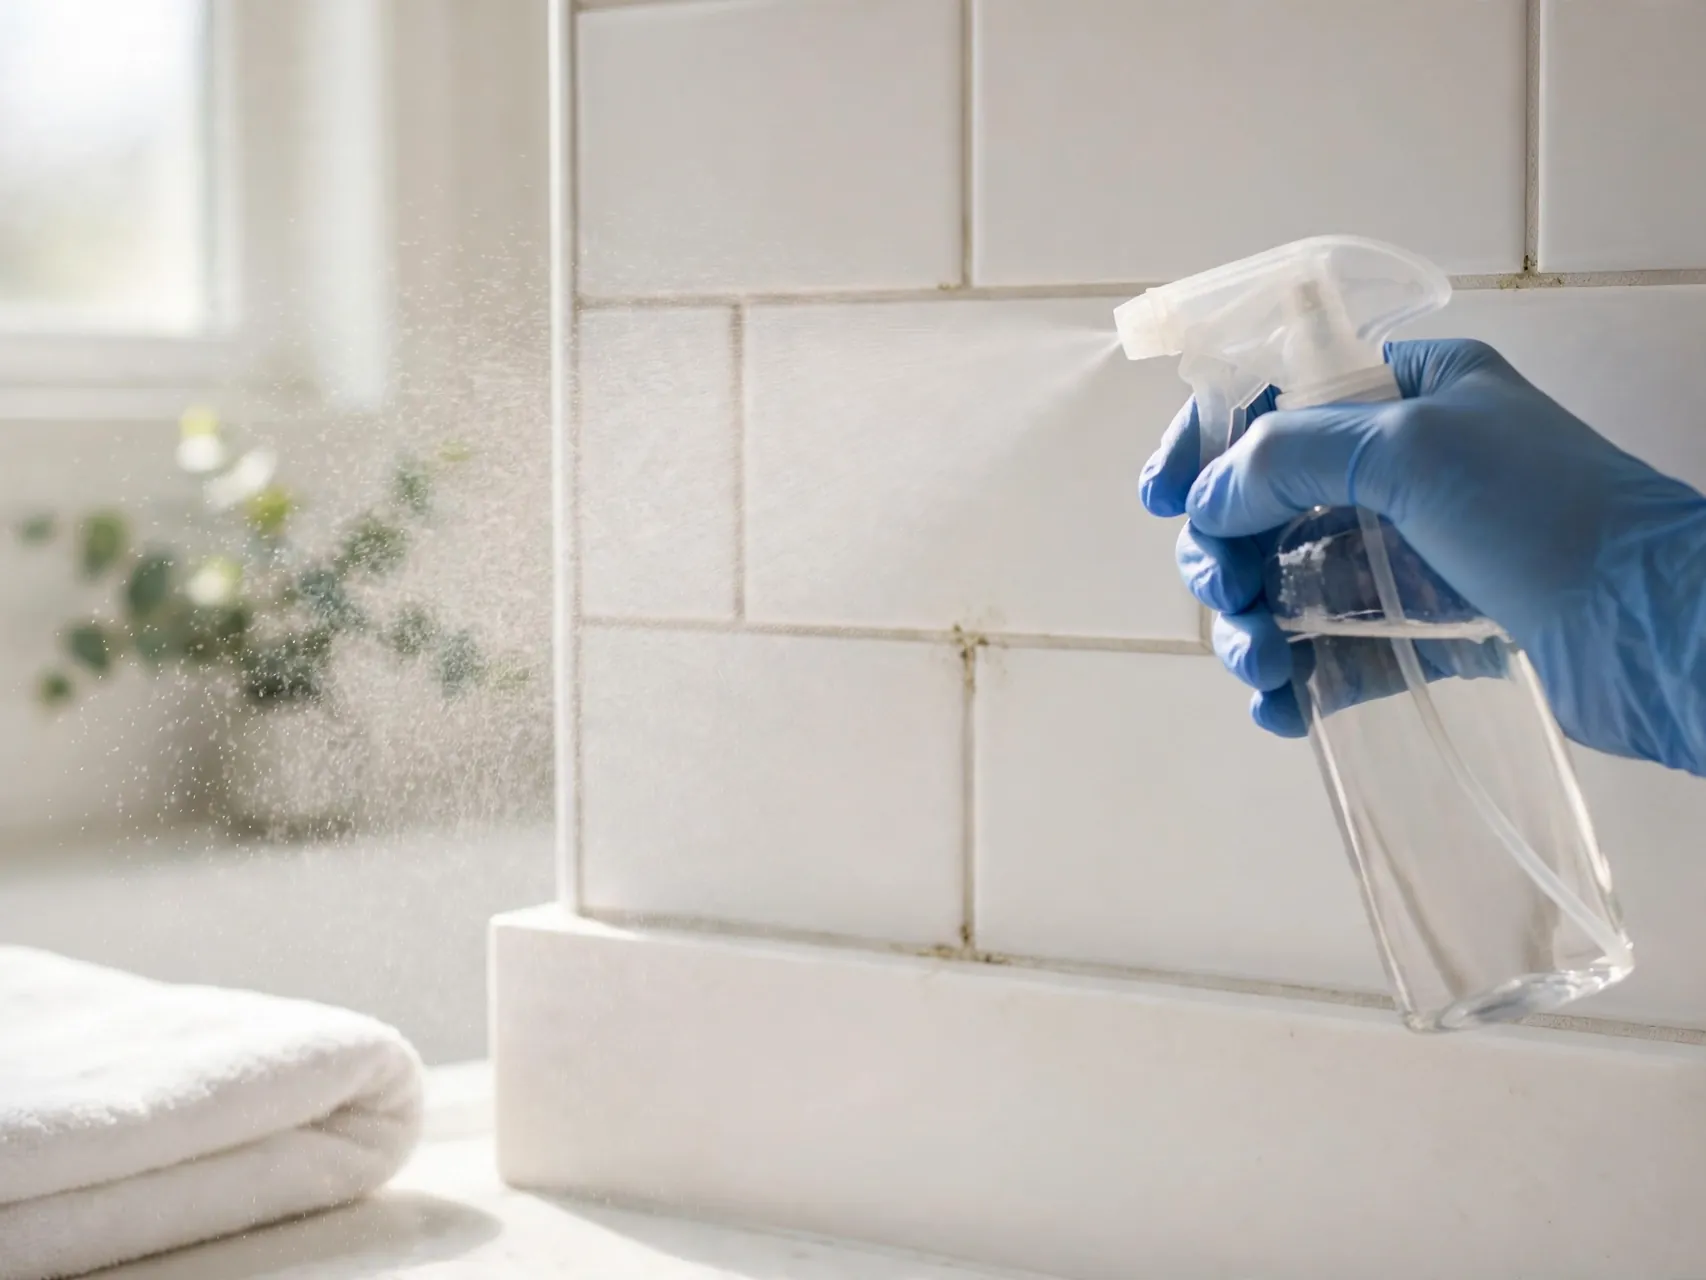
Dry mold releases spores easily when it is disturbed. Lightly mist the area with plain water from a spray bottle before you begin, just enough to dampen the surface without soaking it or letting water run into walls and floors. This small step reduces what becomes airborne while you scrub.
Do not flood the area. Extra water feeds the moisture problem you are trying to end, especially on drywall, wood, and grout.
9. Scrub Hard Surfaces With Detergent and Water

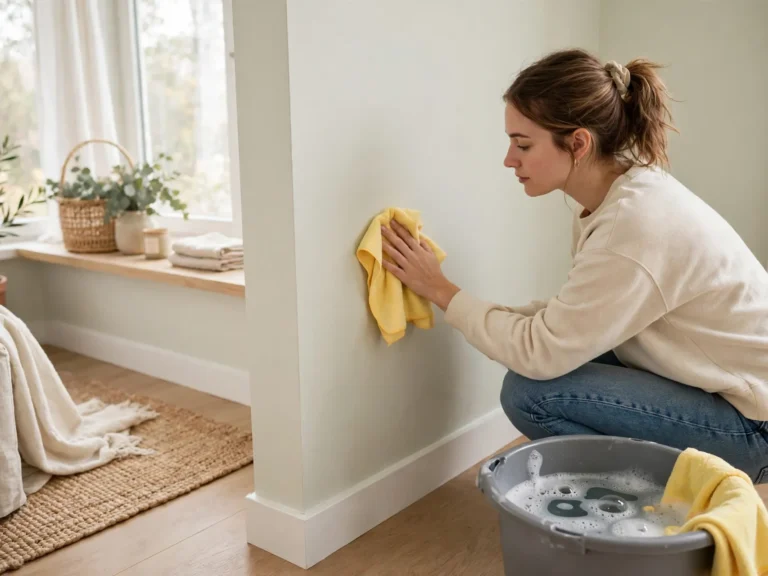
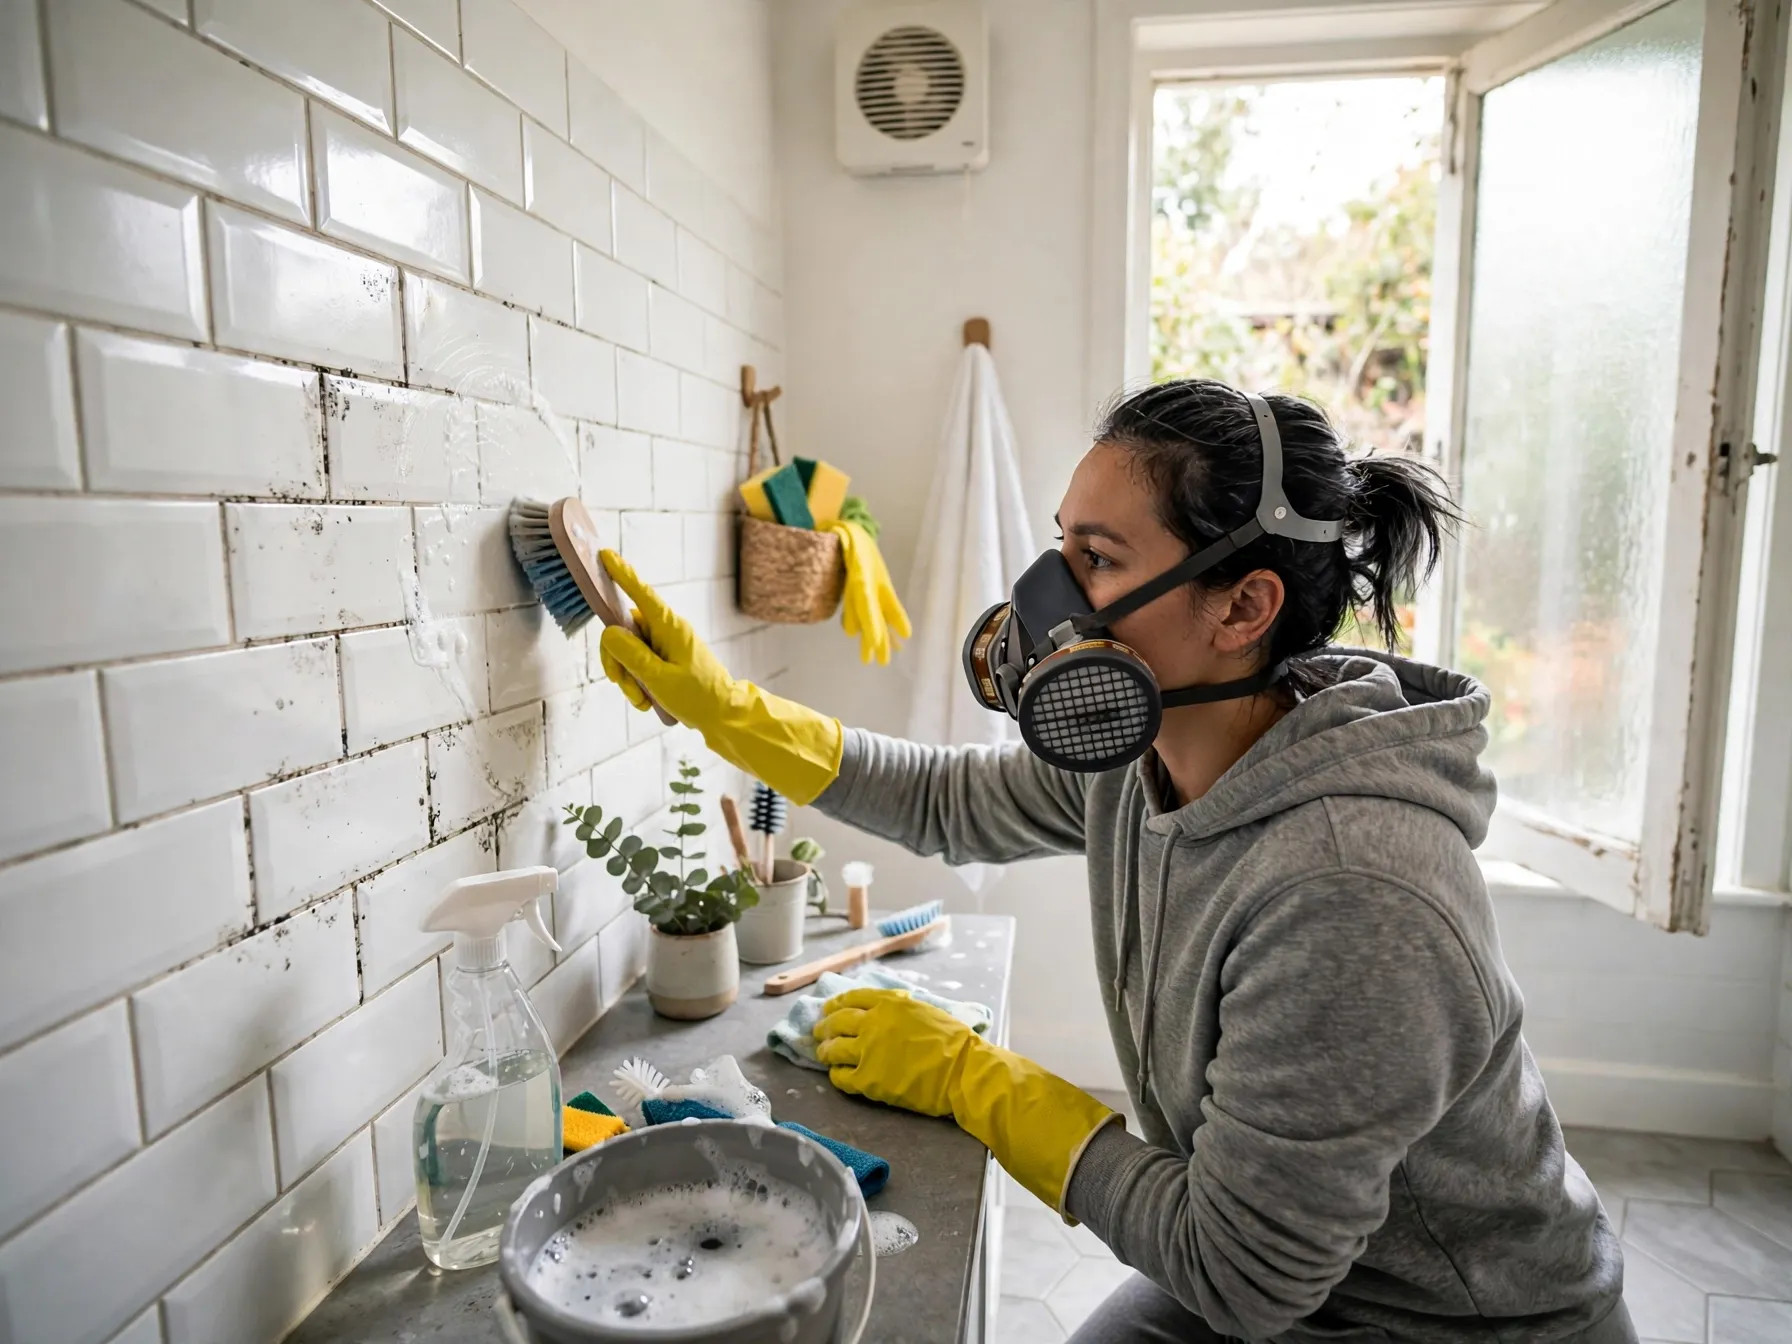
This is the core EPA method. Mix detergent or dish soap with warm water, apply it with a brush or sponge, and scrub the mold off the surface. Work in small sections, rinse your sponge or brush often in clean water, and change the bucket water when it becomes cloudy.
Scrub until no visible mold remains. Use a stiff brush on grout and textured surfaces. Detergent, water, and friction remove mold without harsh fumes.
10. Treat Hard and Non Porous Surfaces Differently
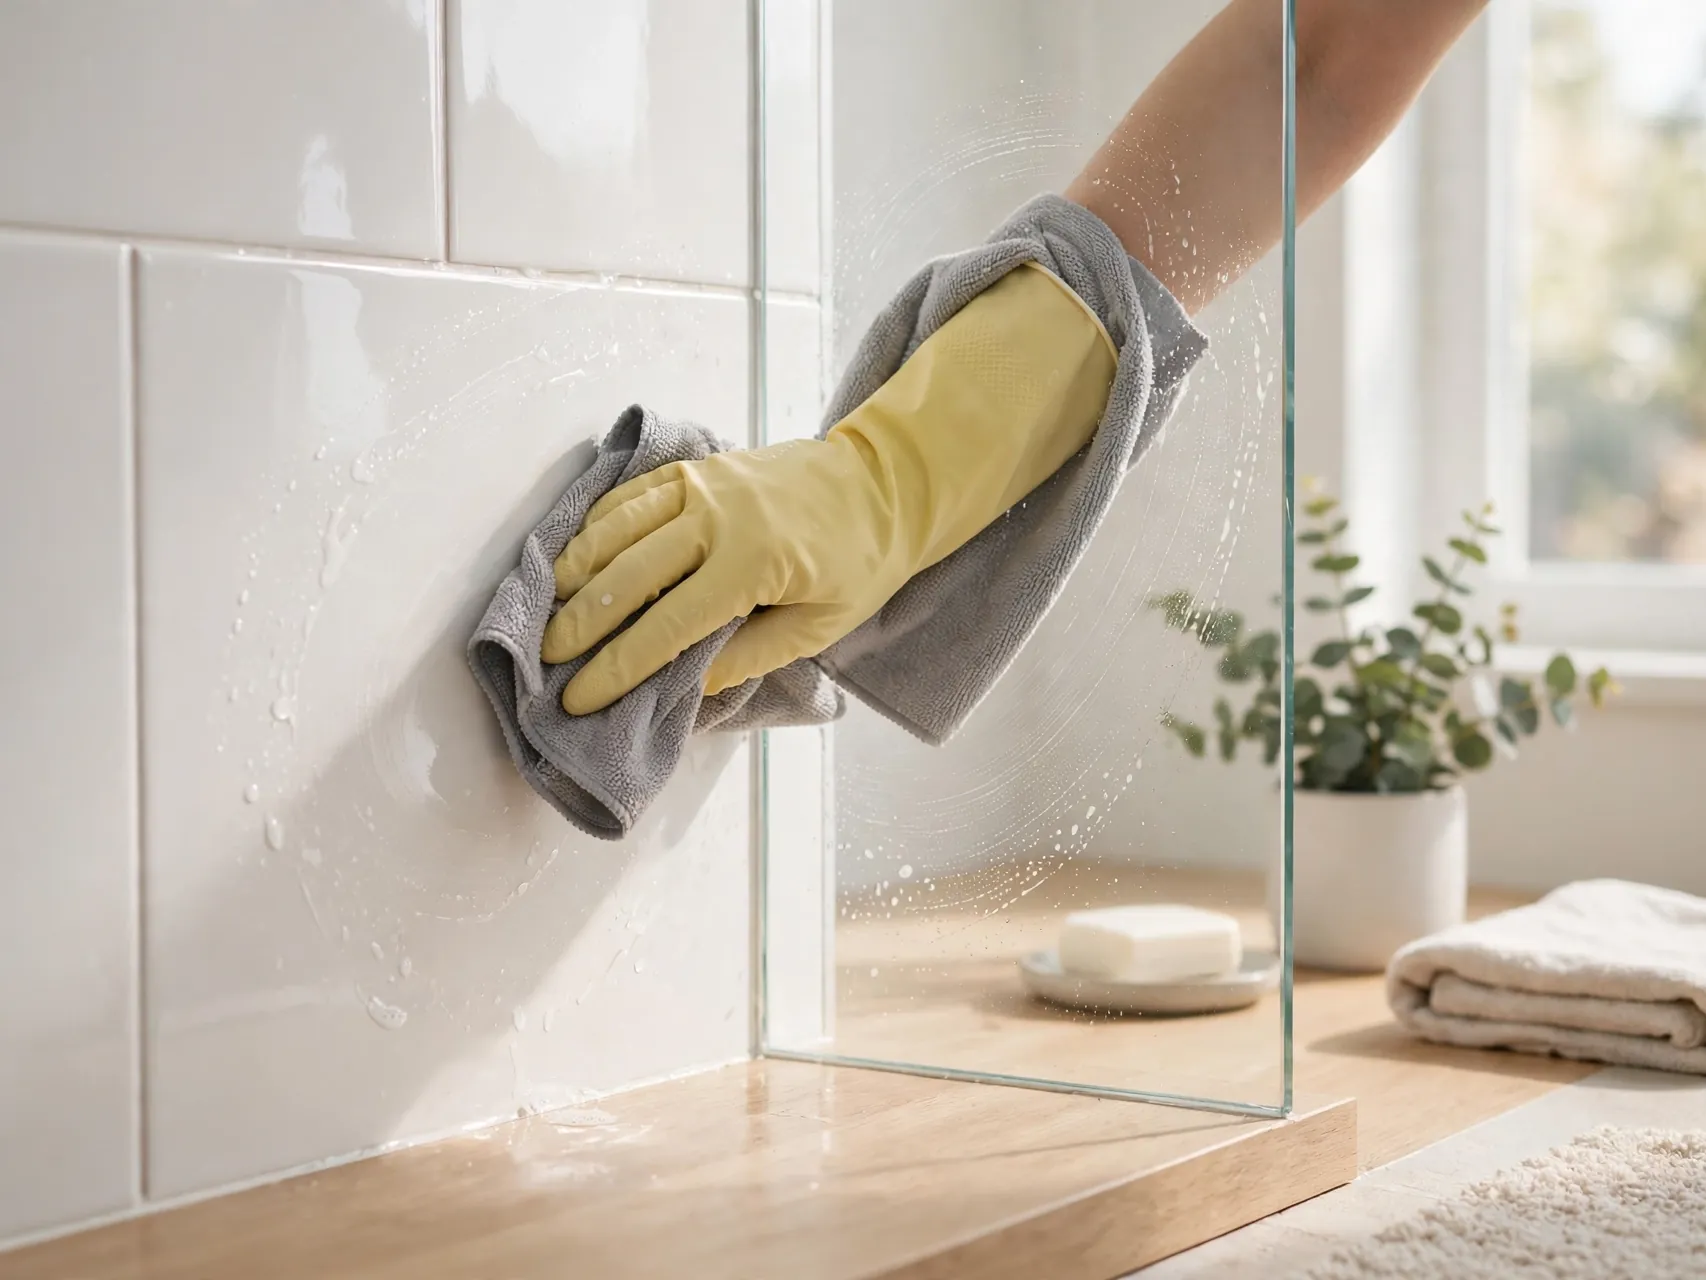
Tile, glass, metal, hard plastic, and sealed stone or counters are non porous, which means mold grows on the surface and can be scrubbed away fully. These are the safest and most successful DIY surfaces. Clean them with detergent and water, rinse by wiping with a clean damp cloth, and dry them completely.
Sealed wood and painted surfaces sit in between. Surface mold can often be cleaned if the material is sound and dries quickly. If it is soft, swollen, or crumbling, cleaning will not save it.
11. Remove Porous Materials That Cannot Be Cleaned
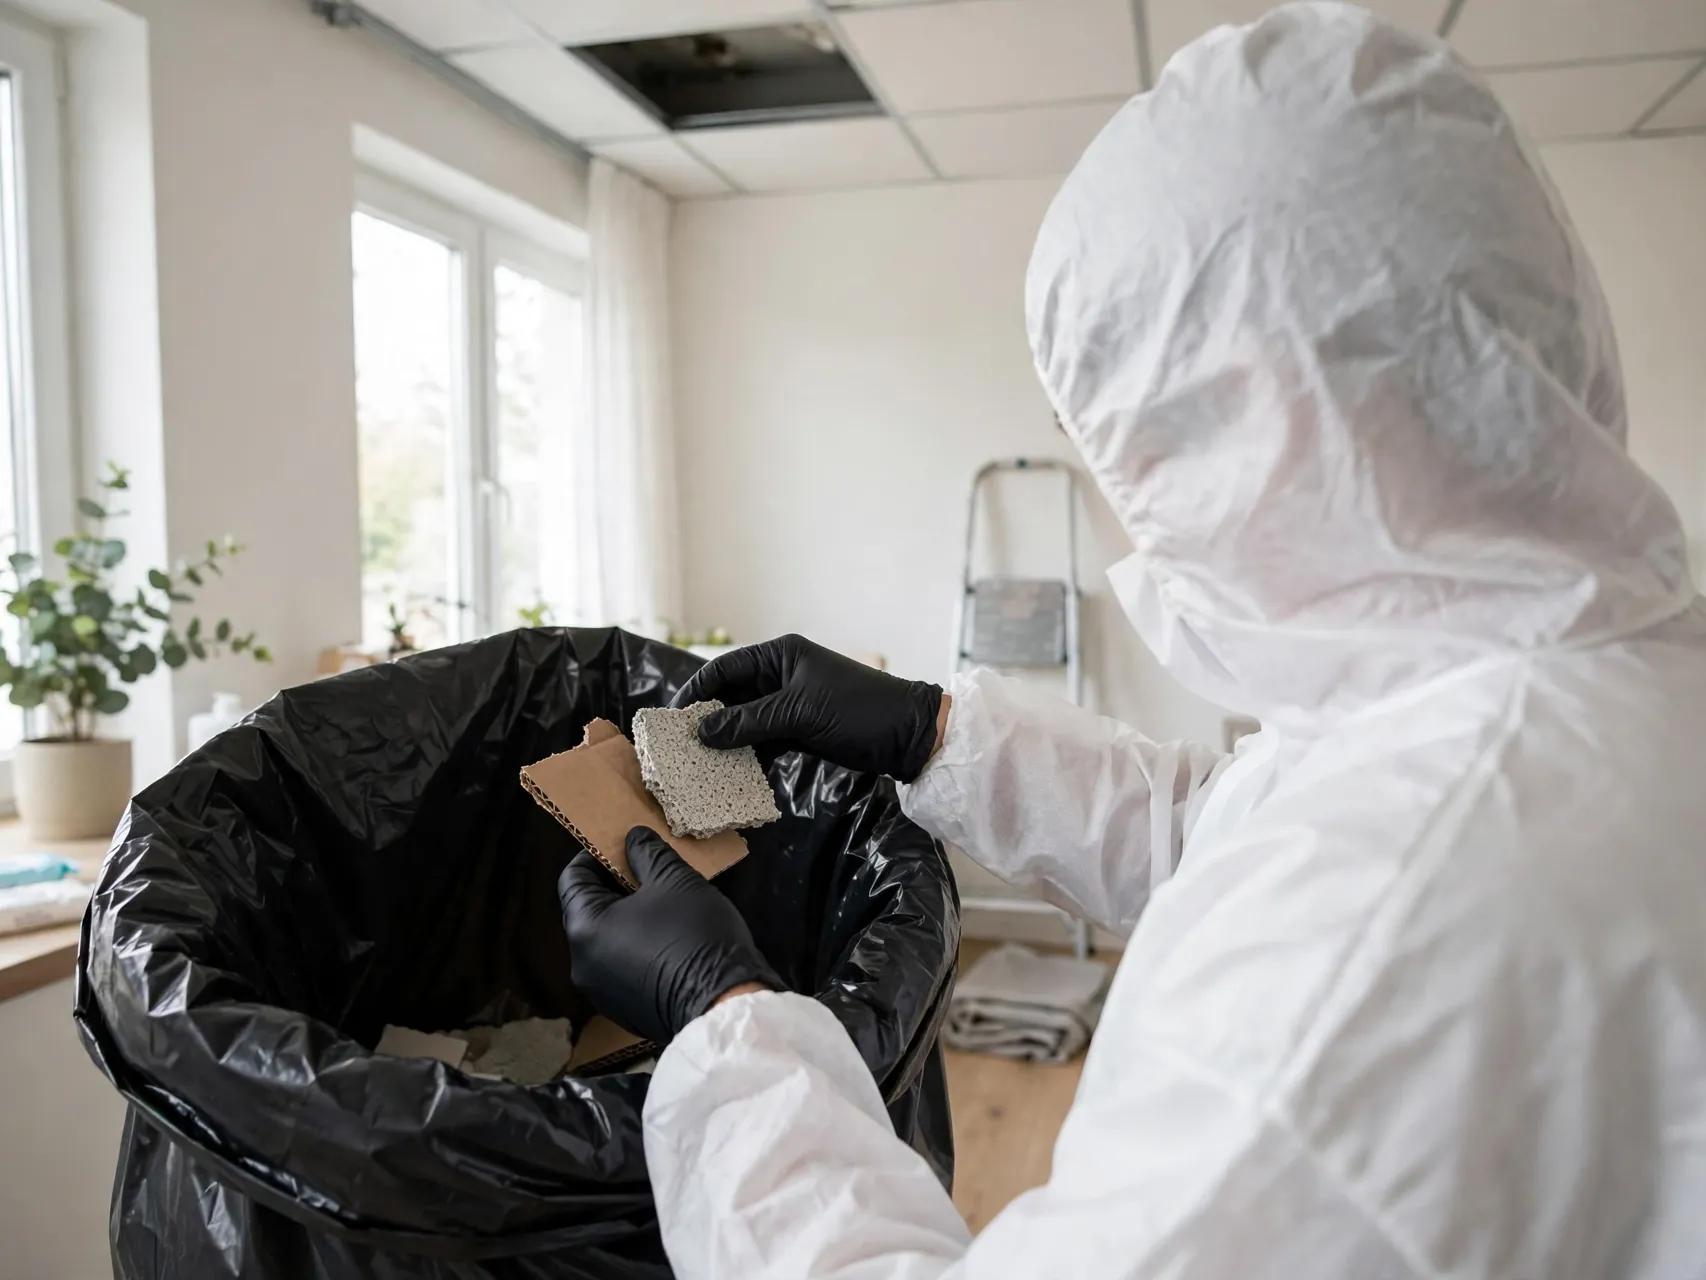
Porous materials soak up water and let mold grow deep inside their tiny spaces, where scrubbing cannot reach. The EPA advises that absorbent materials such as ceiling tiles and carpet may need to be thrown away when they become moldy. The same logic applies to moldy carpet padding, soaked insulation, and badly damaged drywall.
Bag these materials in the work area and discard them, following local rules. Curtains, towels, and clothing can usually be laundered with detergent. When in doubt about a porous item, removal is the safer choice.
12. Bag Debris and Dirty Supplies Right Away
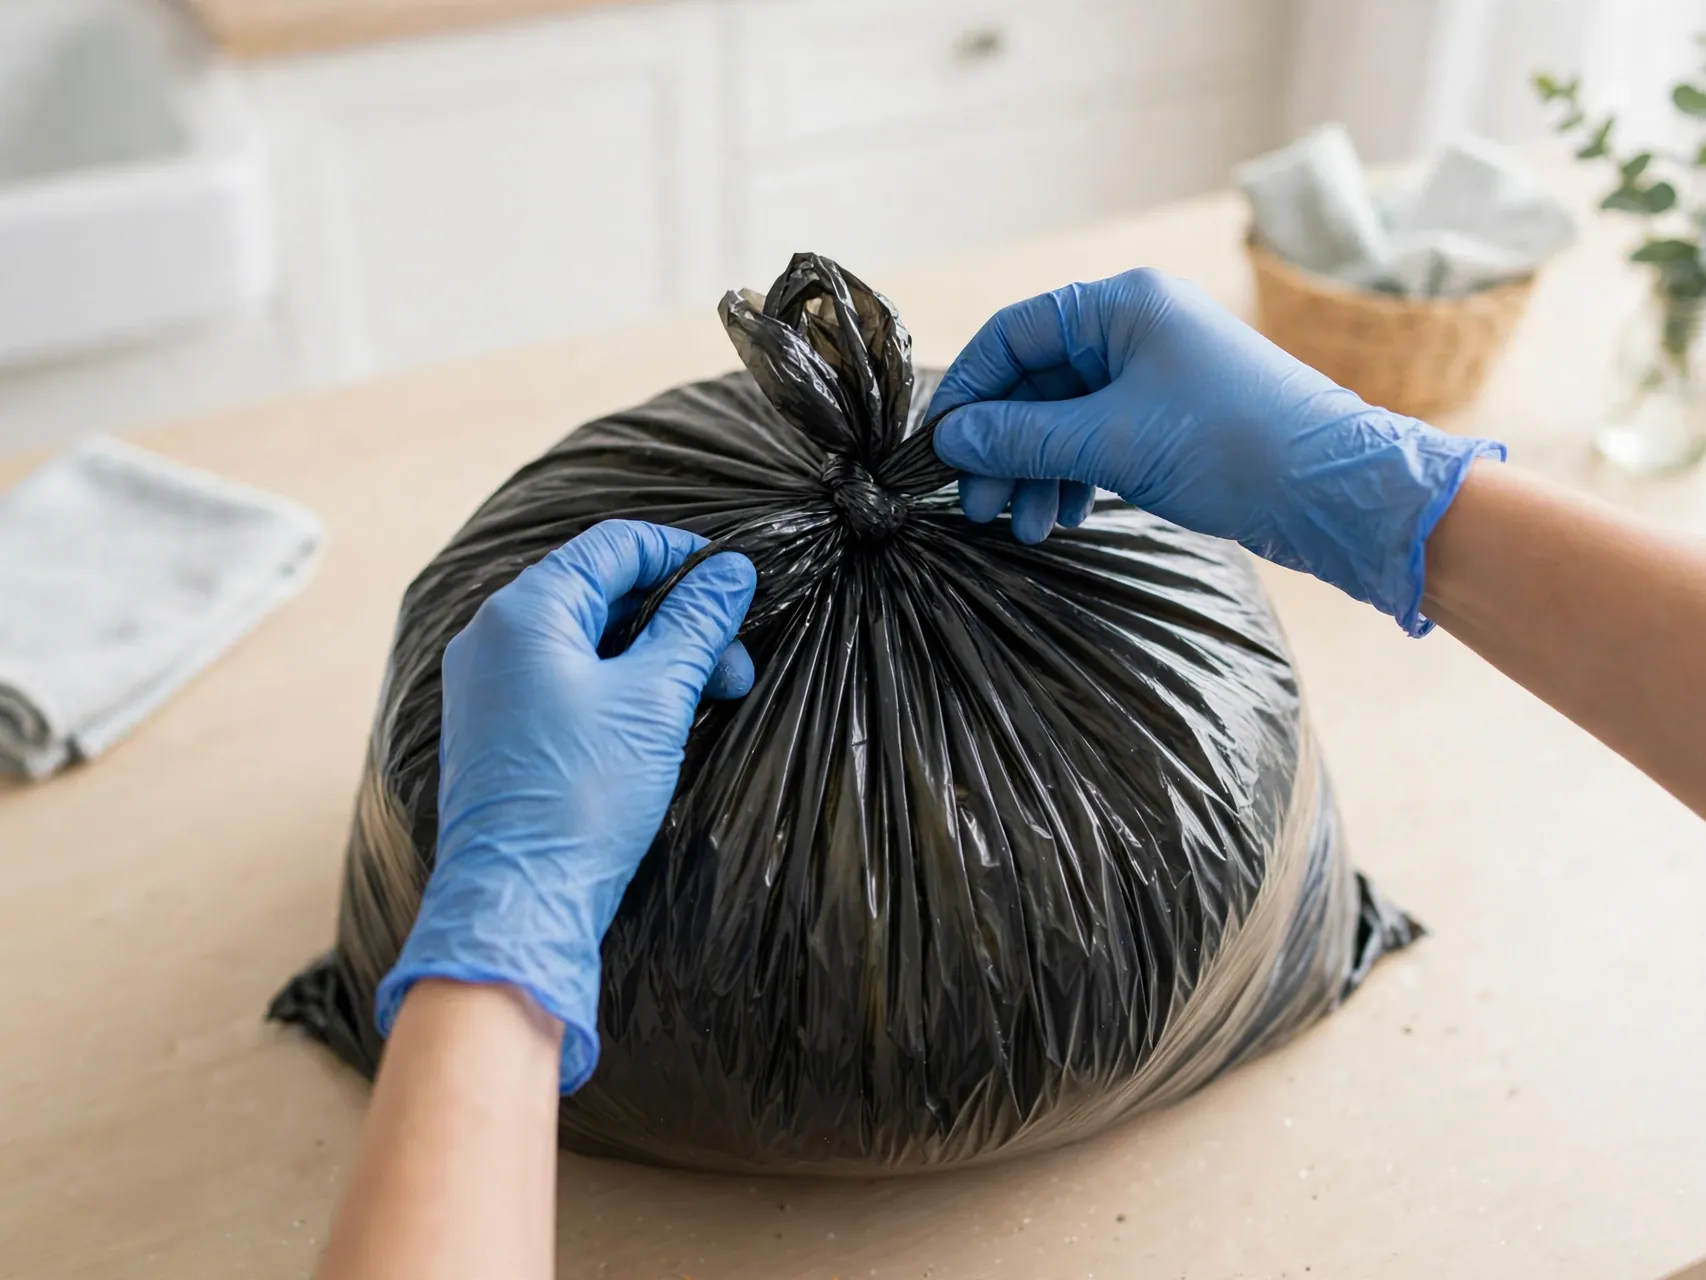
As you finish each section, place used sponges, cloths, gloves, and removed material directly into a plastic bag. Seal the bag in the room before you carry it out, so debris does not trail through clean areas. Wipe down tools you plan to keep, like buckets and brushes, with detergent and water.
Wash your hands and face afterward, and launder work clothes separately. Cleanup is finished only when waste and gear are handled without spreading residue elsewhere.
13. Consider White Vinegar for Lingering Surface Stains

After detergent cleaning, a stain or light remaining film sometimes stays on a hard, non porous surface. Some homeowners follow up with undiluted white vinegar: spray it on, let it sit for about an hour, then wipe and dry. Use this only as a follow up on suitable hard surfaces, never mixed with other cleaners.
Do not use vinegar on natural stone, since acid can etch it. Test any follow up product first. Vinegar is optional help for appearance, not a substitute for detergent scrubbing and drying.
14. Consider 3 Percent Hydrogen Peroxide With Care

Another common follow up for hard surfaces is regular 3 percent hydrogen peroxide from a pharmacy. Spray it on the cleaned area, let it sit for about 10 minutes, scrub lightly if needed, then wipe clean and dry. It can help with stubborn staining on tile and grout.
Peroxide can lighten color, so test it first. Use one product at a time, and never combine peroxide and vinegar in the same bottle, since mixing them creates a corrosive acid.
15. Understand the Limits of Bleach

Bleach is widely misunderstood in mold cleanup. The EPA does not recommend chlorine bleach as a routine practice during mold cleanup, and bleach works poorly on porous materials because it tends to stay on the surface while the water in the solution soaks in. That is why bleached drywall or wood often sees mold return.
If you use bleach on a hard, non porous surface, the CDC limit is no more than 1 cup of bleach in 1 gallon of water. Ventilate well and wear gloves and eye protection. Detergent and water remain the first choice.
16. Never Mix Bleach With Ammonia or Other Cleaners
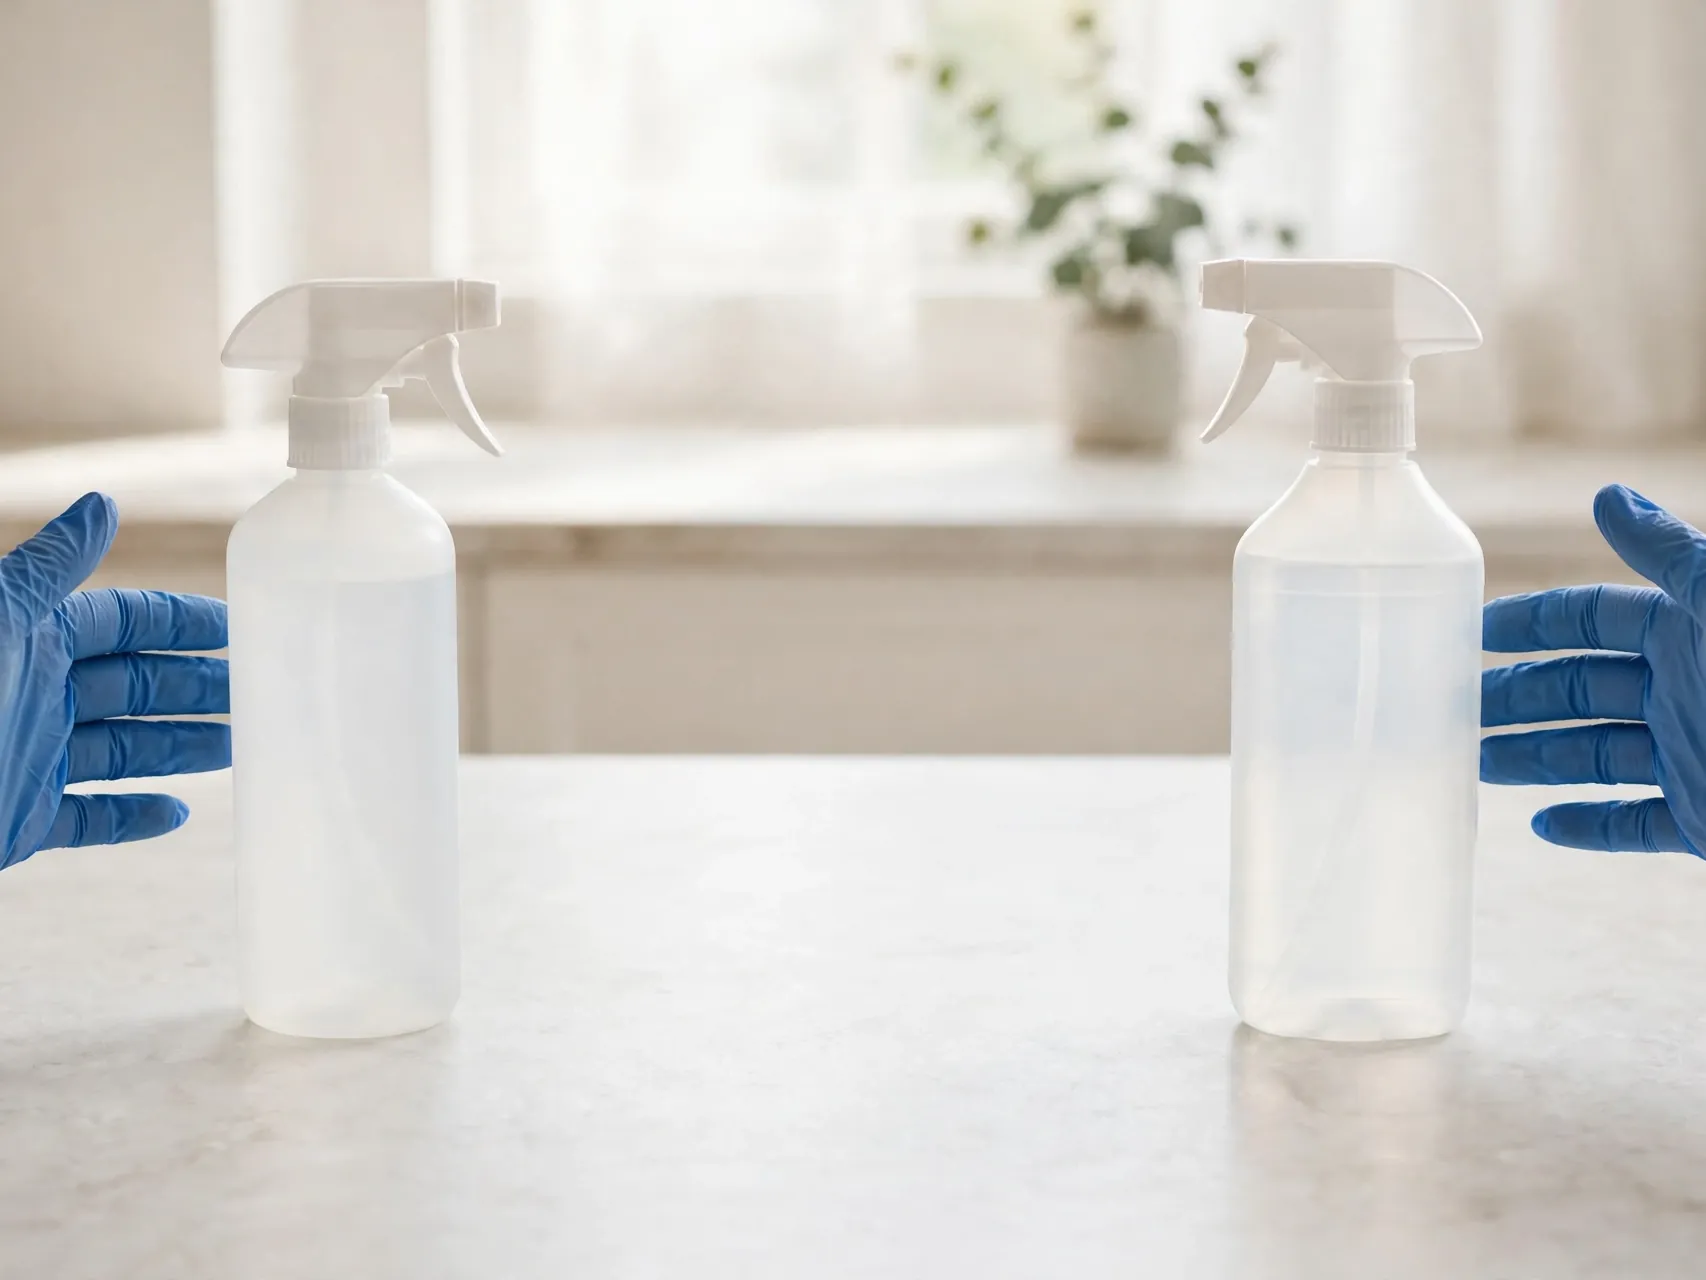
This rule has no exceptions. The CDC warns clearly: never mix bleach with ammonia or any other cleanser. The combination produces toxic gases that can seriously injure your lungs and eyes. The same danger applies to mixing bleach with vinegar or other acids, which releases chlorine gas.
Use one product at a time. If you switch, rinse with plain water and let it dry in between. Read labels first, since many cleaners contain ammonia. When in doubt, stick with detergent and water alone.
17. Wipe and Rinse Without Soaking the Surface
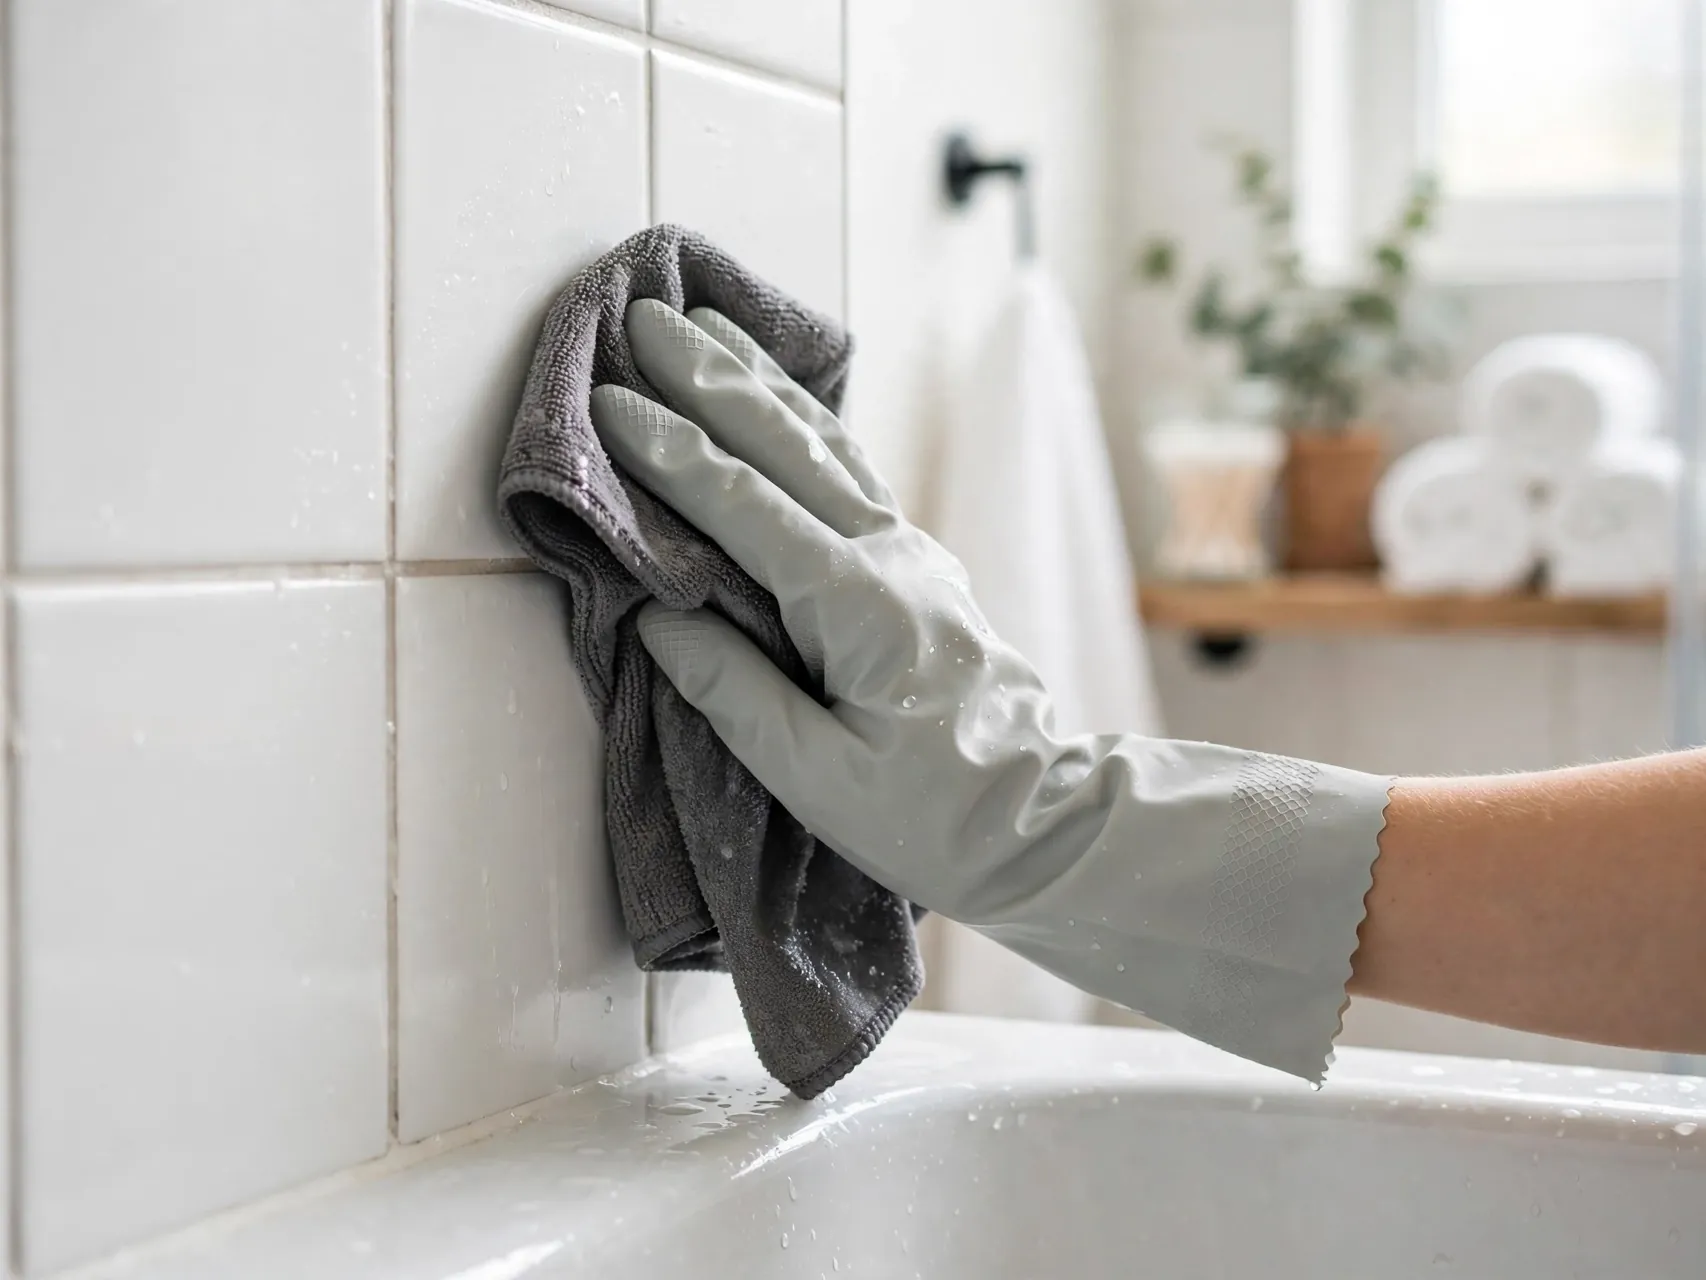
After scrubbing, wipe the area with a clean cloth dampened with plain water to remove detergent and loosened residue. Keep the cloth damp, not dripping, especially on painted walls, wood, and grout, where soaking drives moisture deeper and can restart the problem you just cleaned.
Inspect with a flashlight at an angle to reveal missed spots. If you still see mold, repeat the detergent scrub rather than reaching for a stronger chemical.
18. Dry Everything Completely and Quickly
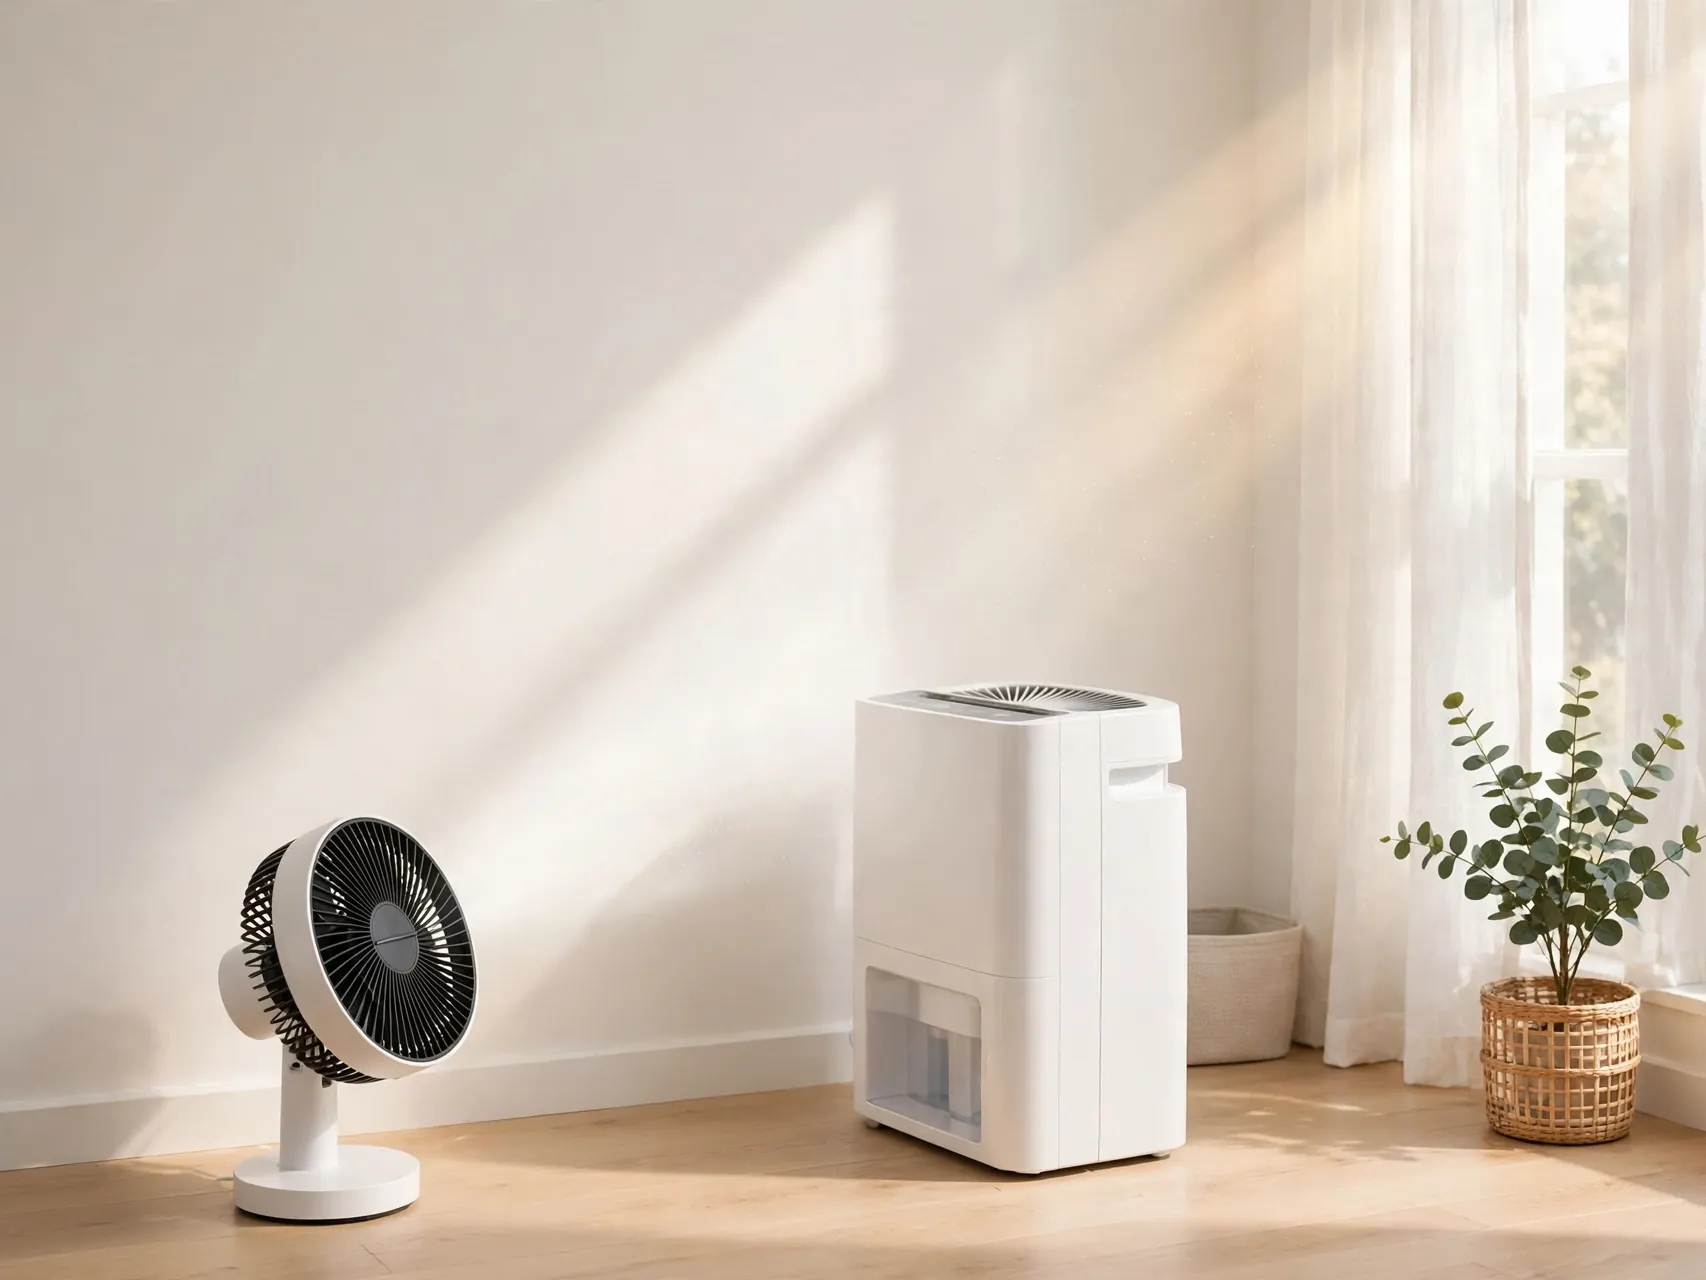
Drying is half the treatment. After cleaning, dry the area thoroughly with towels, then keep air moving out of the room with an exhaust fan or a fan blowing toward an open window, once the visible mold is gone. A dehumidifier helps in bathrooms and basements that dry slowly.
Do not close up a cabinet or repaint until the area is fully dry. Trapped moisture is one of the most common reasons mold returns within weeks.
19. Vacuum With a HEPA Filter After Drying
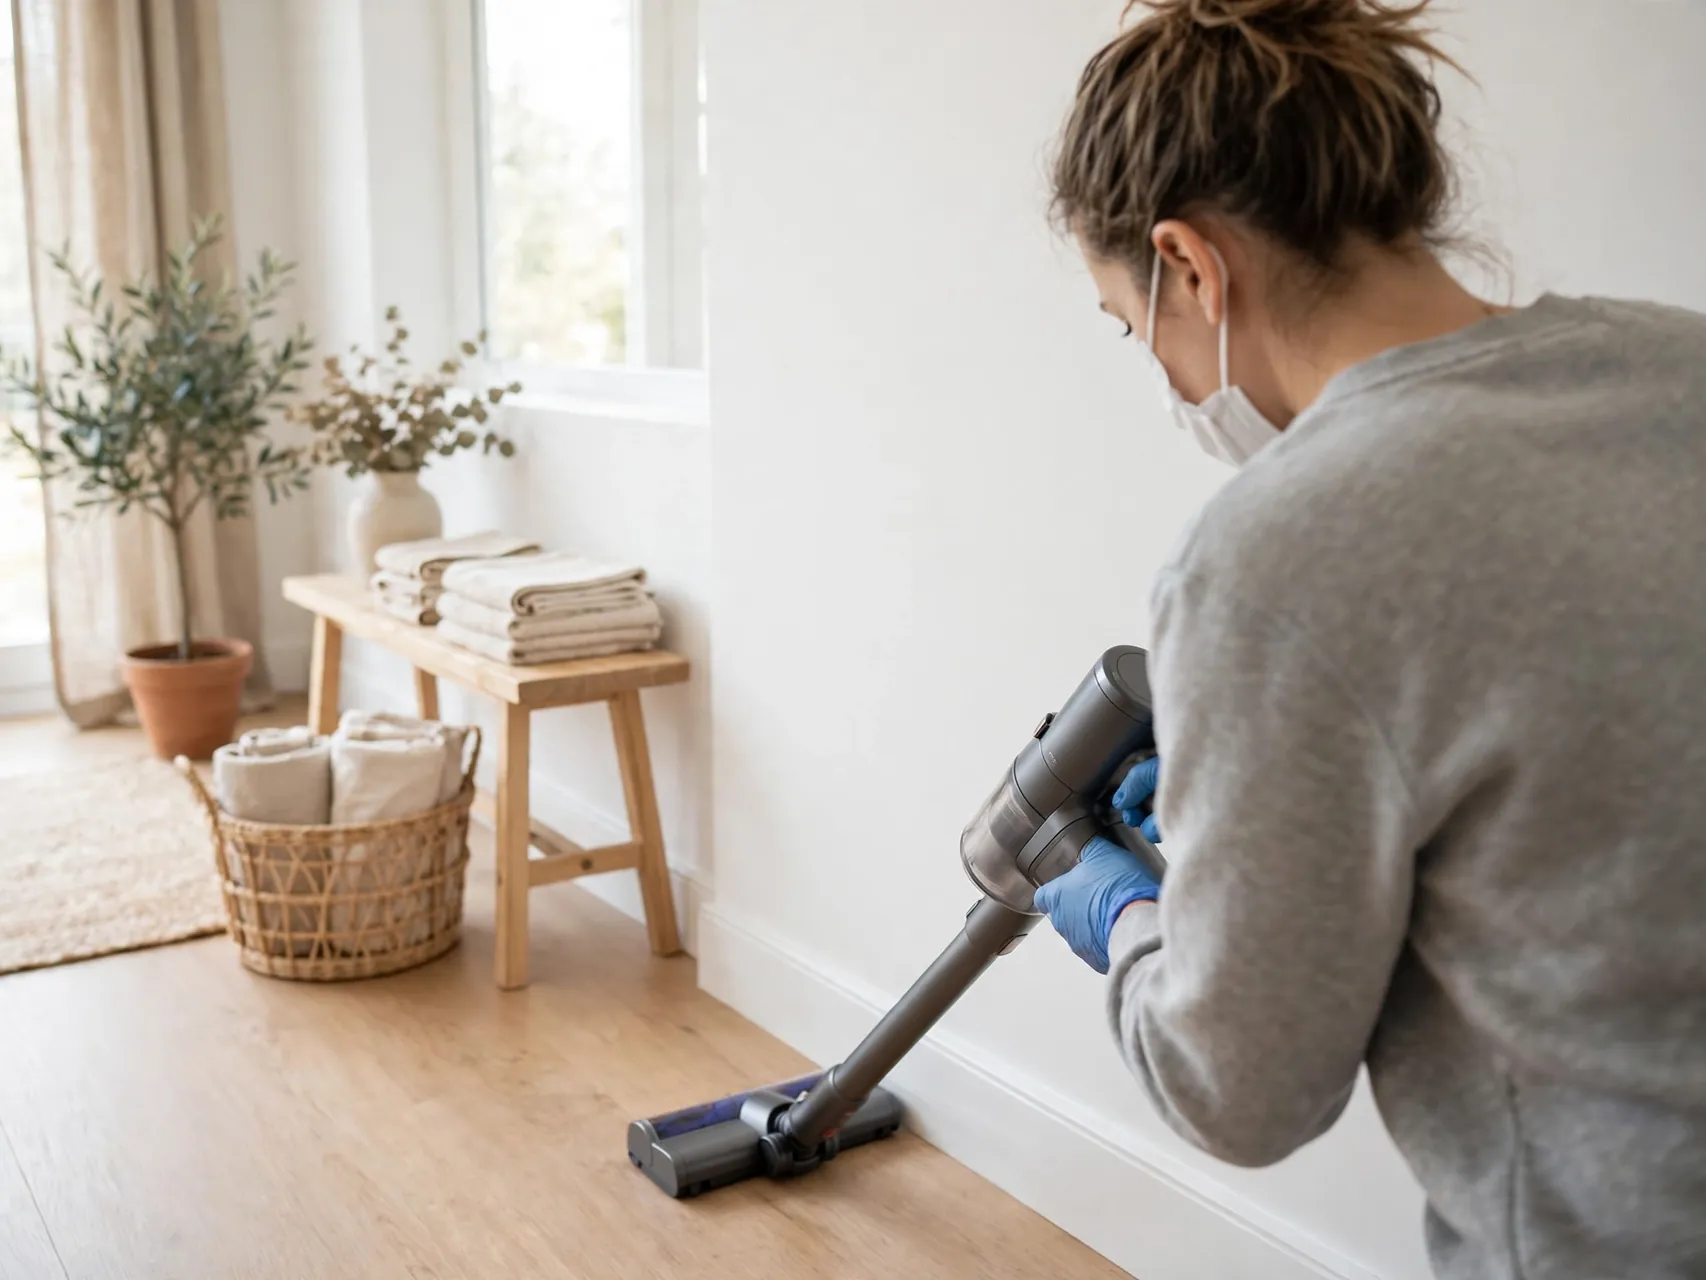
Once the area is clean and completely dry, a vacuum with a HEPA filter can pick up settled dust and residue from floors and nearby surfaces. The EPA lists HEPA vacuuming as a cleanup method for some materials after drying, since a true HEPA filter traps very fine particles instead of blowing them back into the room.
Never vacuum visible wet mold as your first step, since that spreads spores. This is a finishing step for a dry, cleaned space, not a removal method.
20. Do Not Paint or Caulk Over Mold
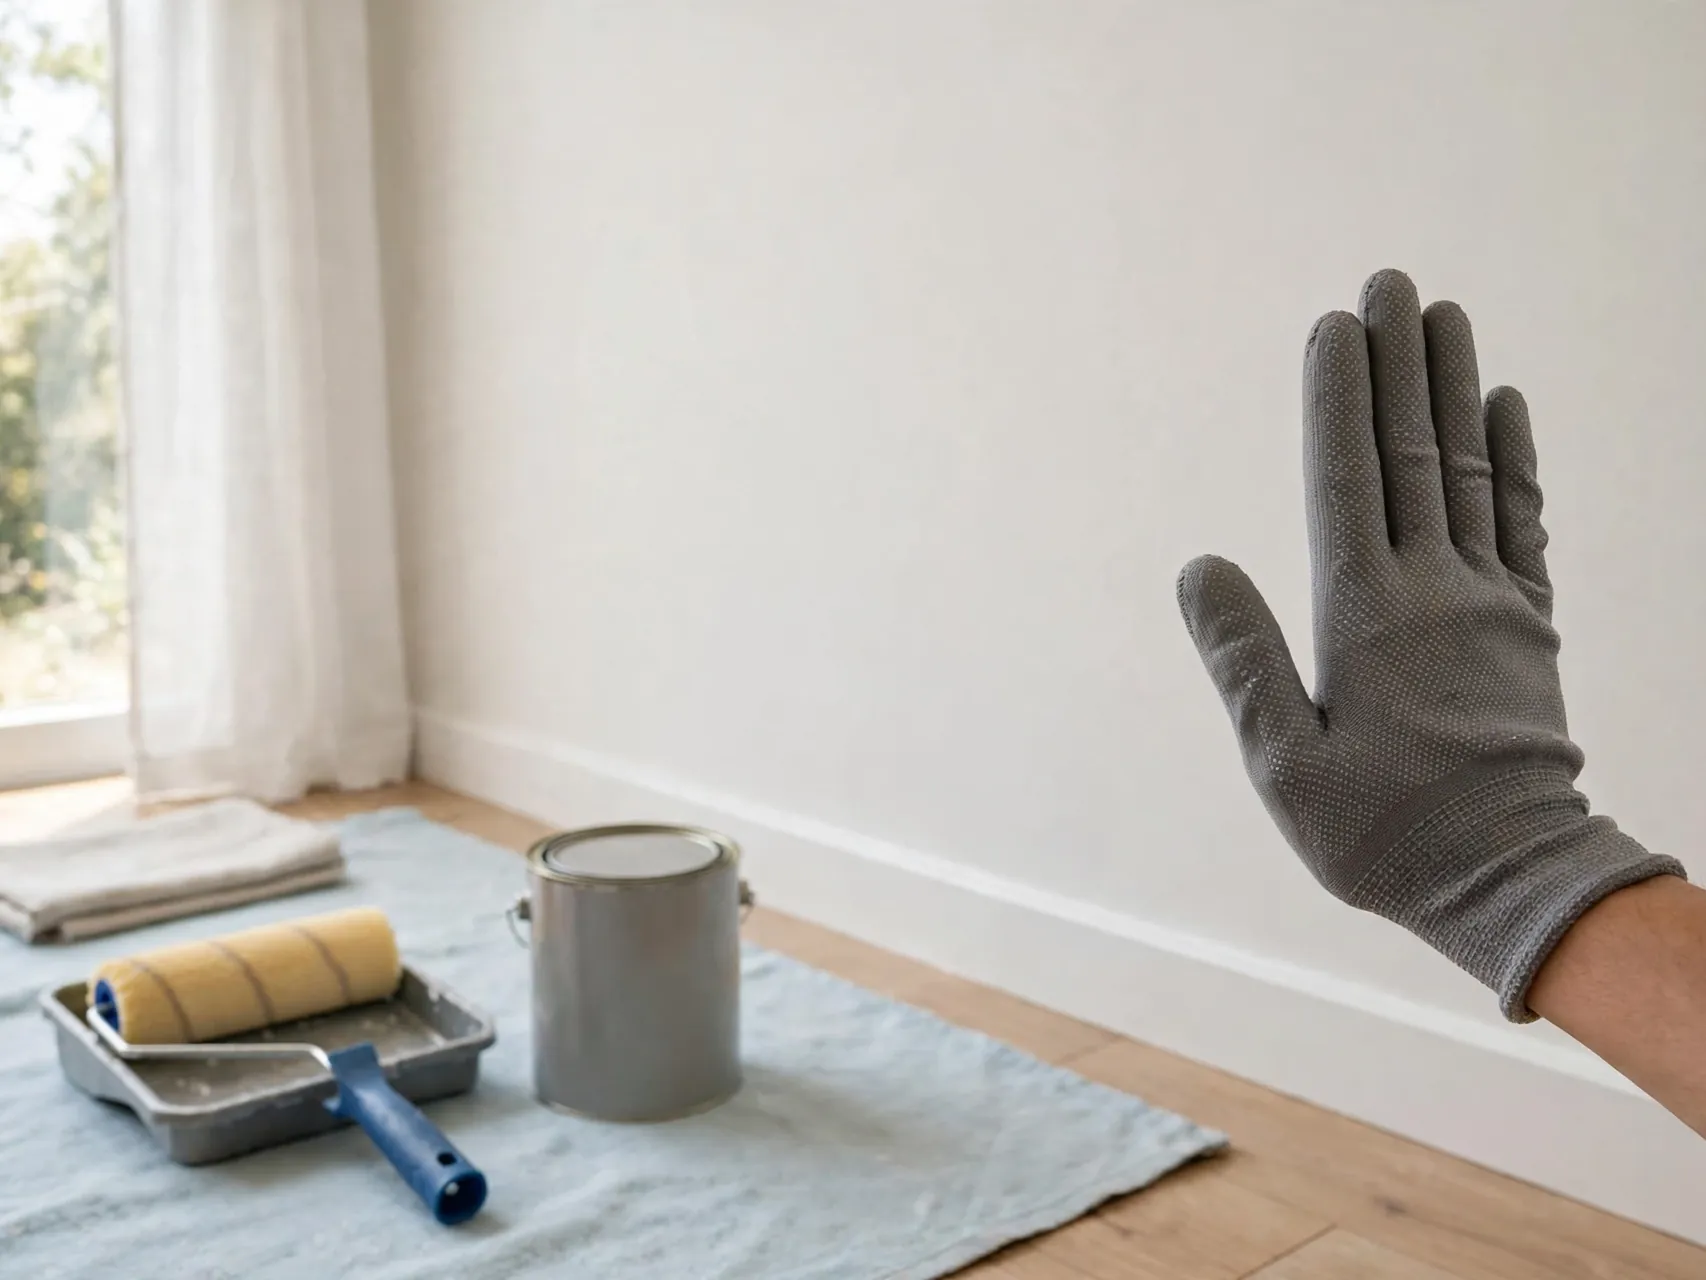
It can be tempting to seal a stained area with fresh paint or new caulk and call it done. The EPA warns against this directly: do not paint or caulk over a moldy surface. Paint applied over mold will peel, and the mold remains alive underneath, ready to grow through again.
Only repaint after mold is removed, the source is fixed, and the surface is dry. For caulk moldy deep through, remove and replace it once the area is clean and dry.
21. Keep Indoor Humidity in the Safe Range

Prevention lives in your humidity level. The EPA recommends keeping indoor humidity low, ideally between 30 and 50 percent, and generally no higher than 60 percent. A small hygrometer from a hardware store tells you where each room stands, and bathrooms and basements usually need the closest watching.
Use exhaust fans during showers, and a dehumidifier in damp seasons. Fix drips promptly. Steady humidity control is what makes your cleanup last.
22. Check Hidden Spots Where Mold Loves to Grow
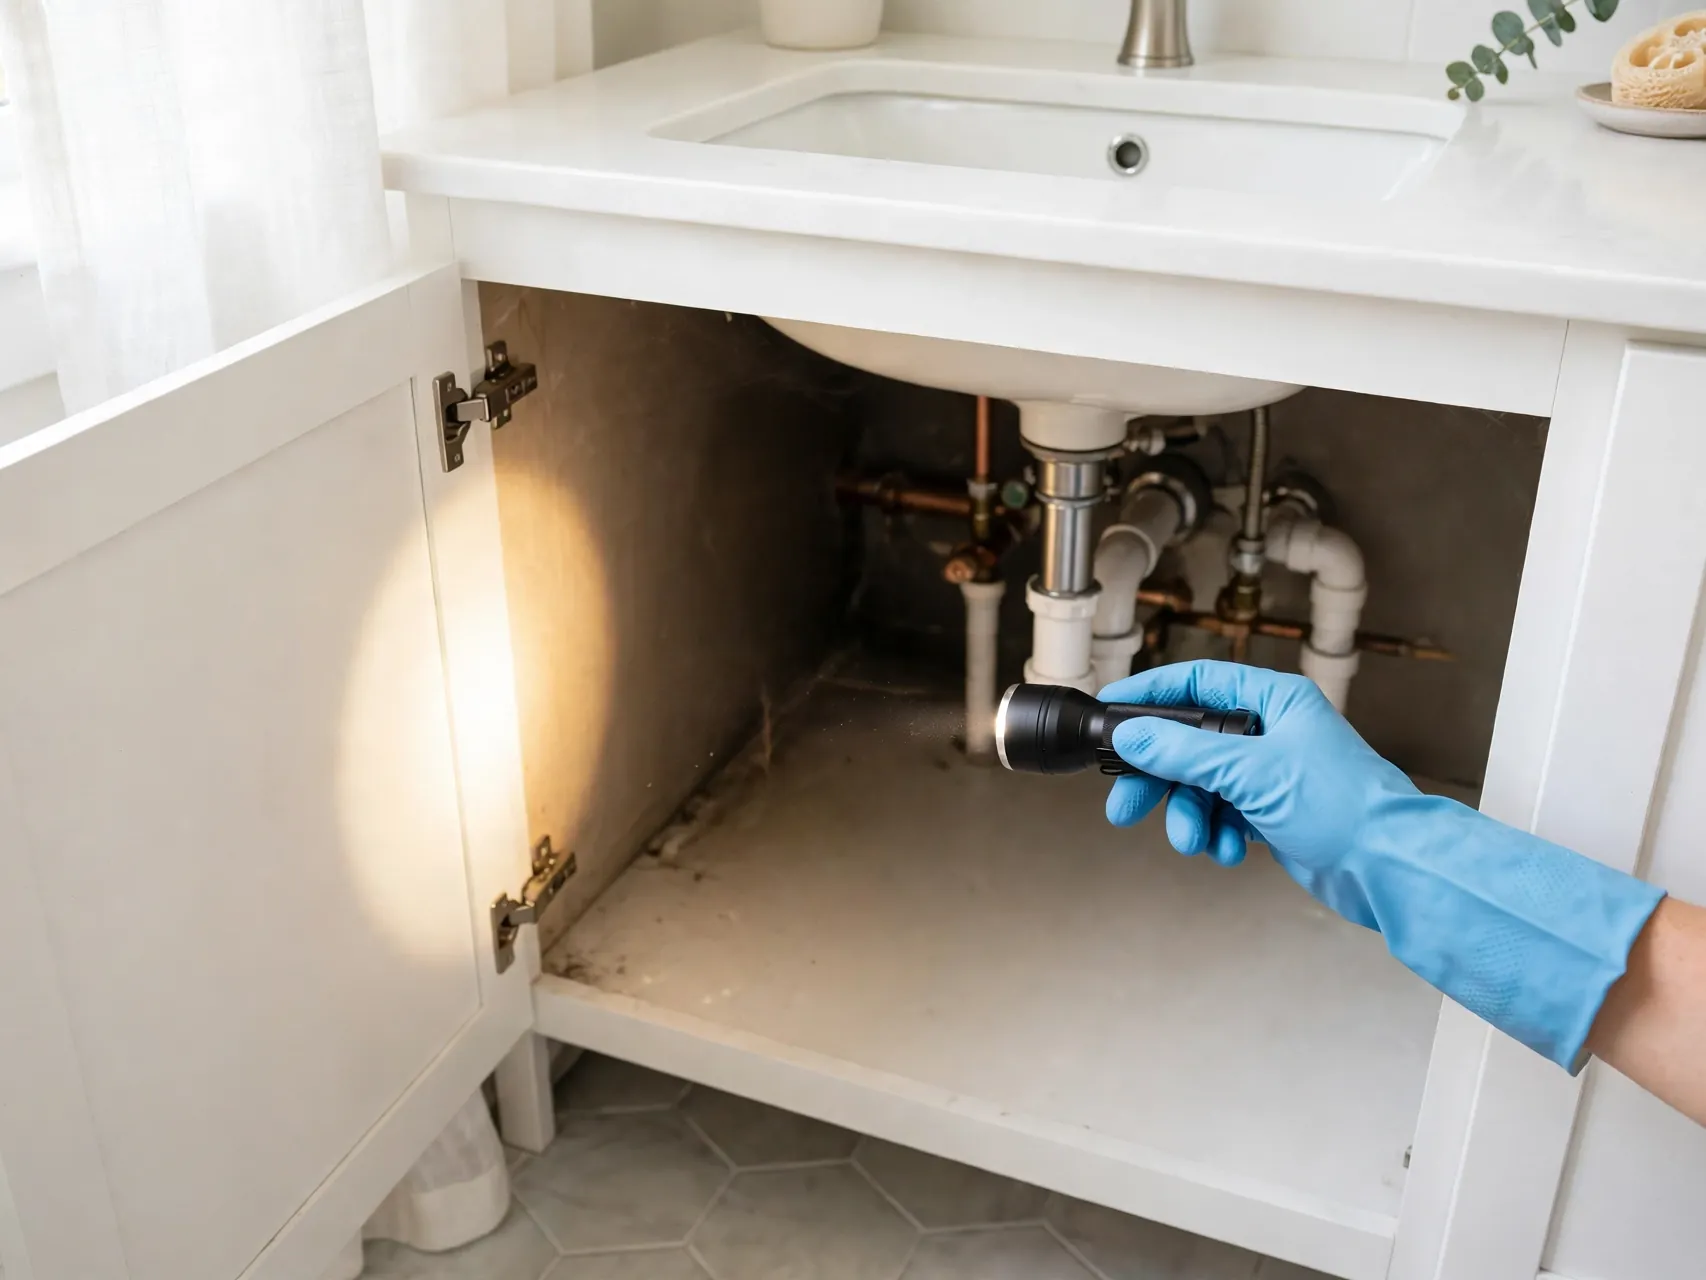
Mold favors places you rarely see: under sinks, behind toilets, inside window frames, around washing machine hoses, under refrigerator drip pans, and in the corners of shower caulk. Add these spots to a seasonal home check, using a flashlight and your nose. A musty smell often appears before visible growth does.
Catch small spots early, when they are quick detergent and water jobs. Ignored finds become wall repairs and professional bills.
23. Watch the Area for Several Weeks Afterward

A successful cleanup should stay clean. Check the spot every few days at first, then weekly for a while. Look for new dark spots, peeling paint, soft drywall, or the return of a musty odor. Any of these signs means moisture is still present or mold remains hidden nearby.
Recurring mold means an unresolved leak, condensation, or hidden damp material. At that point, opening the wall or calling a professional is the next step, not another bottle of cleaner.
24. Dispose of Waste and Wash Up Safely

Finish the job properly. Sealed bags of moldy debris and disposable supplies can go out with your regular household trash in most areas, but check local guidance if your project involved flood damage. Keep bags sealed and take them directly outside rather than storing them indoors.
Wash work clothing with detergent, and clean reusable tools and let them dry fully. Store cleaning products locked away from children and pets, never in drink containers.
FAQ
Is black mold more dangerous than other mold?
Color alone does not tell you how risky a mold is, and many dark molds are not the type most people fear. All indoor mold should be removed because it can trigger allergies and irritate lungs, especially for people with asthma or immune problems. The cleanup method depends on the size of the area and the material, not just the color you see.
Can I clean mold with just vinegar or baking soda?
For a small patch on a hard surface, detergent and water is the EPA recommended starting point, because the goal is to physically remove the mold and dry the area. Vinegar is sometimes used afterward for staining on suitable hard surfaces. Baking soda solutions are mild and are not a reliable main method for removing visible mold growth.
Should I use bleach to kill black mold?
The EPA does not recommend bleach as a routine part of mold cleanup, and it works poorly on porous materials like drywall and wood. If you use it on a hard, non porous surface, the CDC limit is no more than 1 cup of bleach per 1 gallon of water, with strong ventilation and gloves. Never mix bleach with ammonia, vinegar, or any other cleaner.
How do I know if mold is gone for good?
The area should show no visible mold, smell clean rather than musty, and stay dry. The EPA considers cleanup complete when the water problem is fixed, visible mold and odors are gone, and a later check shows no new growth or water damage. If mold returns, there is still a moisture source to find.
When must I hire a mold professional?
Hire a professional when the mold covers more than about 10 square feet, when it follows sewage or flood water, when you suspect it in your heating and cooling system, when damage is hidden inside walls, or when someone in the home has asthma, lung disease, or immune suppression. These situations need containment and skills beyond a home cleanup.
Key Takeaways
- Size decides the job: Under about 10 square feet can usually be DIY, larger areas need a professional, per EPA guidance.
- Moisture comes first: Fix the leak or condensation source or the mold will return, no matter what cleaner you use.
- Detergent and water work: Scrub hard surfaces with detergent and water, then dry completely. Removal matters more than killing.
- Protect yourself properly: Wear a snug N-95 respirator, gloves, and goggles without vent holes, and ventilate air outdoors.
- Respect bleach limits: Bleach is not a routine mold solution, and it must never be mixed with ammonia or other cleaners.
- Dry and monitor: Keep humidity between 30 and 50 percent and watch the spot for weeks to confirm it stays gone.
Know someone dealing with a stubborn bathroom patch? Save this pin for later and share it so they can clean it safely, step by step.