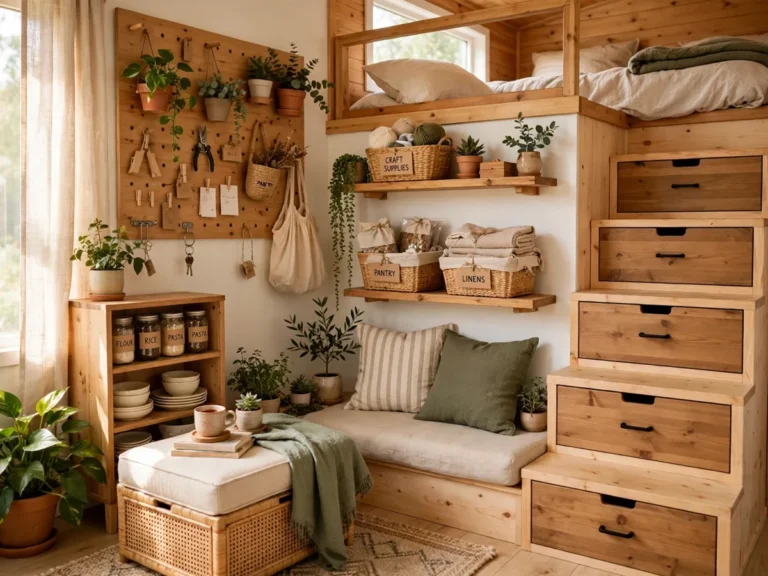
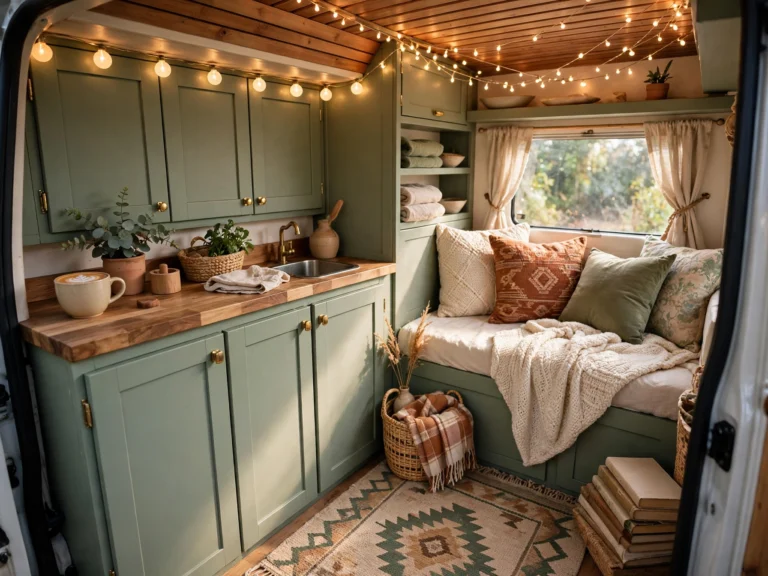
25 Camper Storage Hacks That Save Space on Every Trip
Introduction
Every camper owner knows the moment: the cabinet will not close, the dinette is buried, and the thing you need is at the very back of the deepest bay. Good camper storage hacks are not about buying more bins. They are about giving every item one reachable home and using the vertical, hidden and outdoor spaces your rig already has.
Two safety rules sit under every hack in this list. Secure everything before you drive, because a tidy cabinet can become a mess, or a hazard, in one hard stop. And load heavy items low and centered near the axle, checking your manufacturer weight rating sticker so clever storage never becomes overloading.
Work zone by zone, kitchen first, then bedroom, bathroom and bays. Measure each space before you buy an organizer, label what you set up, and do a five minute reset each evening. Small systems, kept daily, beat one big organizing weekend every time.
1. Use Tension Rods as Instant Cabinet Shelves

A vertical tension rod inside a tall cabinet creates two shorter stacks for plates, trays and cutting boards instead of one wobbly pile. Horizontal rods near the front of a shelf also work as a guard rail that keeps items from sliding out.
Measure cabinet depth before buying rods, and choose a snug fit that will not vibrate loose. Check rods after your first drive of the season and reseat any that shifted on rough roads.
2. Add Shelf Risers to Double Cabinet Space

Wire or wood shelf risers split one tall cabinet shelf into two usable levels for bowls, mugs and pantry goods. That dead air above short items is often half the cabinet, and a riser claims it in minutes.
Keep heavier dishes on the cabinet floor and lighter items up top. Match riser width to the shelf so nothing hangs over an edge, and group by meal, breakfast up, dinner down, to speed daily use.
3. Hang a Shoe Organizer for Everything but Shoes

A clear over door shoe organizer is the hardest working storage in a camper. Its pockets hold toiletries, sunscreen, tools, cords, snacks, pet gear and cleaning supplies where you can see them at a glance.
Hang one inside a closet or bathroom door and trim the length if it drags. Clear pockets beat fabric here, because seeing the contents stops the rummage. Keep heavy tools in low pockets so the door hinges are not strained.
4. Use Magnetic Strips Inside Cabinet Doors
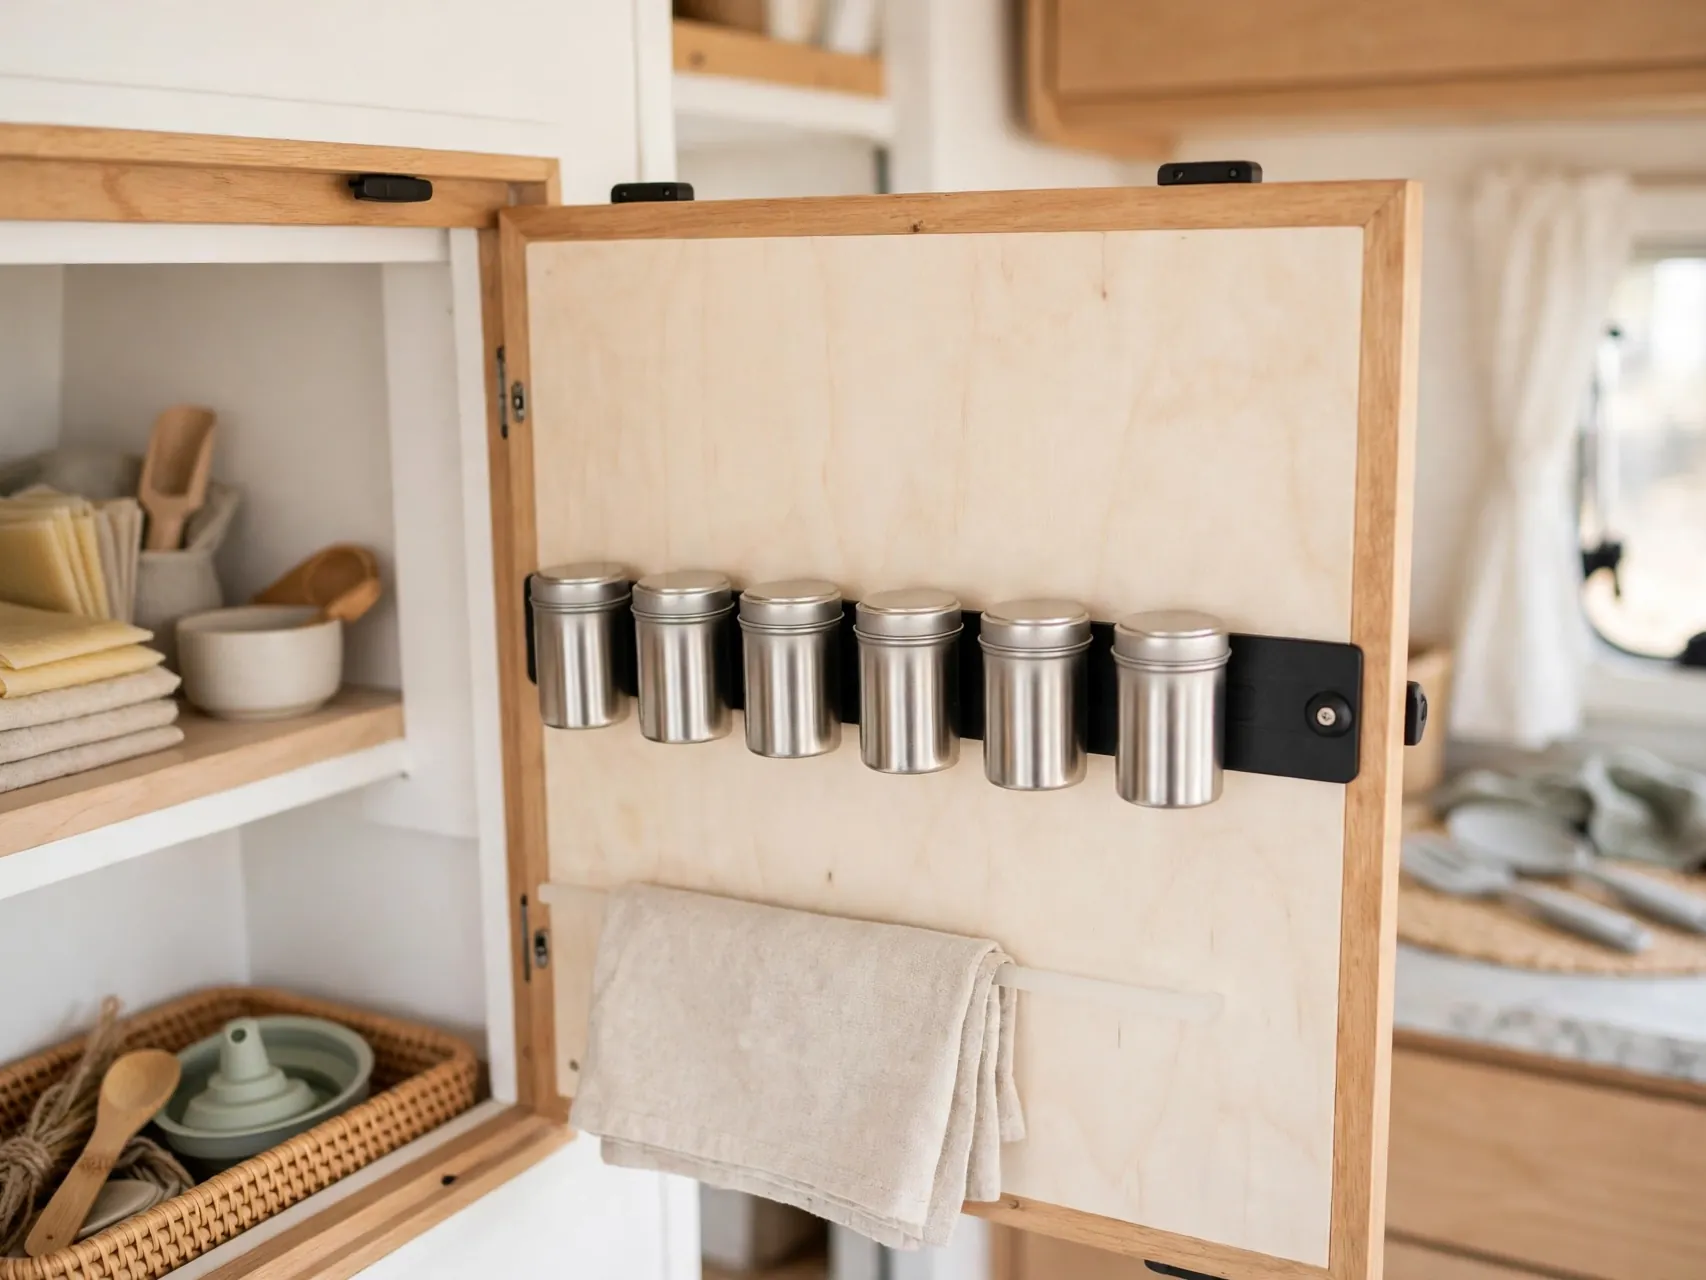
A magnetic strip on the inside of a cabinet door holds spice jar lids, small metal tools and kitchen knives in a secure sheath setup. It turns a flat, wasted door surface into daily storage and frees a whole drawer.
Follow strip maker mounting guidance and keep knives out of reach of children. Test the hold with your lightest and heaviest items before travel, and store blades safely covered whenever the camper is moving.
5. Decant Pantry Goods Into Square, Stackable Containers
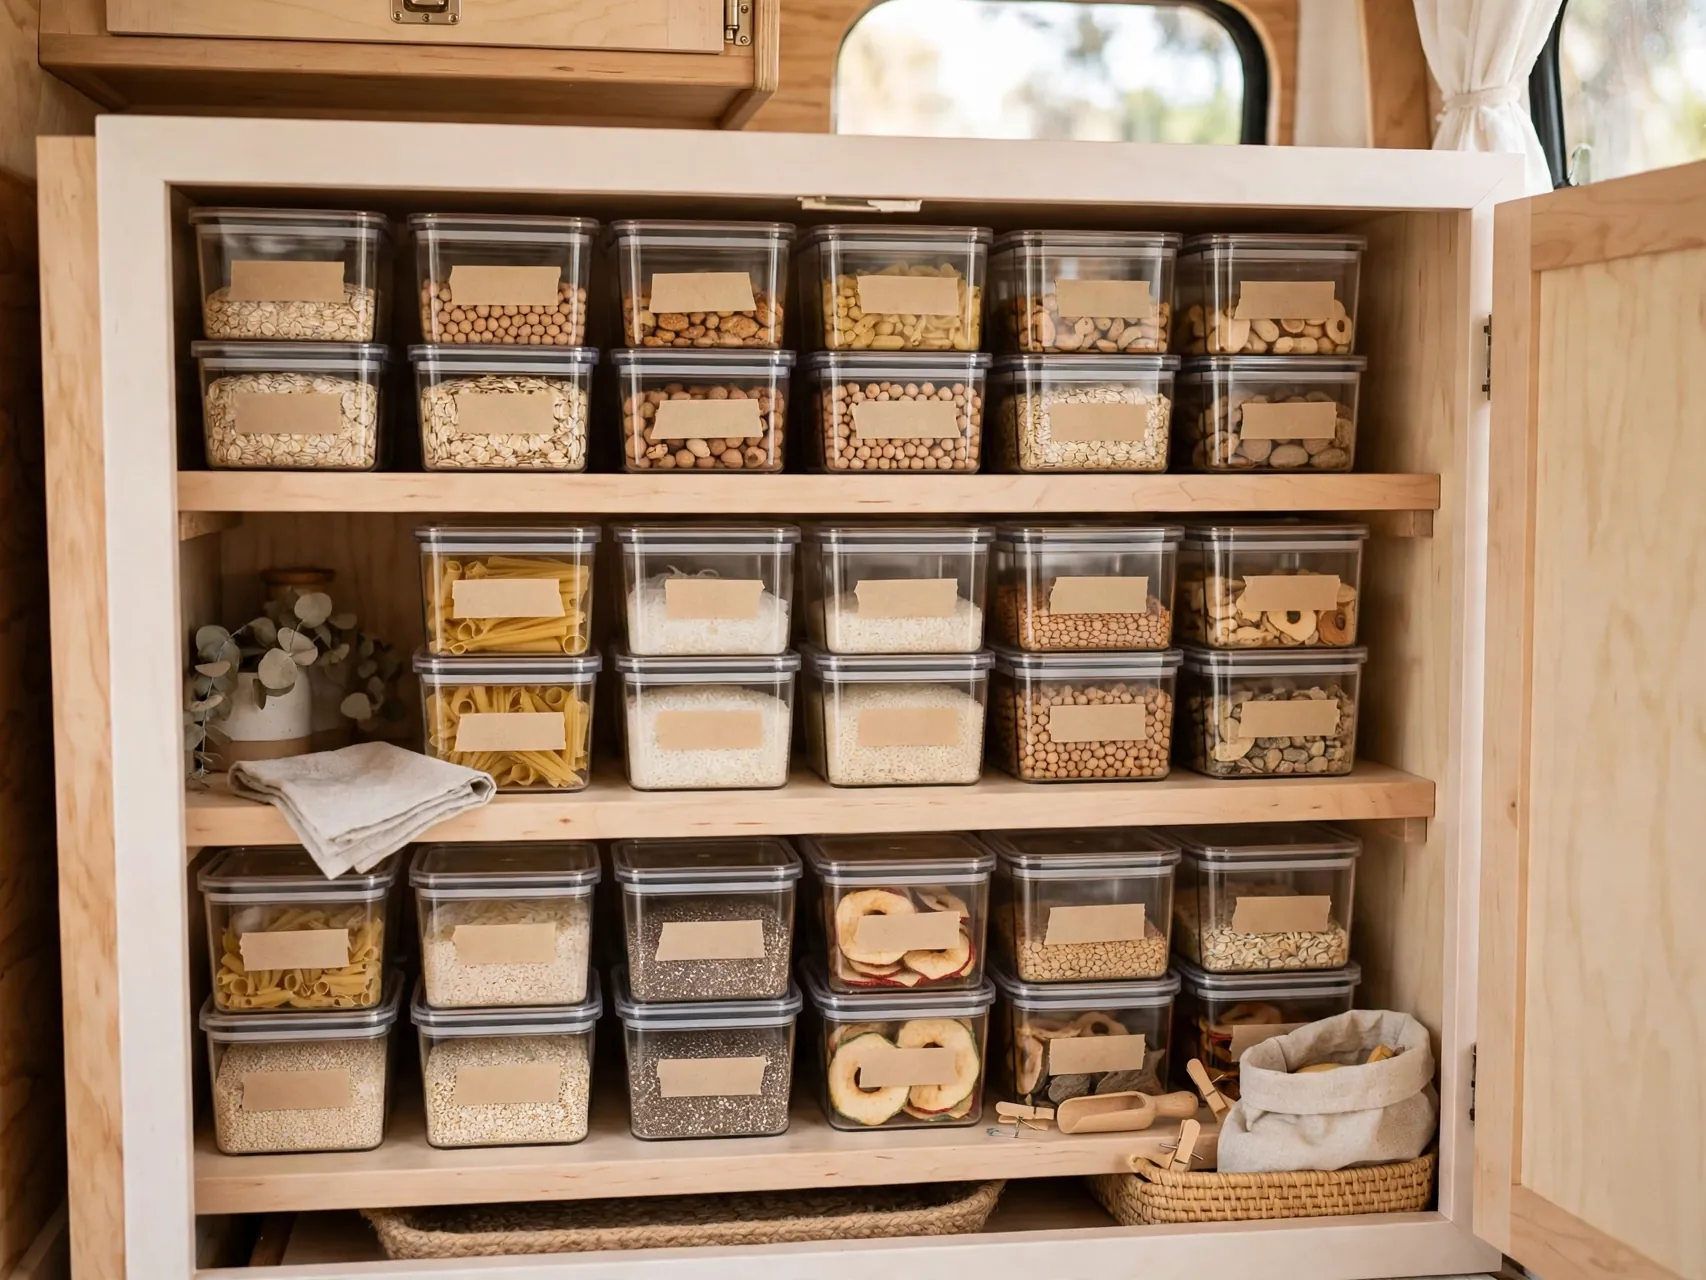
Bags and boxes waste space and spill. Square, airtight containers for cereal, pasta, rice and snacks stack without gaps, pour without mess and show at a glance what is running low before a trip.
Label each container with contents and a use by note from the original package. Choose sizes that match your cabinet height, and keep one small basket for the odd shaped items that never decant well.
6. Add Under Shelf Baskets in Kitchen Cabinets

Clip on under shelf baskets slide onto an existing shelf and add a bonus level for wraps, snack bars, lids and small tools. They need no tools and move in seconds when your needs change.
Use them for light items only, and keep the basket load balanced so the shelf above does not bow. In the pantry cabinet, one basket for baking smalls and one for packets ends the deep shelf dig.
7. Claim the Space Under the Bed With Rolling Bins
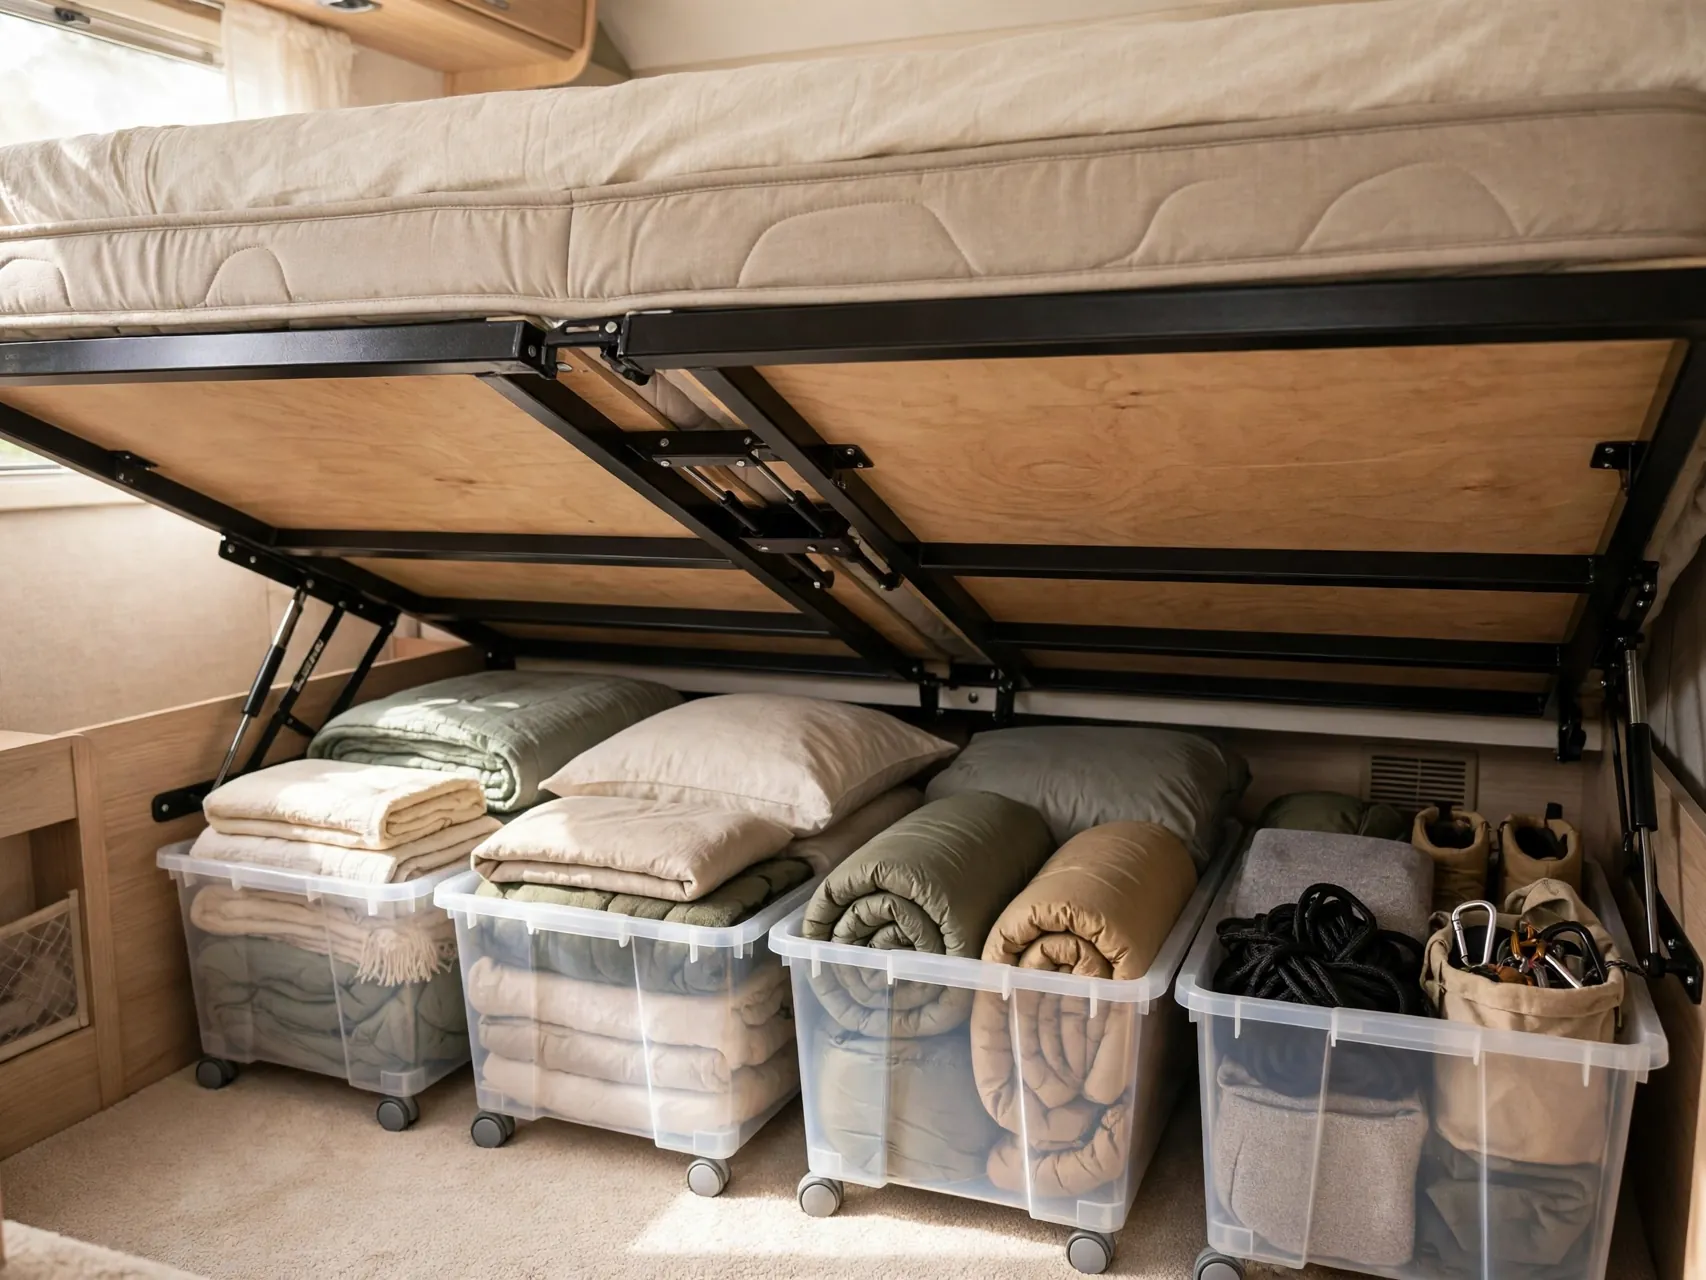
Low, wheeled bins or drawers under the bed platform hold off season clothes, extra bedding and bulky gear that otherwise eats closets. Rolling access matters, because a bin you cannot pull out becomes a bin you never use.
Measure the clearance height carefully, including any platform supports. Label bin ends facing the aisle, store heavy items in a different low spot if bins are hard to lift, and keep access panels for pumps or heaters clear.
8. Use the Dinette Benches as Assigned Storage
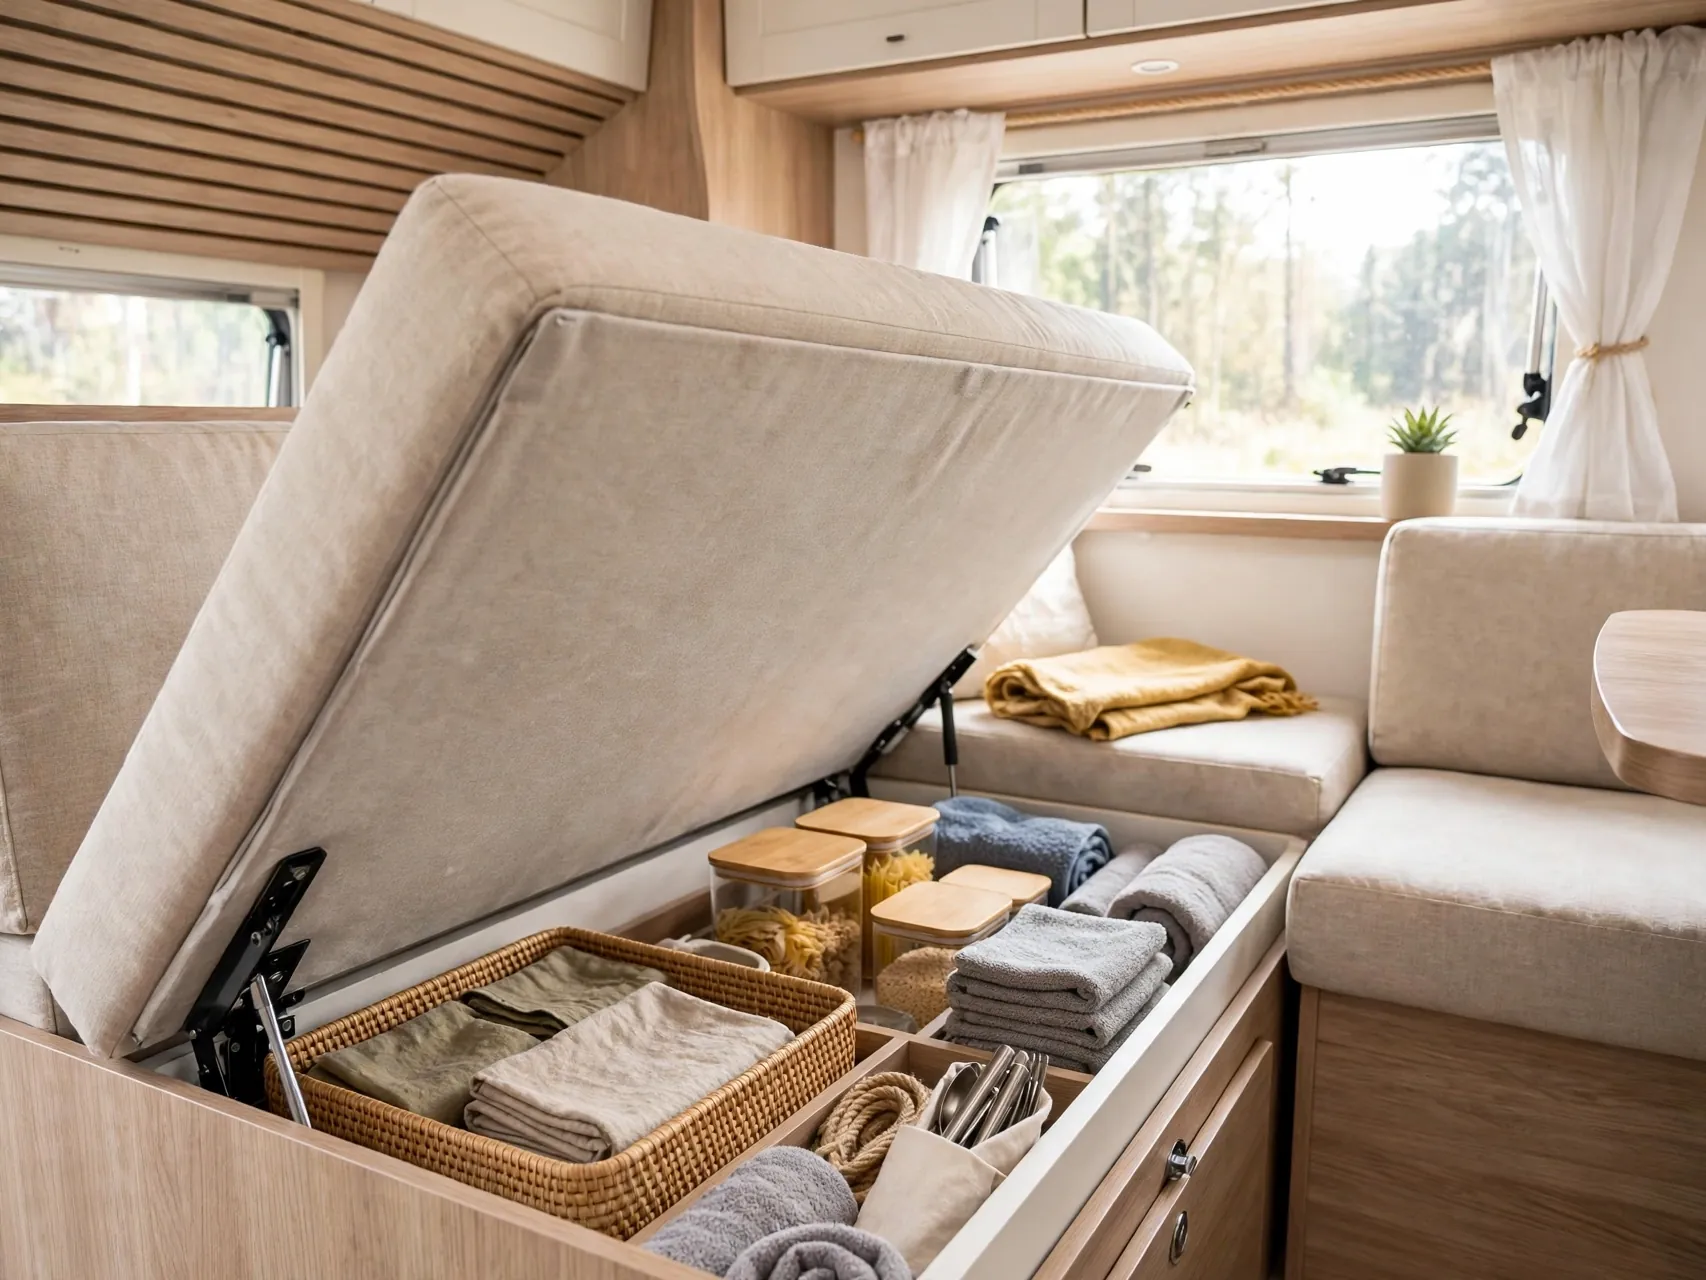
Bench seats hide large storage wells that often become junk drawers. Assign each bench one category, outdoor gear in one, kitchen overflow or linens in the other, and store items in soft bags or bins that lift out cleanly.
Add a simple inventory note inside the lid if your memory needs help. Keep frequently used items near the opening edge, and never store anything under a bench that blocks a heater, vent or electrical component under there.
9. Install Hooks and Peg Rails on Empty Walls

Coats, hats, towels, leashes and bags belong on walls, not chairs. Adhesive hooks, a small peg rail or a row of sturdy hooks by the door and in the bathroom uses vertical space and clears every seat in the camper.
Test adhesive hooks on a hidden spot and respect their weight rating. In the bathroom, hooks dry towels far better than a single bar in a humid small room, which also helps the camper smell fresher.
10. Add Ceiling Nets for Light, Bulky Items
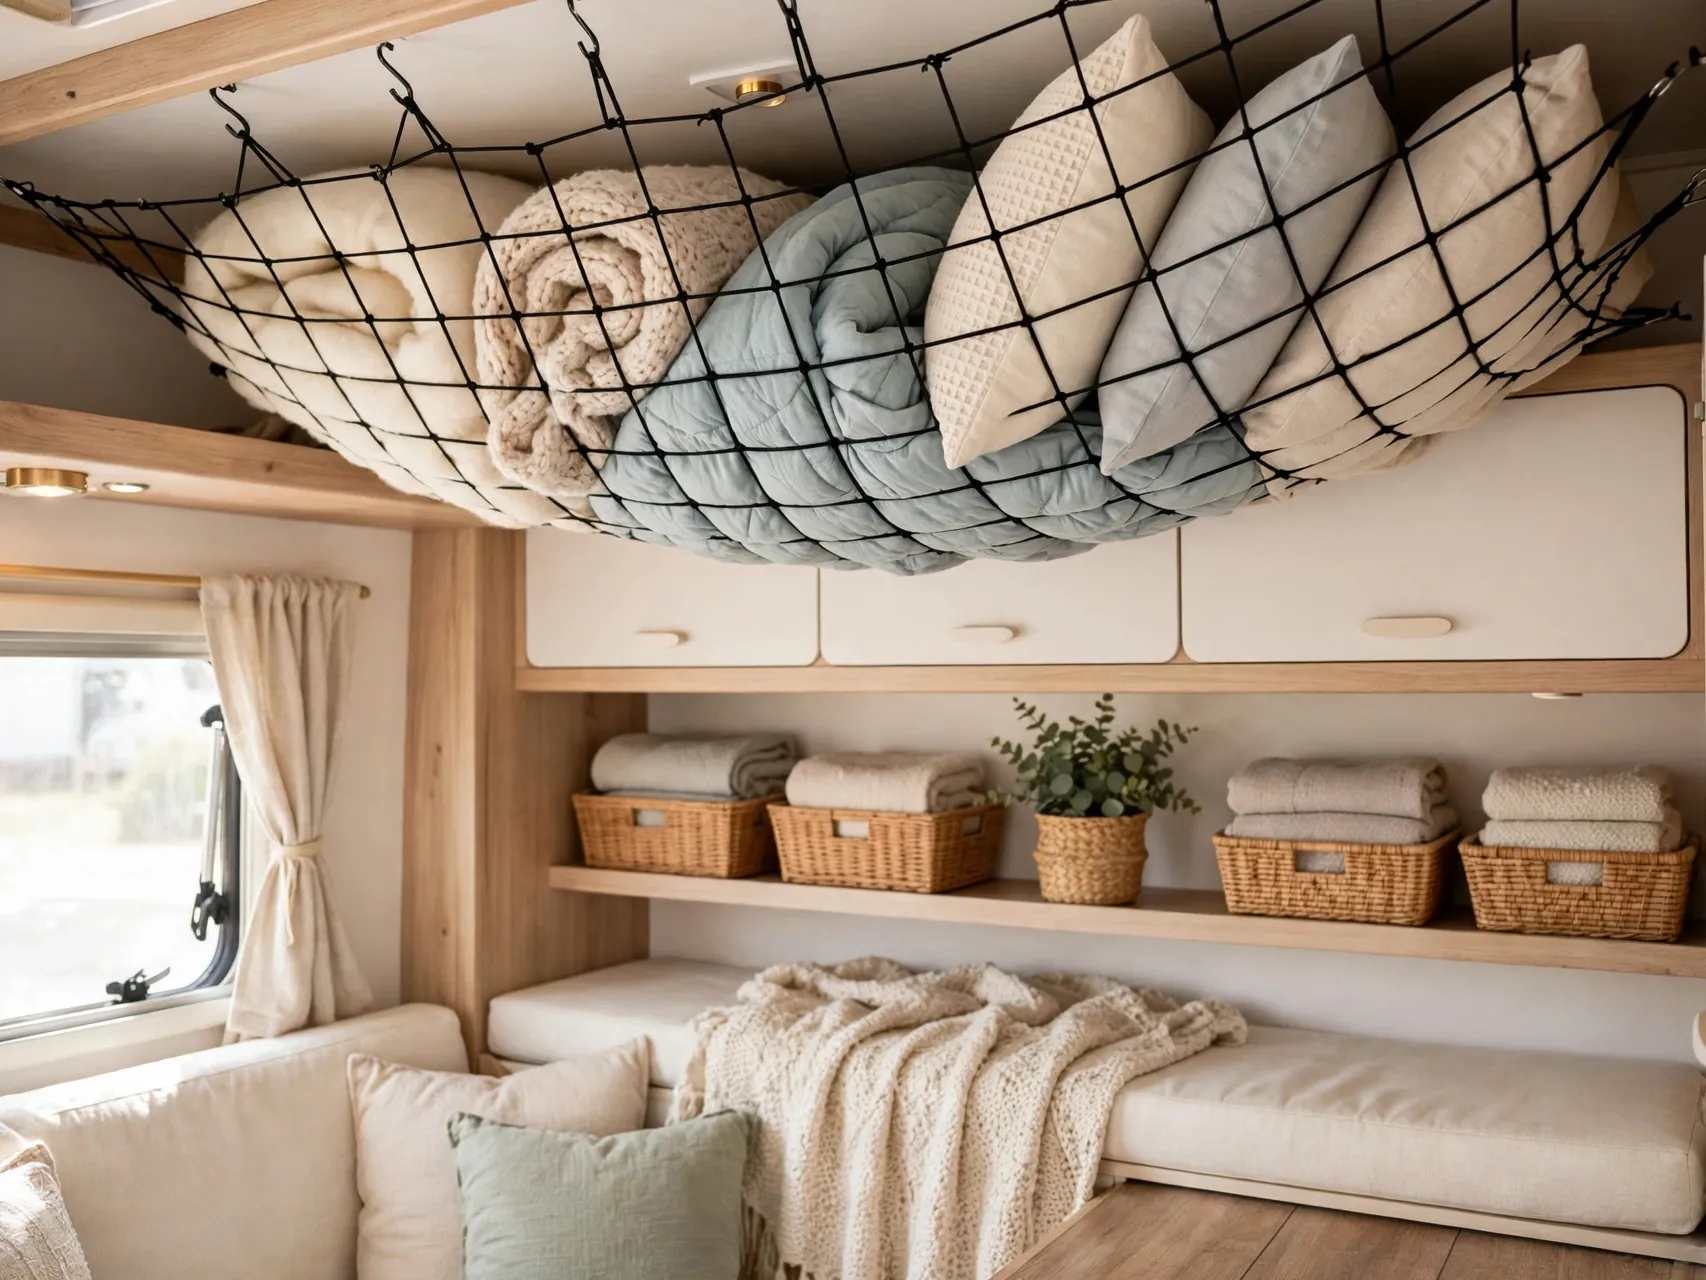
Overhead cargo nets and soft baskets near the ceiling hold pillows, sleeping bags, jackets and stuffed animals, bulky things that crush easily and waste cabinet space. The ceiling is real storage in a camper, if the load stays light.
Mount nets into solid structure as directed and keep them clear of lights, fans and smoke or carbon monoxide alarms. Nothing heavy belongs overhead, both for safety while driving and for anyone sleeping below.
11. Use Drawer Dividers and Small Trays Everywhere
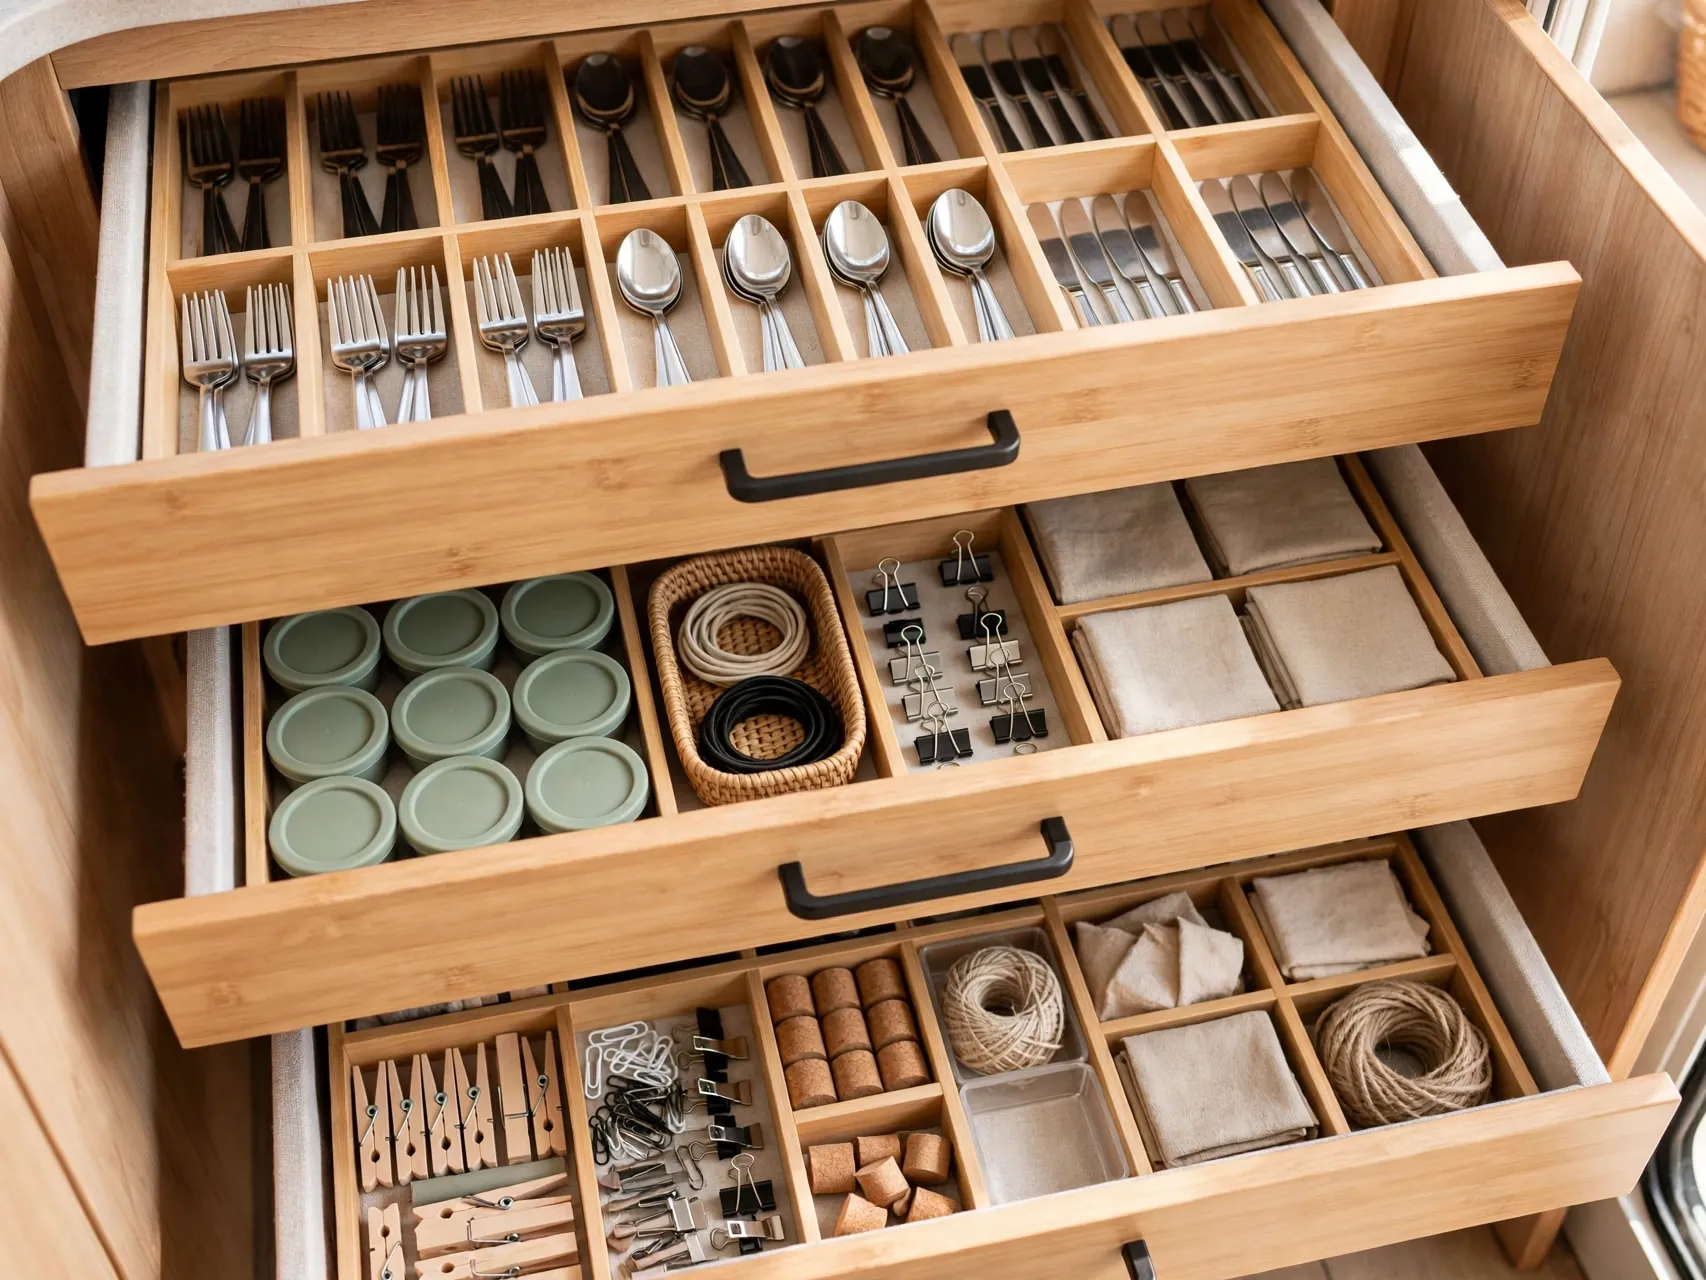
Camper drawers are wide and shallow, so everything slides into one pile. Simple dividers or small trays for cutlery, utensils, toiletries and the junk drawer create compartments that survive travel days.
Measure drawers before buying inserts, or cut foam board or thin wood for a custom fit. Line drawers with non slip material so dividers stay put, and give every small item a named compartment to end the daily shuffle.
12. Hang Baskets and Organizers Inside Closet Doors

The inside of a wardrobe door can hold belts, scarves, medications in a safe spot, chargers and small accessories in a hanging organizer or slim baskets. Closets in campers are narrow, so door storage adds capacity without touching hanging space.
Choose organizers that do not prevent the door from latching for travel. Keep daily clothing reachable and push special occasion items to the closet back, because in a camper, reach order should match use order.
13. Go Collapsible for Kitchen and Cleaning Gear
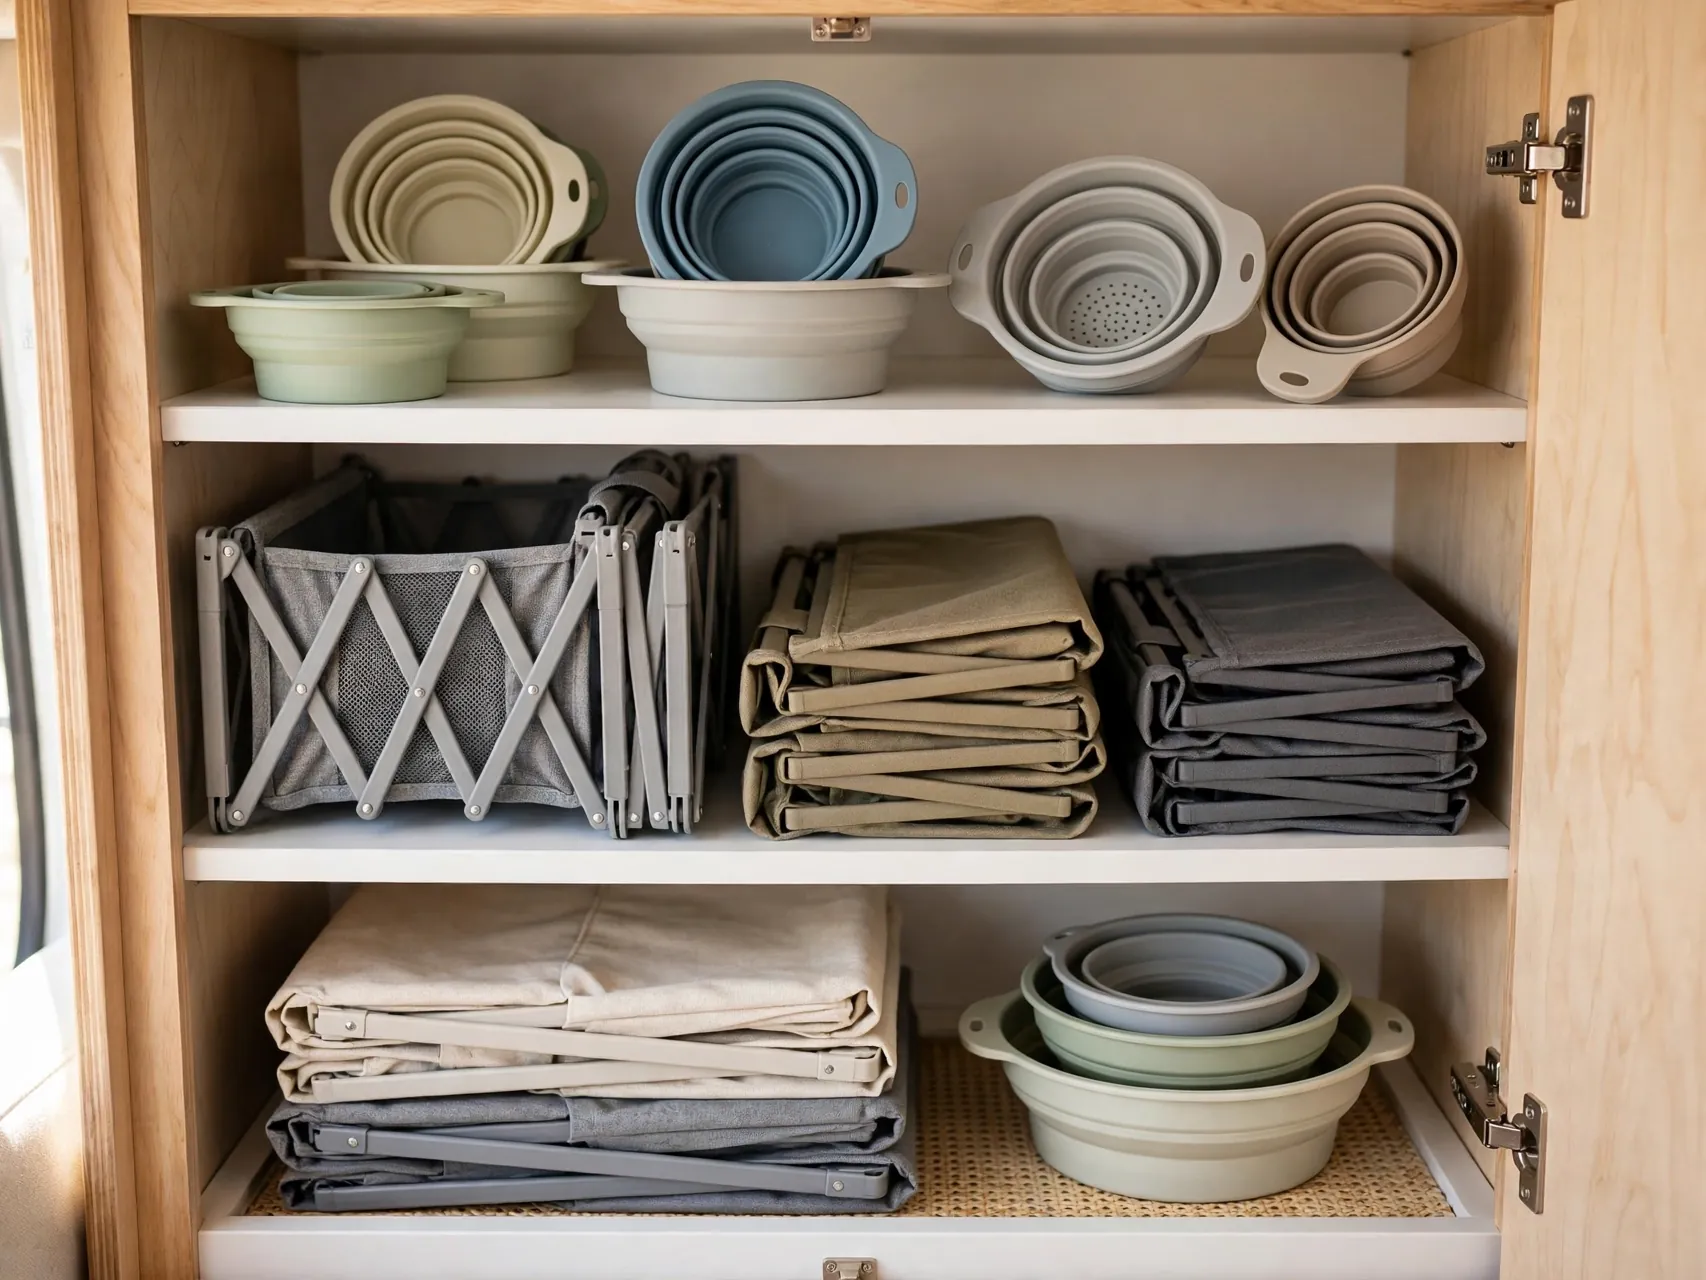
Collapsible bowls, colanders, buckets, dish racks and laundry baskets work at full size, then flatten to a fraction of the space. In a camper kitchen with two small cabinets, collapsible gear can save an entire shelf.
Start with the items you use weekly, a bowl, a colander and a dish tub cover most needs. Store flattened pieces vertically like files beside the sink cabinet so they are quick to grab and quick to put away.
14. Roll Clothes and Use Packing Cubes in Wardrobes
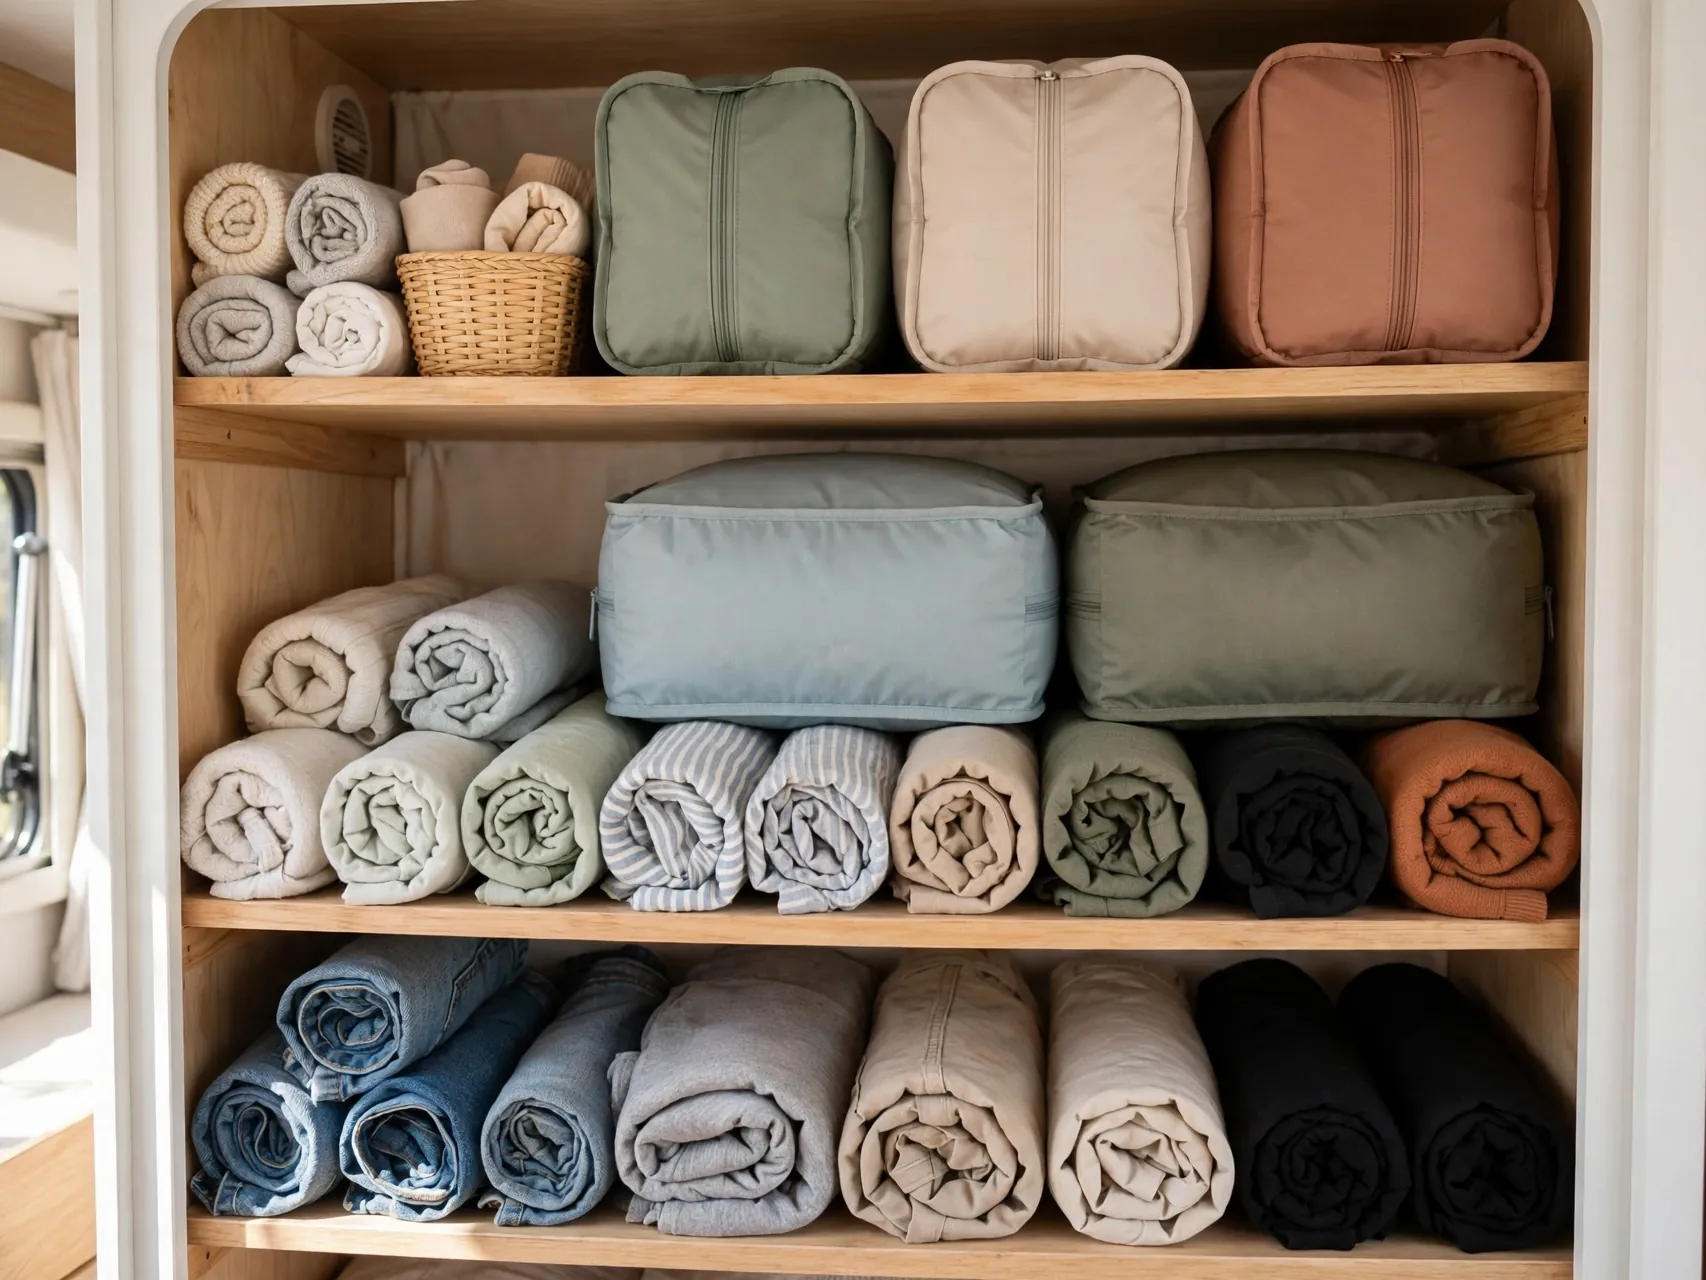
Rolling soft clothes tightly and filing them in packing cubes fits far more into camper wardrobes and drawers than folding stacks, and you can see every item without unstacking a pile. Cubes also move easily between house and camper.
Keep one cube per person per type, tops, bottoms, sleepwear, so packing for a trip becomes grabbing cubes, not rebuilding outfits. Compression cubes help with bulky layers, but watch total clothing weight, it adds up fast.
15. Use Vacuum Bags for Off Season Bedding

Bulky quilts, winter blankets and spare pillows shrink dramatically in vacuum storage bags, freeing the top closet shelf or under bed space for daily gear. Rotate bedding by season instead of storing all of it aboard all year.
Seal bags fully, store them where sharp edges will not puncture them, and check them each season. Keep one light blanket accessible even in summer, because mountain and desert nights can turn cold without warning.
16. Mount a Pegboard Inside a Cabinet or Closet
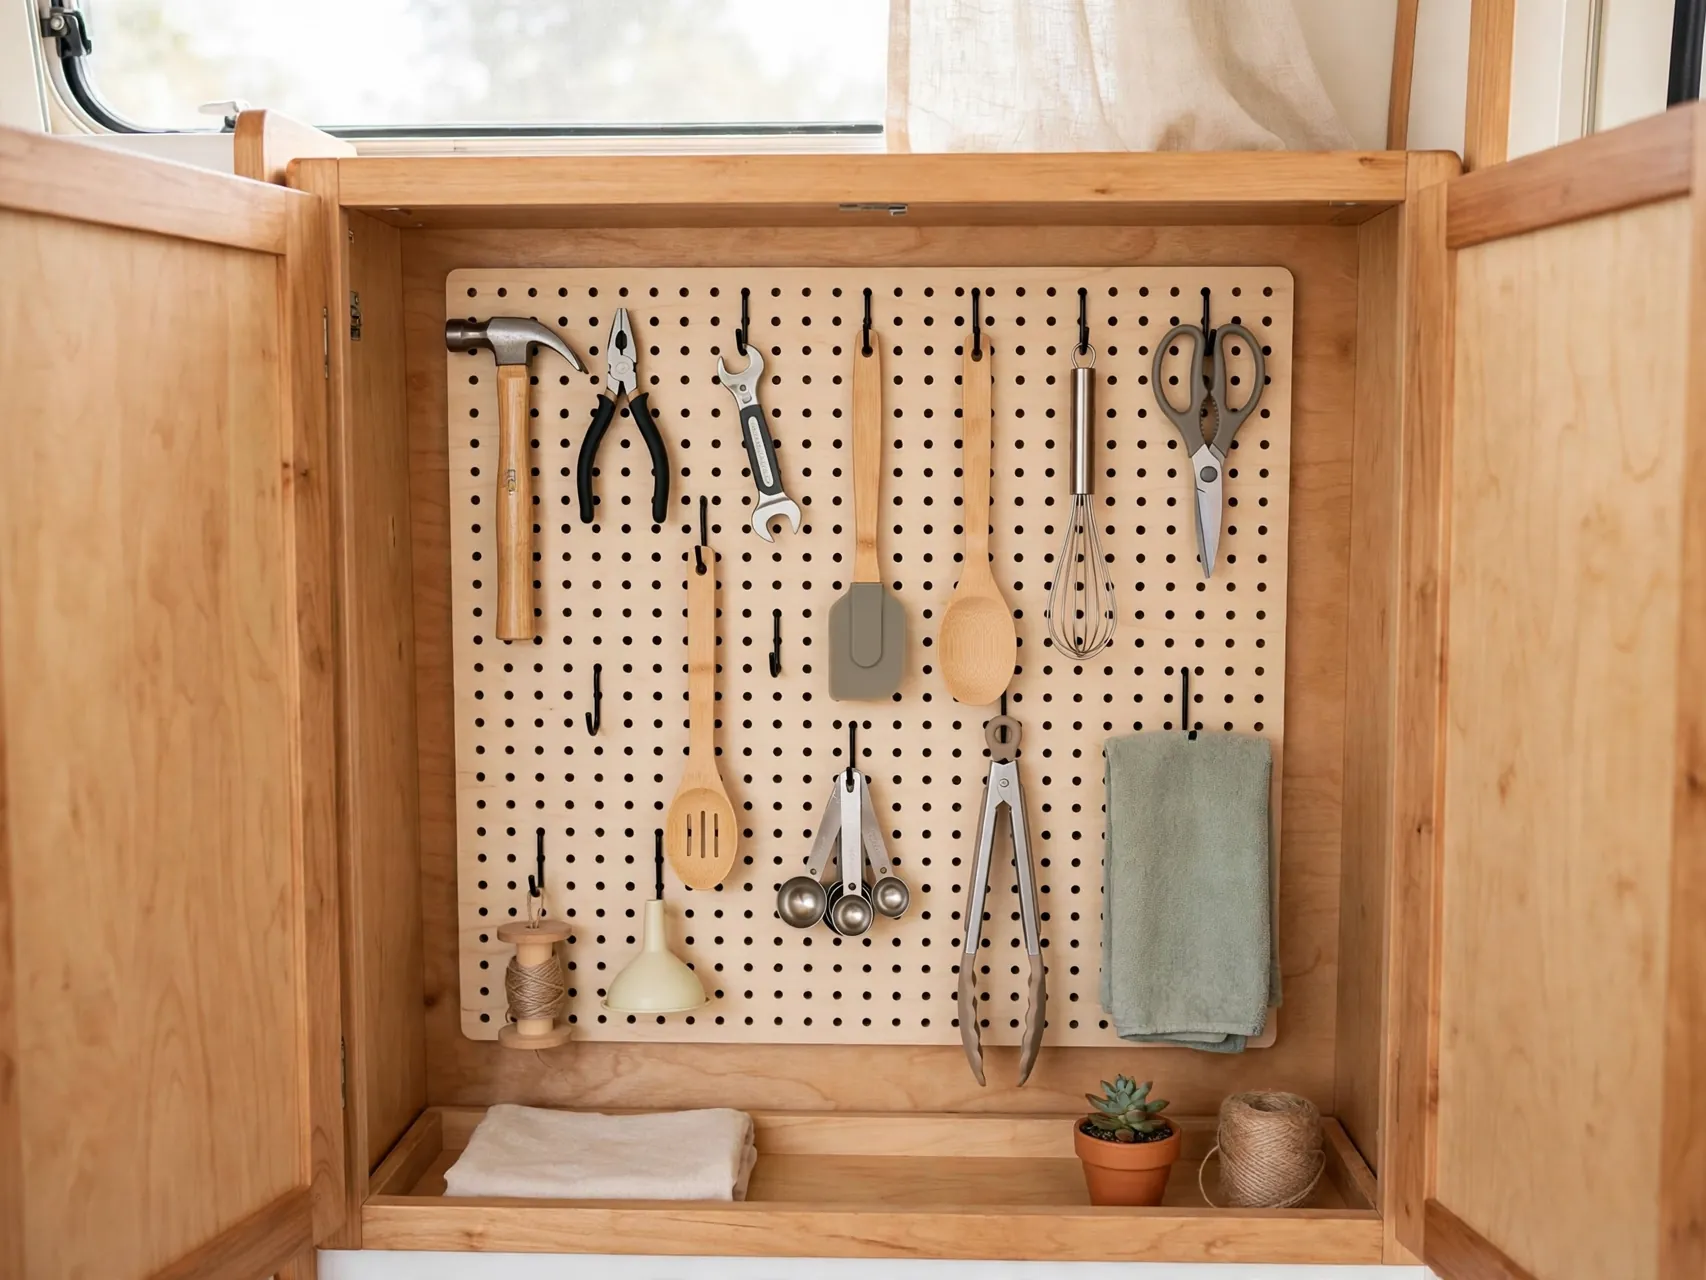
A small pegboard panel inside a tall cabinet door or closet wall holds utensils, tools, cords and craft gear on hooks that rearrange in seconds. It suits the odd shaped items that defeat bins and drawers.
Use lightweight pegboard and short hooks, and confirm the door still closes with items hung. Keep sharp tools low and secured, and photograph your layout once it works, so resetting after a deep clean takes minutes.
17. Store Cords, Hoses and Cables With Velcro Straps

Tangled cords waste bay space and trip time. Coil each hose and cable, secure it with a velcro strap or ball bungee, and store each in its own labeled bin or bag in the exterior bay.
Keep fresh water hoses separate from sewer gear in clearly different bins, a basic hygiene habit for camp setups. Straps also tame phone cords, awning lights and extension leads inside the camper, ending the drawer tangle for good.
18. Use Exterior Bays and a Hitch Carrier for Bulky Gear
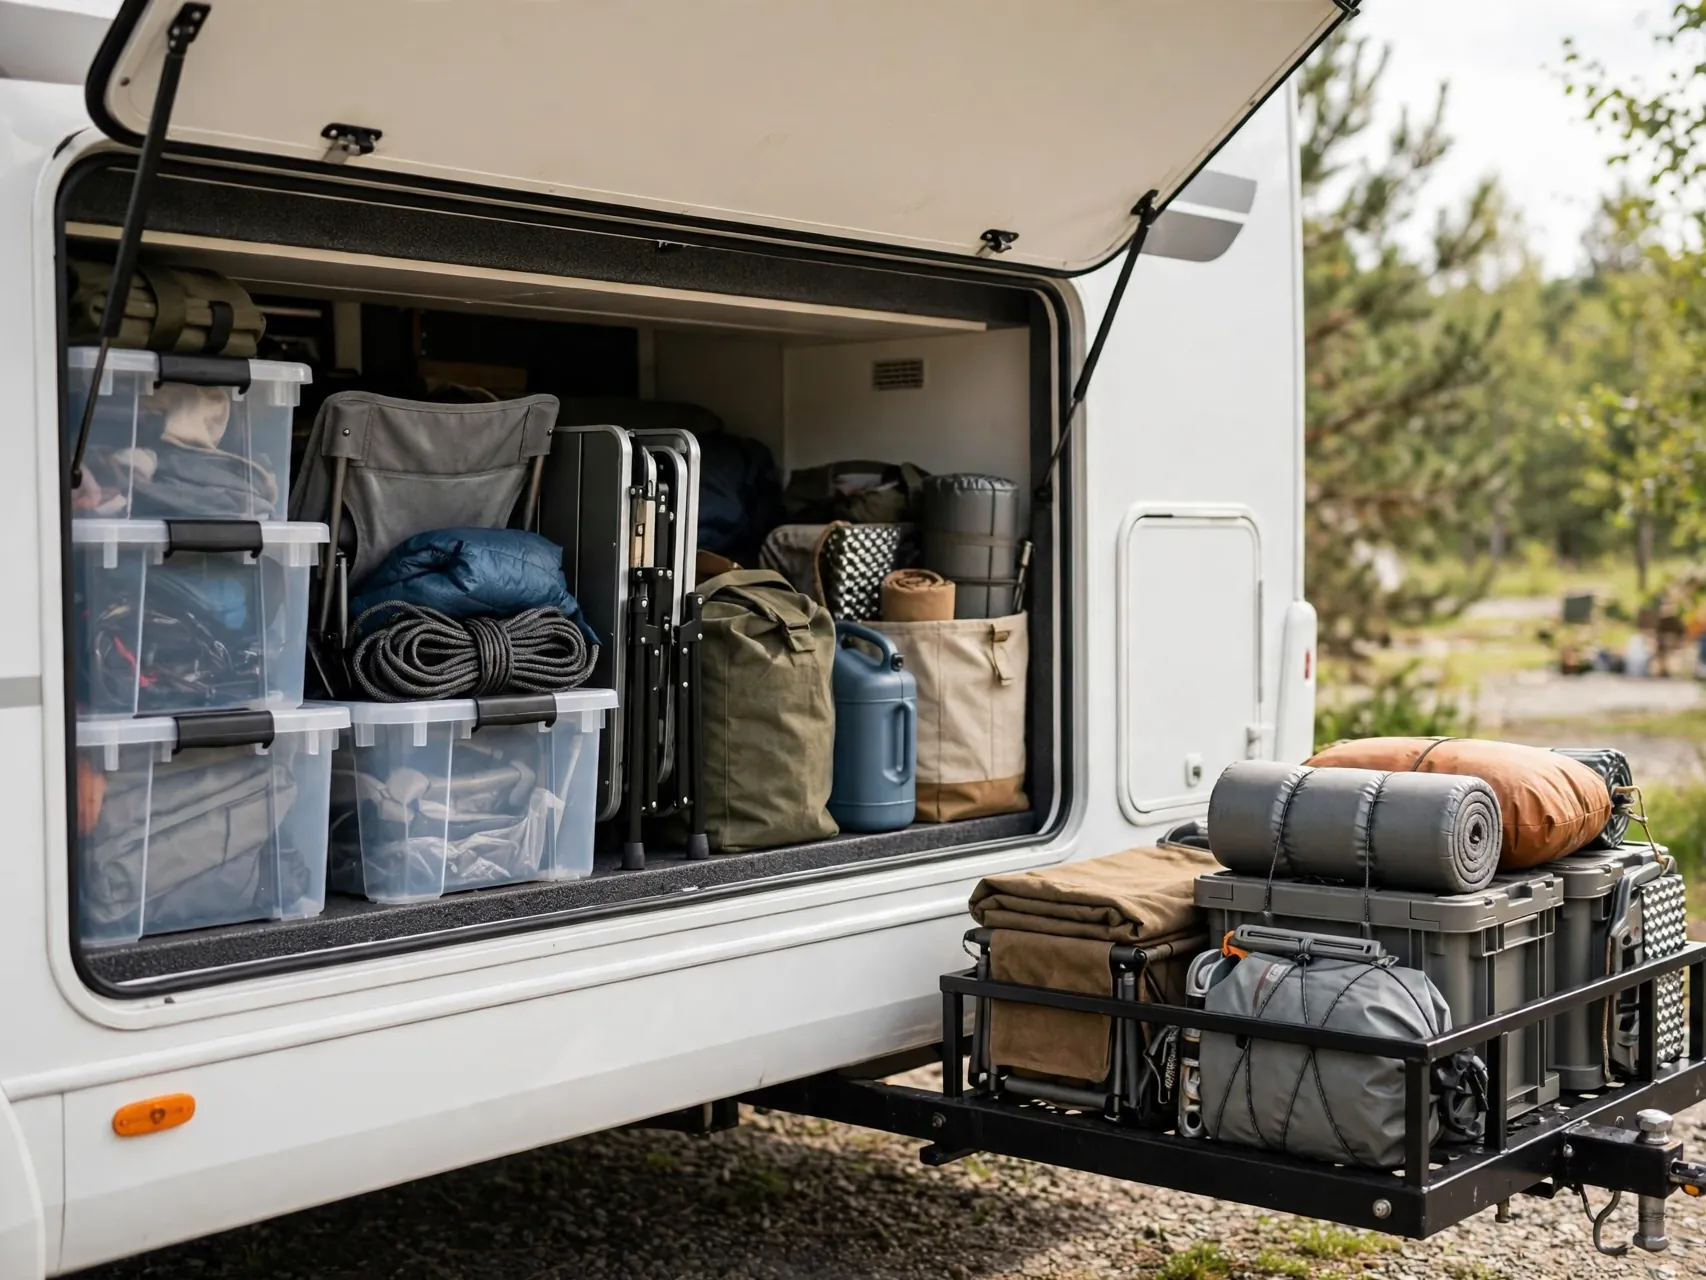
Camp chairs, leveling blocks, outdoor rugs, hoses and sports gear do not need indoor space. Organize exterior bays with stackable bins by job, setup, outdoor living, maintenance, and move overflow bulky items to a rated hitch carrier when needed.
Respect carrier and hitch weight ratings and secure loads against road vibration. Balance bay weight side to side and keep heavy bins low. A bay map taped inside the door saves setup time at every new site.
19. Add a Slim Trash and Recycling Setup That Fits
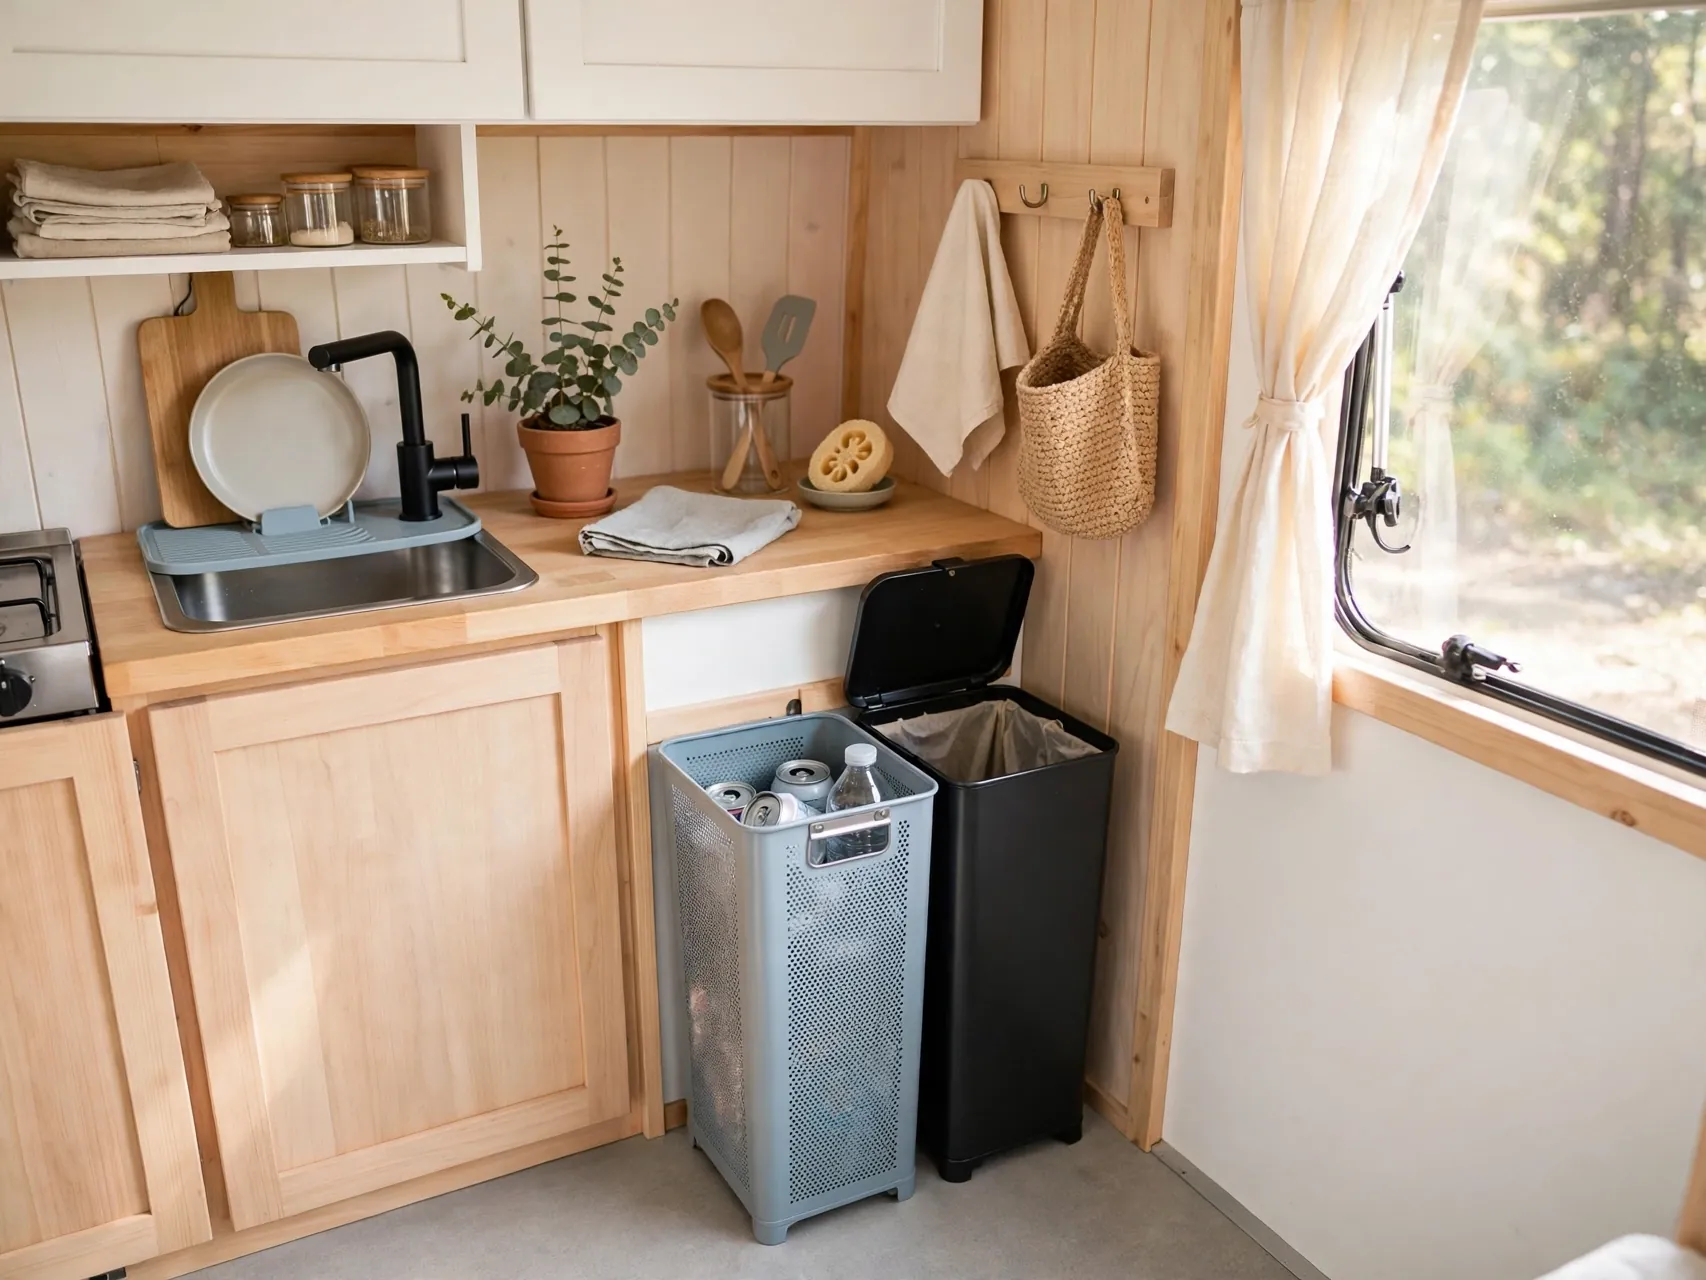
Loose bags on the floor steal space and invite smells. A slim bin that fits inside a cabinet, hangs on a door or slides under the sink keeps trash contained and out of the walkway in a small kitchen.
Line it, tie it off nightly at camp, and store it in a secured spot while driving. A second tiny bag for recyclables keeps counters clear, and daily removal is also one of the best odor controls in a camper.
20. Create a Command Center for Keys, Papers and Chargers

One small tray, file holder or wall pocket near the door for keys, park paperwork, sunglasses and chargers stops the flat surface scatter that makes a camper feel full. Every small thing gets one landing spot.
Add a slim power strip or charging hub in that zone if your setup allows it safely, keeping cords bundled and off counters. Review papers weekly on long trips and recycle what you no longer need to carry.
21. Use Stackable Bins With Clear Labels in Every Bay
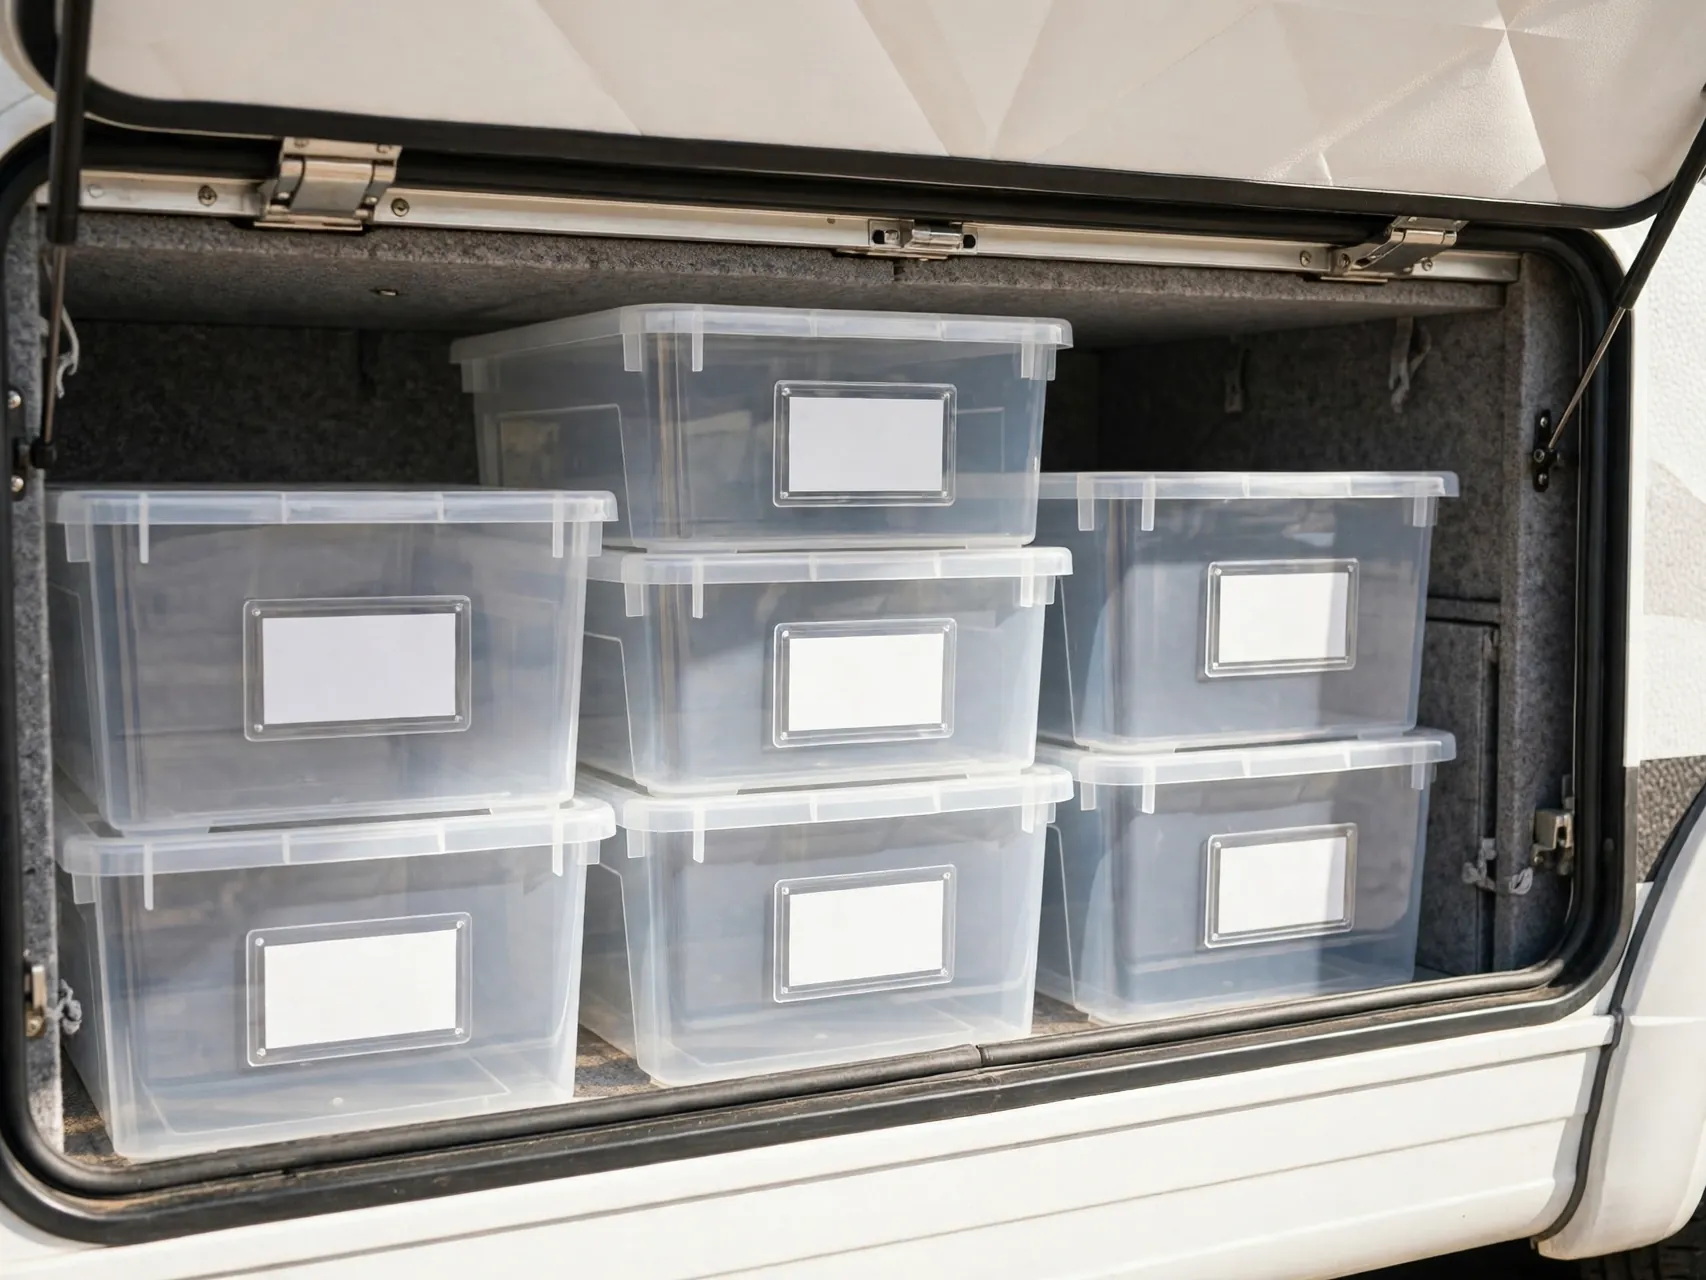
Matching, labeled bins turn deep storage bays and closets into a system anyone in the family can use. Clear bins or clear label windows show contents without opening every lid at the campsite.
Label by category and location, kitchen overflow, tools, games, and keep a simple list on your phone. Stack heaviest bins at the bottom, avoid overstacking in heat, and leave one empty bin as flex space for trip extras.
22. Store Cleaning Supplies in a Caddy That Moves

A handled caddy with your few cleaning basics, spray, wipes, brush, bags and gloves, stores under the sink and carries to the bathroom or outside table in one trip. It replaces bottles scattered in three cabinets.
Choose camper appropriate products, store them upright and secured, and keep chemicals away from food storage. A small caddy also makes the end of trip clean faster, which means it actually happens before storage.
23. Keep Moisture Absorbers Inside Closed Storage

Closed cabinets and closets in campers collect condensation, and damp storage smells musty fast. A small moisture absorber in the wardrobe, under sink cabinet and storage bay helps keep stored items dry between trips.
Check and replace absorbers as the maker directs, and pair them with simple ventilation habits, cracking a vent when parked where it is safe to do so. Dry storage protects clothes, bedding and the camper itself.
24. Rotate Seasonal Gear In and Out on a Schedule
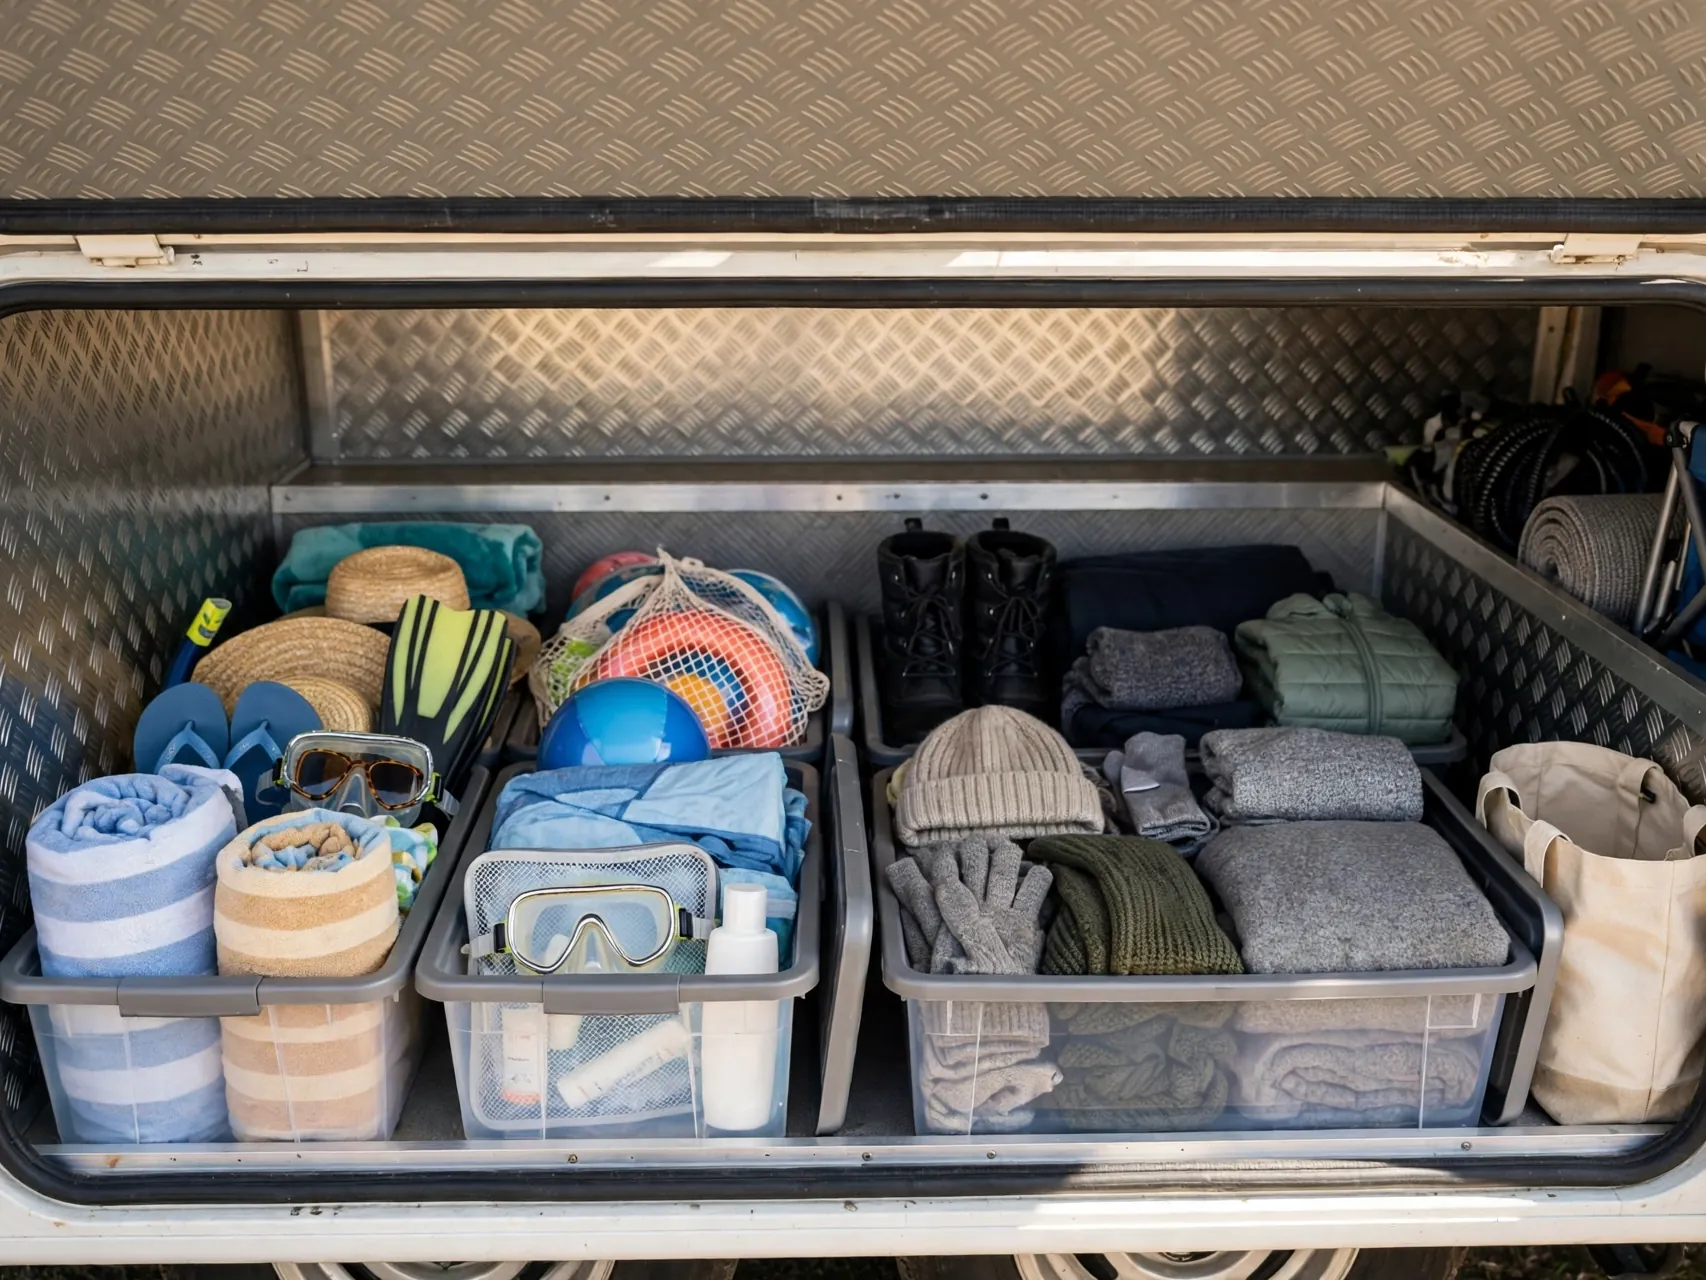
Beach gear in ski season and holiday decor in July waste prime camper space. Sort storage by season twice a year, move off season items to home storage, and donate or discard anything that did not get used last season.
Keep a short core kit aboard year round, basic tools, rain gear, first aid and setup gear. A seasonal swap is also the perfect moment to check bins for leaks, pests and items that migrated to the wrong home.
25. Do a Pre Trip Secure and Weight Check

End every packing session with a secure check: latches closed, rods and bins seated, loose items corralled, heavy loads low and near the axle, and nothing blocking vents, exits or detectors. Five minutes here prevents breakage and mess on the road.
If you have added organizers and gear over time, confirm you are still within the manufacturer weight rating on the rig sticker. Storage success is not filling every inch, it is arriving with a camper that is safe, calm and ready to use.
FAQ
What are the best storage hacks for a small camper kitchen?
Tension rod shelves, shelf risers, under shelf baskets, magnetic strips and square stackable pantry containers give the biggest gains. Decant dry goods, use the inside of cabinet doors, and keep only daily tools on counters. Measure every cabinet before buying organizers, because RV dimensions vary widely.
How do I stop stored items from shifting while driving?
Use bins with lids, non slip liners, tension rods as shelf guards and soft bags that fill space without rattling. Close and latch every cabinet, store breakables padded and low, and do a secure check before moving. Recheck after the first drive with any new system.
Where should heavy items be stored in a camper?
Low, centered and near the axle is the general loading principle for towing stability. Keep heavy bins out of overhead cabinets and ceiling nets, which should hold only light, bulky items. Always follow your manufacturer guidance and stay within the weight rating on the rig sticker.
How can I add storage without drilling holes?
Tension rods, adhesive hooks within their ratings, over door organizers, magnetic strips, clip on baskets and freestanding bins all add storage with no screws. Test adhesives on a hidden area first and let them cure as directed. These options also suit rented or borrowed campers.
How do I keep camper storage from smelling musty?
Keep storage dry: use moisture absorbers in closed cabinets, ventilate when parked where safe, and never store damp gear in sealed bins. Clean up spills promptly and rotate stored soft goods each season. If a musty smell persists, look for a leak or moisture source and fix it first.
Key Takeaways
- Think vertical first: Tension rods, risers, hooks and door storage are the fastest camper storage hacks in any rig.
- One home per item: Assign every category a bin, bench or basket and label it, so tidying takes minutes.
- Light up high, heavy down low: Ceiling nets and top shelves hold bulky light gear, heavy loads stay low and near the axle.
- Collapsible and rolling wins: Flat folding kitchen gear and wheeled under bed bins claim space other campers waste.
- Secure before you roll: A five minute latch, load and weight check protects your gear and your trip.
- Pin it for packing day: Save this guide to your camper board on Pinterest so your storage system is ready before every trip.