23 Tips for an RV Hookup at Home Done the Right Way
Introduction
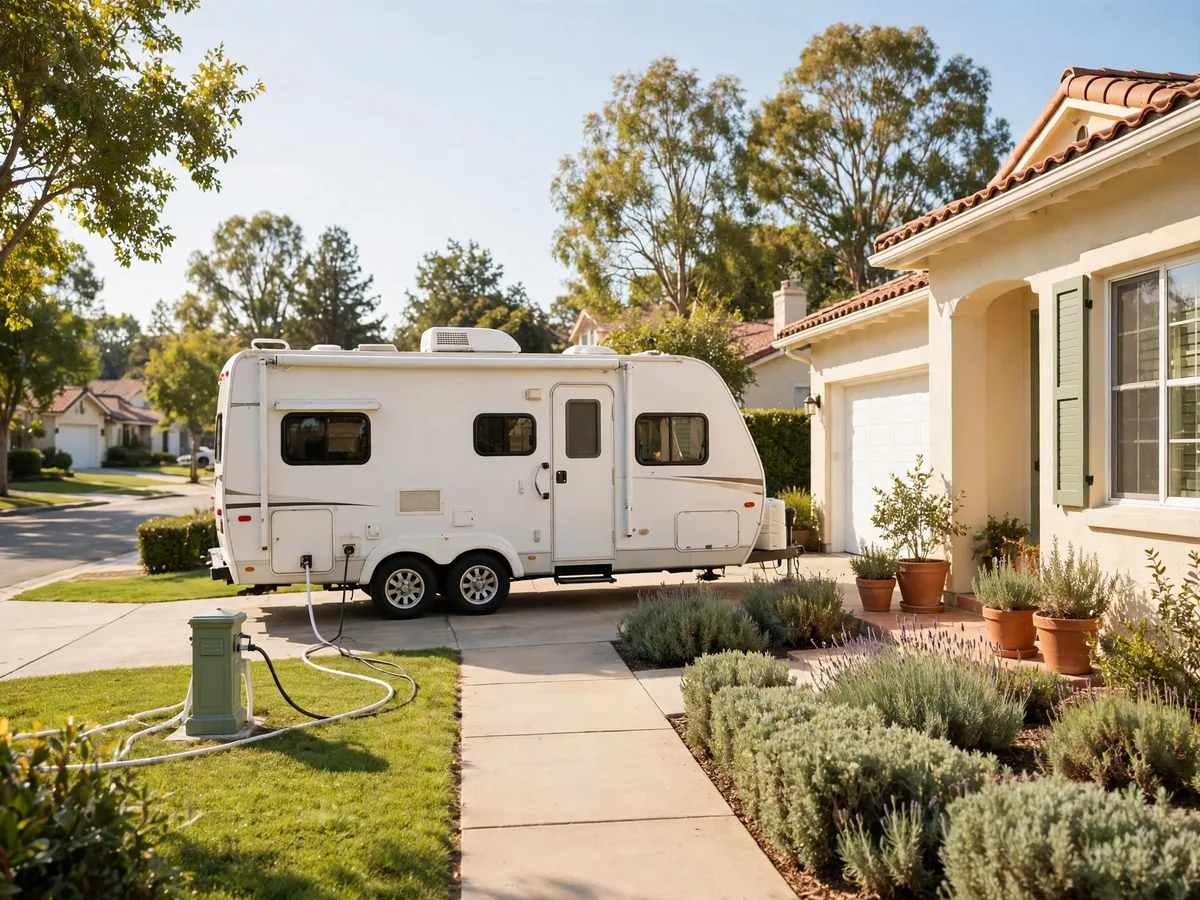
An RV hookup at home turns your driveway or side yard into the easiest campsite you own. Guests get a private suite, you get a ready to load rig before a trip, and the camper can keep batteries charged and the fridge cold without an extension cord guessing game. Done well, it is safe, tidy, and legal. Done casually, it can damage the RV electrical system or create a water and sewer mess.
The golden rule is simple: treat a home hookup like a small utility project, not like plugging in a lamp. Electrical work belongs to a licensed electrician working to the National Electrical Code, water needs a drinking water safe hose, and waste needs an approved sewer or septic connection where local rules allow it.
Use these tips in order. Planning, power, parking, water, and sewer each build on the step before, and skipping the early planning steps is where most home hookup problems begin.
1. Check Local Rules, HOA Rules, and Permits First

Before you buy a receptacle or dig anything, check your city or county rules, any HOA covenants, and whether an electrical permit and inspection are required. Many places regulate where an RV can park, how long guests can stay in it, and how permanent utility connections are installed.
Ask specifically about RV parking, overnight occupancy, and sewer connections, because the three are often regulated separately.
2. Hire a Licensed Electrician for the Panel and Receptacle Work

Installing a dedicated RV receptacle means new circuit work in your main panel, correctly sized wire and breaker, and outdoor rated equipment. That is licensed electrician work, not a weekend DIY project, even if you are handy with indoor outlets.
A good electrician will confirm panel capacity, pull the permit, and have work inspected. Tell them clearly the outlet is for an RV. Professional installation is the heart of a safe RV electrical hookup at home.
3. Match the Service to Your RV: 30 Amp or 50 Amp

Most smaller travel trailers use 30 amp service, while larger trailers and motorhomes with two air conditioners often use 50 amp service. Match the home receptacle to the RV you own now, and talk to your electrician about future plans if a bigger rig is likely.
A 30 amp RV has a three prong plug, a 50 amp RV has a four prong plug. Adapters do not change how much power the circuit can safely supply.
4. Say It Out Loud: A 30 Amp RV Outlet Is 120 Volts, Not a Dryer Outlet
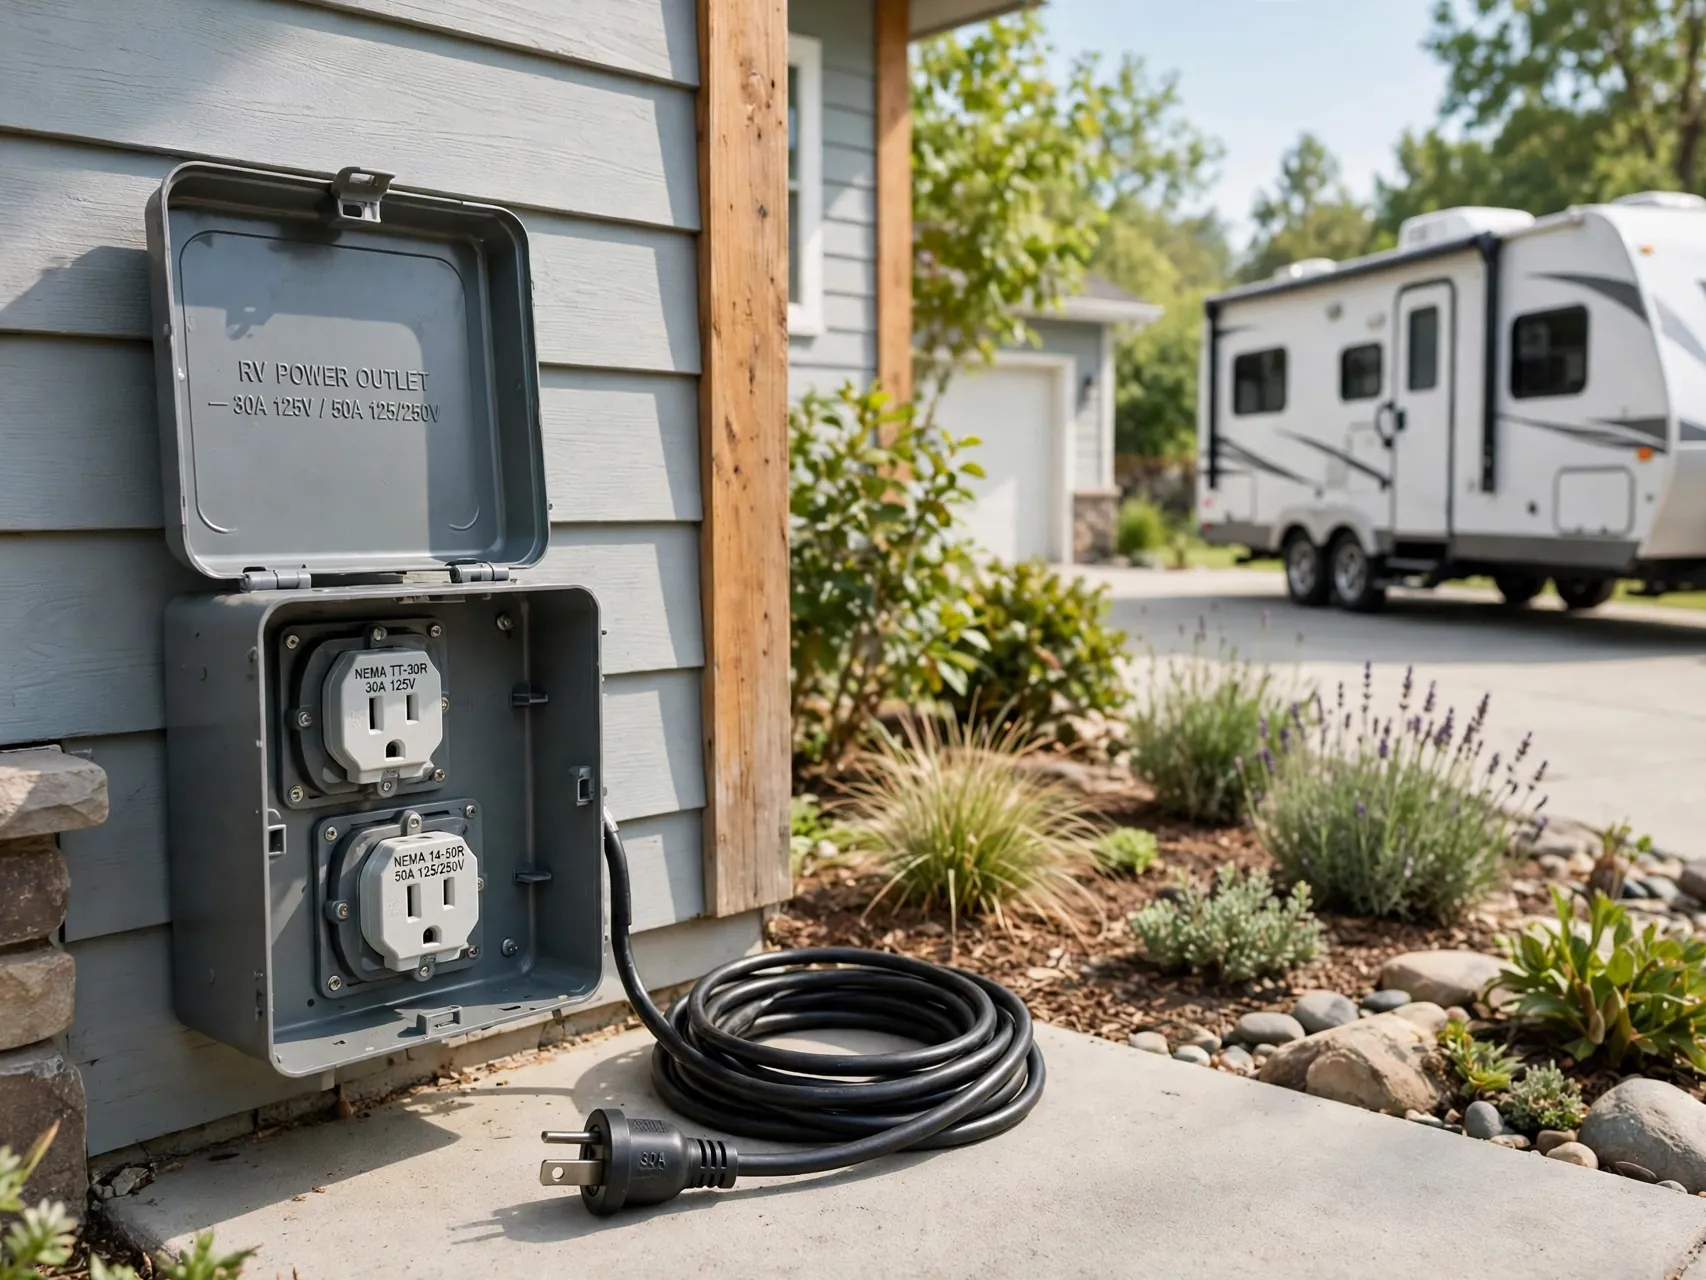
This is the most important safety warning in home RV hookups. A 30 amp RV receptacle, called a TT-30, is wired for a single 120 volt supply. It is not wired like a 240 volt dryer or range outlet, even though the amperage number looks similar.
If a 30 amp RV outlet is wired at 240 volts, plugging in can severely damage the RV electrical system. Tell your electrician in plain words and test the outlet before connecting the RV.
5. Confirm Your Home Panel Has Capacity for the New Load
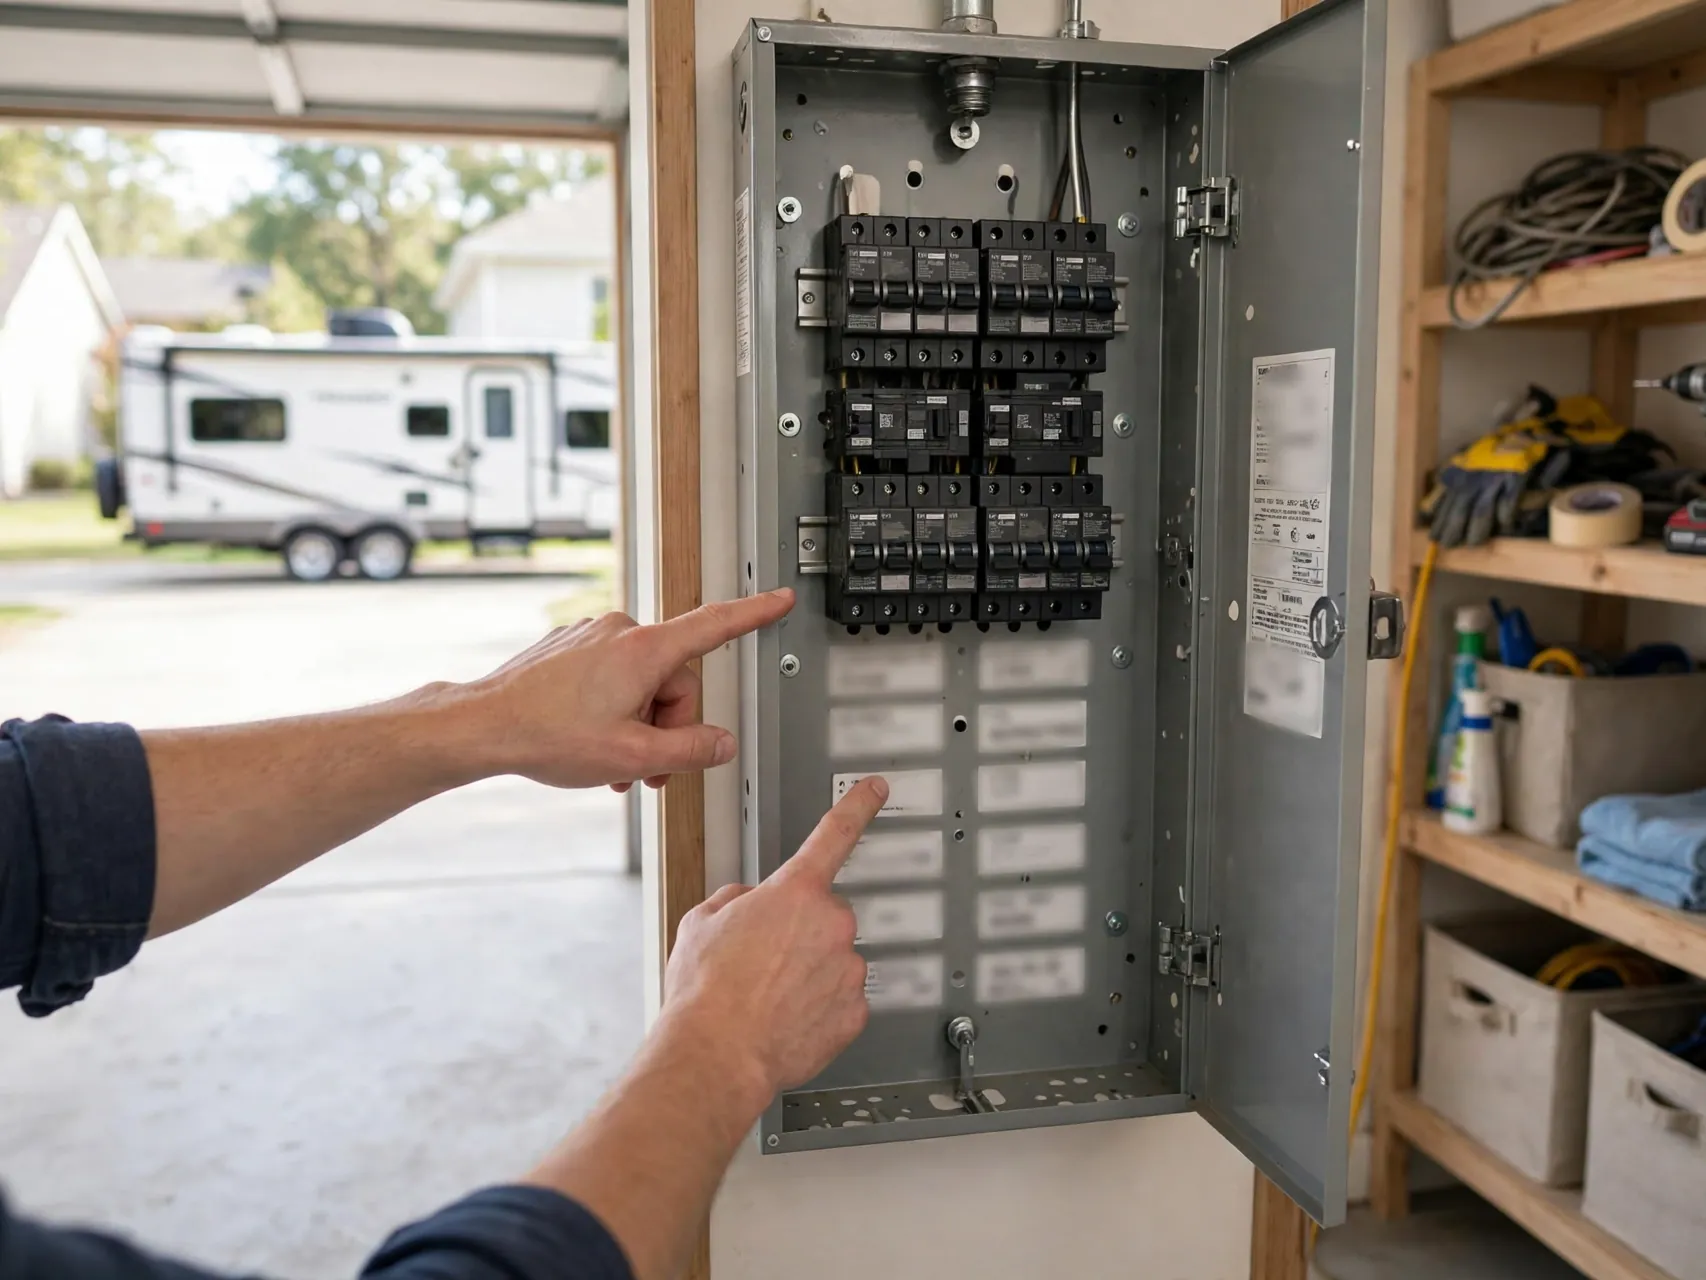
An RV is a large, continuous load, especially with an air conditioner, converter, and water heater running. Your electrician should do a load calculation to confirm the main service and panel can carry the home plus the RV without nuisance trips or overheating.
Long wire runs matter too, because distance can require heavier wire to limit voltage drop. Never solve a capacity problem with a bigger breaker on undersized wire.
6. Place the Receptacle Close to the Parking Spot in a Proper Outdoor Box

A short, direct run from receptacle to RV keeps power cords off walkways, out of puddles, and within the length of the RV shore cord. Use an outdoor rated, weather resistant receptacle and enclosure made for RV service, mounted securely at a sensible height where it will not be hit by the rig or a car.
Think about snow, sprinklers, and lawn equipment when choosing the spot. A proper RV outlet box keeps the connection protected and tidy.
7. Ask About GFCI Protection and Let Local Code Decide

Ground fault protection rules for RV receptacles have changed across recent editions of the National Electrical Code, and they are applied differently for a dwelling outdoor outlet, an RV park site, and different adopted code versions. That is why a universal one line answer is risky.
Ask your electrician and inspector what local code requires, and follow that decision. If a GFCI breaker trips repeatedly, do not bypass it. Treat trips as a fault to diagnose.
8. Use a Surge Protector or EMS Every Time You Plug In

Home power is usually cleaner than campground power, but surges, low voltage during peak demand, and wiring faults can still reach your RV. A quality RV surge protector, or a full electrical management system, checks the supply and helps protect converters, boards, and appliances.
Plug the protector in first, let it complete any start up checks, then connect the RV. Follow maker instructions for your model. It is cheap insurance compared with an RV control board.
9. Connect in a Safe Order and Inspect Every Cord

Before connecting, switch the receptacle breaker off where your setup allows, inspect plugs and cords for heat damage, cracks, corrosion, or loose prongs, and make sure connections are dry. Plug in firmly, then switch power on. Reverse the order when you unplug.
Never force a damaged plug or use a cord that feels warm. Heat at a connection is a warning sign to stop and investigate. Teach guests the same order.
10. Know the Limits of a Household Outlet and a Dogbone Adapter

For a short stay, a dogbone adapter can connect an RV to a regular 15 or 20 amp household outlet. That setup is fine for lights, battery charging, and cooling the fridge before a trip. It is not the same as a 30 or 50 amp service.
An air conditioner plus a microwave or water heater will often trip that breaker. The adapter changes the plug shape, not the power. For regular use, a dedicated RV hookup installation is the honest solution.
11. Manage Loads Like a Campground Pro

Even on a correct 30 amp service, large appliances share one budget. Run one air conditioner, and be thoughtful about adding an electric water heater, microwave, space heater, or hair dryer at the same moment. Staggering heavy loads by a few minutes prevents most trips.
Post a short load note inside the RV for guests. Load discipline is a normal part of how to hook up RV at home.
12. Use the Right Cord, Keep It Short, and Never Daisy Chain

Use the RV shore power cord first. If you need extra length, use only a heavy duty extension cord made and rated for RV use, as short as possible. Thin household extension cords can overheat and cause voltage drop that harms air conditioners and converters.
Never daisy chain household cords, or run a cord under a rug or across a driveway unprotected. Route cords along edges and out of standing water.
13. Level, Chock, and Stabilize Before You Connect Anything

Park on a firm, level surface where possible, chock the wheels, and set the stabilizers as the RV maker directs before guests sleep in the rig or slides go out. A level RV helps the fridge operate correctly on many models and keeps doors and drains behaving normally.
Check clearance for slide outs and steps, and confirm all cords and hoses reach without strain. Good parking is the foundation of every RV water and sewer hookup at home, because strained hoses leak.
14. Use Only a Drinking Water Safe Hose for Fresh Water

Your RV fresh water hose must be made and labeled for drinking water. A regular garden hose is not rated for potable water and can affect taste and water quality, a point public health guidance for RV use states clearly. Keep a dedicated white or blue drinking water hose only for the RV fresh connection.
Store that hose capped and separate from all other hoses. This habit protects everyone who drinks or cooks in the rig.
15. Add a Pressure Regulator and a Simple Filter

Home water pressure can be higher or less steady than RV plumbing is built for. A pressure regulator made for RV use, fitted at the supply tap, helps protect hoses, fittings, and fixtures from excessive pressure. Follow the RV maker guidance for safe pressure for your model.
An inline filter improves taste and keeps sediment out. Change it on the maker schedule, and confirm your tap is a potable supply before connecting.
16. Protect the Drinking Water Supply With Clean Fittings and Backflow Care
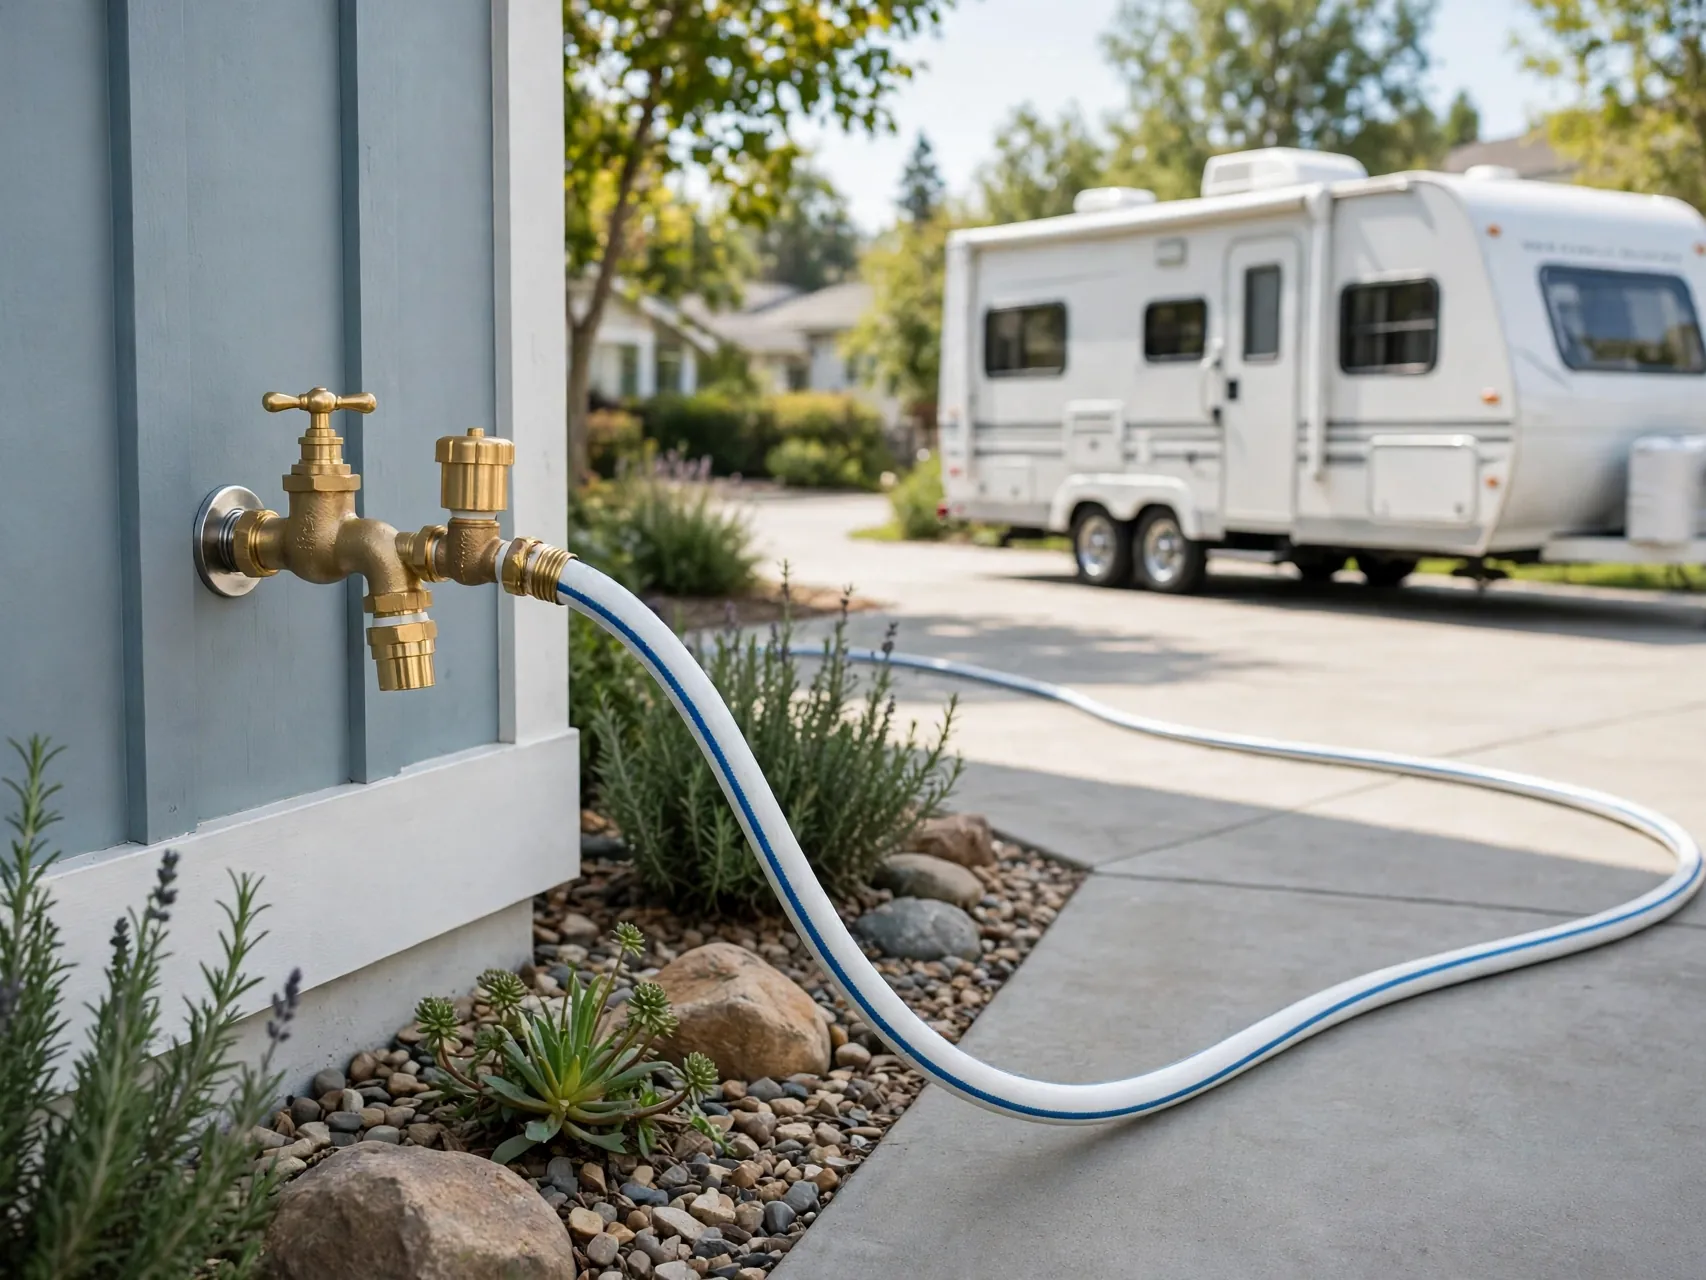
Keep hose ends capped when stored, rinse fittings before connecting, and never let the fresh water hose end rest in puddles, dump areas, or against sewer equipment. If your local rules or plumbing setup call for a backflow preventer on an added hose bib or line, have it installed as part of the permitted work.
Sanitize the RV fresh system on the maker schedule, especially before guest stays and at the start of the season.
17. Dump Waste Only Into an Approved Sewer or Septic Connection
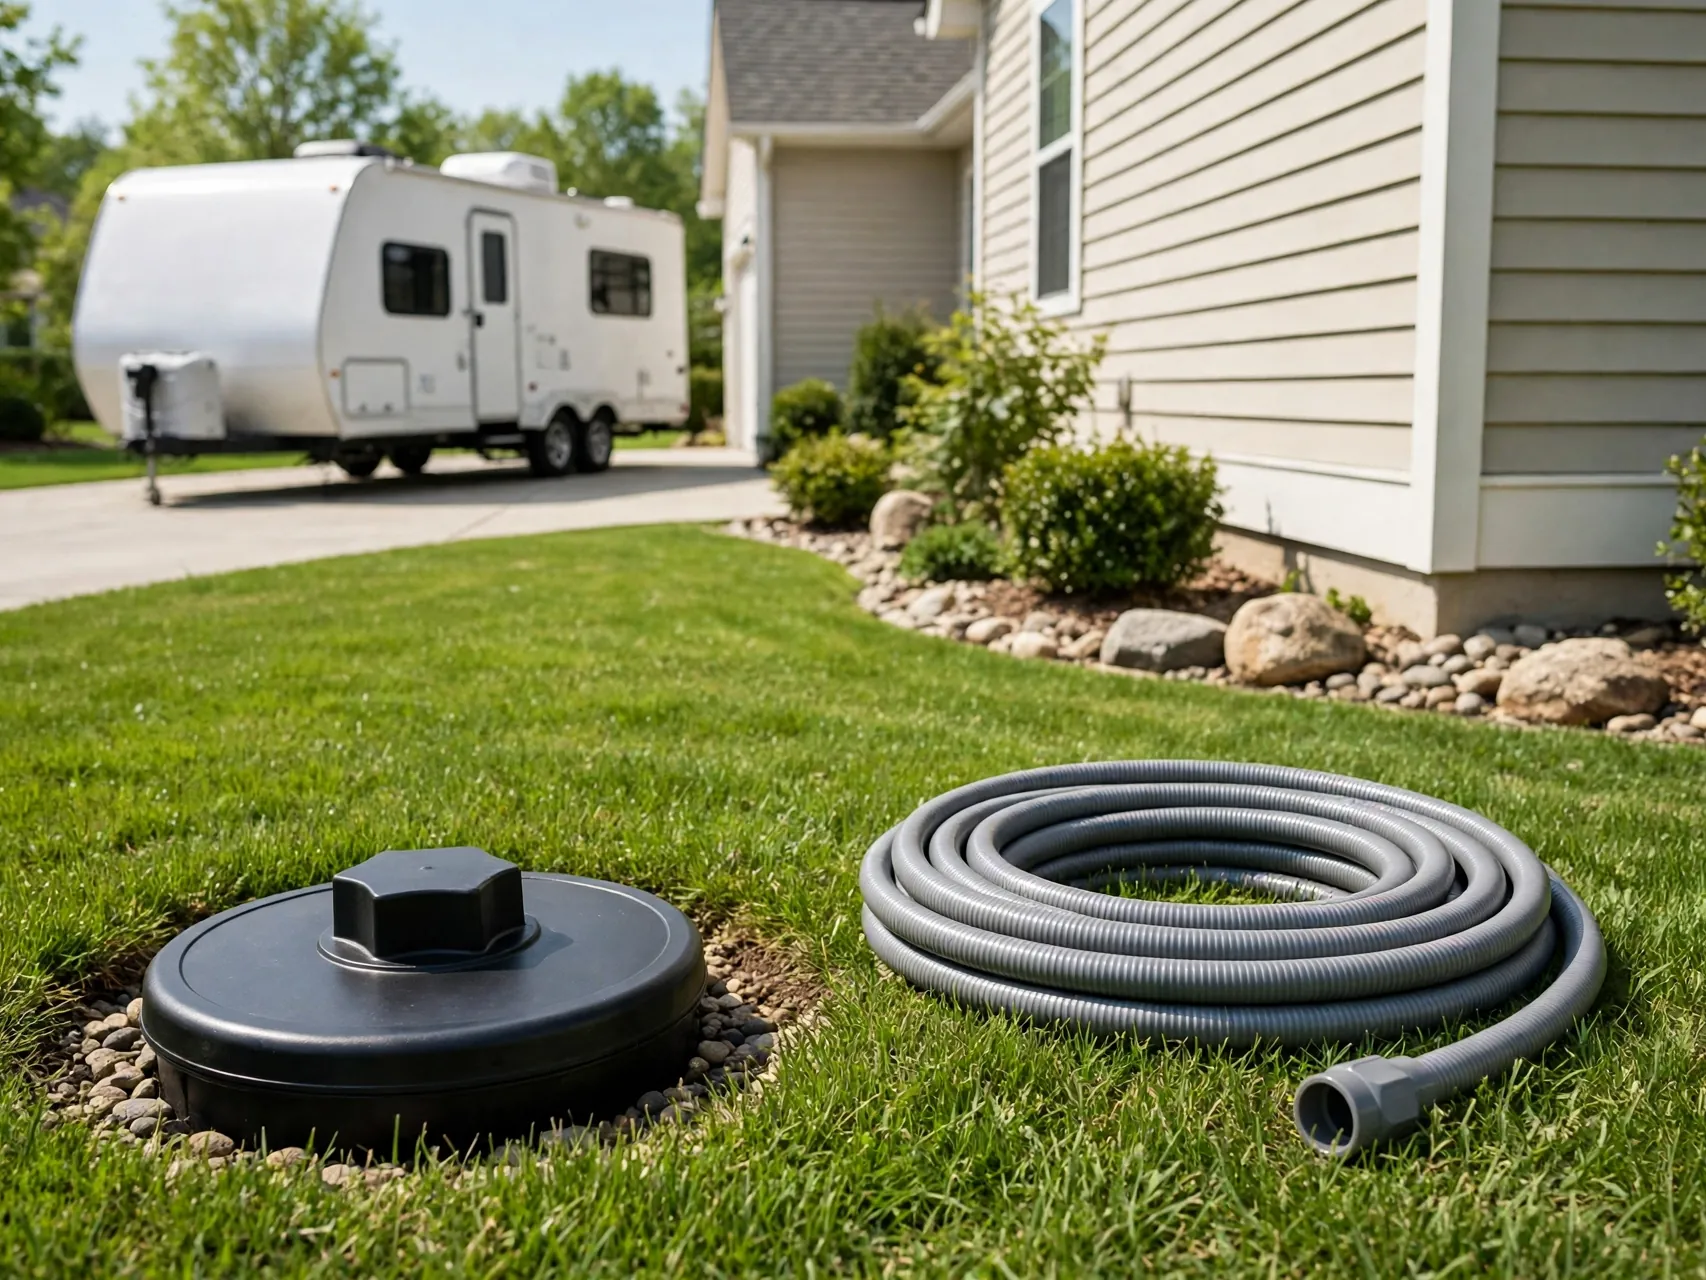
Black and gray water must go into an approved sanitary sewer or septic system where your local rules allow a home RV connection. Never dump onto the ground, into a storm drain, or into a ditch. Public health guidance treats RV wastewater as sewage, because that is what it is.
Using a home sewer cleanout may need plumbing approval in your area, so check before you connect. If no approved option exists, use a dump station.
18. Dump the Tanks in the Right Order With Gloves On
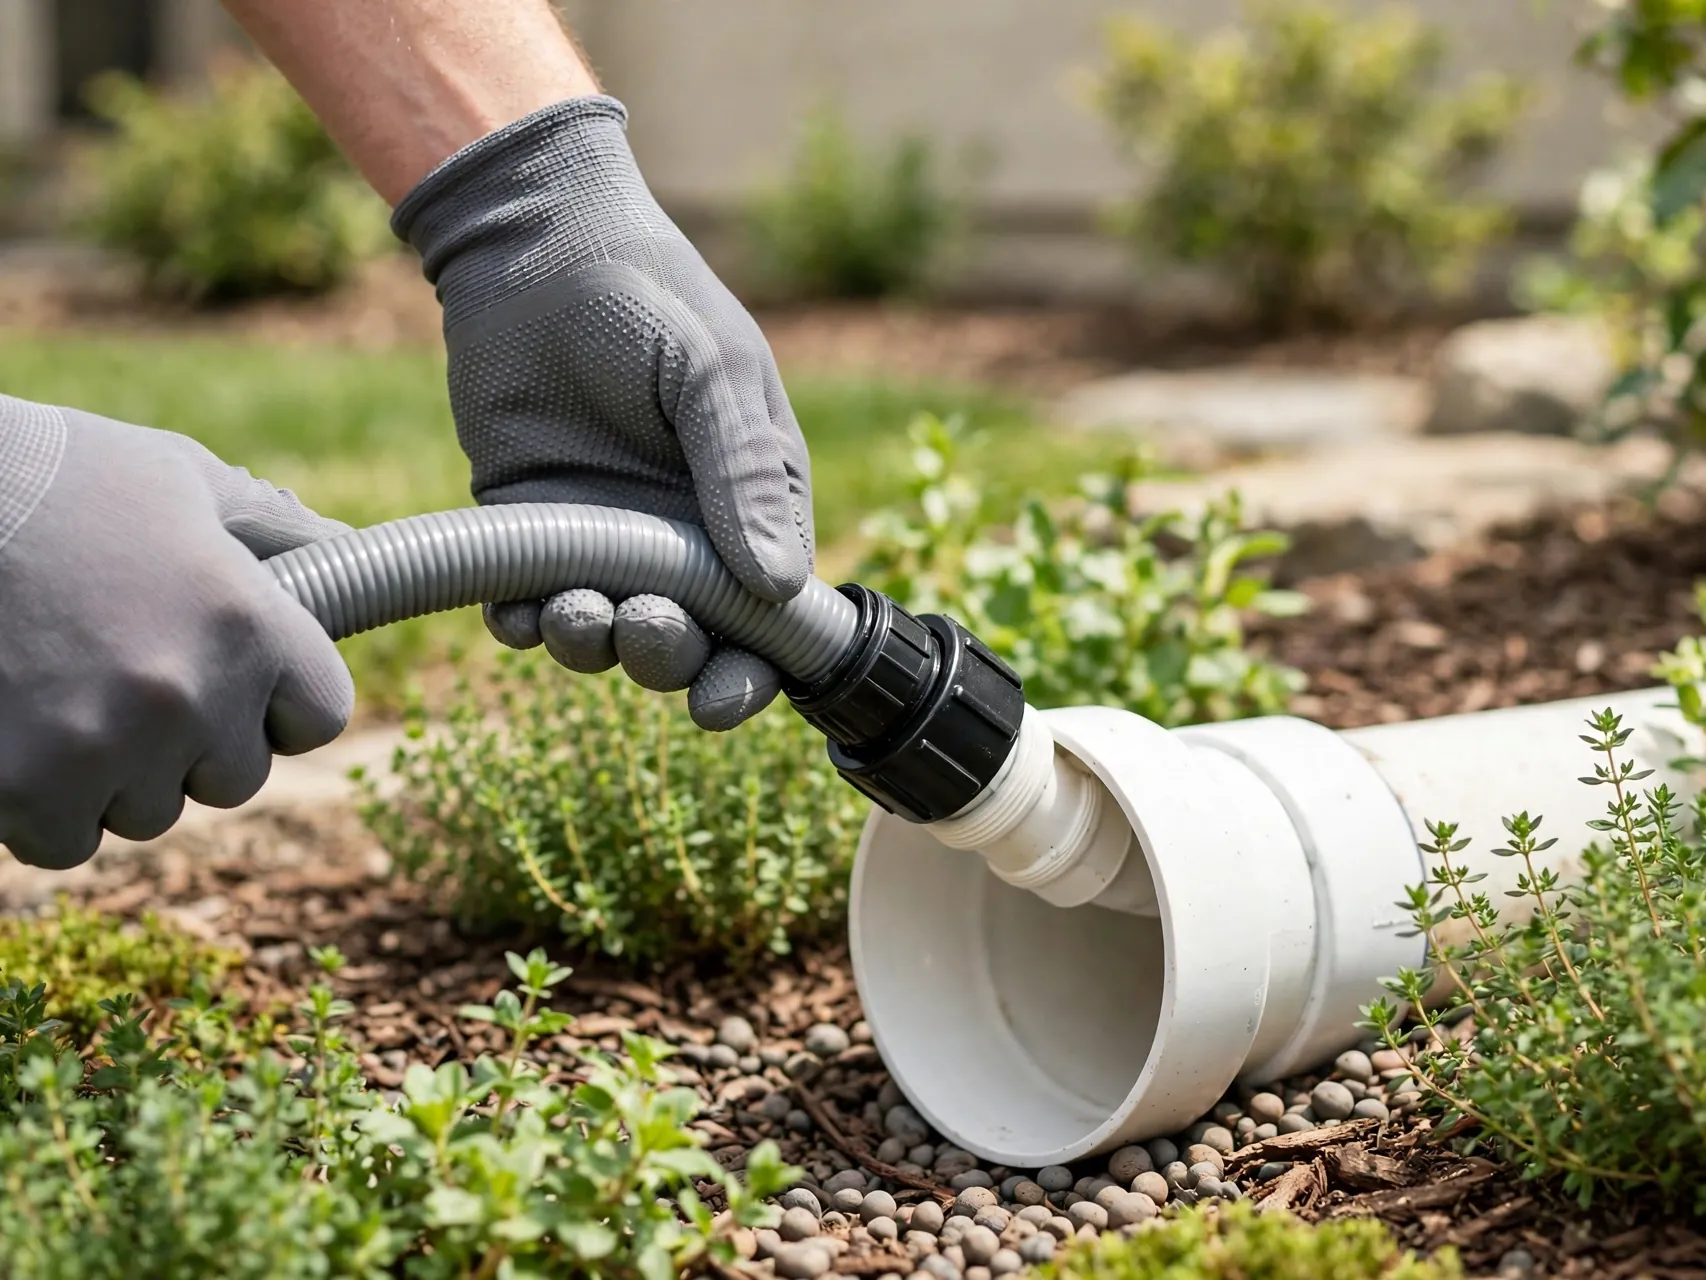
Wear disposable gloves, make sure the sewer connection is secure, then dump the black tank first and the gray tank second, so the soapy gray water rinses the hose. Keep the black tank valve closed during normal use until the tank is at least two thirds full, because a fuller tank empties more completely.
Rinse with a separate utility hose only, never the drinking water hose. Wash hands well, and store sewer gear in its own sealed bin.
19. Support and Seal the Sewer Hose All the Way

A sewer hose that sags holds waste in the low spots, and a loose connection at the inlet can leak. Use a hose support that gives a gentle, steady slope from the RV to the inlet, and use the correct sealed fitting at the connection point rather than just resting the hose end in an opening.
Keep the hose as short as possible, rinse it after use, and let it drain before capping. A tidy setup is one neighbors never notice.
20. Treat a Septic System Gently If You Dump Into One

If a plumber and local rules confirm you can use your septic system, protect it. Use septic safe RV toilet paper and tank treatments, and avoid harsh chemical treatments, especially formaldehyde type products, that can harm the bacteria a septic system depends on.
Dump a tank as one load rather than leaving the valve open. When in doubt about capacity, ask your septic service company before the first home dump.
21. Keep Fresh Water and Sewer Gear Completely Separate

Cross contamination happens through casual storage, not bad intentions. Keep the drinking water hose, regulator, and filter in one clean bin, and sewer hoses, fittings, gloves, and the rinse hose in a different bin, clearly labeled, stored in a different bay or shelf.
Use a different colored rinse hose so nobody grabs the wrong one. Teach guests the two bin rule on day one.
22. Make the Setup Safe and Welcoming for Guests

If family or friends will sleep in the RV, walk the path from house to camper at night and add light where steps, cords, or hoses cross it. Use cord covers where a cord must cross a walkway, keep the area around the receptacle clear, and show guests the breaker, water shutoff, and load limits in a two minute tour.
Leave a short note inside: what not to run at the same time, and your phone number. A short orientation prevents most midnight problems.
23. Set a Storage Mode and Check the Rig on a Schedule
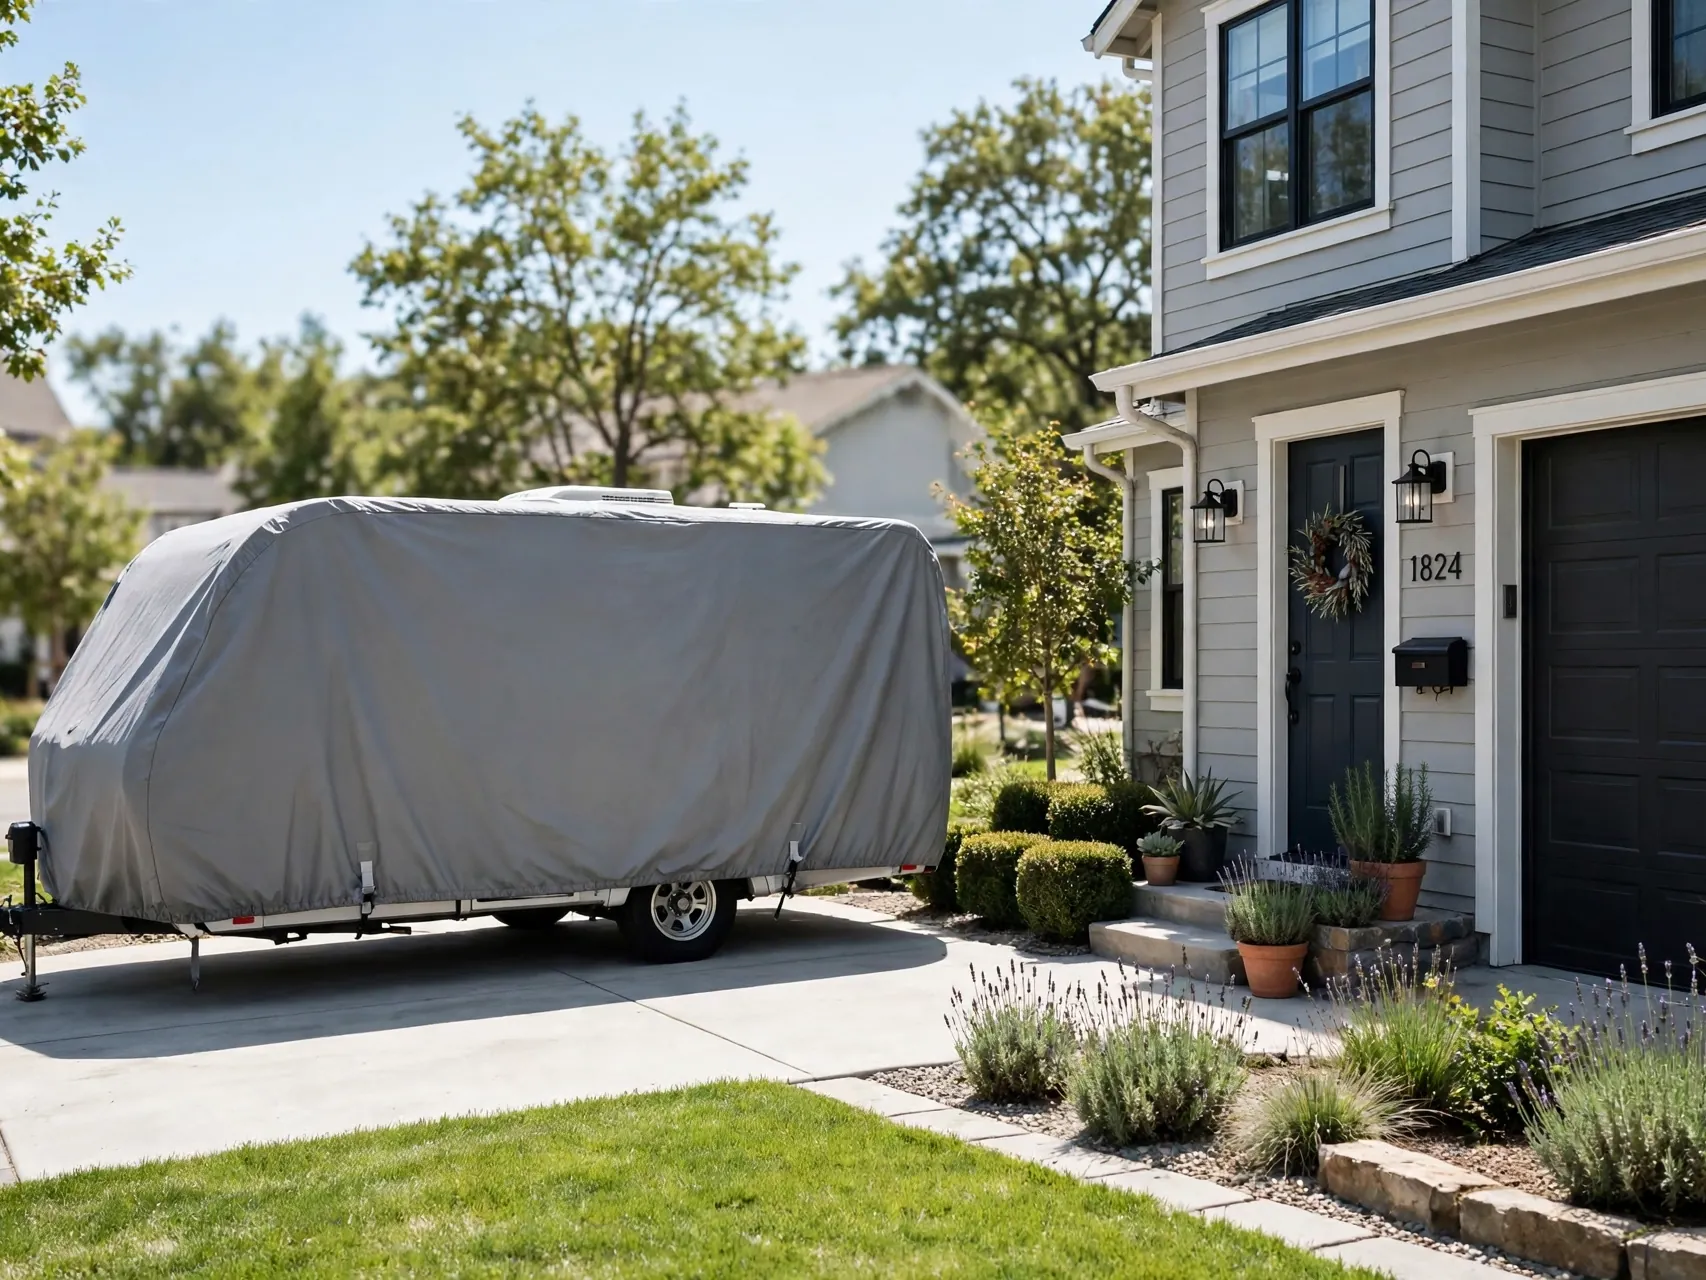
Between trips, decide what stays on and what goes off. Many owners keep power connected for battery charging and check the rig regularly, while turning water off at the tap and relieving pressure, because a leak in an empty RV can run for days. Follow the battery and converter maker guidance for long term connection.
Walk through monthly: check for leaks, pests, and cord and hose condition. Winterize as your climate and the RV maker direct.
FAQ
Can I plug my RV into a regular house outlet?
Yes, for limited use, with a proper dogbone adapter. A 15 or 20 amp household outlet can run lights, charge batteries, and cool a fridge, but it will not reliably run an air conditioner plus other large loads. The adapter changes the plug shape, not the available power. For regular use or guest stays, install a dedicated RV receptacle with a licensed electrician.
What is the difference between 30 amp and 50 amp RV service?
Thirty amp RV service uses a three prong TT-30 plug and a single 120 volt supply, common on smaller trailers with one air conditioner. Fifty amp RV service uses a four prong plug and two 120 volt legs, giving much more total power for larger rigs with multiple air conditioners and appliances. A 30 amp RV outlet must never be wired as a 240 volt dryer style outlet.
Do I need a permit to install an RV hookup at home?
Often, yes for the electrical work, and sometimes for plumbing or sewer changes as well. Rules vary by city, county, and HOA, and some places also regulate RV parking and guest stays. Check before work begins, use a licensed electrician, and keep permit and inspection records. Local requirements and your inspector have the final say, especially on questions like GFCI protection.
Can I dump my RV tanks at home?
Only into an approved sanitary sewer or septic connection, and only where local rules allow it. Never dump on the ground or into a storm drain. Using a home sewer cleanout may require plumbing approval in some areas. If you have no approved connection, use a campground or municipal dump station instead.
Can I leave my RV plugged in at home all the time?
Many owners do for battery charging, but it needs a schedule of checks. Confirm your converter and battery maker guidance for long term connection, inspect cords and connections, watch for leaks if water is connected, and turn the water supply off between uses. A monthly walk through catches small problems, pests, a tripped breaker, or a hose issue, before they become expensive ones.
Key Takeaways
- Plan and permit first: Local rules, HOA covenants, panel capacity, and inspections decide what a legal home hookup looks like before any hardware is bought.
- Electrical safety is non negotiable: A licensed electrician, the correct TT-30 or 14-50 receptacle, and a clear warning that a 30 amp RV outlet is 120 volts, not a dryer outlet.
- Protect the power: Use a surge protector or EMS, the right RV rated cord, and simple load management to avoid trips and damaged appliances.
- Keep water clean: A drinking water safe hose only, a pressure regulator, clean capped fittings, and completely separate storage from all sewer gear.
- Dump only the approved way: Into a permitted sewer or septic connection, black tank first and gray second, with gloves, a sealed sloped hose, and septic safe products.
- Planning a home base for your rig? Pin this guide to your small spaces board on Pinterest so the safety checklist is saved before your electrician visit.