24 Tips on How to Make Wax Melts at Home Like a Pro
Introduction
Wax melts give you all the scent of a candle with no flame at the table and no wick to trim, which is why learning how to make wax melts has become a favorite weekend craft. The method itself is simple: melt, scent, pour, cool. The difference between a melt that perfumes a room and one that smells faint in the warmer almost always comes down to small habits, not fancy equipment.
This guide walks through those habits in order, from choosing wax to labeling the finished batch. Follow the temperatures your wax maker gives, weigh your ingredients, and test small before you scale up.
Safety sits underneath every tip here. Melt wax slowly in a double boiler, keep a thermometer in the pot, and never leave melting wax unattended, even for a quick trip to another room.
1. Choose the Right Wax for Melts

Pick a wax made or recommended for tarts and melts, not a soft container candle wax. Melt waxes are firmer, so they pop out of molds cleanly and hold up in warm rooms without slumping in the package.
Soy melt blends, paraffin melt blends, and soy paraffin mixes all work, and each throws scent a little differently. Beeswax is firm and natural but holds less added fragrance and can mute blends. Start with one melt wax, learn how it behaves, and only then compare others side by side.
2. Weigh Everything by Weight, Not Volume
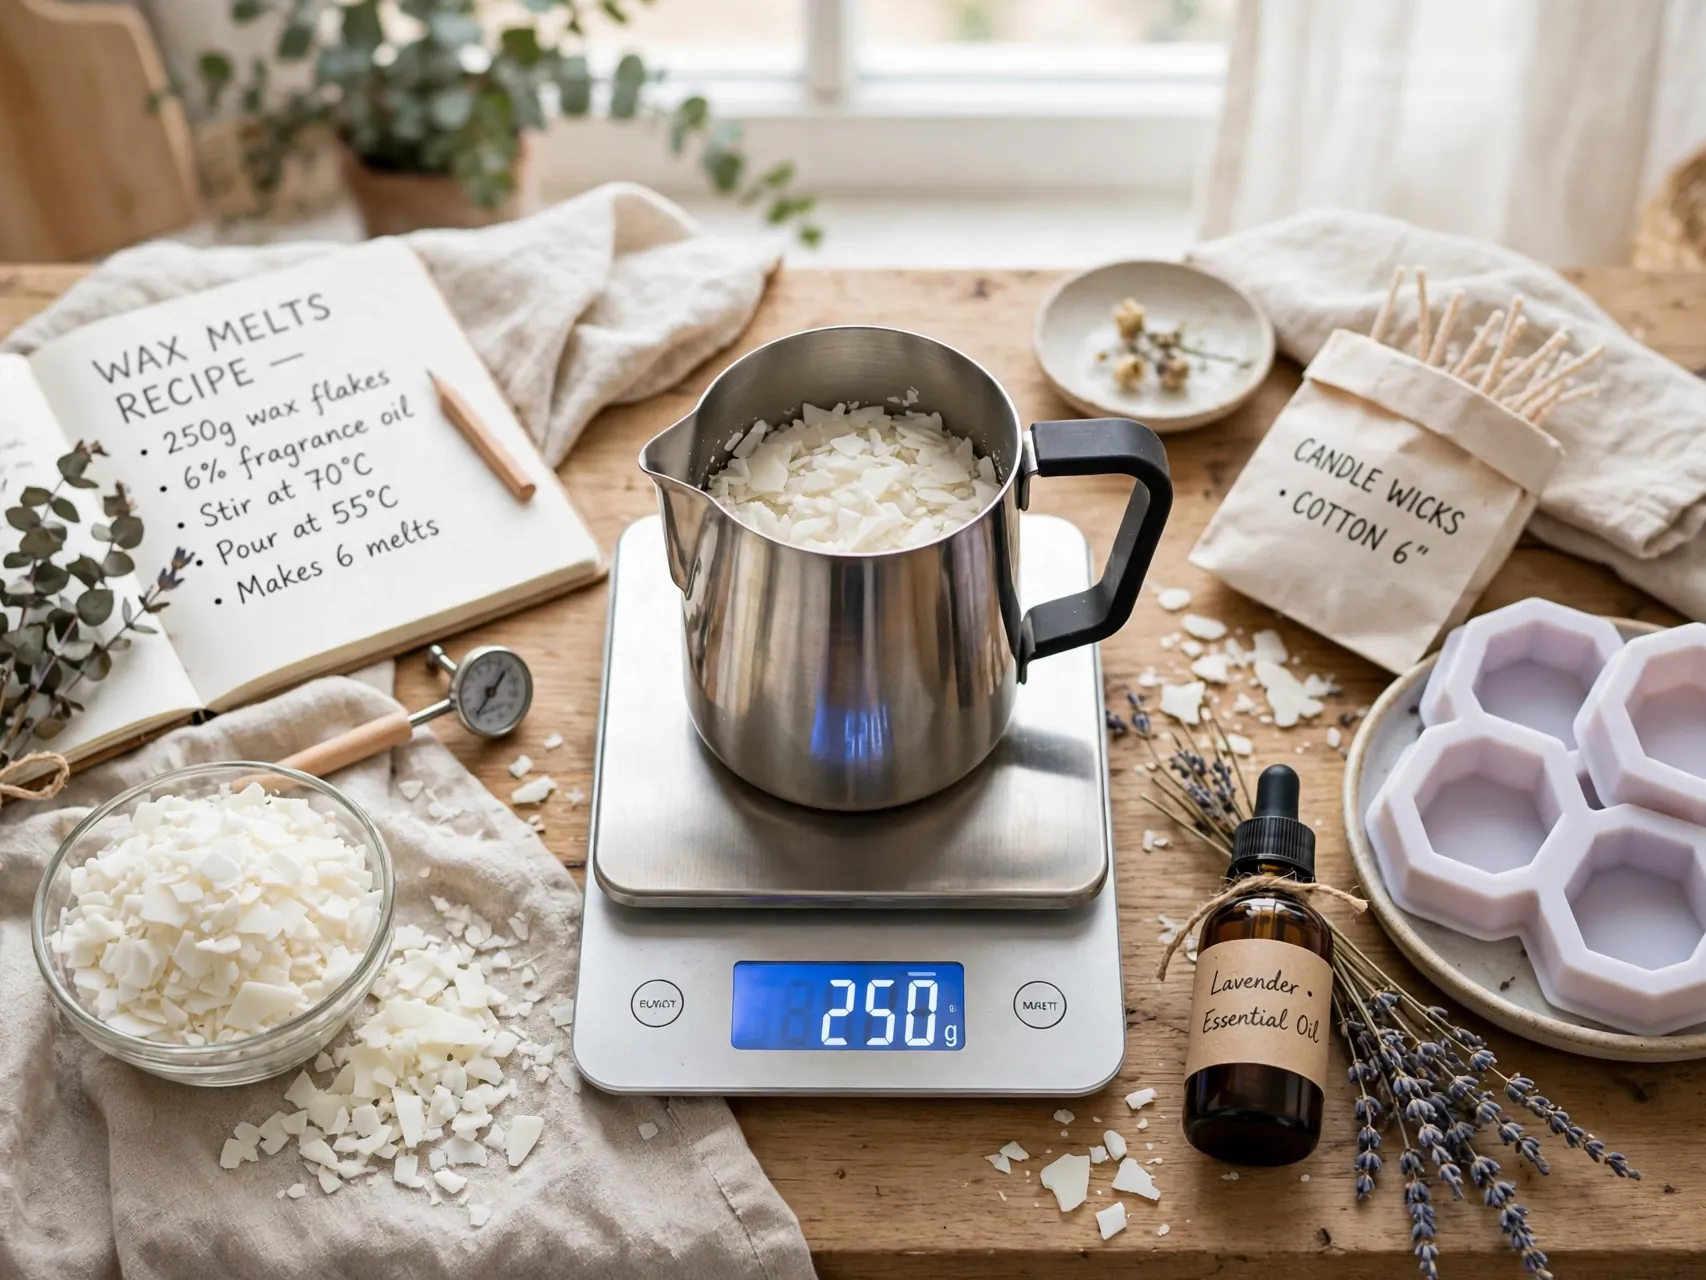
A small kitchen scale is the most useful tool in this craft. Fragrance percentages are calculated by weight, so a cup of flakes and a cup of melted wax will give you two different batches if you measure by eye.
Weigh the wax, weigh the fragrance, and write both numbers down. That one habit makes a good batch repeatable and a weak batch fixable, because you can see exactly what to adjust next time instead of guessing.
3. Set Up a Safe Double Boiler Station

Melt wax in a pouring pitcher set inside a pot of simmering water, never directly over a burner. Direct heat creates hot spots that scorch wax and can push it toward dangerous temperatures fast.
Clear the counter before you start, tie back sleeves and hair, and keep paper, towels, and fragrance bottles away from the stove. Fill the pot only partway so water cannot splash into the wax, and keep a lid nearby while you work.
4. Use a Thermometer Every Single Time
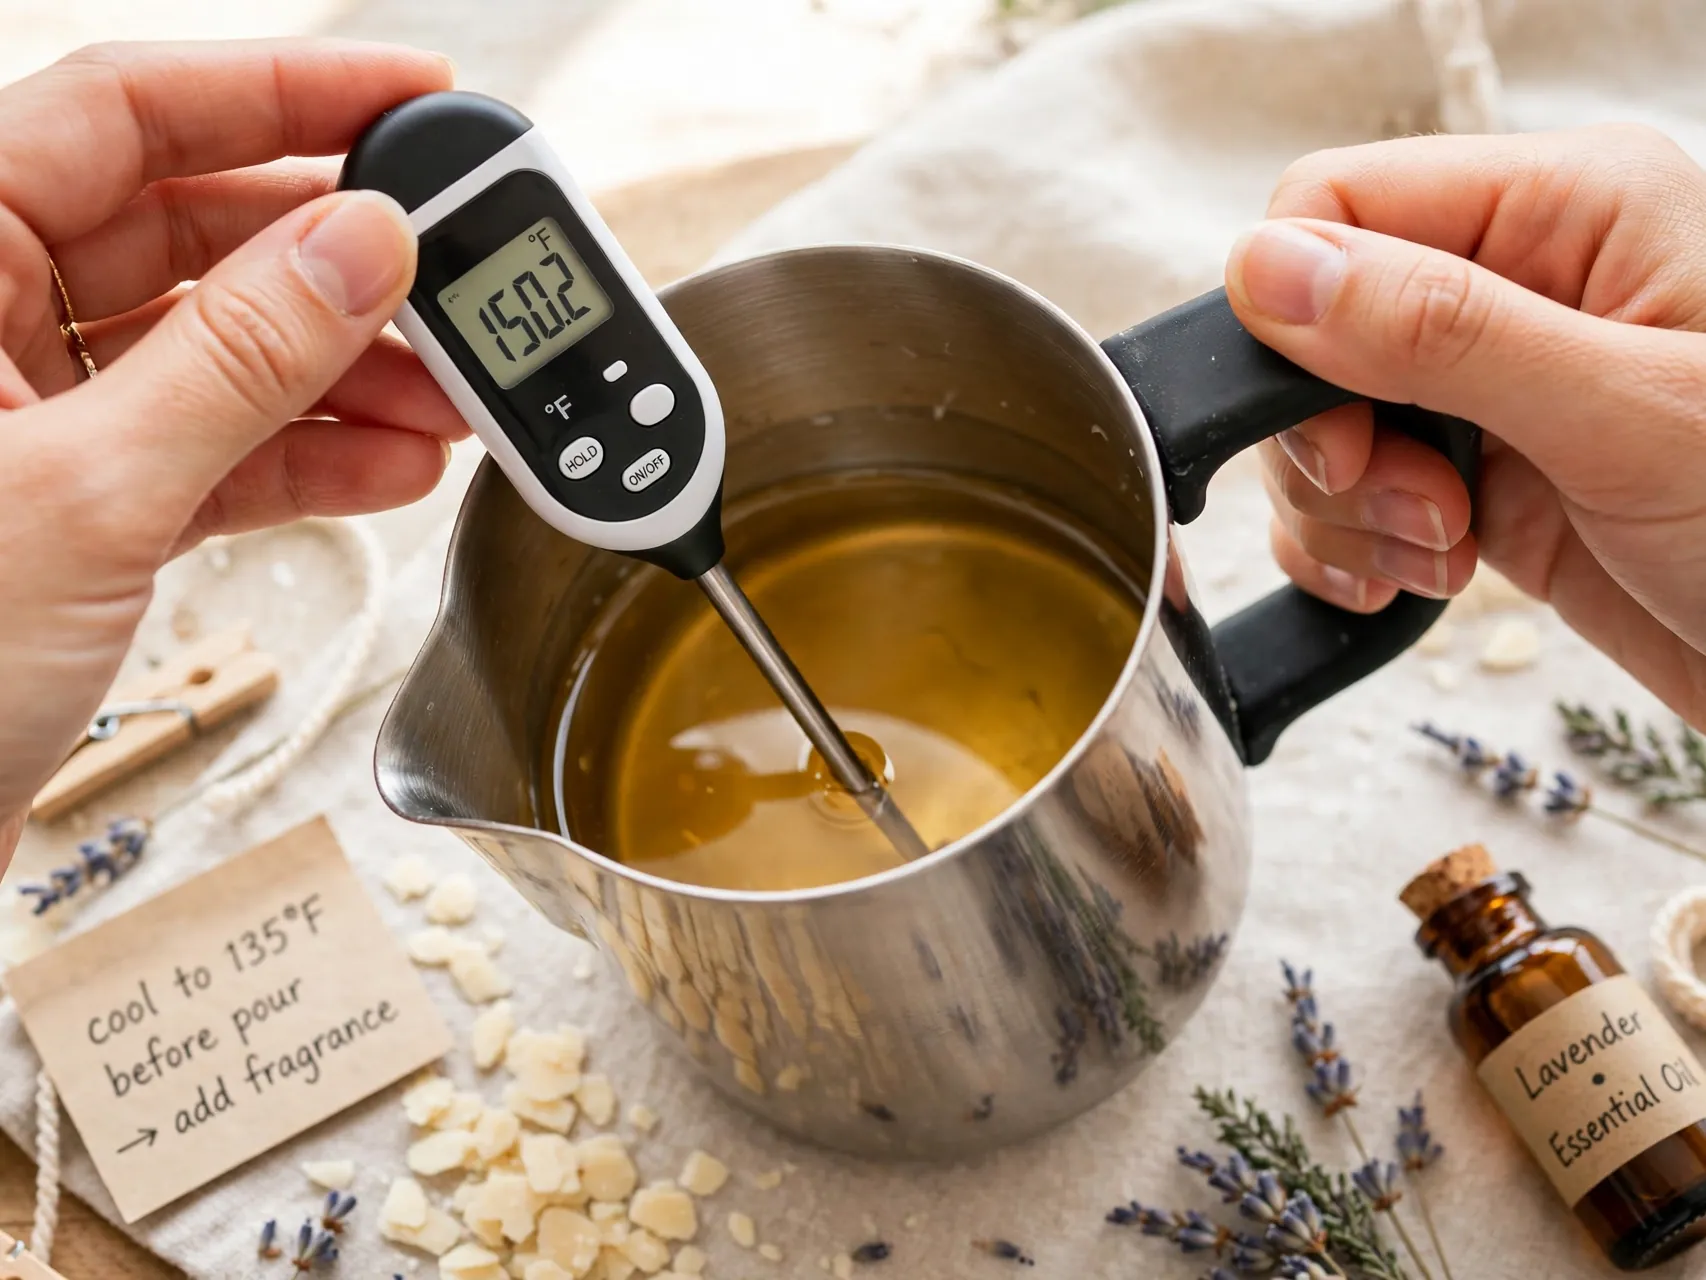
Guessing wax temperature is where most beginner problems begin. A basic candy or digital thermometer tells you when to add fragrance, when to pour, and when the wax is getting too hot.
Clip it to the pitcher so the tip sits in the wax without touching the bottom, which reads hotter than the wax itself. Check it often, heat gently, and pull the pitcher off the heat a little early, because the temperature keeps climbing for a minute after you move it.
5. Respect Fragrance Load Limits
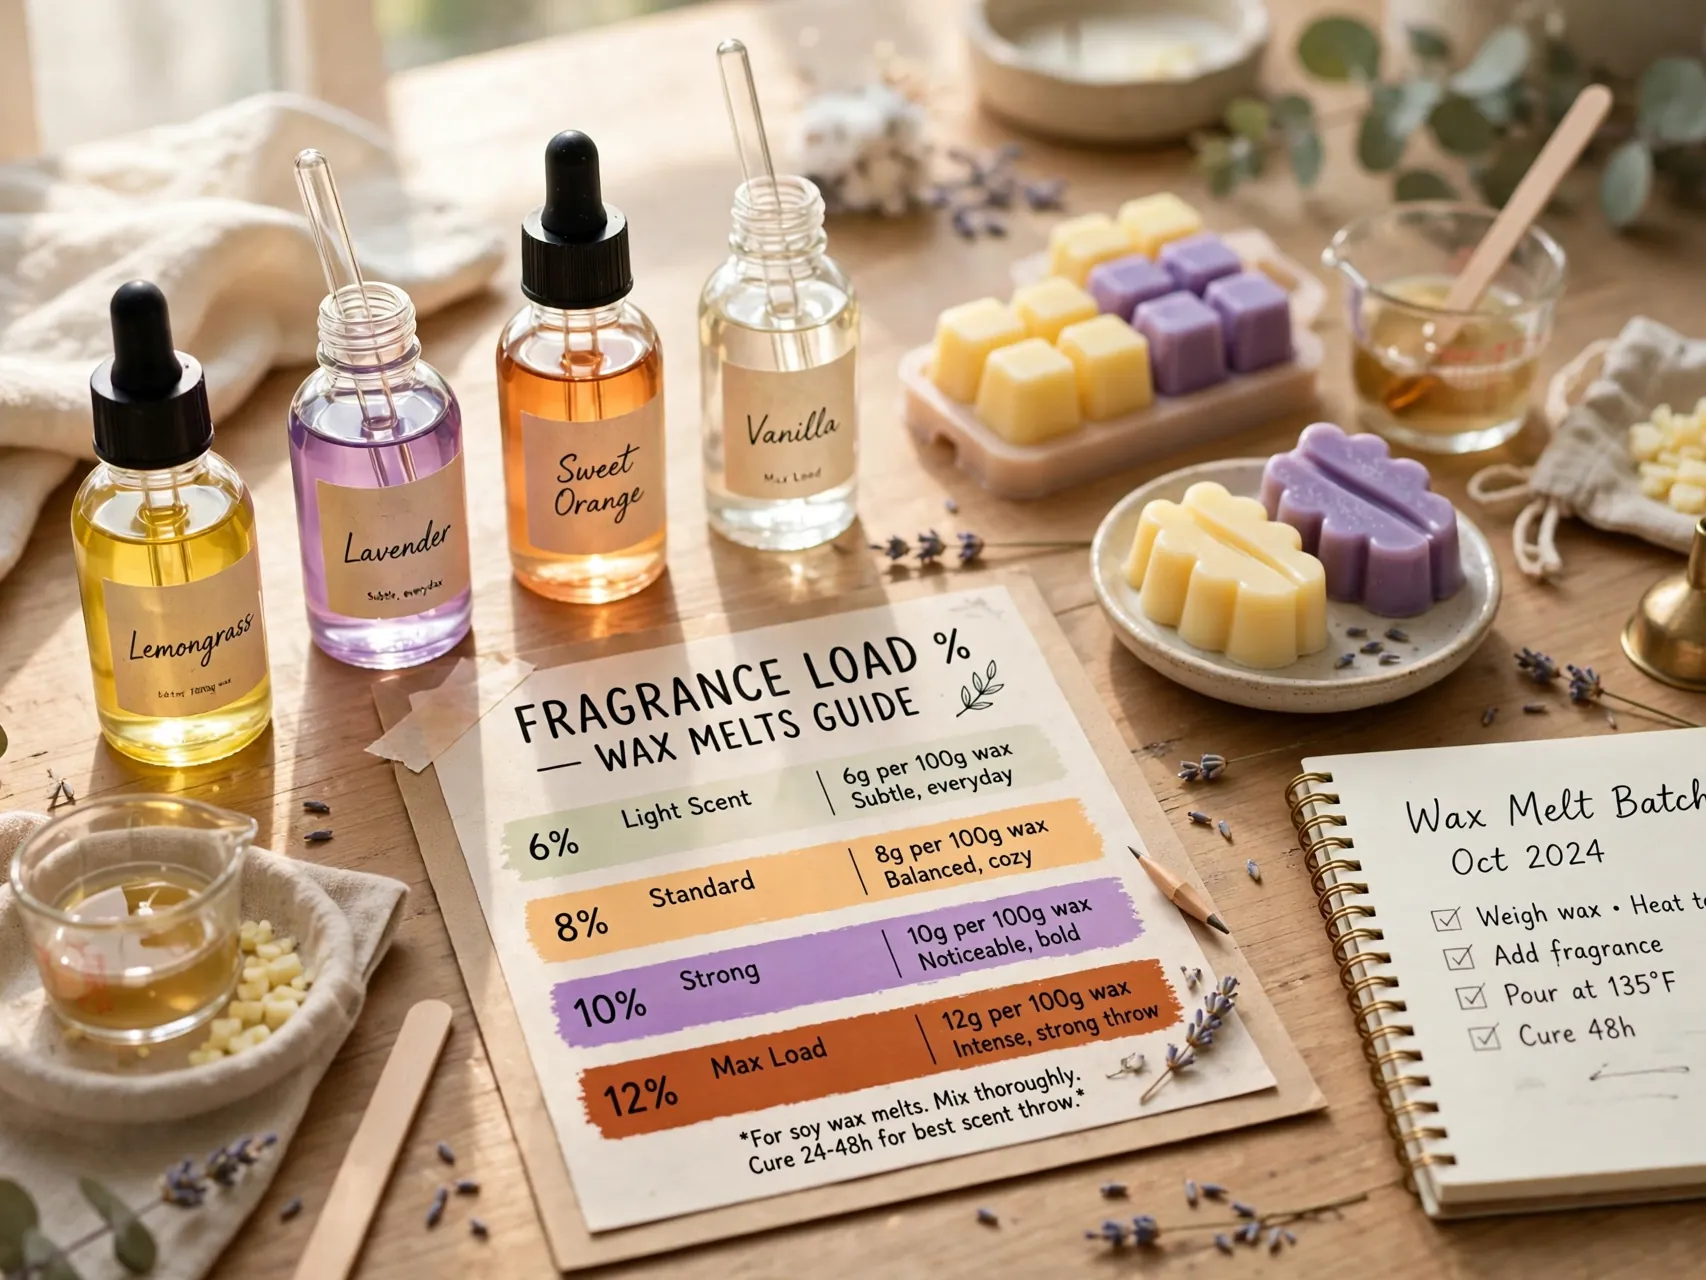
Every wax can hold only so much fragrance oil, and that limit is your wax melt fragrance load. Many melt waxes are rated around 10 percent, but your wax maker number is the one that counts, so read the product guidance before you pour.
More oil past the limit does not mean more scent. The extra oil separates, beads on the surface, or pools in the clamshell, and it can weep into packaging. A melt at the correct load, fully cured, will out smell an overloaded one every time.
6. Add Fragrance at the Right Temperature
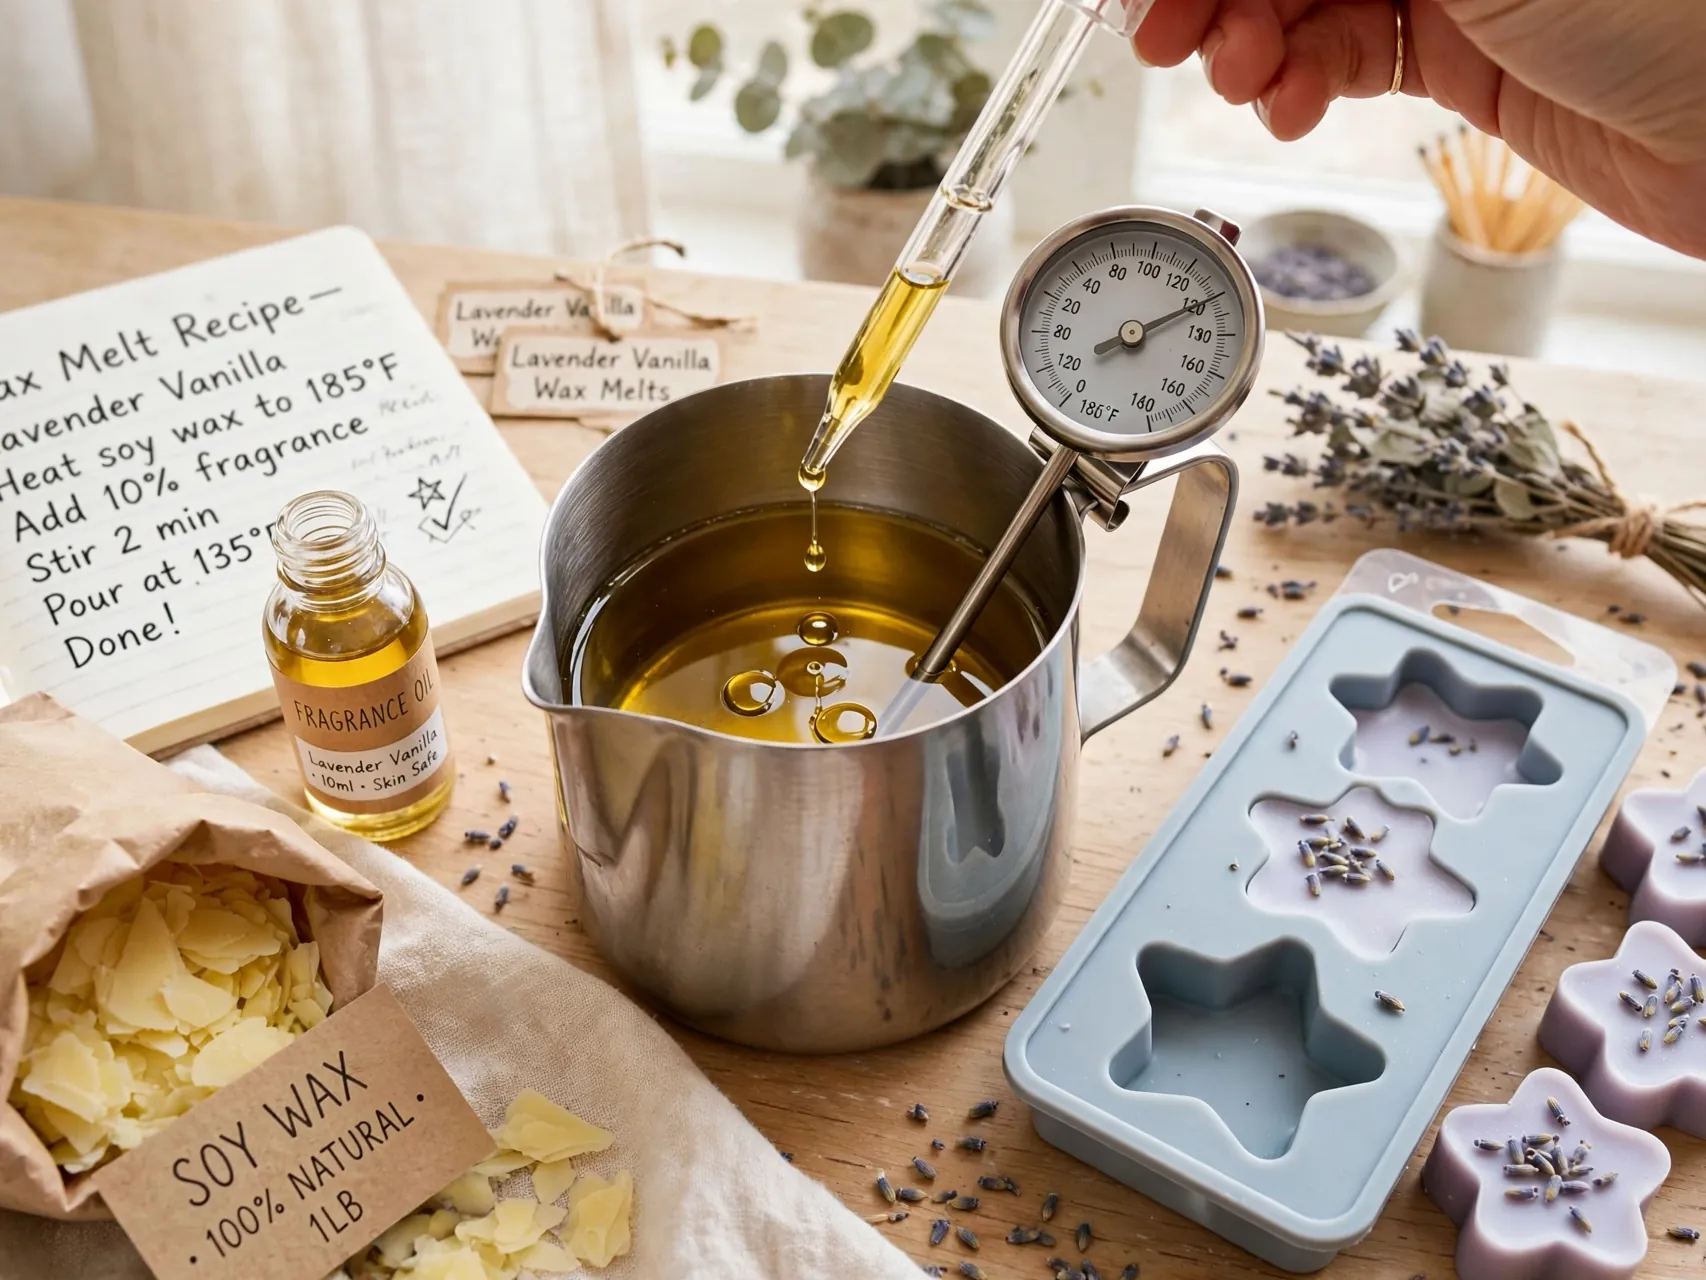
For many soy melt waxes, suppliers suggest adding fragrance near 180 degrees F so the oil binds into the wax evenly. Your maker temperature comes first, so follow it when it differs from that general guide.
If wax is far too hot, the lightest scent notes can fade while the pot sits. If it is too cool, the oil may not disperse and can cloud or separate as the melts set. Add, stir, and move toward pouring instead of leaving scented wax sitting on the heat.
7. Stir Slowly for Two Full Minutes
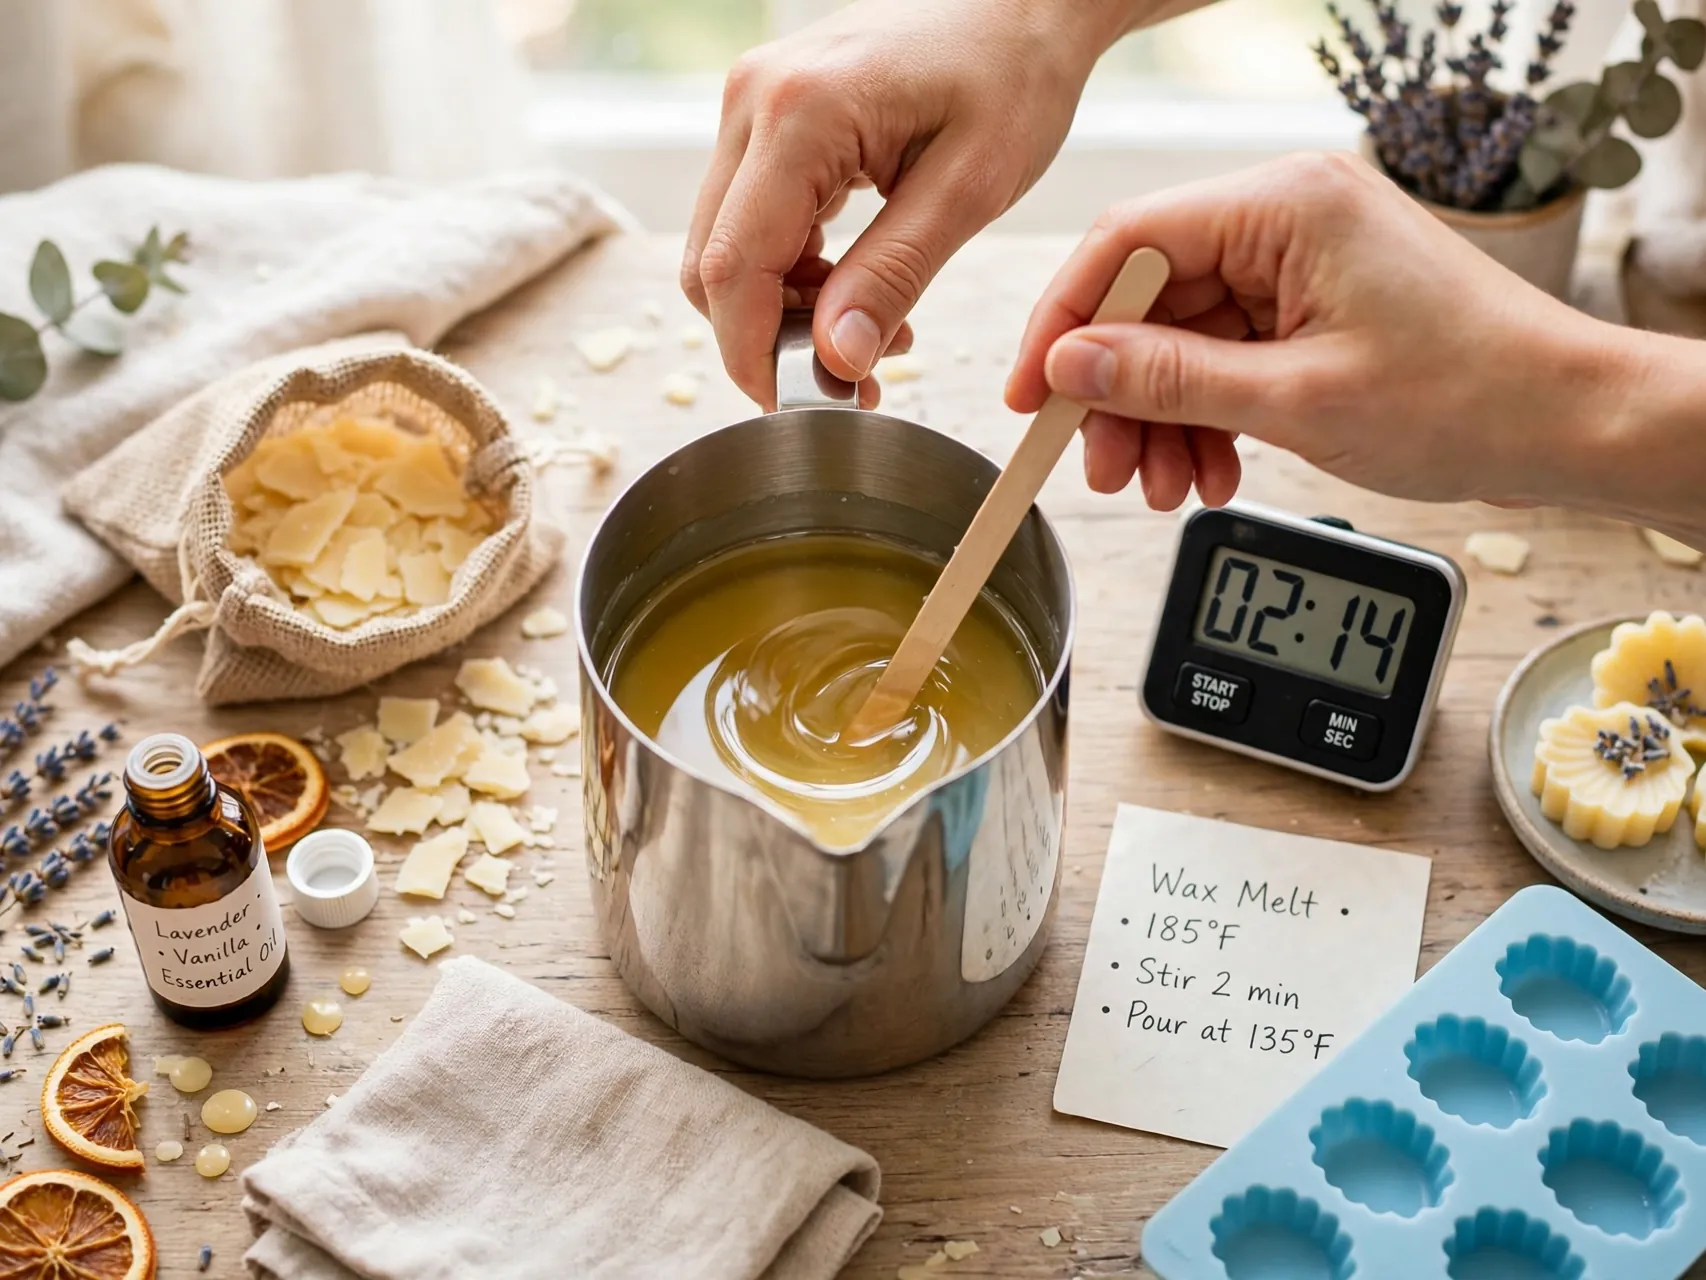
Once the fragrance goes in, stir gently and steadily for a full two minutes. This is not a suggestion to round down. That slow stir is what binds oil through the whole pitcher instead of leaving a strong top layer and a weak bottom layer.
Stir slowly enough to avoid whipping in air bubbles, scraping the sides and bottom as you go. Set a timer the first few batches until the two minute rhythm feels natural.
8. Understand Flash Points Without the Myths

A fragrance oil flash point is the temperature where its vapors could ignite near a spark or open flame. It is listed on supplier product pages, and it is worth reading, but it does not mean oil bursts into flame inside hot wax.
Supplier technical guidance is clear on the practical rule: it is normal to add fragrance to melted wax near or above a listed flash point, because the oil binds into the wax and there is no flame at the pouring stage. The real safety habit is keeping fragrance bottles and vapors well away from burners, sparks, and open flame at all times.
9. Pick Fragrance Oils Made for Wax

Use fragrance oils that the supplier lists as safe for wax melts, and check the melt usage range on that product page before you buy. Perfume, room spray, and oils meant only for skin products are not substitutes, and they can separate, smell off, or behave badly in a warmer.
If you love essential oils, use blends suppliers describe for wax use and keep expectations gentle, because many plant oils are volatile and fade faster in warmers than fragrance oils designed for the job.
10. Color With Candle Dye or Mica Only
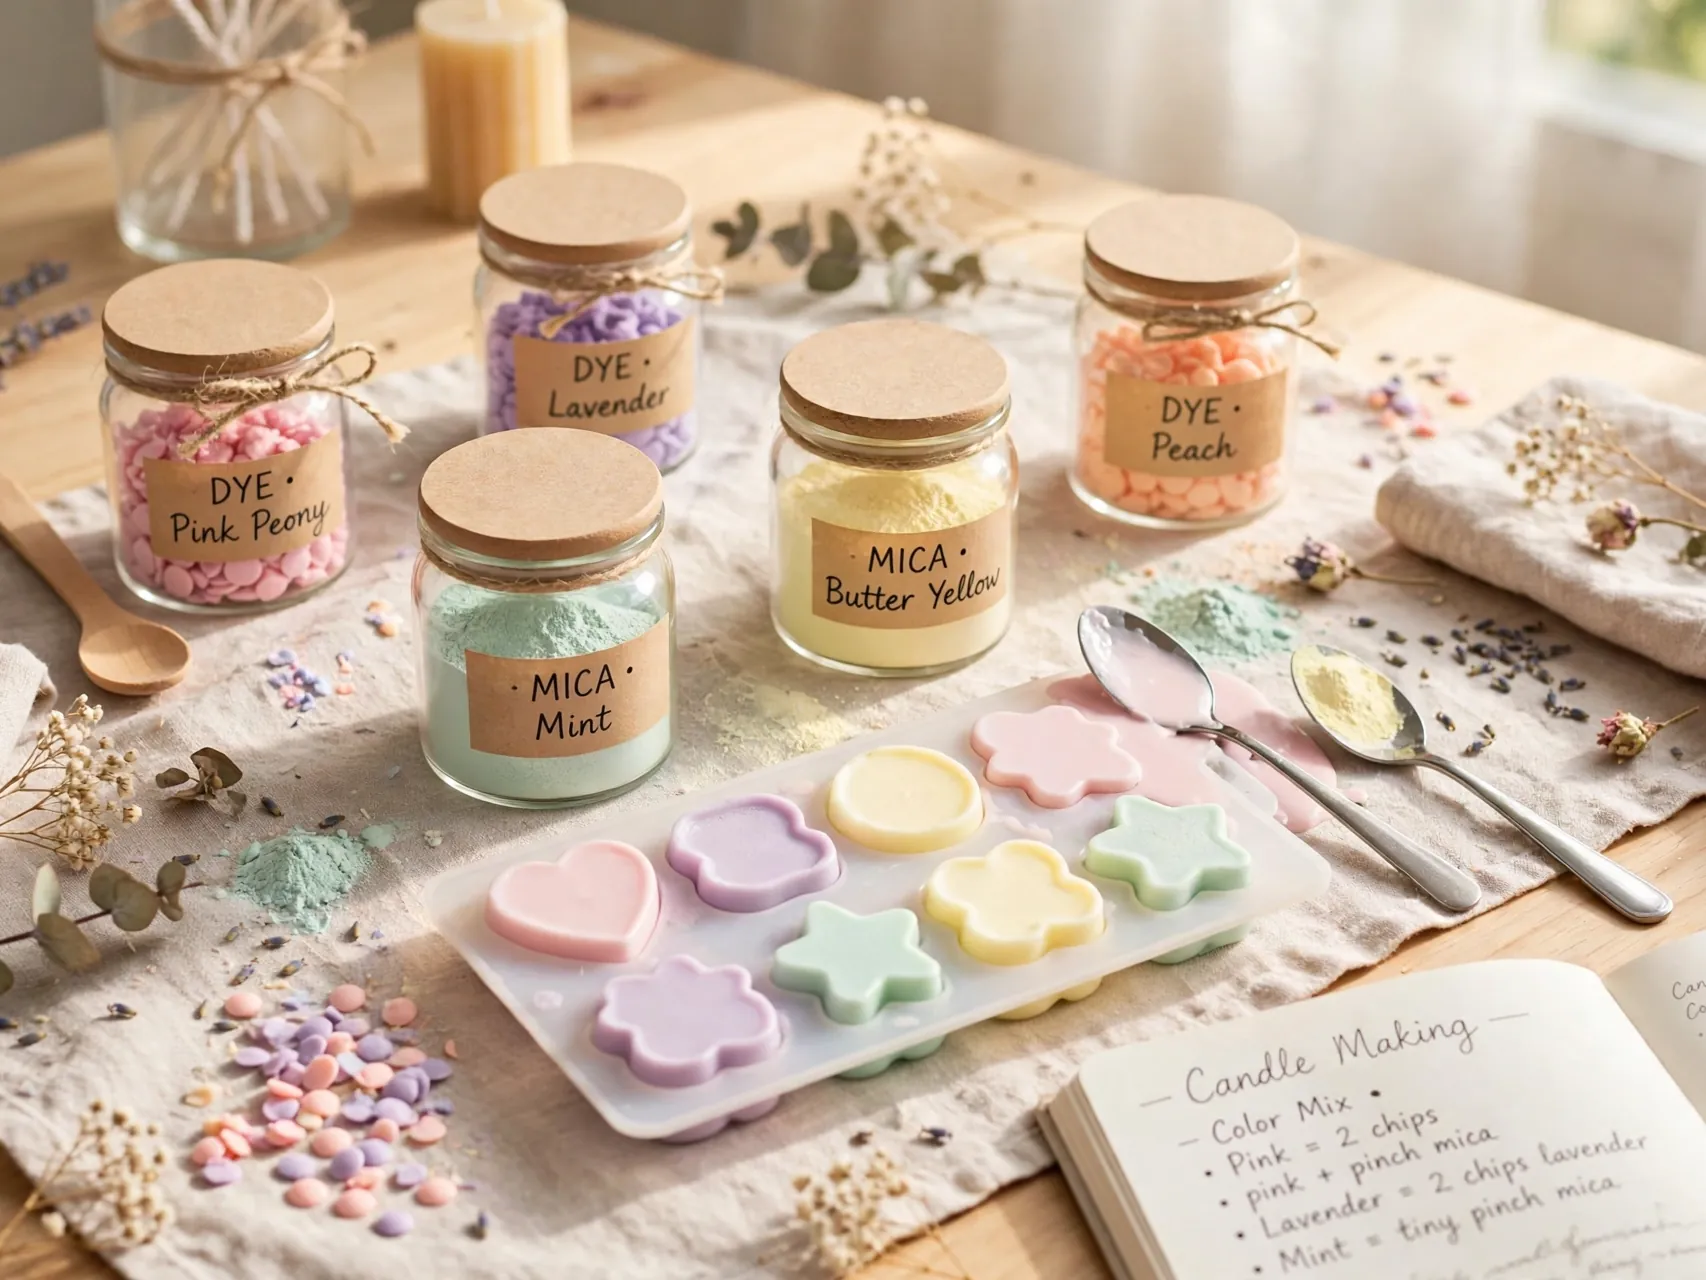
Color melts with liquid candle dye, dye chips made for wax, or a small amount of mica powder. Add color a little at a time, because dye darkens as wax cools and a drop too far is hard to walk back.
Never color with crayons or food coloring. Crayon wax is not made for warmers and food coloring is water based, so it beads instead of blending. Test colored wax on a white plate as it sets to judge the true finished shade.
11. Warm Your Molds Before Pouring
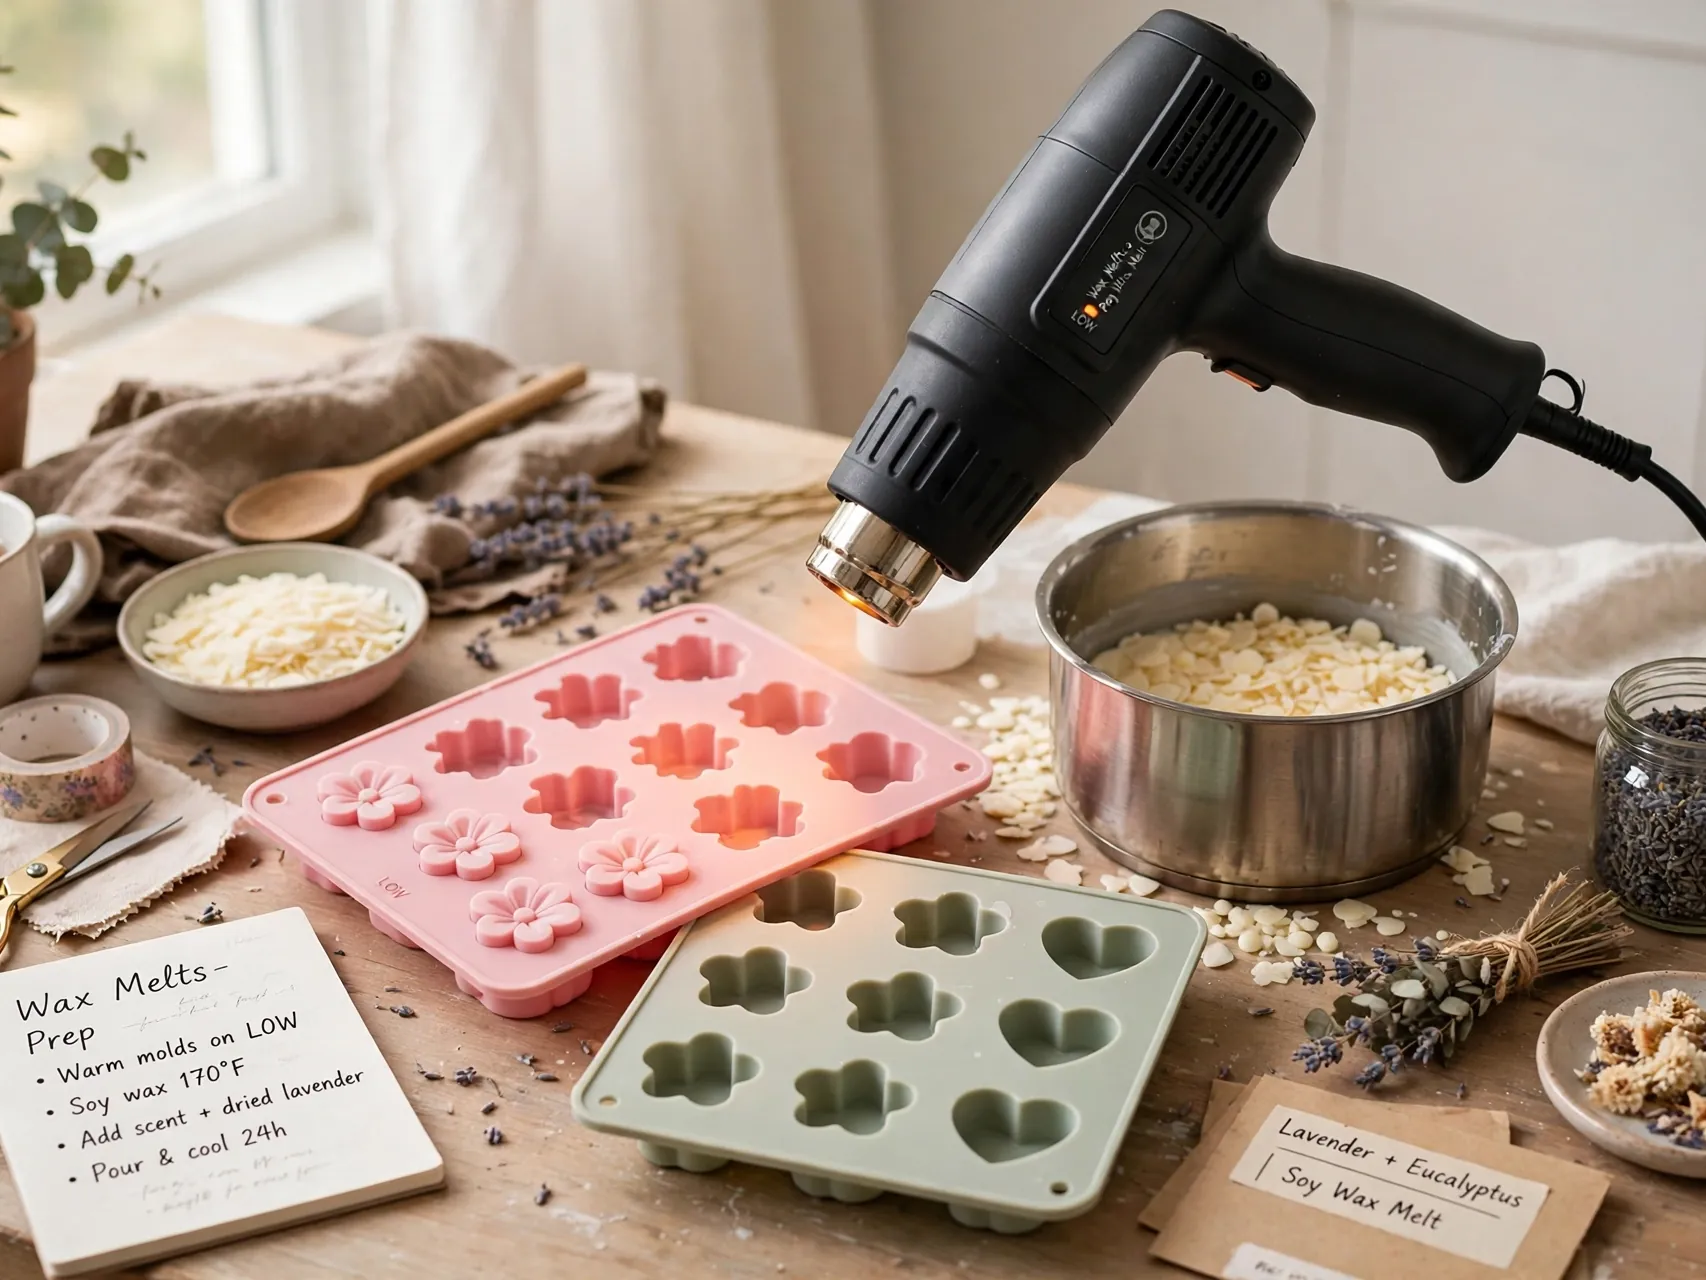
Cold molds can shock hot wax into jump lines, cracks, and rough tops. Set silicone molds and clamshells in a warm room or give them a few minutes in a very low oven or near, not on, a warm surface so they are room temperature or slightly warm.
Place molds on a flat tray before you fill them. The tray catches drips and lets you move the whole batch without flexing soft melts, which is a quiet trick behind many neat, even sets.
12. Pour Low and Slow to Avoid Bubbles
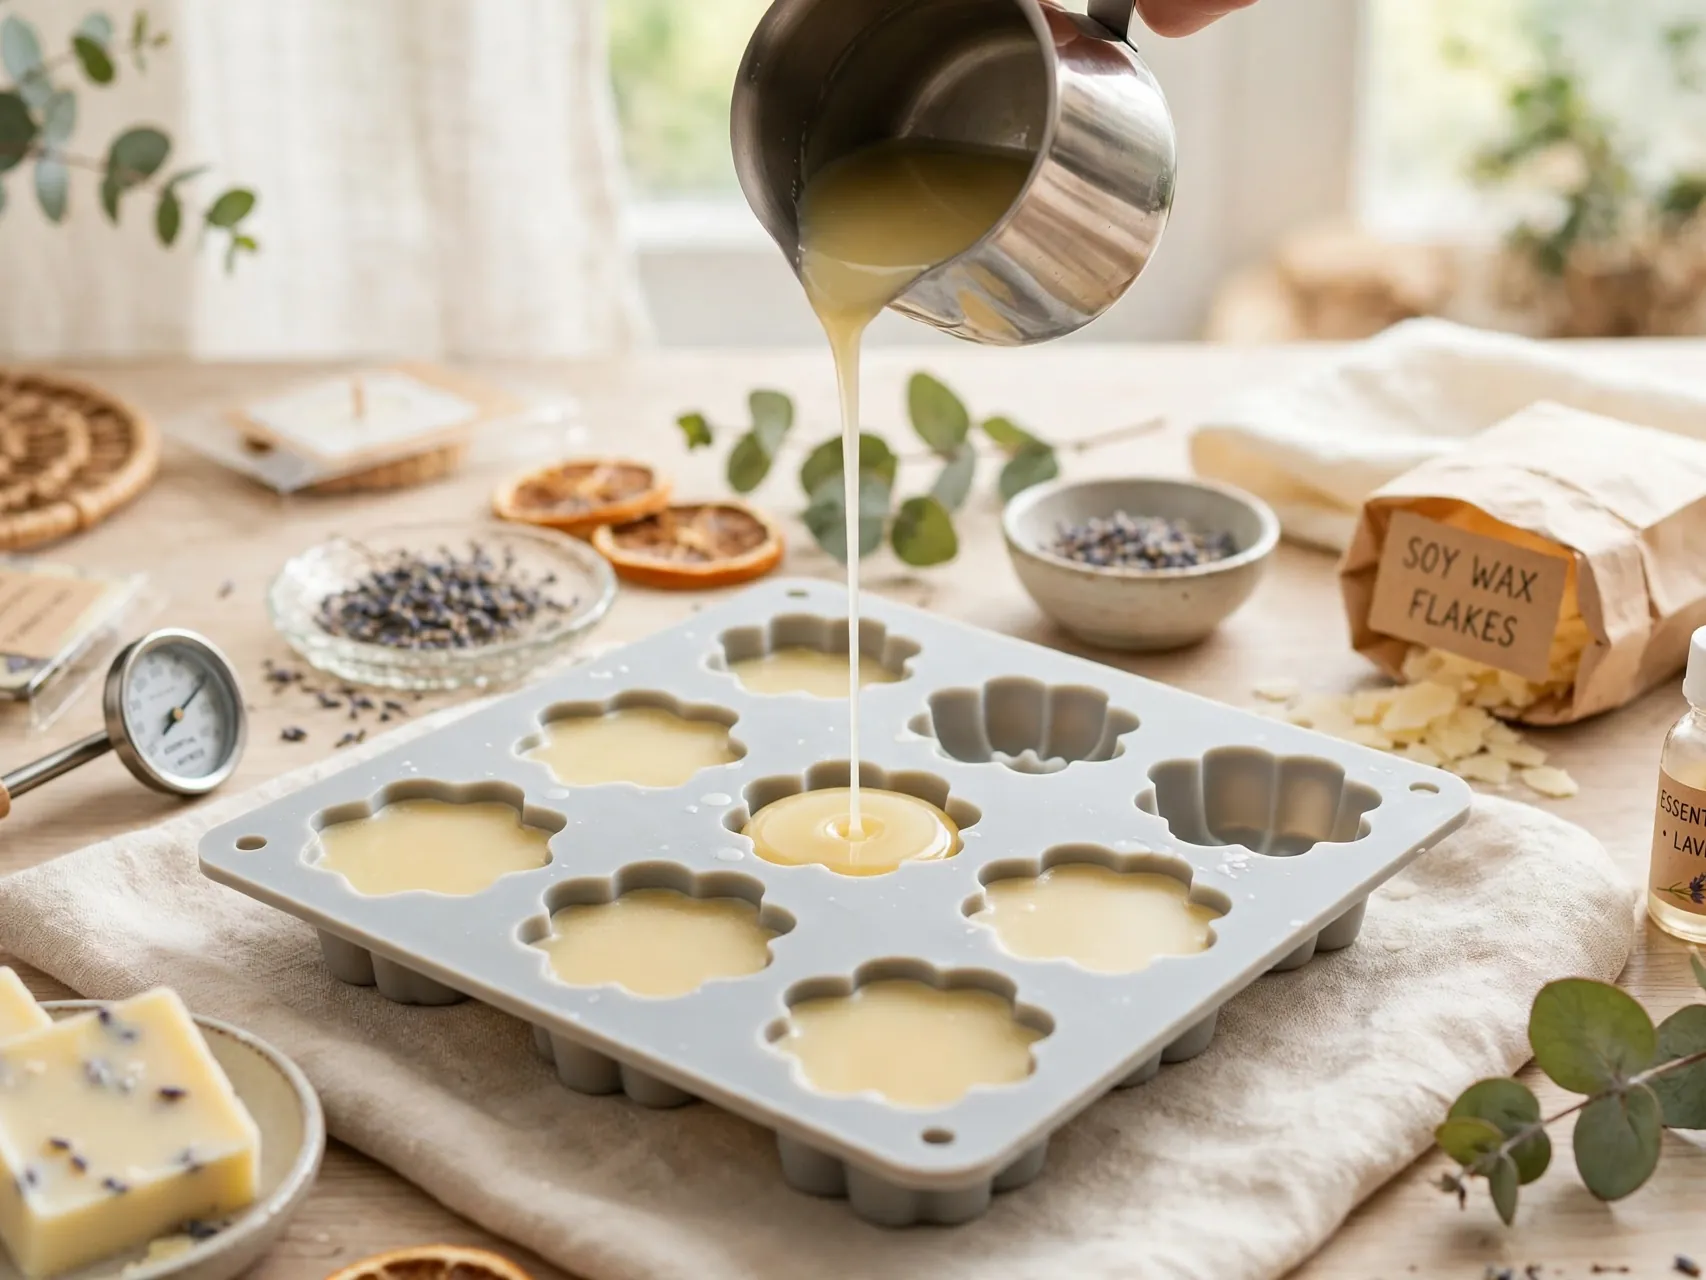
Hold the pitcher close to the mold and pour in a slow, thin stream. Pouring from high up folds air into the wax and leaves pinholes and bubbles on the surface you see first.
Fill each cavity almost to the top, because wax shrinks slightly as it cools. If a bubble rises, a quick tap of the mold on the tray or a gentle toothpick swirl releases it before the surface skins over.
13. Try Silicone Molds for Easy Release
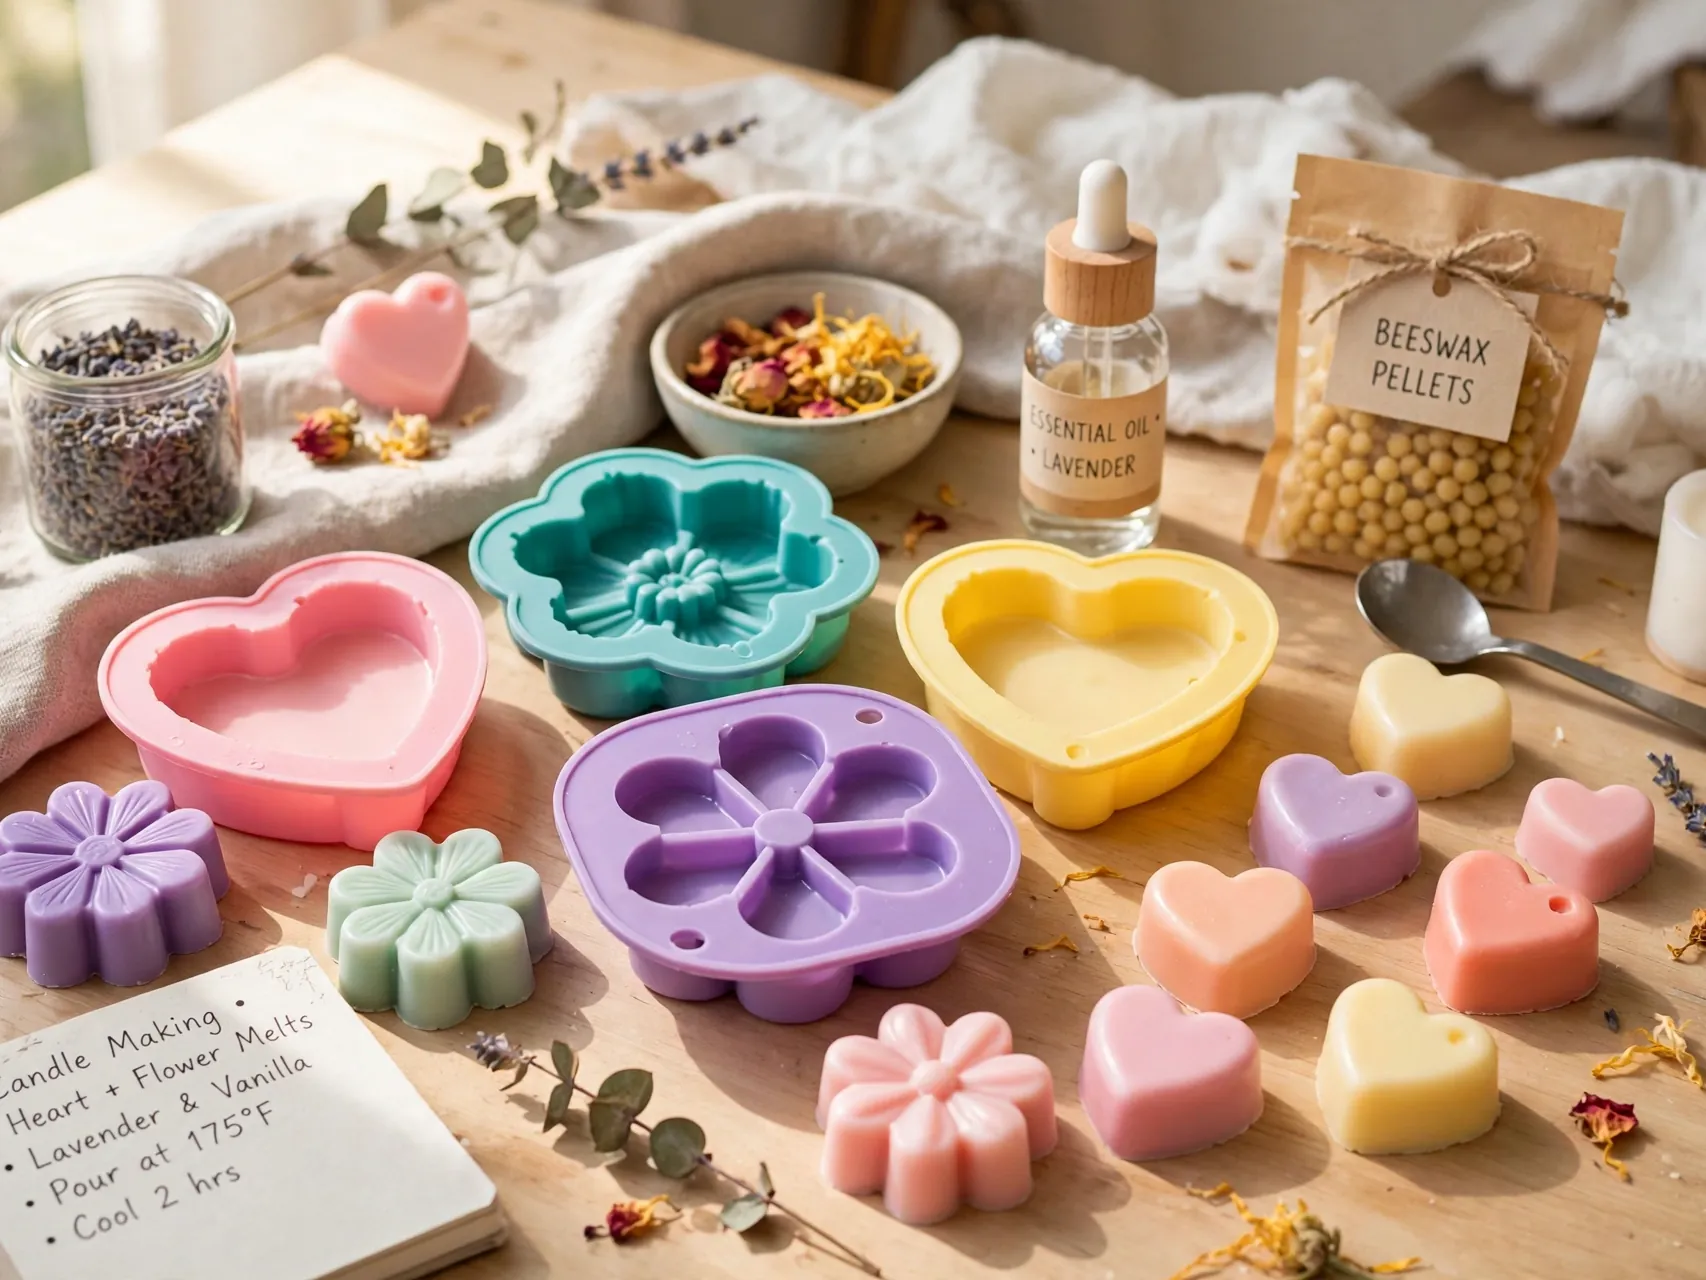
Silicone molds are the friendliest starting point for a homemade wax melts recipe. Hearts, flowers, bars, and simple cubes release with a flex and a push, no release spray needed, and the molds wash with hot soapy water between batches.
Let melts cool fully at room temperature before unmolding. Rushing warm melts bends corners and clouds the surface. If a batch feels stubborn, a short rest in the fridge after it has fully set can firm it up, but room temperature patience usually does the job.
14. Use Clamshells for Gifts and Storage
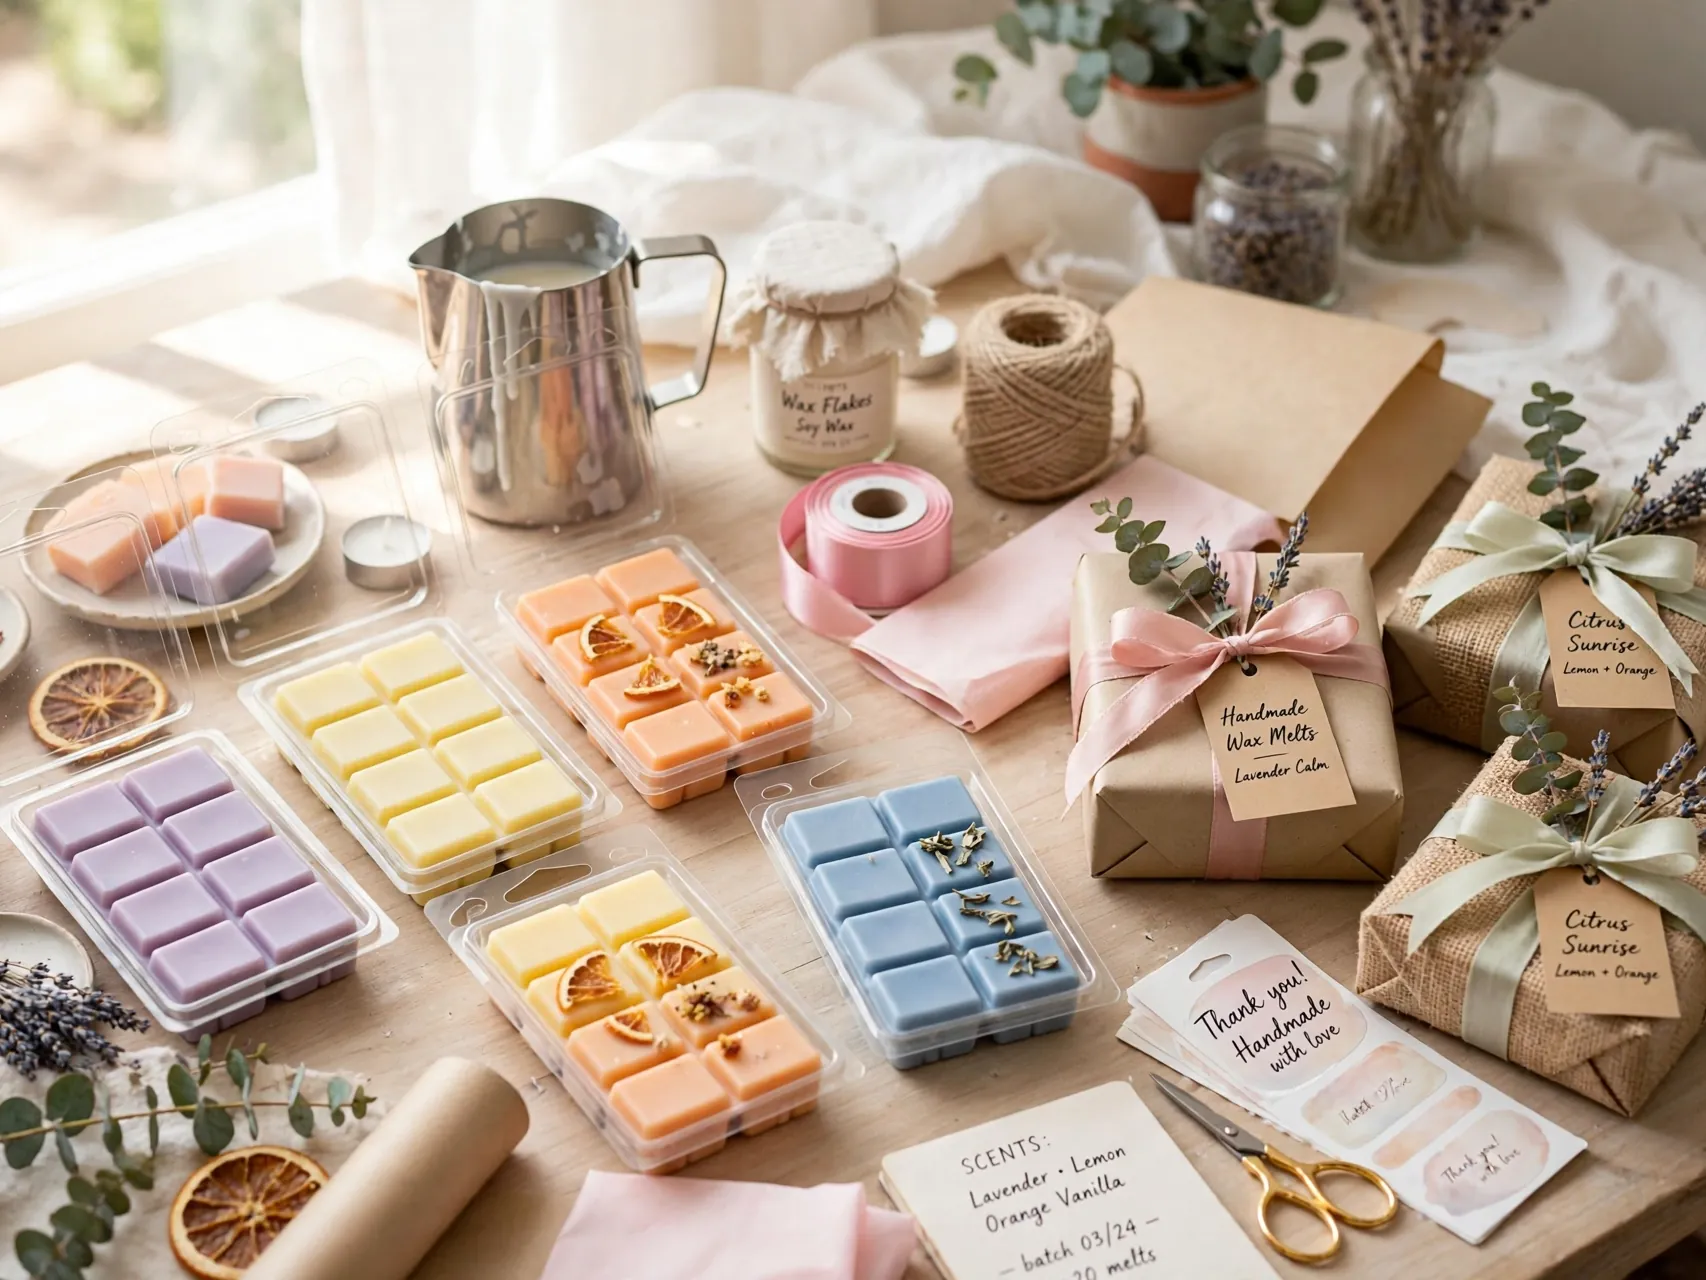
Plastic clamshell molds double as packaging, which makes them perfect for gifts and for keeping your own scents sorted. Pour cooler than you would for silicone, following your wax guidance, because very hot wax can warp thin plastic and cause leaks.
Snap the lid once the melts are fully set, add a simple label with the scent name and date, and your melts stay dust free and stackable. Break apart bars work the same way and suit anyone who likes to mix two scents in one warmer.
15. Layer Two Colors for a Bakery Look
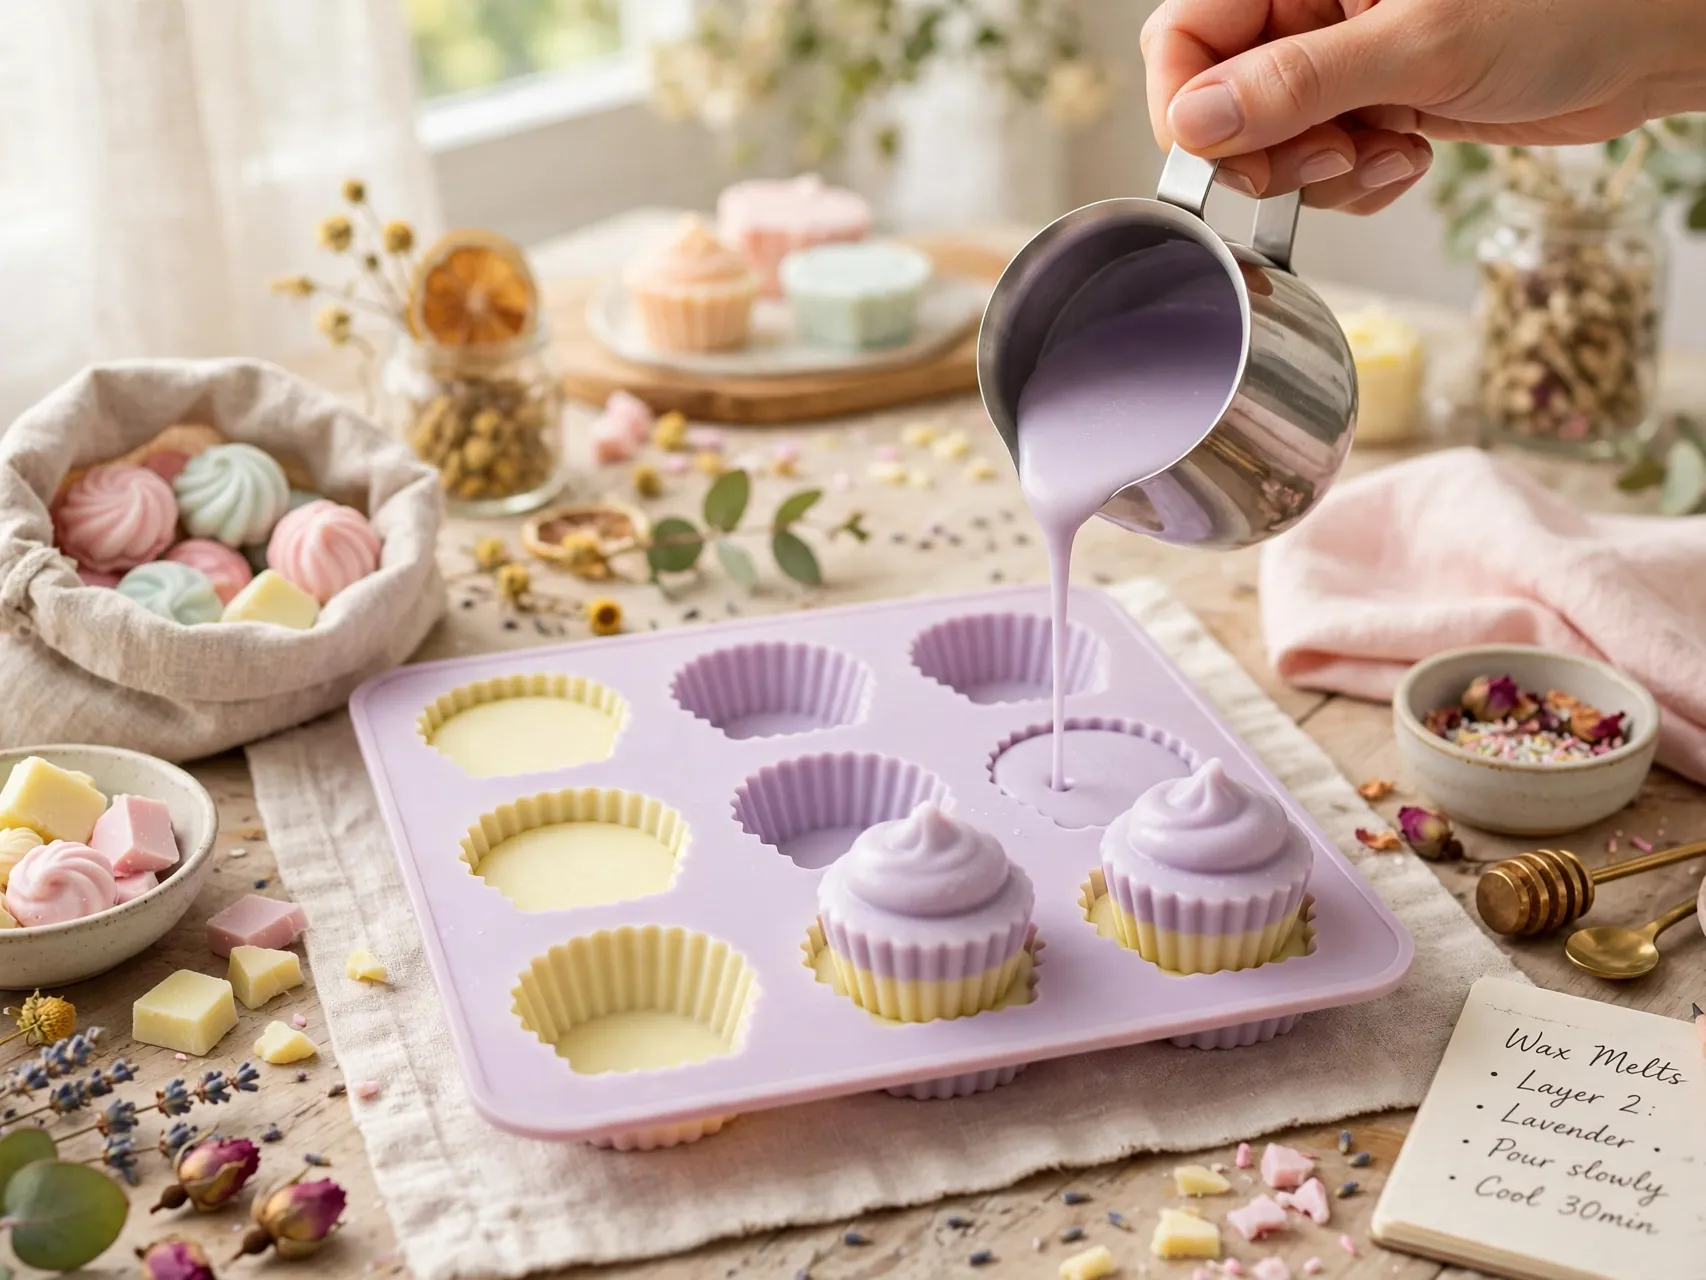
Pour a first color, let it set just until a firm skin forms, then pour the second color slightly cooler over the top. That timing keeps layers bonded without bleeding into a muddy middle.
Bakery scents suit this look best: cream over caramel, pink over white, coffee under cream. Keep layers scented the same or with two scents blended on purpose, and test one melt first, because layered colors look simple but reveal every shortcut in temperature control.
16. Add Dried Botanicals Sparingly and Safely

A few dried petals or buds on top of a melt look beautiful, but a little goes a long way. Sprinkle botanicals on after pouring, while the surface is still soft, and keep pieces small and fully dried.
Use only clean, craft grade dried material, keep it on the top surface, and skip bulky pieces that sit proud of the wax and scorch in the warmer dish. If you make melts for others, note the botanicals on the label so nobody is surprised by what floats in their warmer.
17. Build Seasonal Scent Blends on Paper First

Blend with scent strips before you blend in wax. Dip a strip or cotton pad in each oil, hold them together, and sniff the combination cold, then again after a few minutes when the top notes settle.
Write the ratio down in drops or grams, like three parts vanilla to one part spice, and make a tiny test melt. Fall spice, spring floral, and clean citrus blends all follow this same paper first habit, and it saves full batches from scents that sounded better than they smell warmed.
18. Cure Soy Melts Before Judging Scent

Many soy waxes need rest time for the fragrance to bind fully, and suppliers often suggest around one to two weeks for the strongest result. Paraffin blends usually need far less time. Your wax maker guidance sets the expectation for your wax.
Store curing melts sealed, cool, and dark, and resist judging the batch on day one. A melt that seems faint fresh can fill a room after curing, which is why patient makers label the pour date and the ready date on every pack.
19. Test One Melt Before a Big Batch
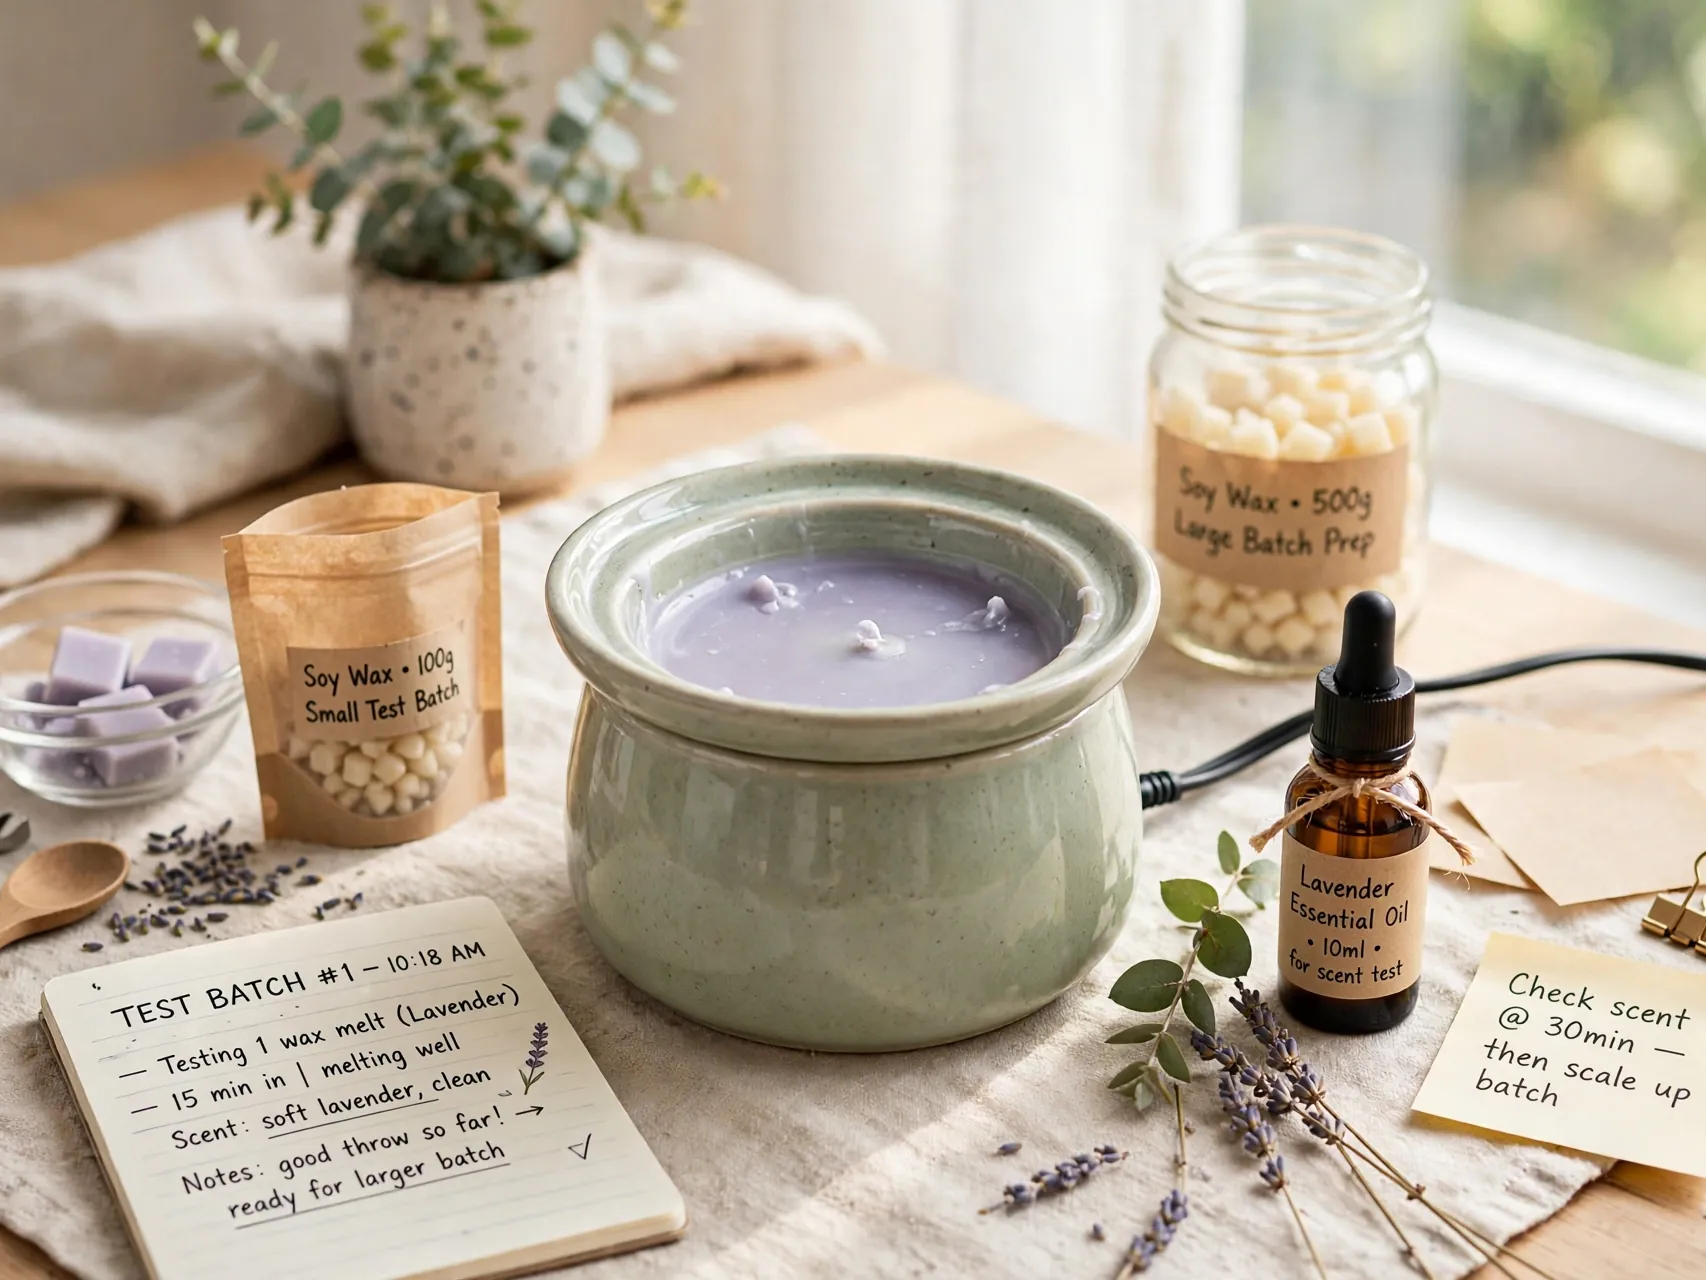
Make a small test pour whenever you change wax, fragrance, dye, or mold. Warm one melt fully, let the warmer pool completely, and judge the scent in the room after twenty minutes, not with your nose over the dish.
Note the throw, how cleanly the melt set, and whether any oil beaded on the surface. One honest test melt tells you more than a whole tray made on hope, and it is the core habit behind consistent soy wax melts diy results.
20. Label Every Batch With Date and Scent
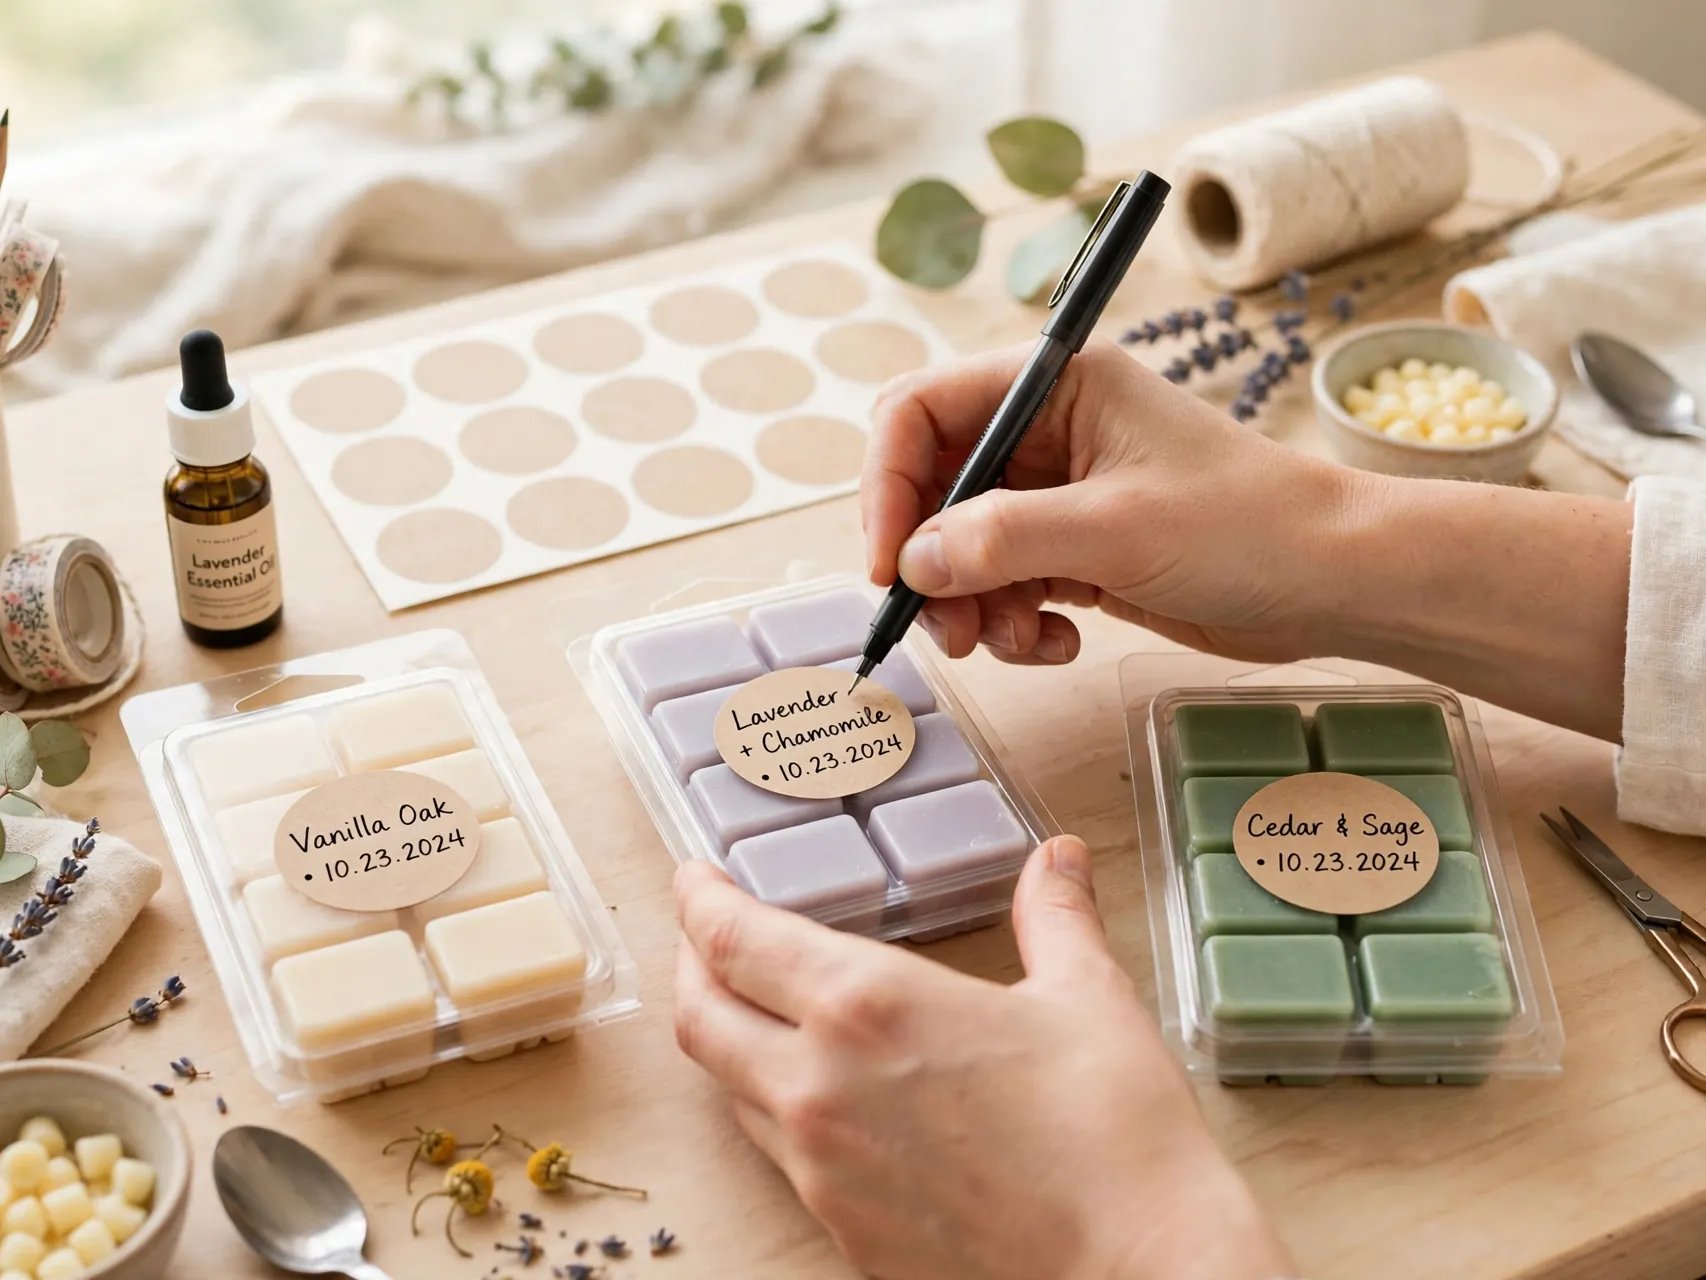
Label each pack with the scent name, the wax used, the fragrance percentage, and the pour date. Future you will not remember which unlabeled hearts were the good lavender batch, and neither will anyone you gift them to.
Keep a simple notebook or phone note per batch with temperatures and results. When a melt turns out beautifully, that record is your recipe. When one disappoints, it shows you the single variable to change next time.
21. Store Melts Cool, Dark, and Sealed
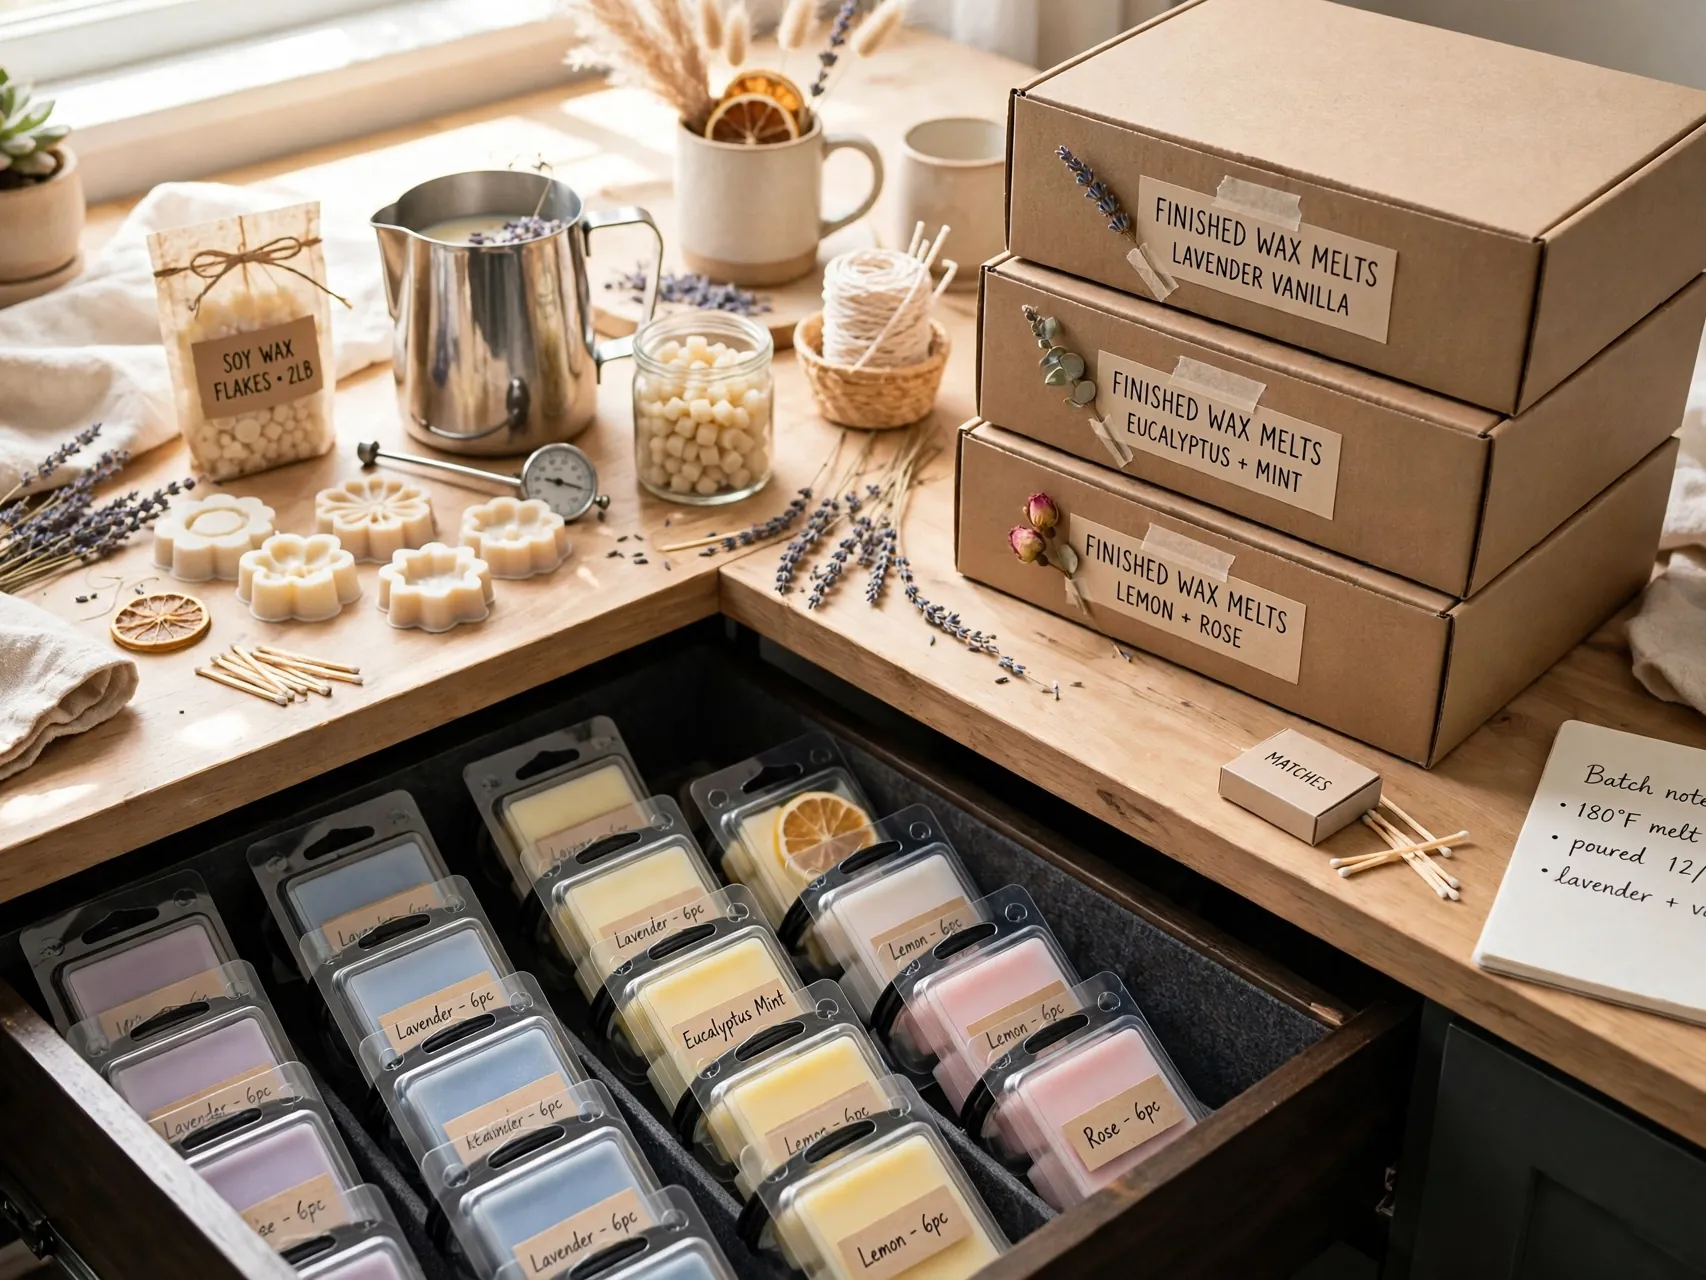
Heat and sunlight fade scent and color, so store finished melts in their closed clamshells or airtight containers in a cool drawer or cupboard. Keep strong scents separated, because fragrance can migrate between unsealed packs stored touching each other.
Avoid garages and sunny shelves, where summer heat can soften melts in their packaging. Stored well, most melts keep their scent for many months, and the sealed pack also keeps dust off the surface that melts first in the warmer.
22. Clean Tools With Heat and Paper Towels
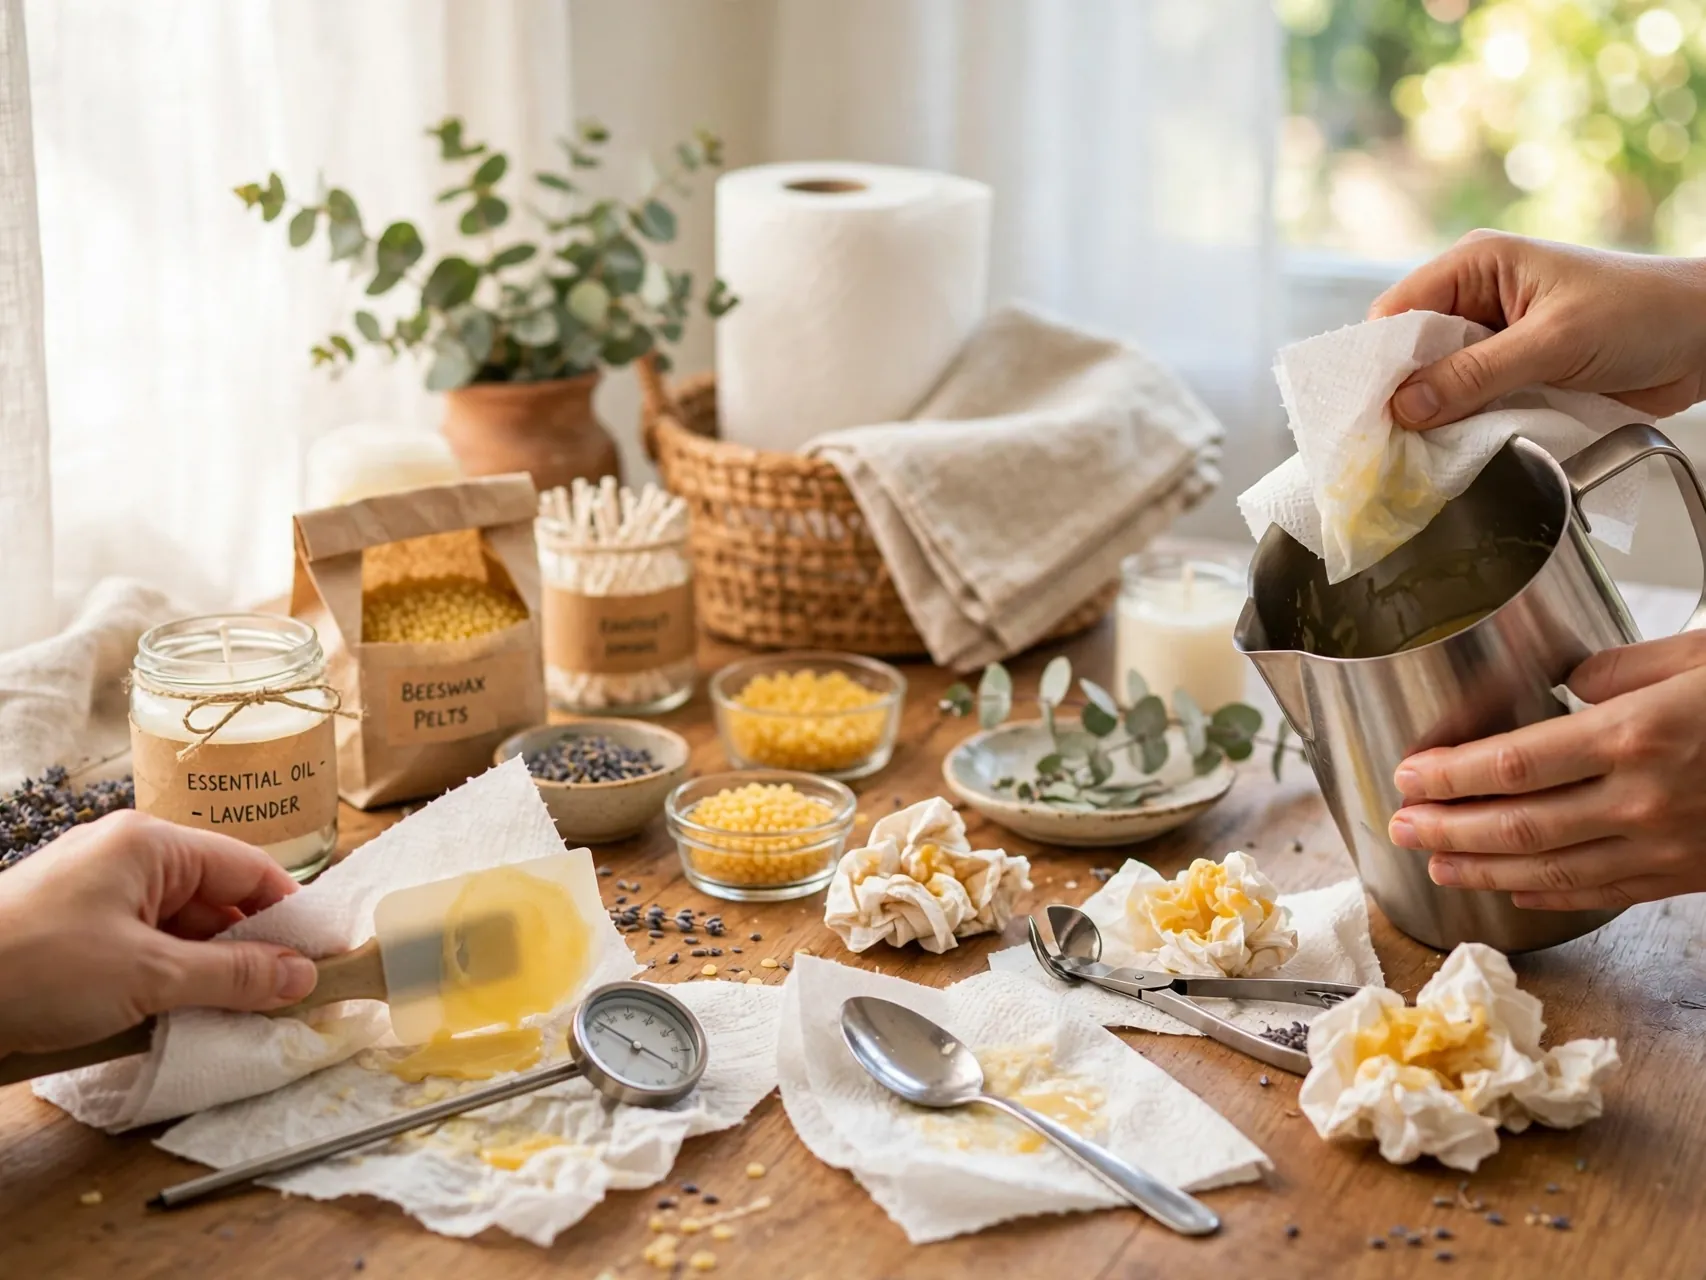
Clean pitchers and spoons while the wax residue is still warm. Wipe everything thoroughly with paper towels first, then wash with hot soapy water. Wax washed down a drain can cool, harden, and block pipes, so the wipe first step really matters.
Dedicated craft tools make life easier. Keep one pitcher, one spoon, and one thermometer just for wax, store them together, and cleanup becomes a two minute routine instead of a project of its own.
23. Fix Frosting and Sinkholes Without Panic

White, dusty looking frosting on soy melts is a natural crystal quirk of the wax, not a failure, and it does not affect scent. Pouring at the maker recommended temperature and cooling melts slowly in a warm, draft free room reduces it.
Small sinkholes near the center come from shrinkage as wax cools. A second small pour into the dip, or a brief pass with a heat gun on low if you own one, levels the top. Work carefully and keep heat tools away from plastic clamshells.
24. Never Leave Melting Wax Unattended
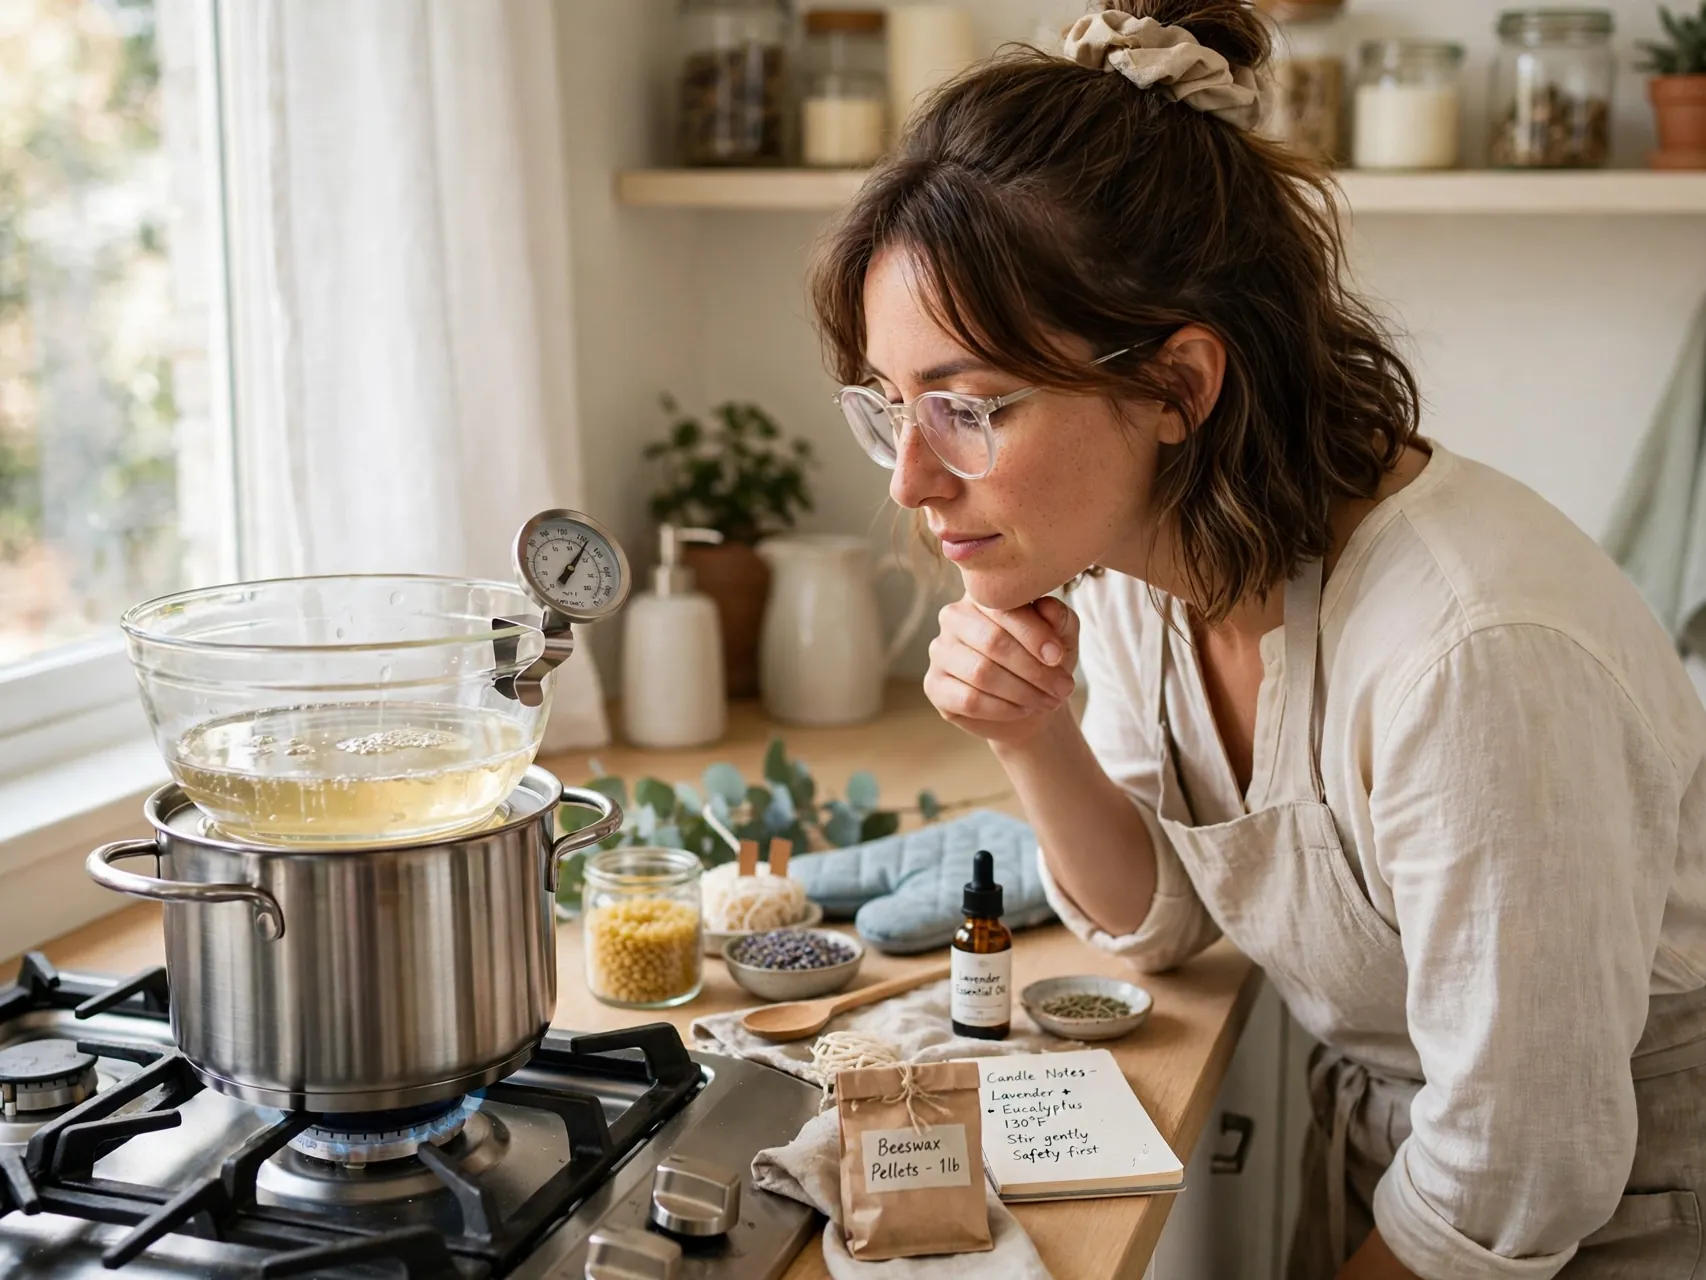
This last tip is the rule that protects all the others. Stay in the kitchen while wax is on the heat, keep children and pets out of the work zone, and turn everything off if you must step away.
Treat hot wax like hot oil: respect it, move slowly, and keep oven mitts on hand. If wax ever smokes, remove it from heat calmly and let it cool, never with water. Calm, watched pots are how home makers finish hundreds of batches without a single scare, and it is the true pro habit on this whole list of wax tart making tips.
FAQ
How much fragrance should I put in wax melts?
Follow the maximum load for your specific wax, which many suppliers rate around 10 percent by weight for melt waxes, and check the melt usage range on the fragrance product page too. Weigh both wax and oil, stir for two full minutes at the maker recommended temperature, and cure the batch before judging. More oil than the wax can hold will separate or pool instead of smelling stronger.
What temperature should I pour wax melts at?
Pour temperatures vary by wax, so your wax maker instructions come first. Many soy melt waxes take fragrance near 180 degrees F and pour cooler after that, while plastic clamshells need cooler pours than silicone molds so the plastic does not warp. A thermometer, a test melt, and written notes will confirm the sweet spot for your exact wax within one or two small batches.
How long do homemade wax melts need to cure?
Many soy melt waxes improve over about one to two weeks of sealed, cool, dark rest, while paraffin and paraffin blends are often ready much sooner. Check your wax guidance for its specific suggestion. Label the pour date on every pack so you always know when a batch is at its best, and avoid judging scent throw from a melt warmed on the first day.
Why do my wax melts smell weak in the warmer?
The usual causes are fragrance added at the wrong temperature, too short a stir, too low a load, or judging before curing finished. Warmer size and room size matter too, and a melt that fills a bathroom may seem faint in a large open living space. Change one variable at a time, test one melt after a full cure, and keep notes so the fix becomes your standard method.
Can I use essential oils instead of fragrance oil in wax melts?
You can use essential oils and blends that suppliers describe as suitable for wax, but expect a lighter, faster fading scent than fragrance oils made for melts. Many pure plant oils are volatile and lose their top notes quickly in a warm dish. If you go this route, keep loads modest, follow supplier guidance, and test a single melt before scenting a whole batch with an expensive oil.
Key Takeaways
- Wax choice and weight first: A firm melt wax, measured by weight with fragrance by weight, is the foundation of every reliable how to make wax melts batch.
- Temperature is a habit: Thermometer in the pot, fragrance in at the maker temperature, and a slow two minute stir for proper binding.
- Limits make scent stronger: Staying at or under the wax fragrance load and curing fully beats overloading oil every time.
- Flash point, calmly understood: Keep fragrance oil away from sparks and open flame, and never leave melting wax unattended.
- Test, label, store: One test melt, a dated label, and cool dark sealed storage turn lucky batches into repeatable ones.
- Love a cozy scented home? Save this guide to Pinterest and pin it before your next craft weekend.