21 Backpack Drop Zone Ideas That End the Morning Chaos
Introduction
The school morning scramble usually starts at the front door. Backpacks land on the floor, one shoe hides under a bench, and a permission slip vanishes right when the bus is coming. A dedicated backpack drop zone ends that chaos by giving every bag, coat, and shoe a home within steps of the door your family actually uses.
You do not need a big mudroom to make this work. Entryway organizers build drop zones from a short wall, a hallway corner, a garage wall, or even the back of a closet door. The formula stays the same: sturdy hooks at kid height, a bench or surface to sit and sort, a bin or cubby per child, and a small spot for papers and keys.
The details decide whether the zone survives September. Hooks must hold a loaded backpack, so they need solid fixing into studs or a reinforced board. Storage must be open and obvious, because kids will not open doors and lids when they are rushing. And every child needs their own labeled spot, so bags stop migrating into one giant pile.
The 21 ideas below build a zone step by step, from choosing the wall to the nightly reset that makes mornings calm. Mix the pieces that fit your space and your budget, and set it up before the next school week starts.
Start at the Door Your Family Really Uses
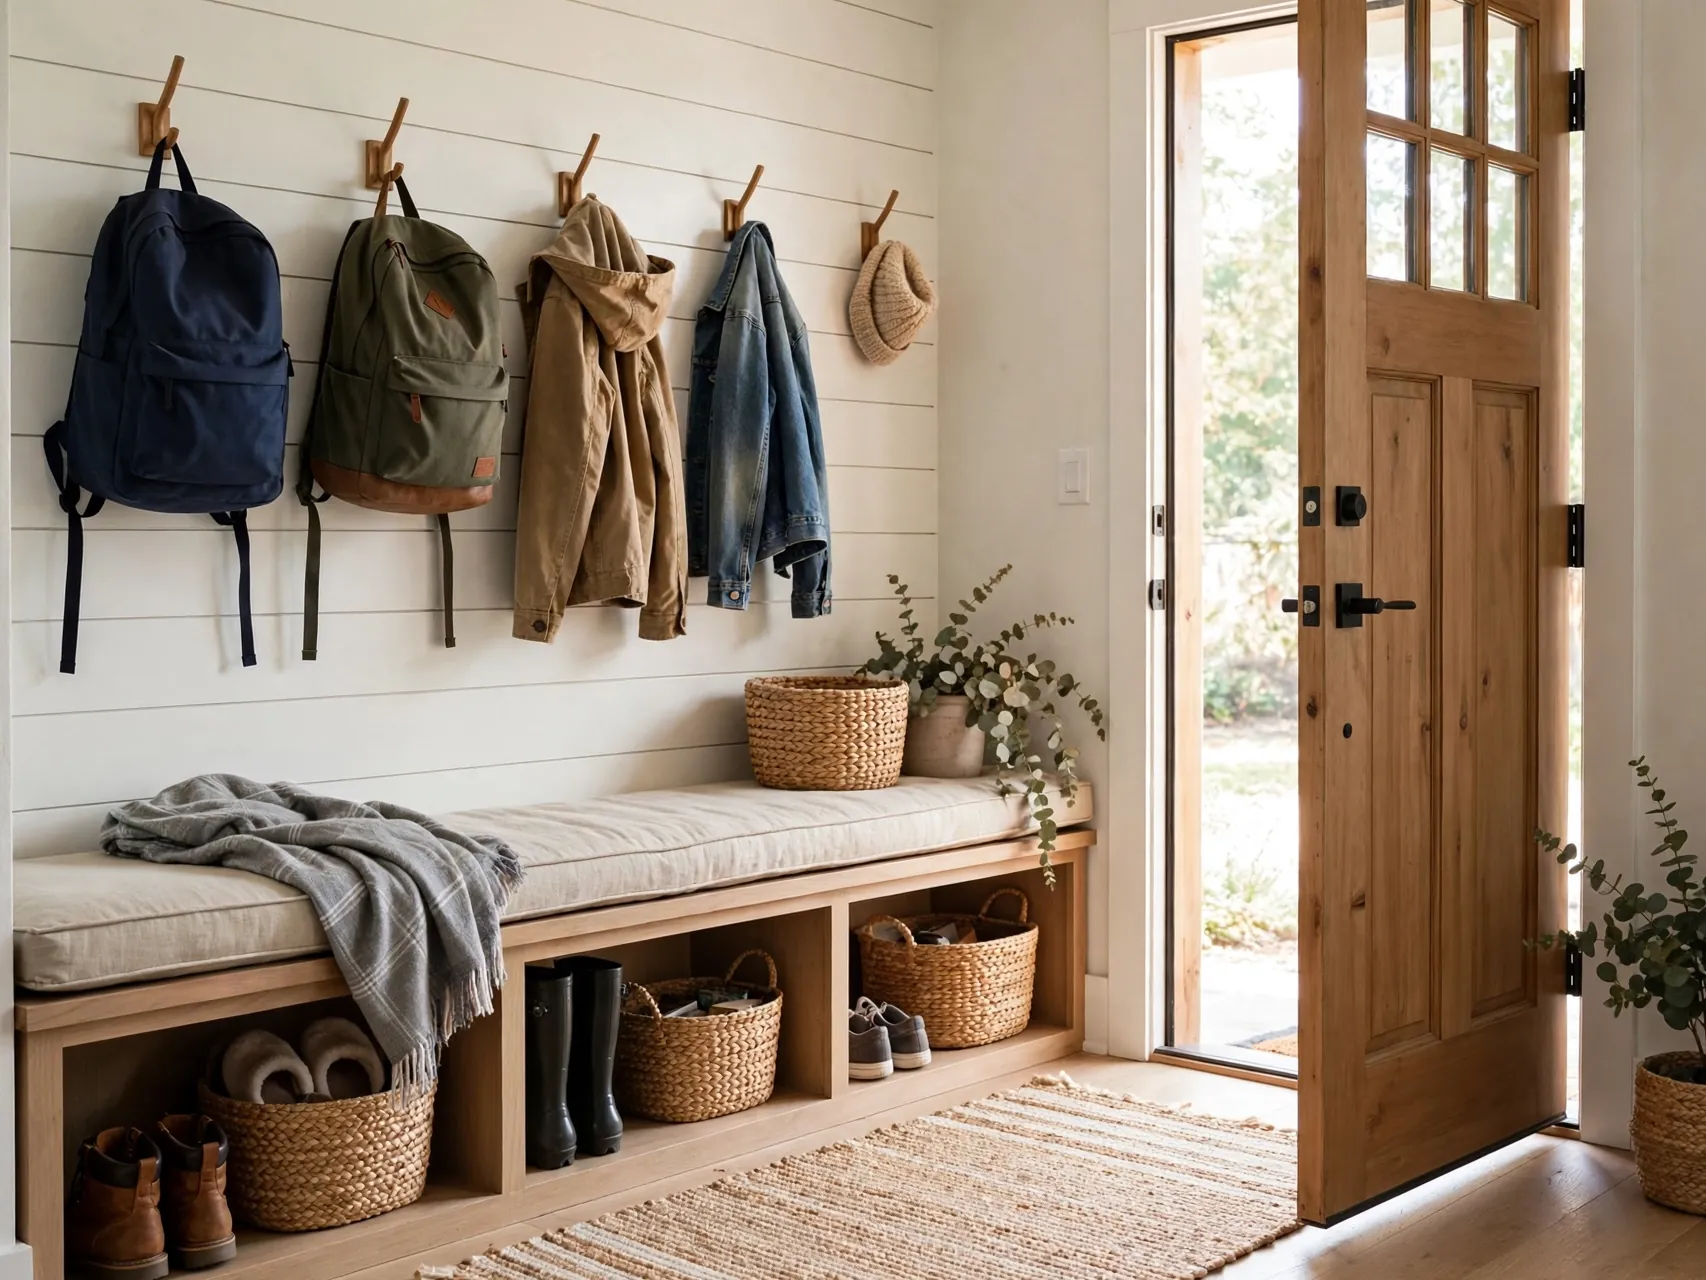
Build the zone at the door everyone comes through, which is often the garage or back door, not the pretty front entry. Watch one afternoon of arrivals and note where bags naturally fall. Putting the zone where the habit already exists means kids use it from day one instead of walking past a perfect setup in the wrong place.
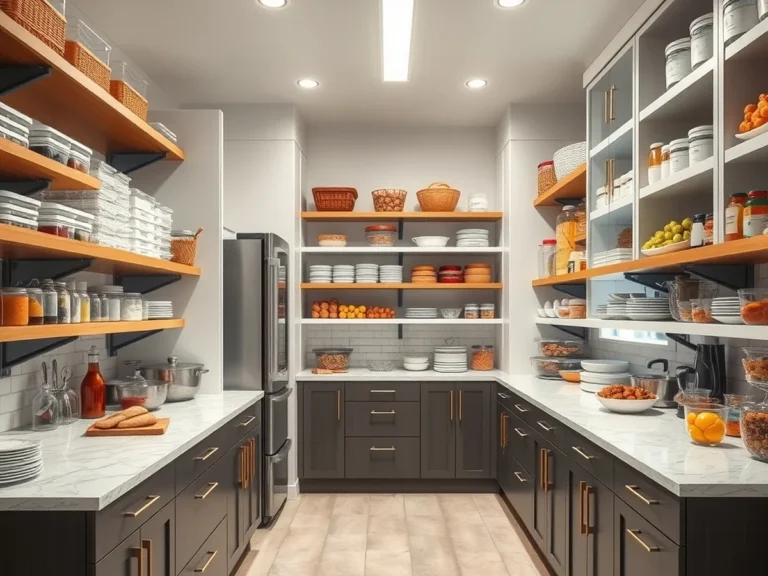
Measure the spot before you buy anything, and leave a little breathing room so containers slide in and out without catching. Put the things you reach for most at the front and.
Mount Sturdy Hooks at Kid Height

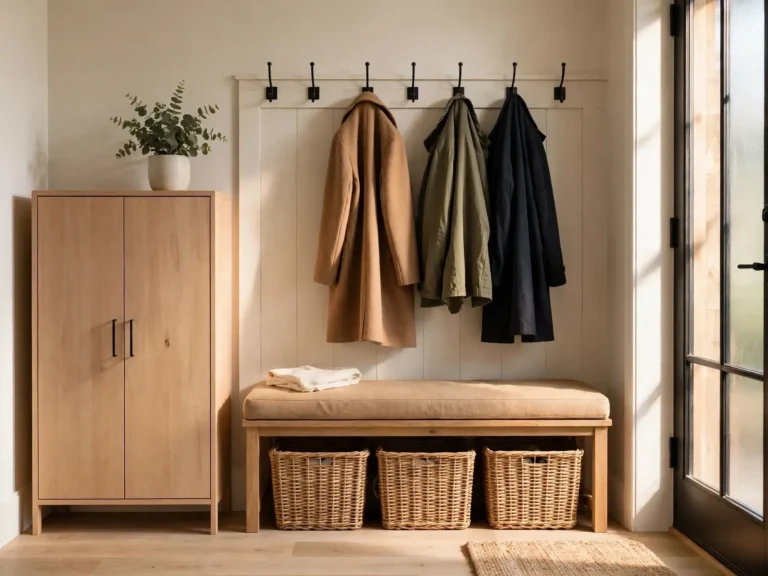
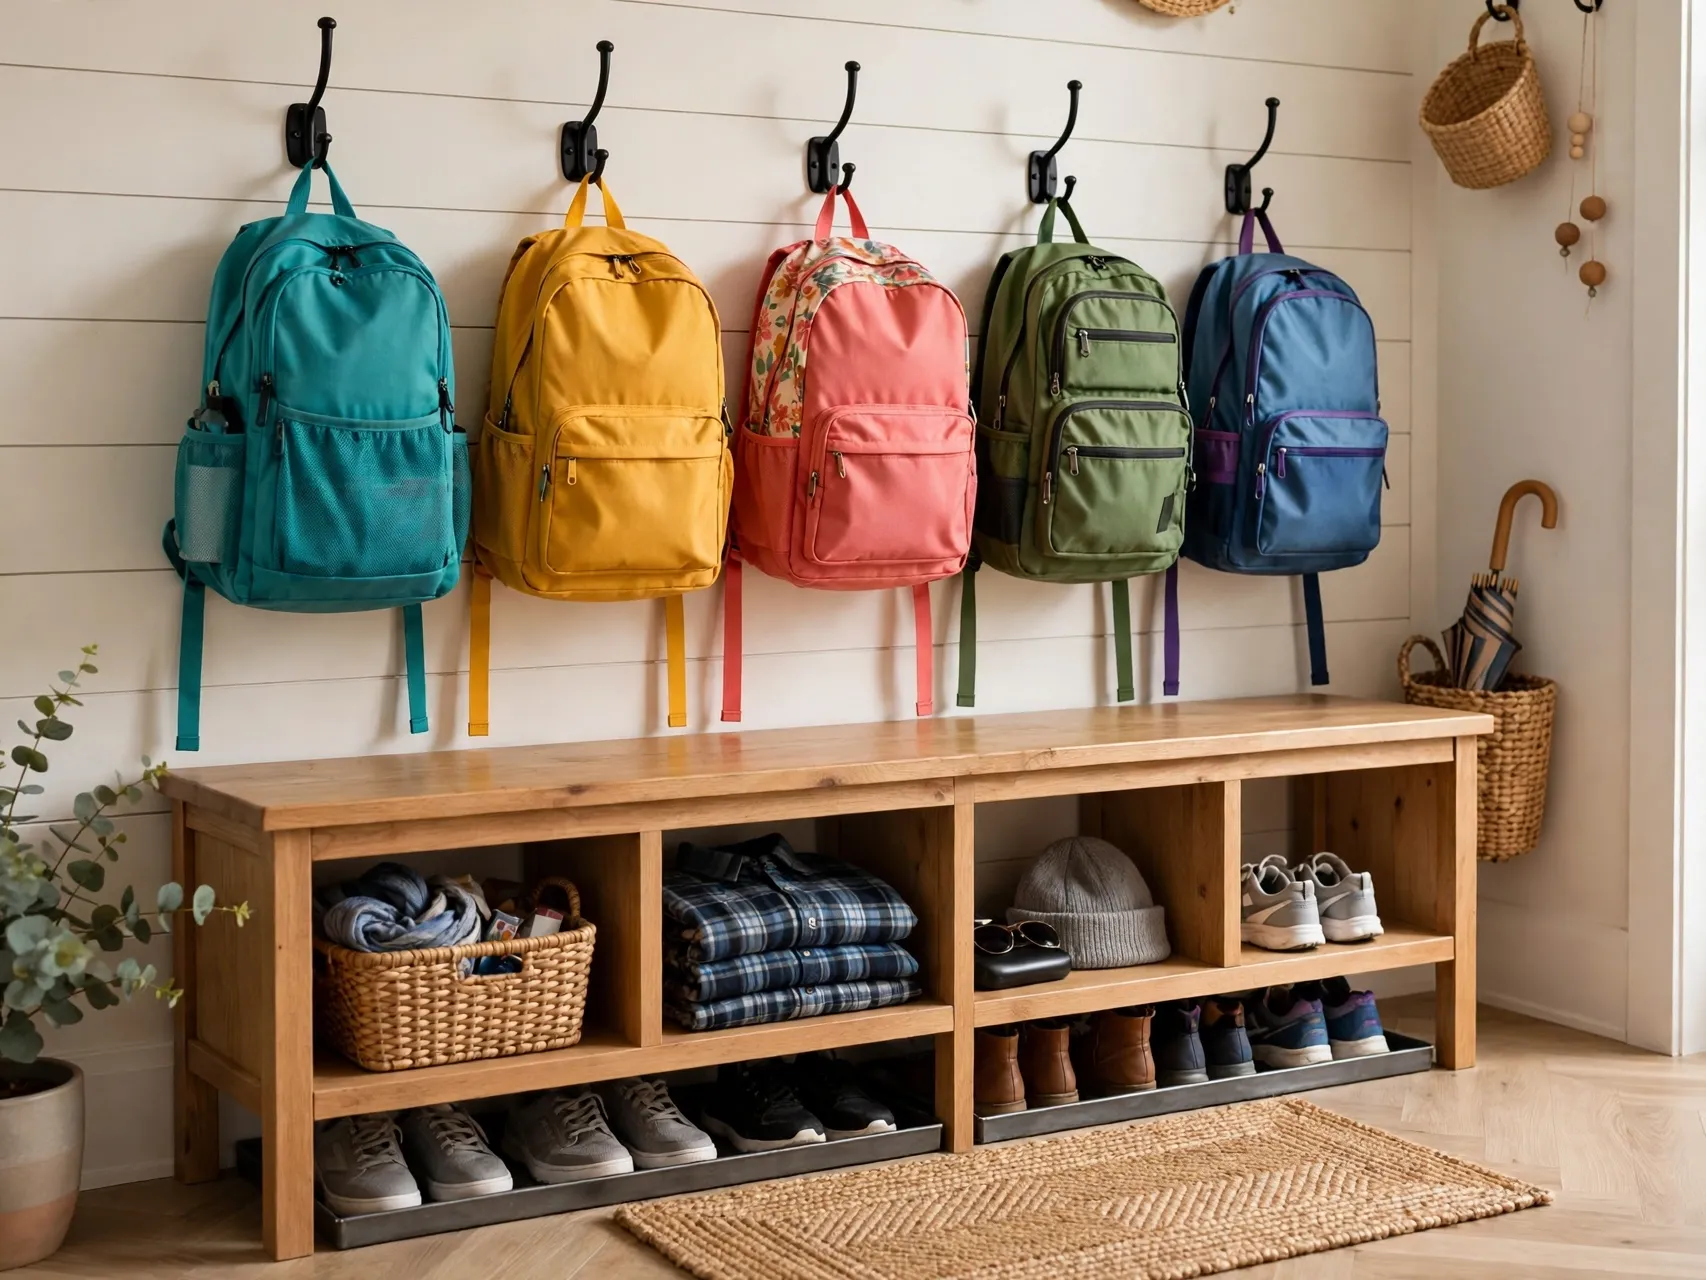
Backpacks are heavy, so choose strong hooks fixed into studs or a solid backing board, and hang them low enough for your youngest child to reach. Entryway guides stress sturdy hooks for exactly this reason. Add a second higher row for adult coats and bags so grown up gear does not crowd out the kids zone.
Group similar things together first, then give each group one home. When a category starts to overflow, that is your signal to edit it down instead of buying a bigger container. A.
Give Every Child Their Own Hook and Label

One named hook per child, plus one for a coat, removes all doubt about where a bag belongs. Use name tags, initials, photos, or painted letters above each hook. When a backpack is on the floor, everyone can see whose it is in seconds, and tidying up becomes a personal job, not a family argument.
Keep the setup easy to reset in under a minute. If returning an item takes several steps, it will end up on the floor or the counter instead. Open containers, clear fronts.
Add a Bench With Cubbies Below
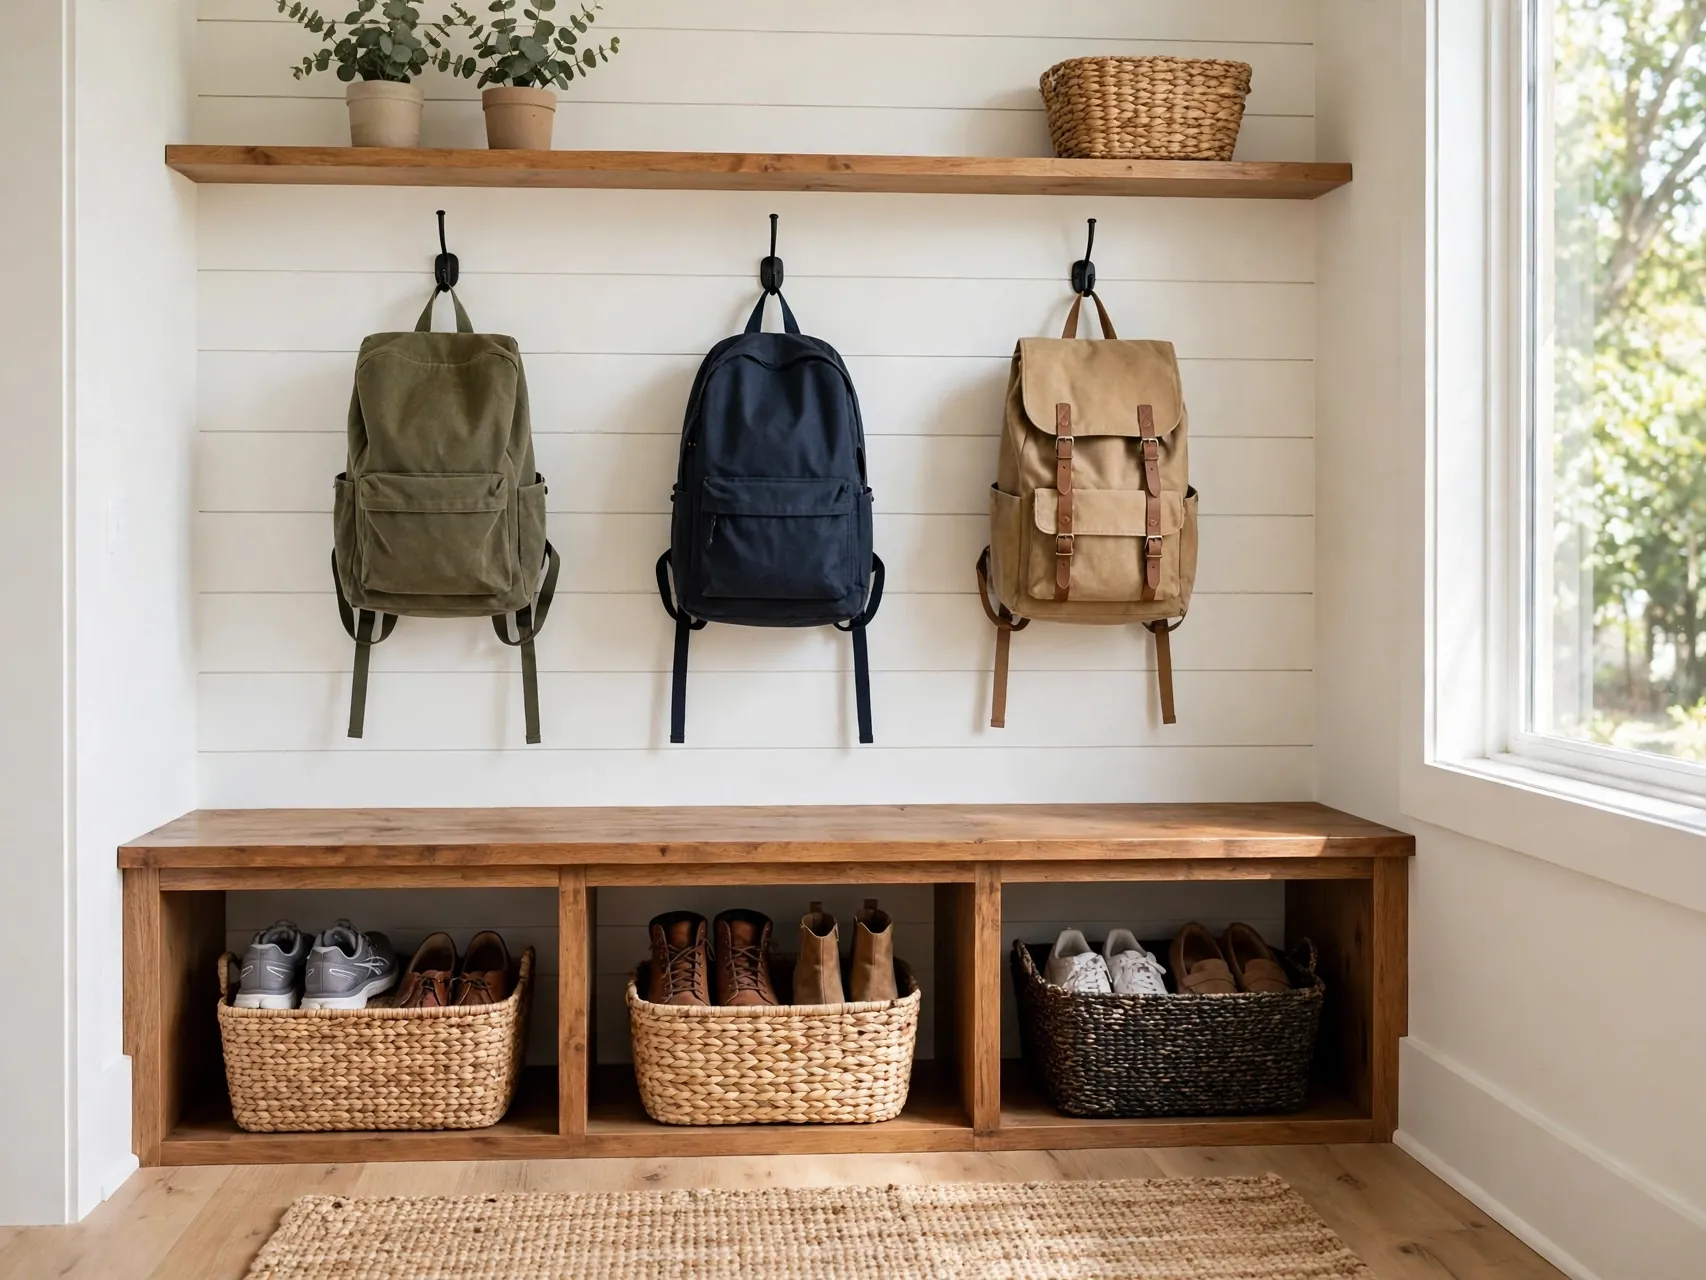
A bench gives kids a place to sit while they pull shoes on, and cubbies underneath hold shoes, lunch bags, or a bin per child. Storage benches are a favorite in entryway design because one piece of furniture does two jobs in the same footprint. Choose a bench height younger kids can climb onto safely without help.
Think about height as well as width. Most of these spaces waste the top half, so stacking, tiering, or hanging lifts items off the base and doubles what fits. Just keep heavier.
Use One Cube Organizer as a Starter Station
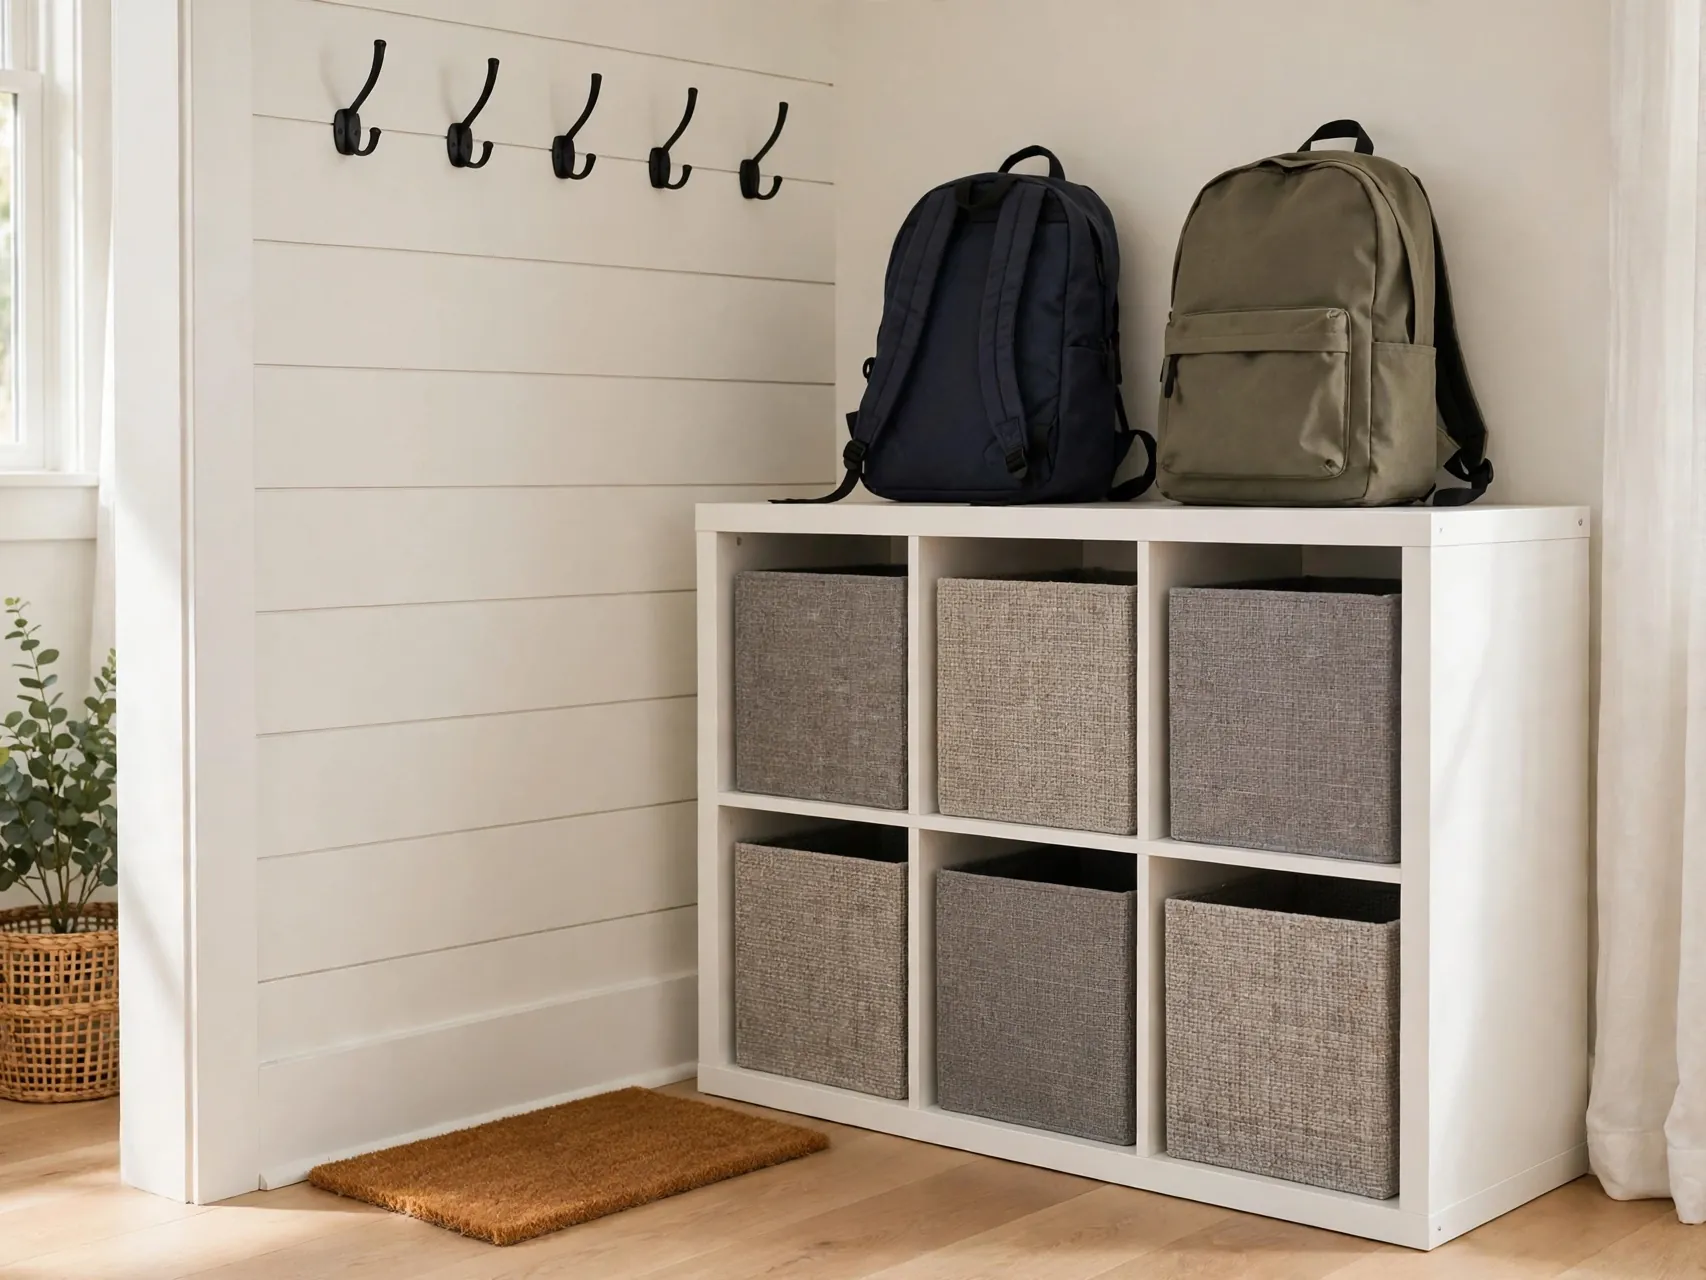
A simple cube organizer turned into a backpack station proves you do not need built ins to start. Assign one cube per child for shoes or gear and set backpacks on top or on hooks above it. This is a fast, low cost weekend project, and you can move or expand it as your family and your hallway change.
Test the layout for a week before you add anything else. Live with it, notice what you bump into, and move one or two pieces until reaching feels natural. A short trial.
Add a Bin Per Child for Loose Gear

Hats, gloves, water bottles, library books, and sports bits need a catch all that is not the floor. Give each child one open bin or basket near their hook. The rule is simple: if it came home in the backpack, it lives in the bin or the backpack. Set a weekly empty out so bins do not become mystery storage.
Measure the spot before you buy anything, and leave a little breathing room so containers slide in and out without catching. Put the things you reach for most at the front and.
Build a Small Command Center Beside the Bags

Hang a calendar, memo board, or chalkboard next to the drop zone for schedules, reminders, and notes to sign. Papers that need signatures go in one labeled slot or folder per child, not in a kitchen pile. A command center at the exit means forms get handled where bags get packed, which is where they are needed.
Group similar things together first, then give each group one home. When a category starts to overflow, that is your signal to edit it down instead of buying a bigger container. A.
Create a Paper In and Out Tray
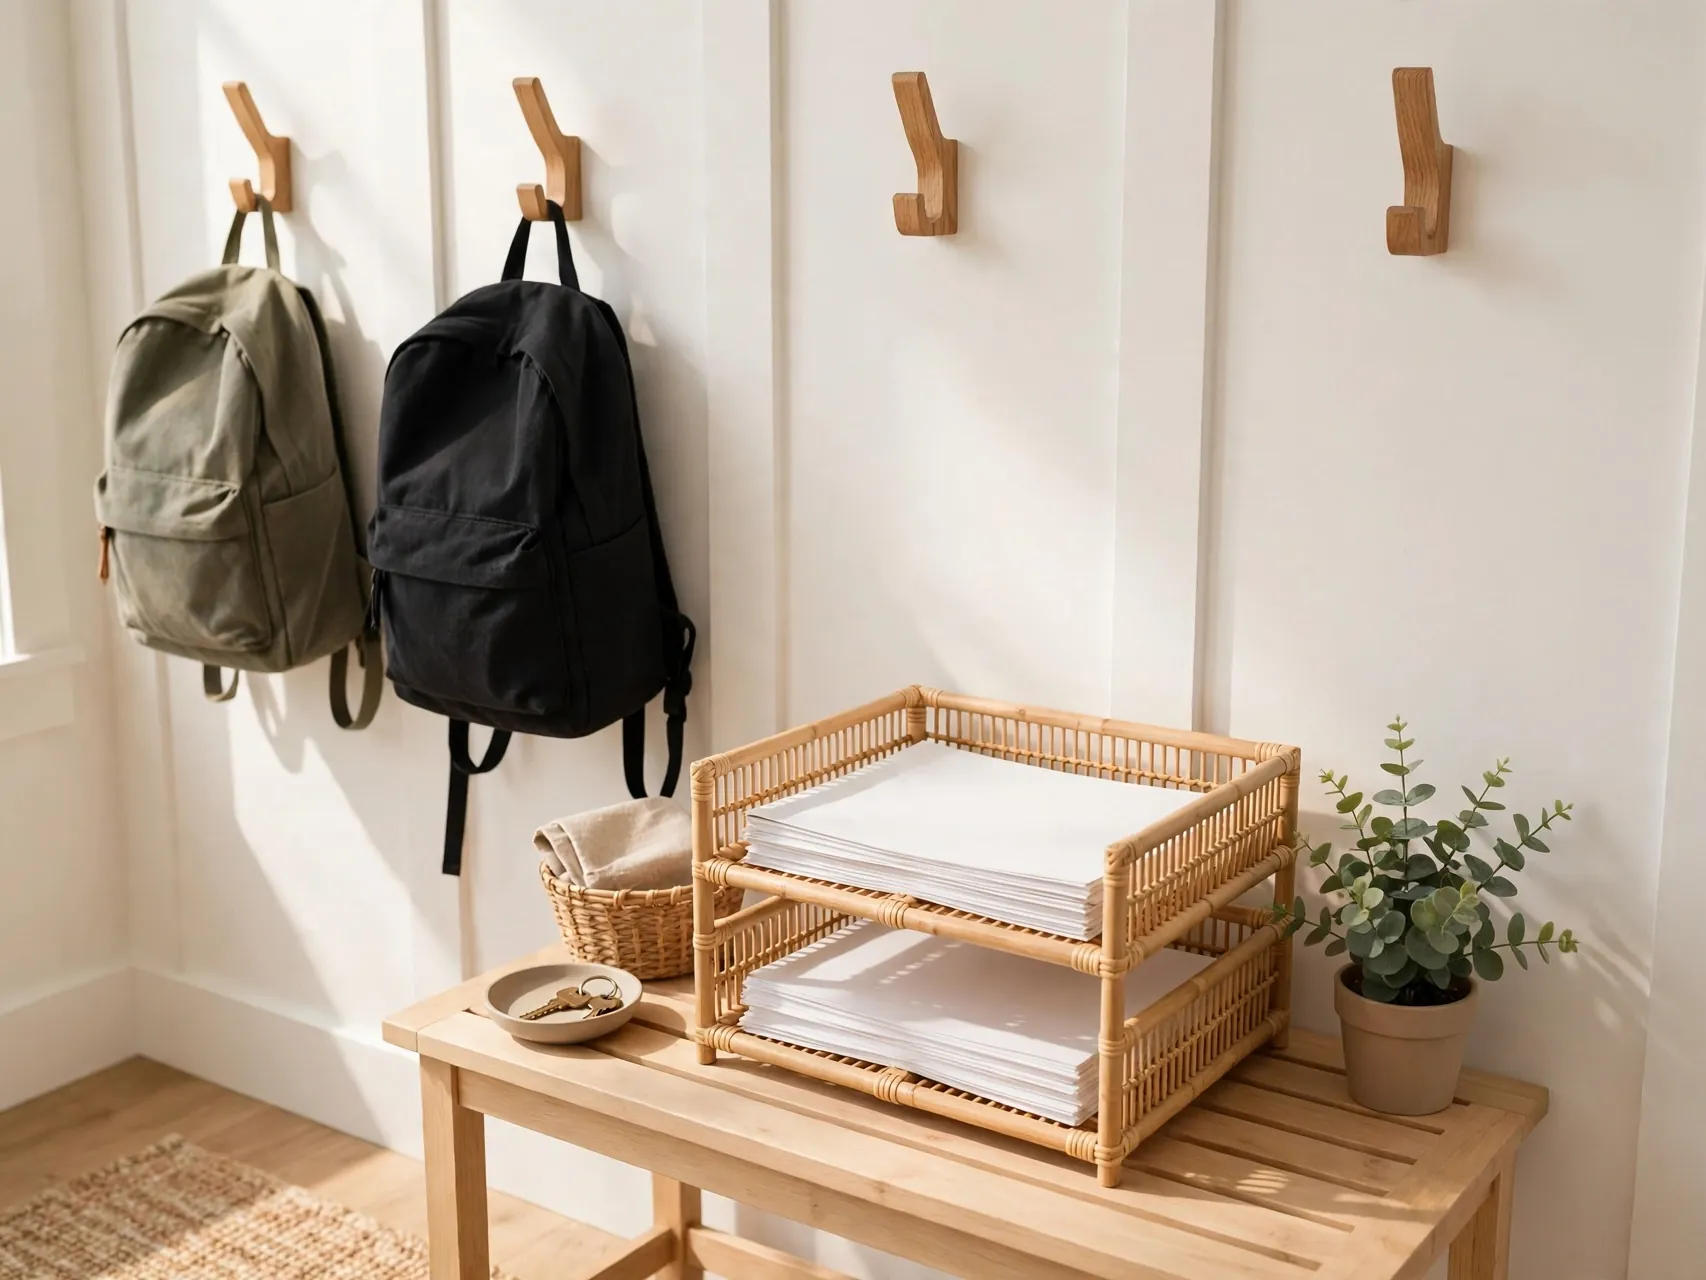
Permission slips and homework folders vanish when they travel through the house. Add two trays or wall pockets labeled In and Out: school papers to review go in, signed papers ready to return go out. Check the In tray each evening while dinner cooks. This tiny system prevents most lost form emergencies on busy mornings.
Keep the setup easy to reset in under a minute. If returning an item takes several steps, it will end up on the floor or the counter instead. Open containers, clear fronts.
Add a Shoe Station With a Washable Mat

Shoes multiply at doors faster than any other item. Add a low rack, tray, or shelf for one or two everyday pairs per person, and place a washable mat under it to catch dirt and drips. Extra pairs belong in bedroom closets. Limiting shoes at the door is the fastest way to make a small entryway drop zone look twice as big.
Think about height as well as width. Most of these spaces waste the top half, so stacking, tiering, or hanging lifts items off the base and doubles what fits. Just keep heavier.
Hang a Backing Board for Extra Strength

A painted board or batten fixed across the wall lets you space hooks anywhere along it and spreads the weight of loaded bags. It also looks intentional, like a built in feature, and protects the wall from scuffs. This is a smart renter friendly trick too, because you make a few screw holes in one board line instead of many in the wall.
Test the layout for a week before you add anything else. Live with it, notice what you bump into, and move one or two pieces until reaching feels natural. A short trial.
Use Color Coding for Each Child
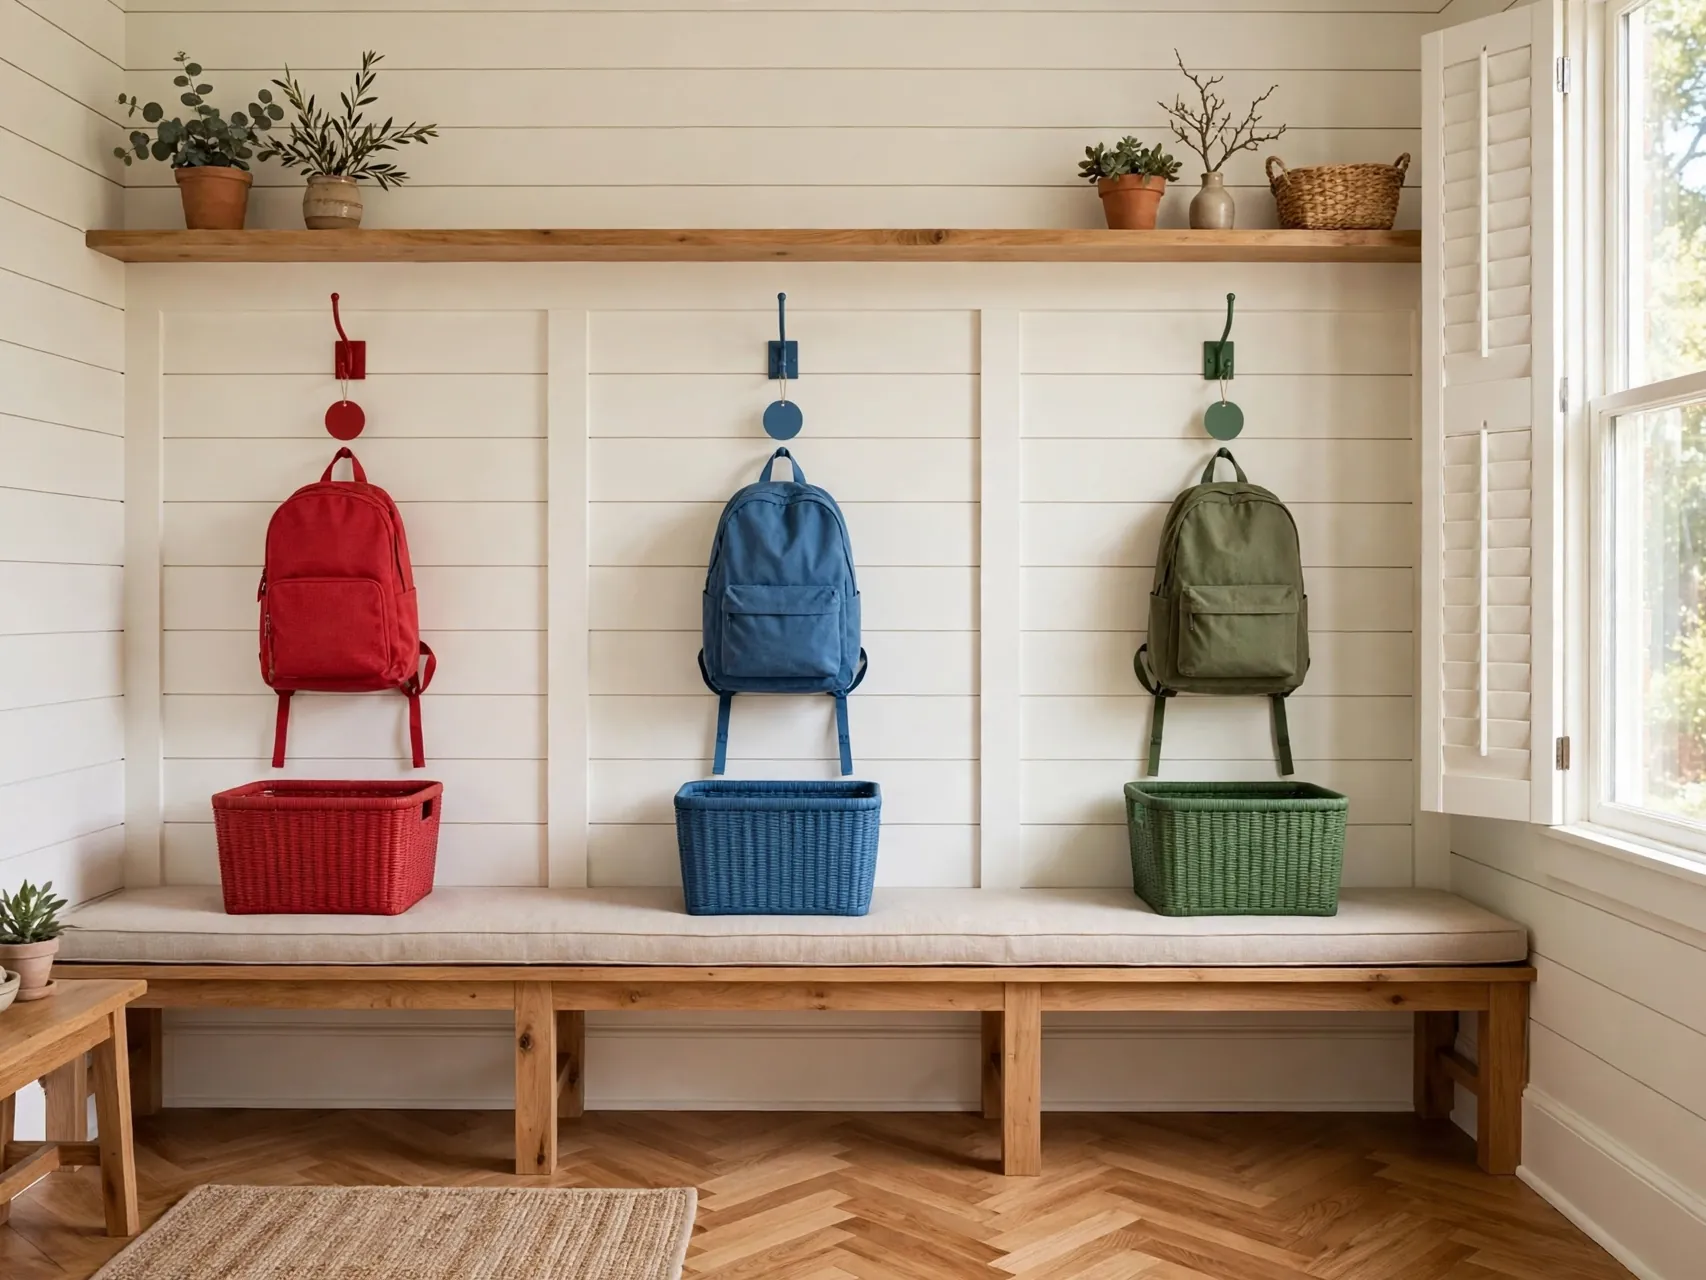
Assign each child a color for their bin, hook tag, and even their lunch bag hook. Young kids who cannot read names yet can still find the blue spot or the red spot instantly. Color coding also helps grandparents, babysitters, and guests put things back correctly without asking, which keeps the zone tidy even on days you are not home.
Measure the spot before you buy anything, and leave a little breathing room so containers slide in and out without catching. Put the things you reach for most at the front and.
Add a Charging Spot for Devices

A small shelf or tray with a power strip keeps tablets and phones charging at the door instead of scattered through bedrooms. Devices that live at the drop zone are packed in the morning without a house wide hunt. Keep cords short and contained in a box or clip so the charging spot looks like a station, not a nest of wires.
Group similar things together first, then give each group one home. When a category starts to overflow, that is your signal to edit it down instead of buying a bigger container. A.
Include a Spot for Lunch Bags and Bottles

Lunch bags dumped on the kitchen counter breed smells and clutter. Add a hook or a shelf slot in the drop zone for lunch bags and water bottles, so they get emptied, rinsed, and returned to the same spot each evening. In the morning, packing lunch ends with the bag going straight onto its hook beside the backpack.
Keep the setup easy to reset in under a minute. If returning an item takes several steps, it will end up on the floor or the counter instead. Open containers, clear fronts.
Carve Out a Garage Drop Zone

If your family enters through the garage, build the zone there with hooks, a bench, and bins on the garage wall by the house door. Weather tolerant materials and a mat to catch grit keep dirt out of the house entirely. Many families find a garage zone works better than a formal entryway one, because the mess stops before it reaches clean floors.
Think about height as well as width. Most of these spaces waste the top half, so stacking, tiering, or hanging lifts items off the base and doubles what fits. Just keep heavier.
Use Over the Door Hooks in a Tiny Entry
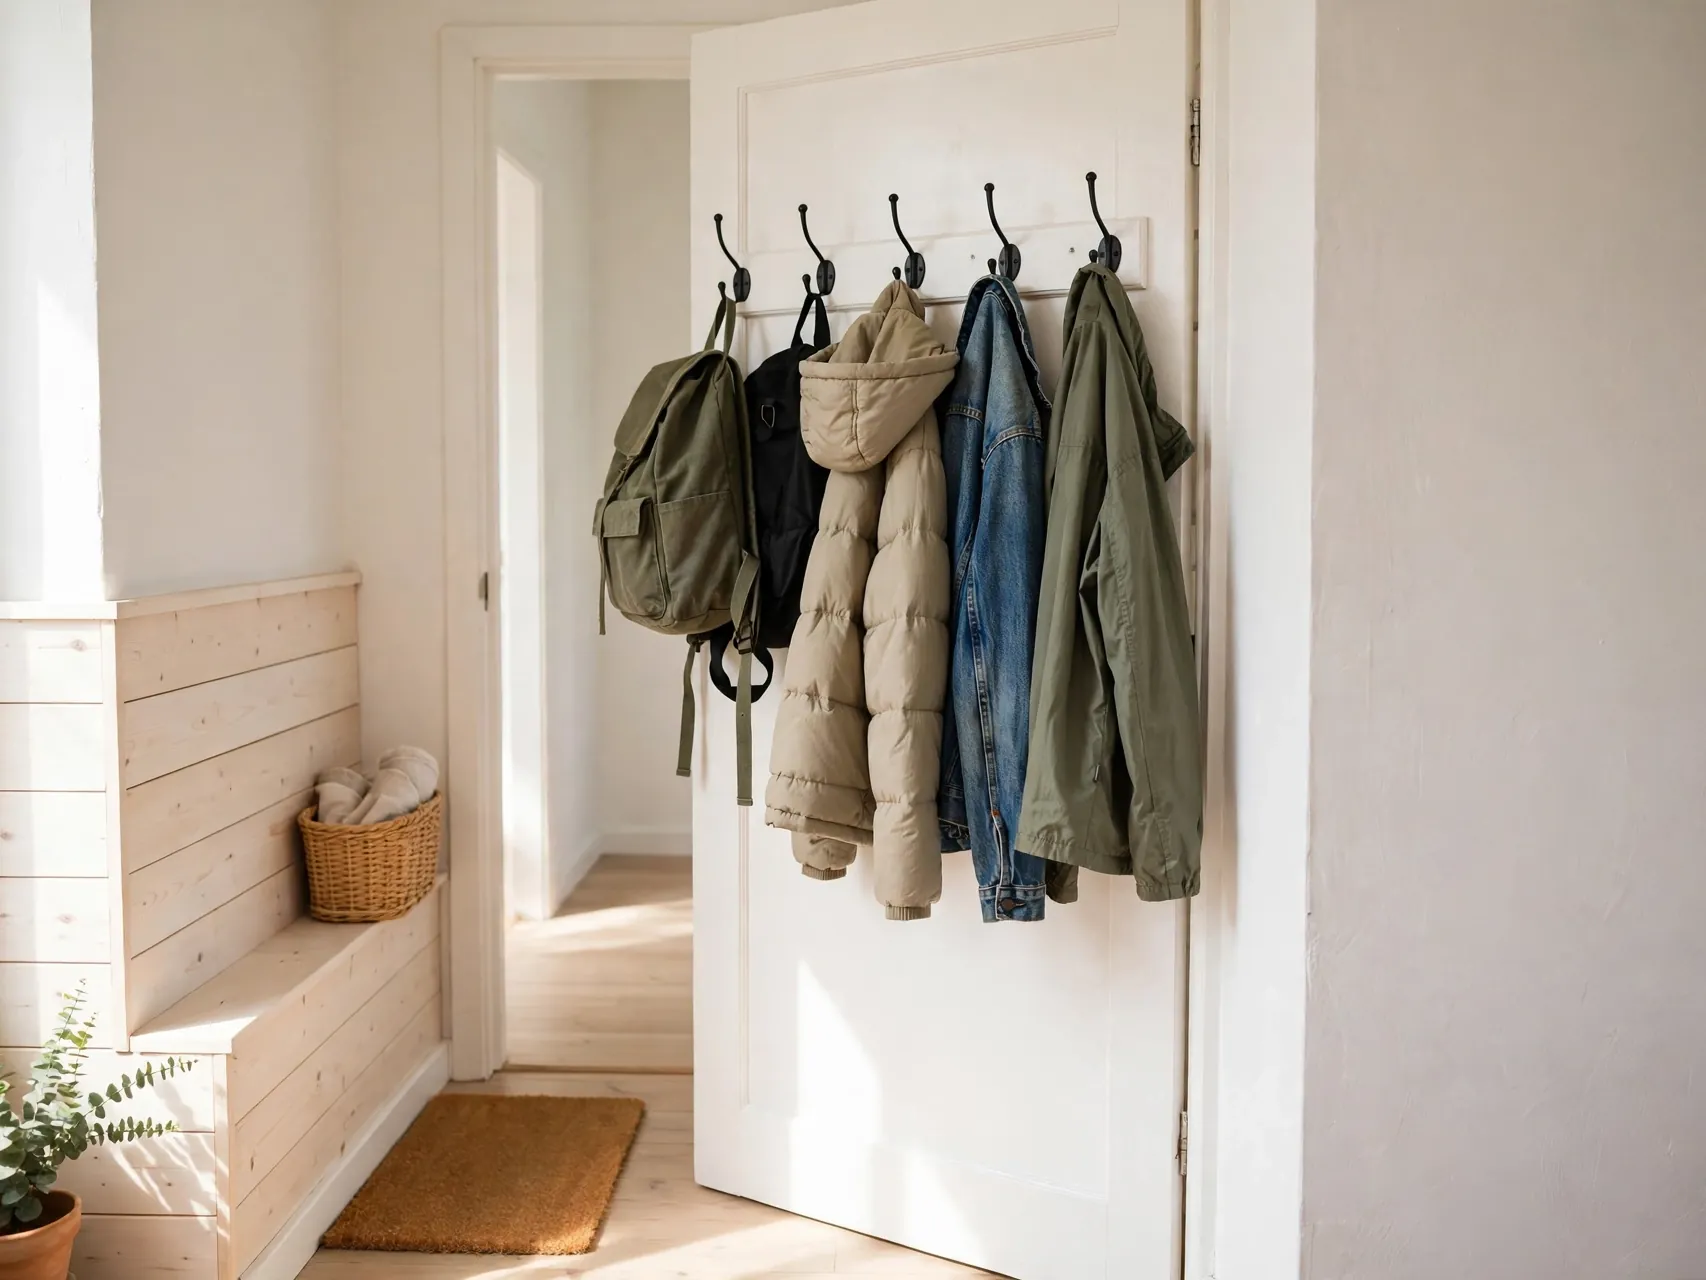
Apartments and small homes can use the back of the entry or closet door for hooks and pocket organizers. Lower pockets hold gloves and hats for kids, upper pockets hold adult items. Just check that loaded backpacks hang on the sturdiest hooks and that the door still closes fully, because an over full door organizer can strain hinges over time.
Test the layout for a week before you add anything else. Live with it, notice what you bump into, and move one or two pieces until reaching feels natural. A short trial.
Add a Mirror and a Last Check Shelf
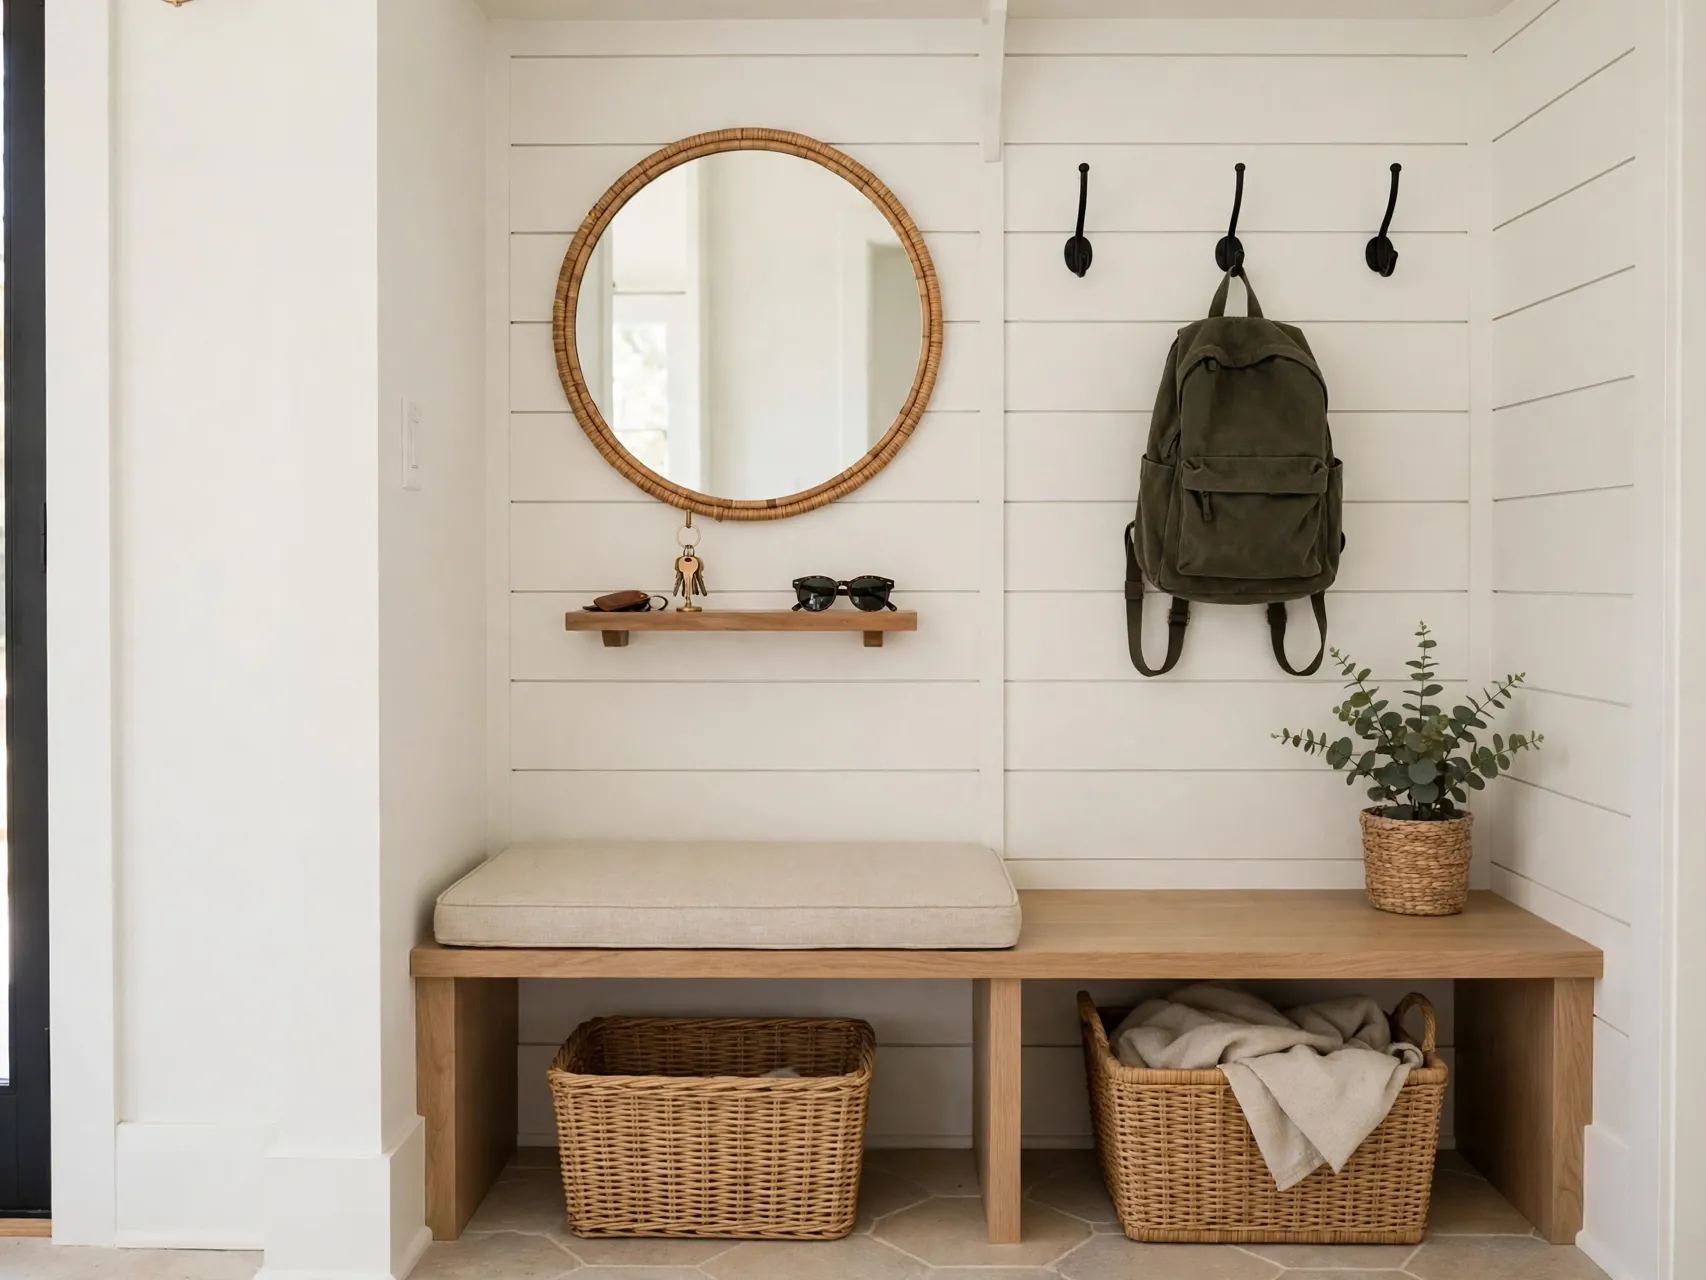
A mirror by the door catches toothpaste faces and wild hair before school photos do. Below it, a narrow shelf holds the last check items: hairbrush, sunscreen in season, tissues, and a small dish for keys. This finishing station keeps morning grooming out of the bathroom queue and right beside the bags that leave with it.
Measure the spot before you buy anything, and leave a little breathing room so containers slide in and out without catching. Put the things you reach for most at the front and.
Plan a Seasonal Swap Shelf
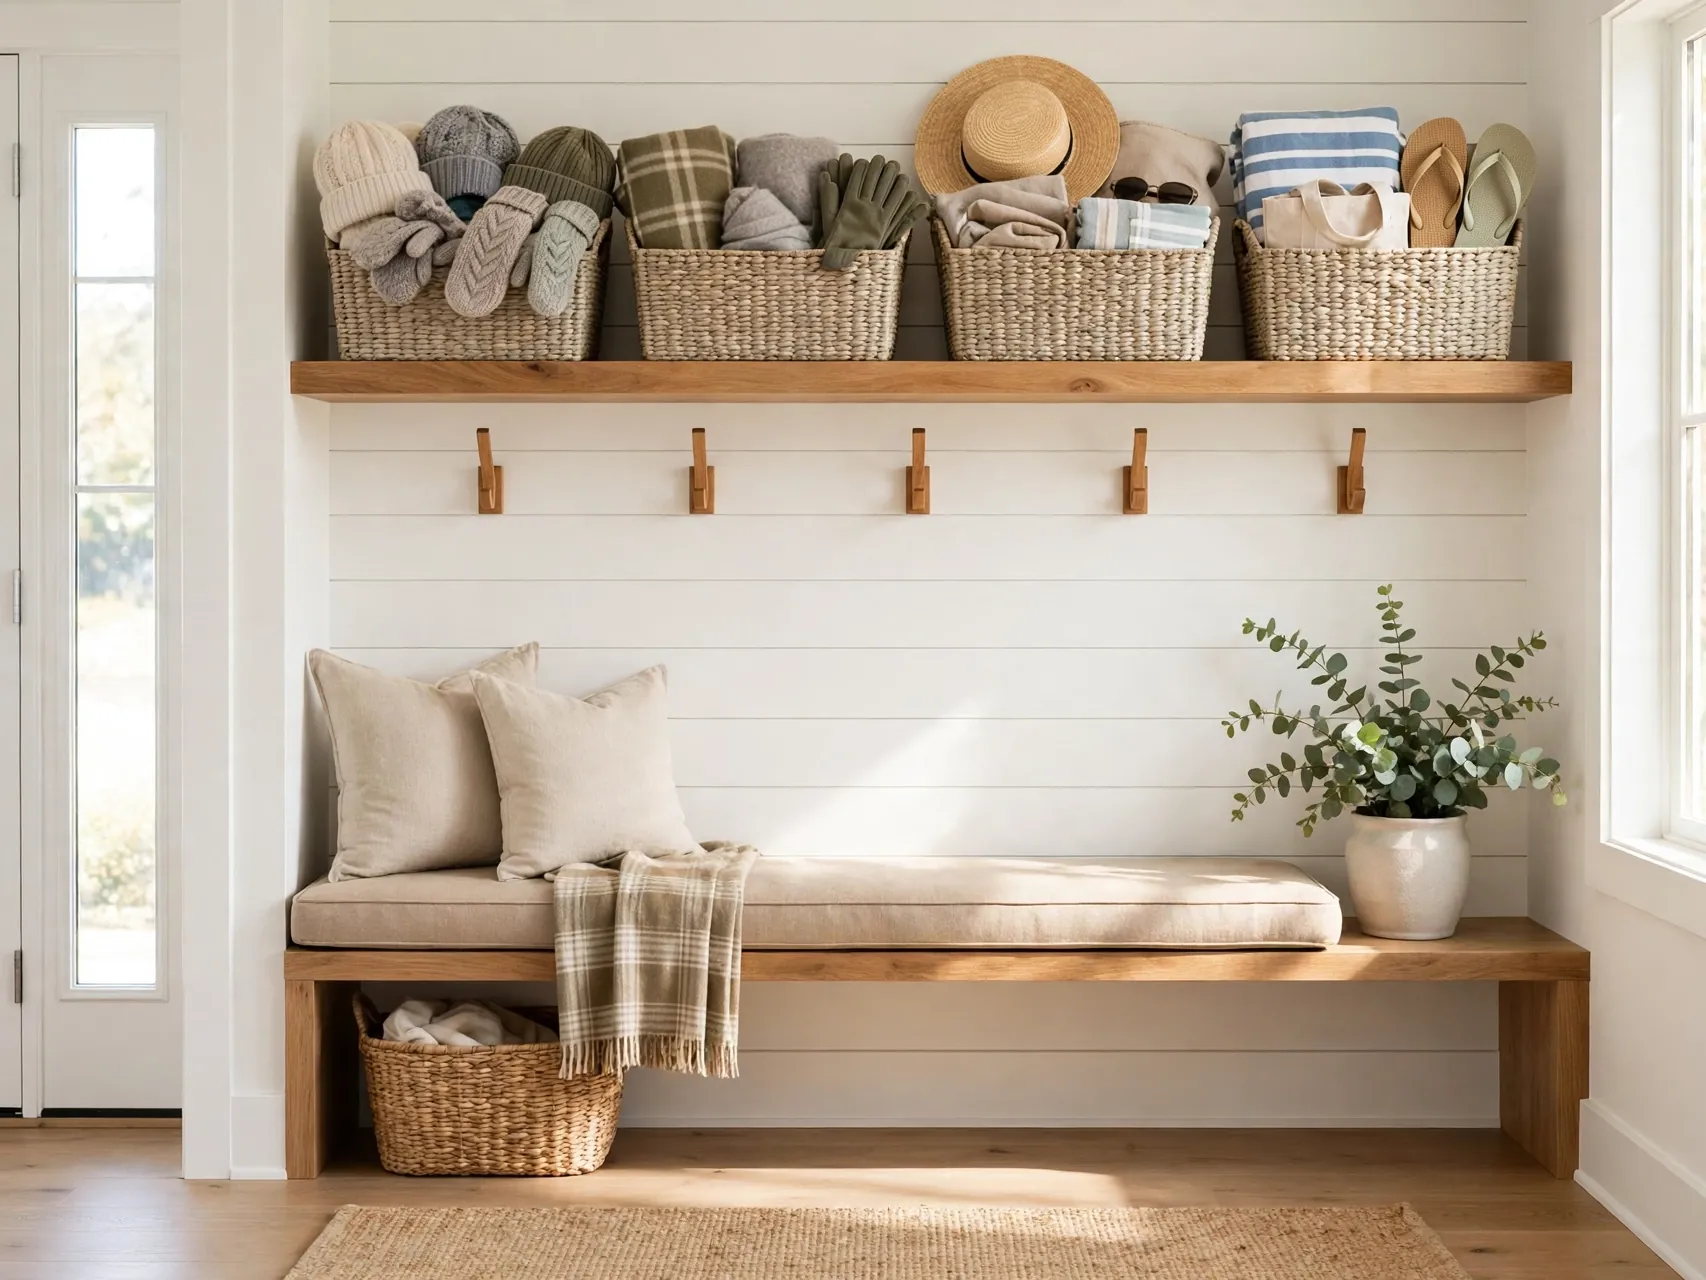
One high shelf or bin holds the current season swap: gloves and hats in winter, sunscreen and caps in summer. Rotate it when the weather turns and move the off season set to a closet. Without a swap spot, every season's gear piles onto the same hooks until nothing fits and everything falls off.
Group similar things together first, then give each group one home. When a category starts to overflow, that is your signal to edit it down instead of buying a bigger container. A.
Set a Sports Gear Corner
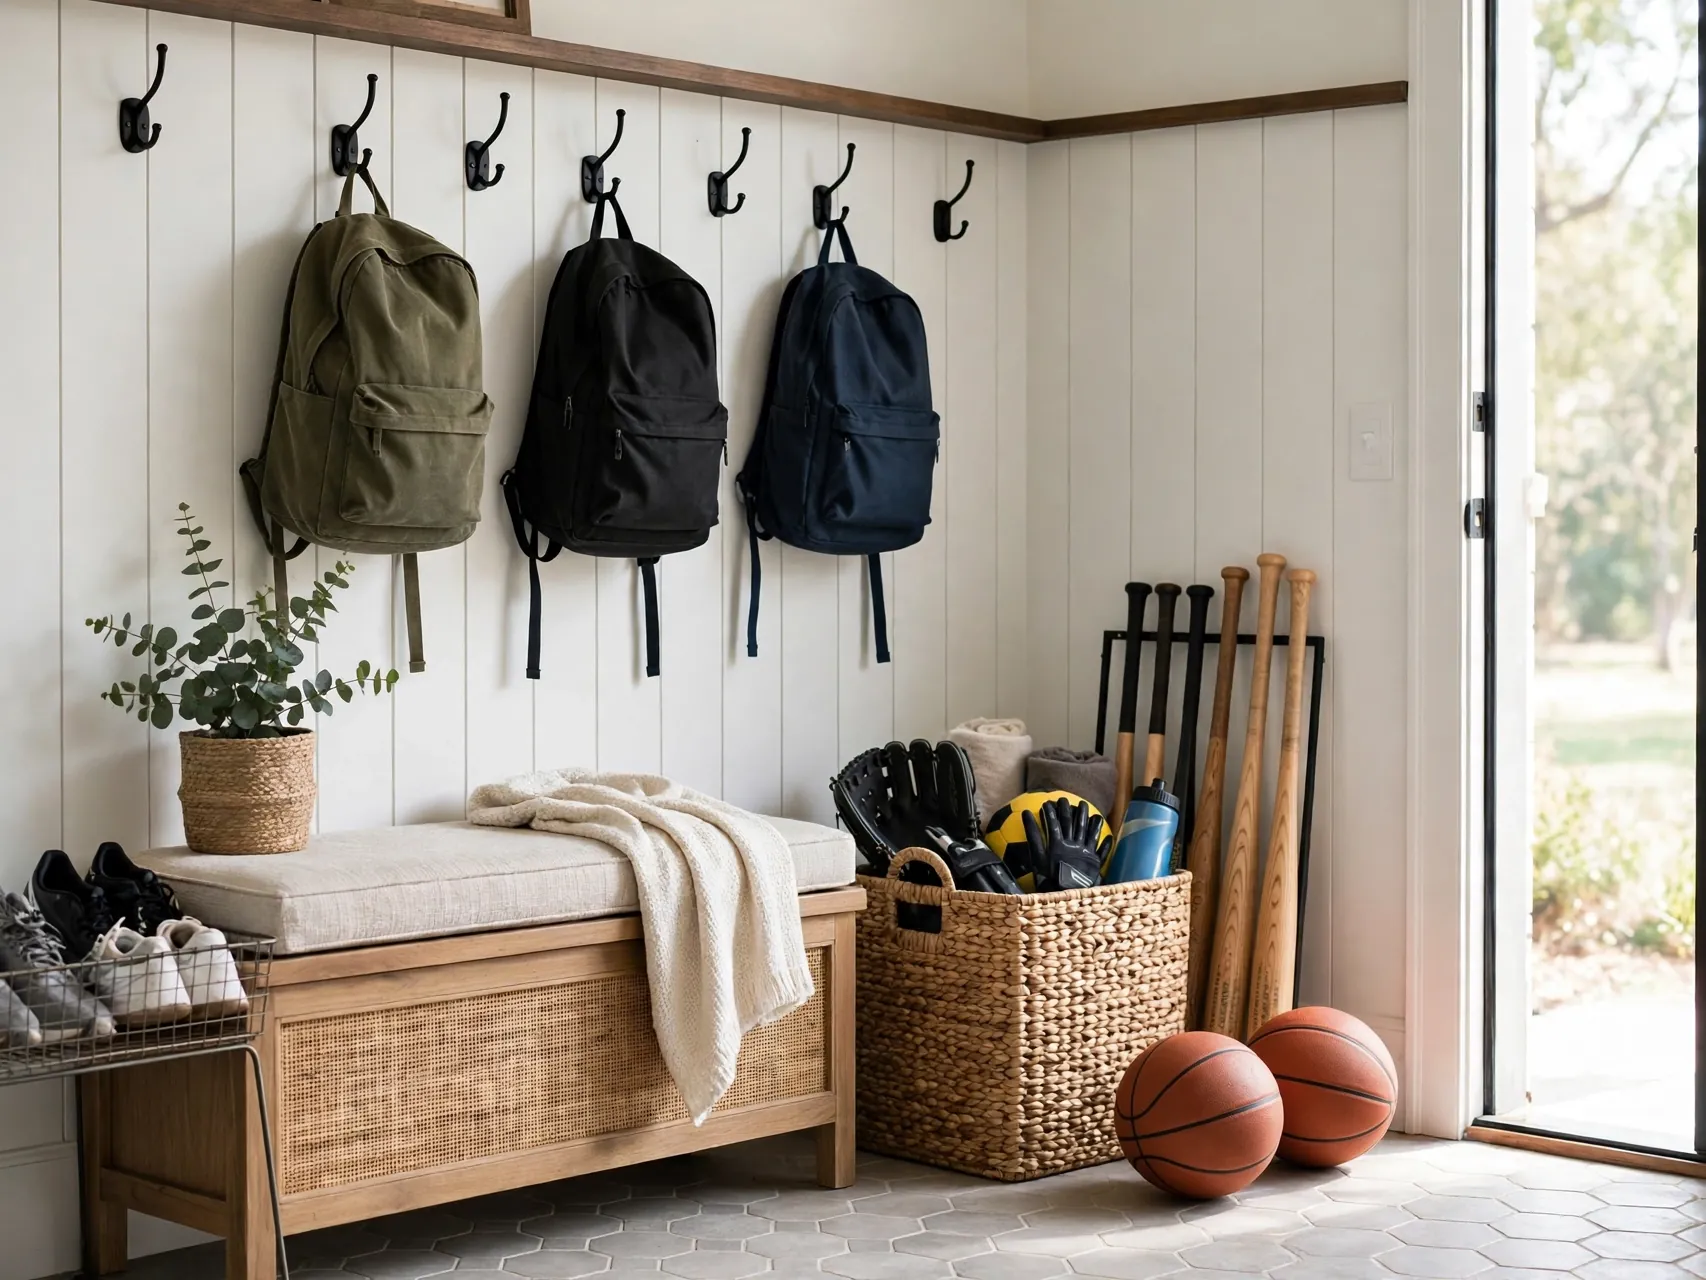
Balls, rackets, and dance bags should not share the backpack hooks. Add one tall bin, a corner basket, or a separate set of hooks for sports gear beside the main zone. Each activity gets its own bag that stays packed, so kids grab the right kit on practice days instead of unpacking the school backpack to find shin guards.
Keep the setup easy to reset in under a minute. If returning an item takes several steps, it will end up on the floor or the counter instead. Open containers, clear fronts.
Light the Zone for Dark Mornings

Winter mornings are dark, and kids cannot find what they cannot see. Add a bright overhead light, a plug in lamp, or motion sensor lighting at the drop zone. Good light also makes the area feel like a real room instead of a dim hallway corner, which quietly encourages everyone to keep it neat.
Think about height as well as width. Most of these spaces waste the top half, so stacking, tiering, or hanging lifts items off the base and doubles what fits. Just keep heavier.
Make a Nightly Reset Checklist

The real secret is the evening, not the morning. Post a short checklist at kid height: hang bag, empty lunch bag, papers in the In tray, shoes on the rack, lay out tomorrow's needs. Repacking backpacks after homework, while bags are at the zone, means mornings need only shoes, coats, and breakfast.
Test the layout for a week before you add anything else. Live with it, notice what you bump into, and move one or two pieces until reaching feels natural. A short trial.
Do a Weekly Five Minute Zone Reset
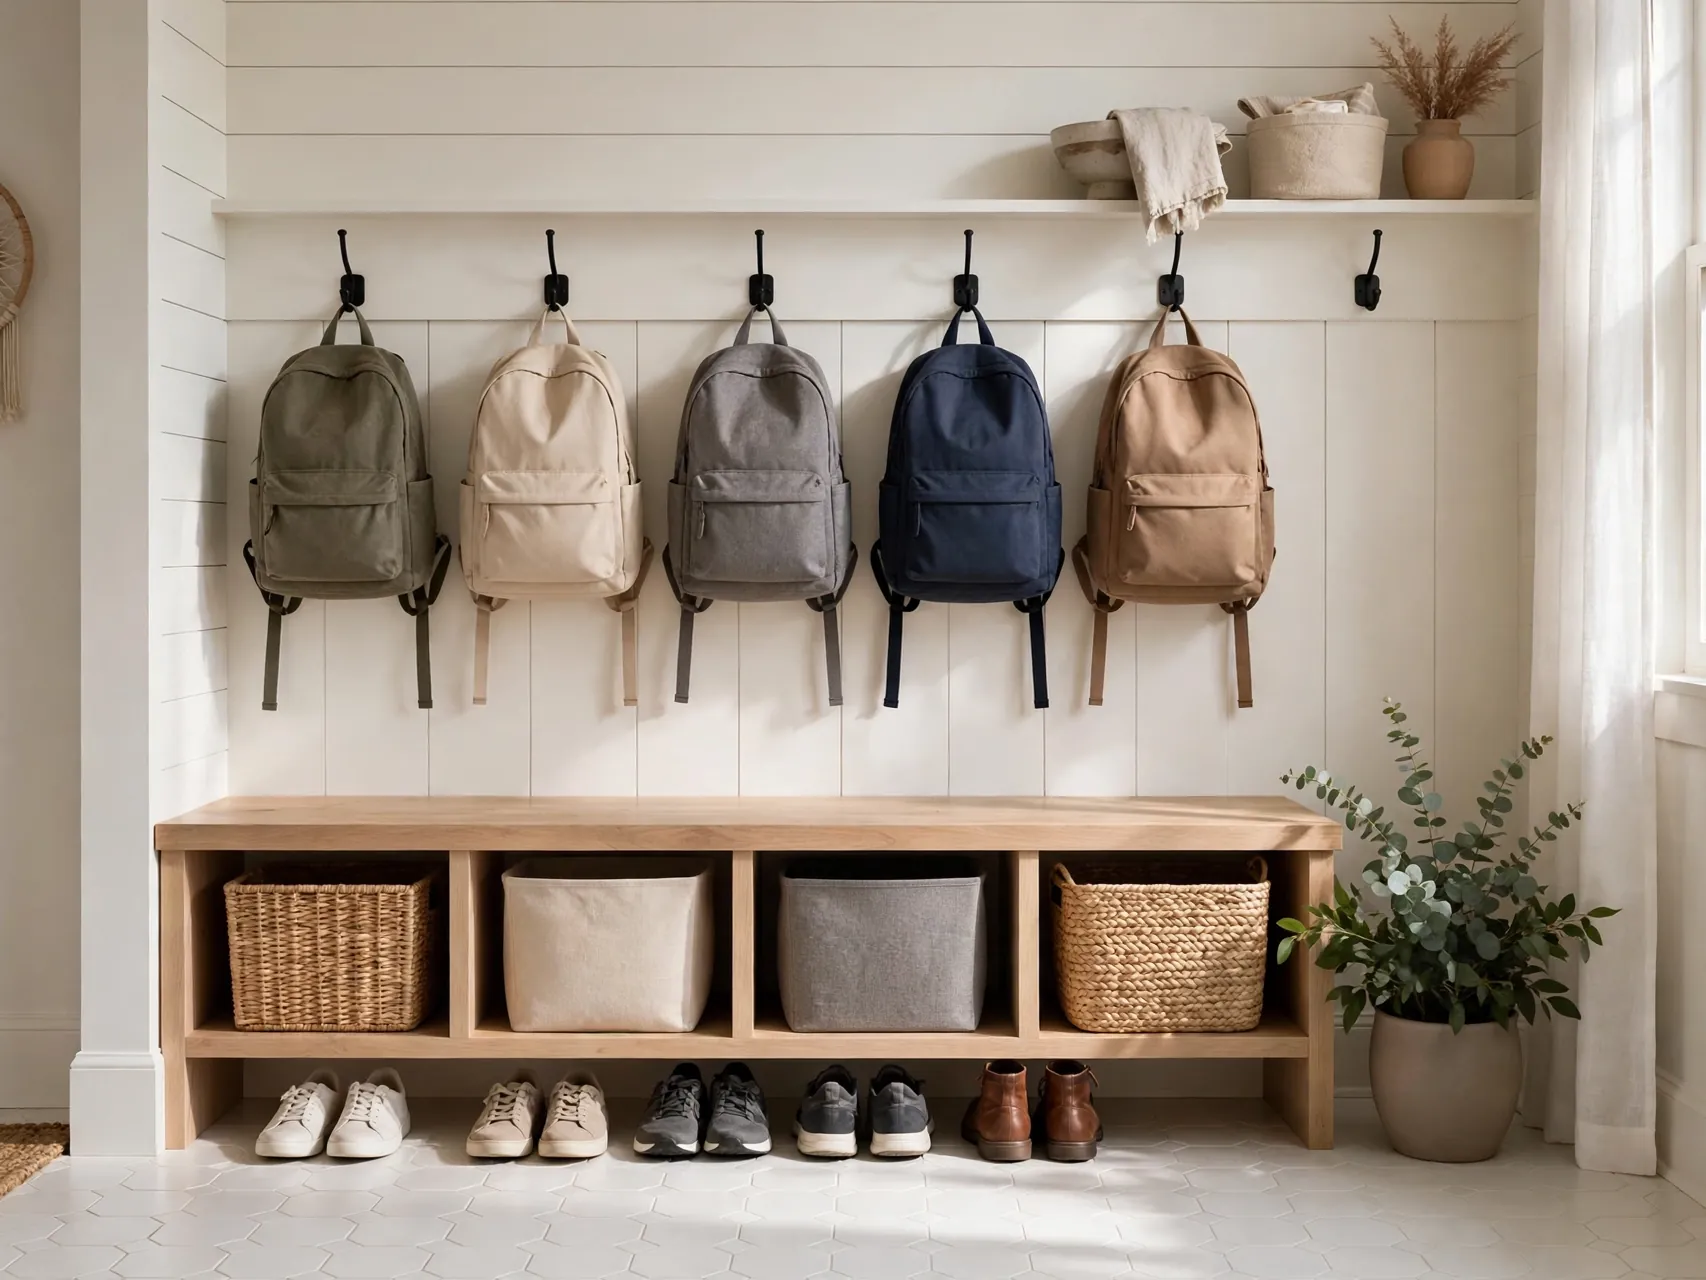
Once a week, empty the bins, check the paper trays, wipe the mat, and return anything that wandered in from other rooms. Lost items usually surface during this reset, before they become emergencies. Keep the reset short and fixed to one day, like Sunday evening, so the zone starts every school week clean and ready.
Measure the spot before you buy anything, and leave a little breathing room so containers slide in and out without catching. Put the things you reach for most at the front and.
FAQ
Where is the best place for a backpack drop zone?
At the door your family uses most, even if that is the garage or back door rather than the front entry. A zone in the wrong place will be ignored. A short wall, a hallway corner, or one side of a laundry room is enough, as long as hooks, a bin per child, and a paper spot fit within a few steps of the door.
How high should backpack hooks be for kids?
Hooks should sit where your youngest child can hang a bag without stretching on tiptoes, with a second higher row for adults if space allows. More important than the exact height is the fixing: use sturdy hooks anchored into studs or a solid backing board, because a loaded school backpack is far heavier than a coat.
How do I make a drop zone in a small apartment?
Use one wall or the back of a door. A hook rail, one bin per child stacked in a small cube unit, a wall pocket for papers, and a slim shoe tray can fit in a space the size of a closet door. Keep limits tight: one pair of shoes and one bag per person at the door, with extras stored in bedrooms.
What should a backpack drop zone include at minimum?
Three pieces cover most needs: strong hooks for bags and coats, a surface or tray for keys, papers, and small items, and a bin or basket per child for loose gear. Add a bench and a command center if you have room. Start with the basics, live with them for a few weeks, then add only what you still miss.
How do I get kids to actually use the drop zone?
Make it obvious and personal: their name, their color, their hook at their height. Then build the habit with a short nightly checklist at the zone and a weekly reset you do together at first. Kids use systems that are easy and praised. If bags still land on the floor, the zone is usually too far, too high, or too complicated.
Key Takeaways
- Build it at the real door: The garage or back door your family uses beats a pretty front entry nobody passes.
- Hooks must be strong and low: Anchor them well, hang them at kid height, and label one per child.
- One bin per child: A personal bin, color, and paper slot stop bags merging into one giant pile.
- Papers need a system: In and Out trays at the zone end lost permission slips and morning hunts.
- The night before wins: A short evening checklist and weekly reset are what make a backpack station calm at 7 am.
- Start small if you must: A cube organizer, a hook rail, and a shoe tray already count as a working drop zone.
Love these ideas? Save this post to Pinterest so you can find it later, and pin your favorite setup to your home organization board before you start.