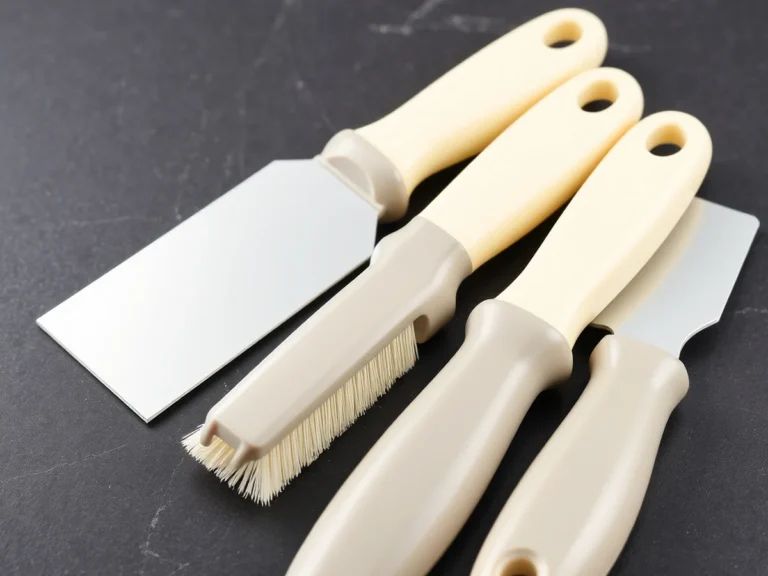
20 Steps on How to Clean a Dishwasher for Spotless Dishes
Introduction
If your glasses come out cloudy, your plates feel gritty, or a sour smell greets you when you open the door, the problem is often not your detergent. It is the machine itself. A dishwasher handles grease, starch, and sticky food every day, and that buildup settles in the filter, spray arms, seals, and corners where wash water barely reaches.
Learning how to clean a dishwasher properly takes about 30 minutes of hands-on work, plus time for two hot cycles to run. The reward is immediate: cleaner dishes, no stale odor, and a machine that works more efficiently and lasts longer. Most makers suggest a monthly clean for a busy family dishwasher.
Follow these 20 steps in order for a full deep clean. Always check your own manual first, since filter designs and removable parts vary by model. Work gently, use simple supplies you likely already own, and let hot water do the heavy lifting.
1. Gather Your Simple Supplies First
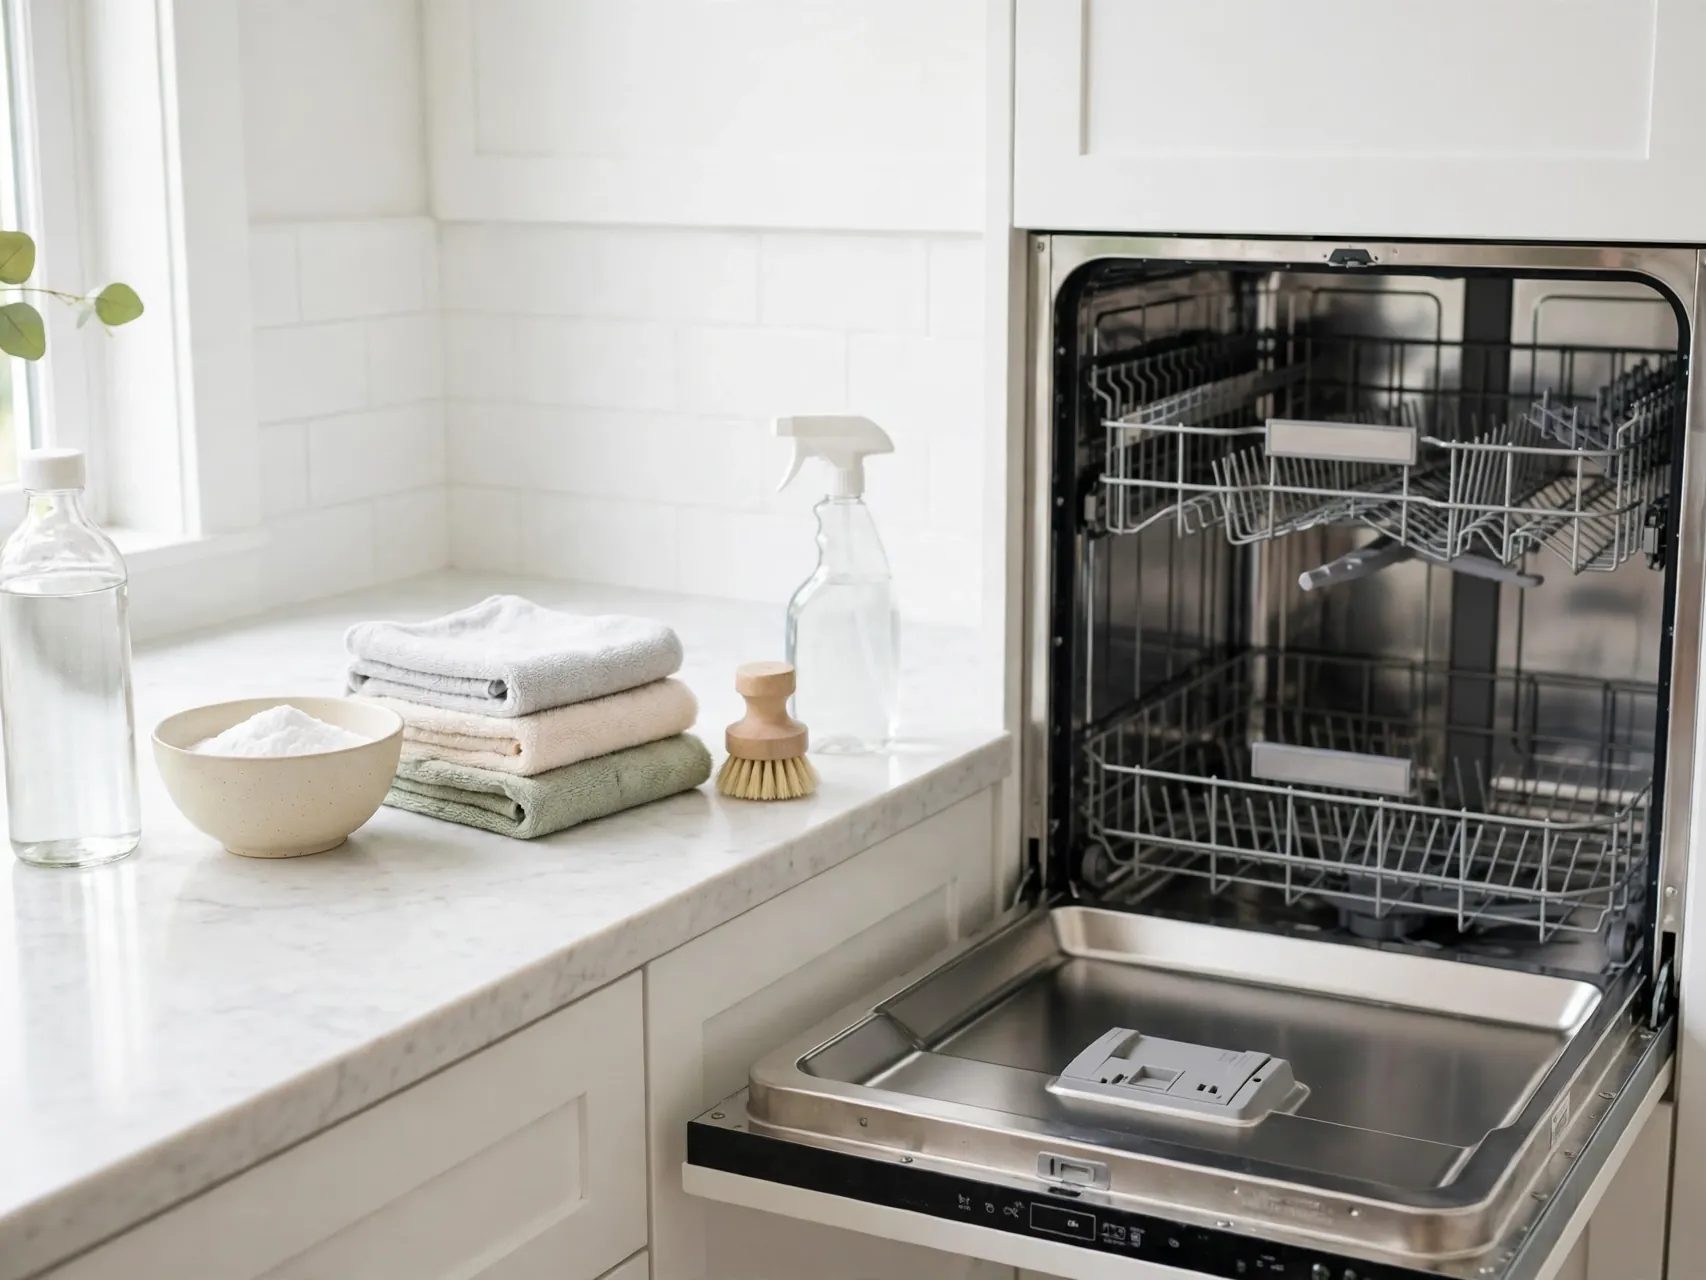
Collect everything before you start so you are not searching mid job. You will need white vinegar, baking soda, mild dish soap, a soft brush or old toothbrush, a microfiber cloth, a small bowl of warm soapy water, and a toothpick or wooden skewer for spray arm holes.
Optional extras include a dishwasher cleaner tablet for heavy buildup and rubber gloves if the filter is especially grimy. Avoid steel wool and harsh scouring powders inside the machine, since they can scratch surfaces and damage the finish. Simple, gentle tools protect the interior while still removing grease and food residue well.
2. Empty the Dishwasher Completely
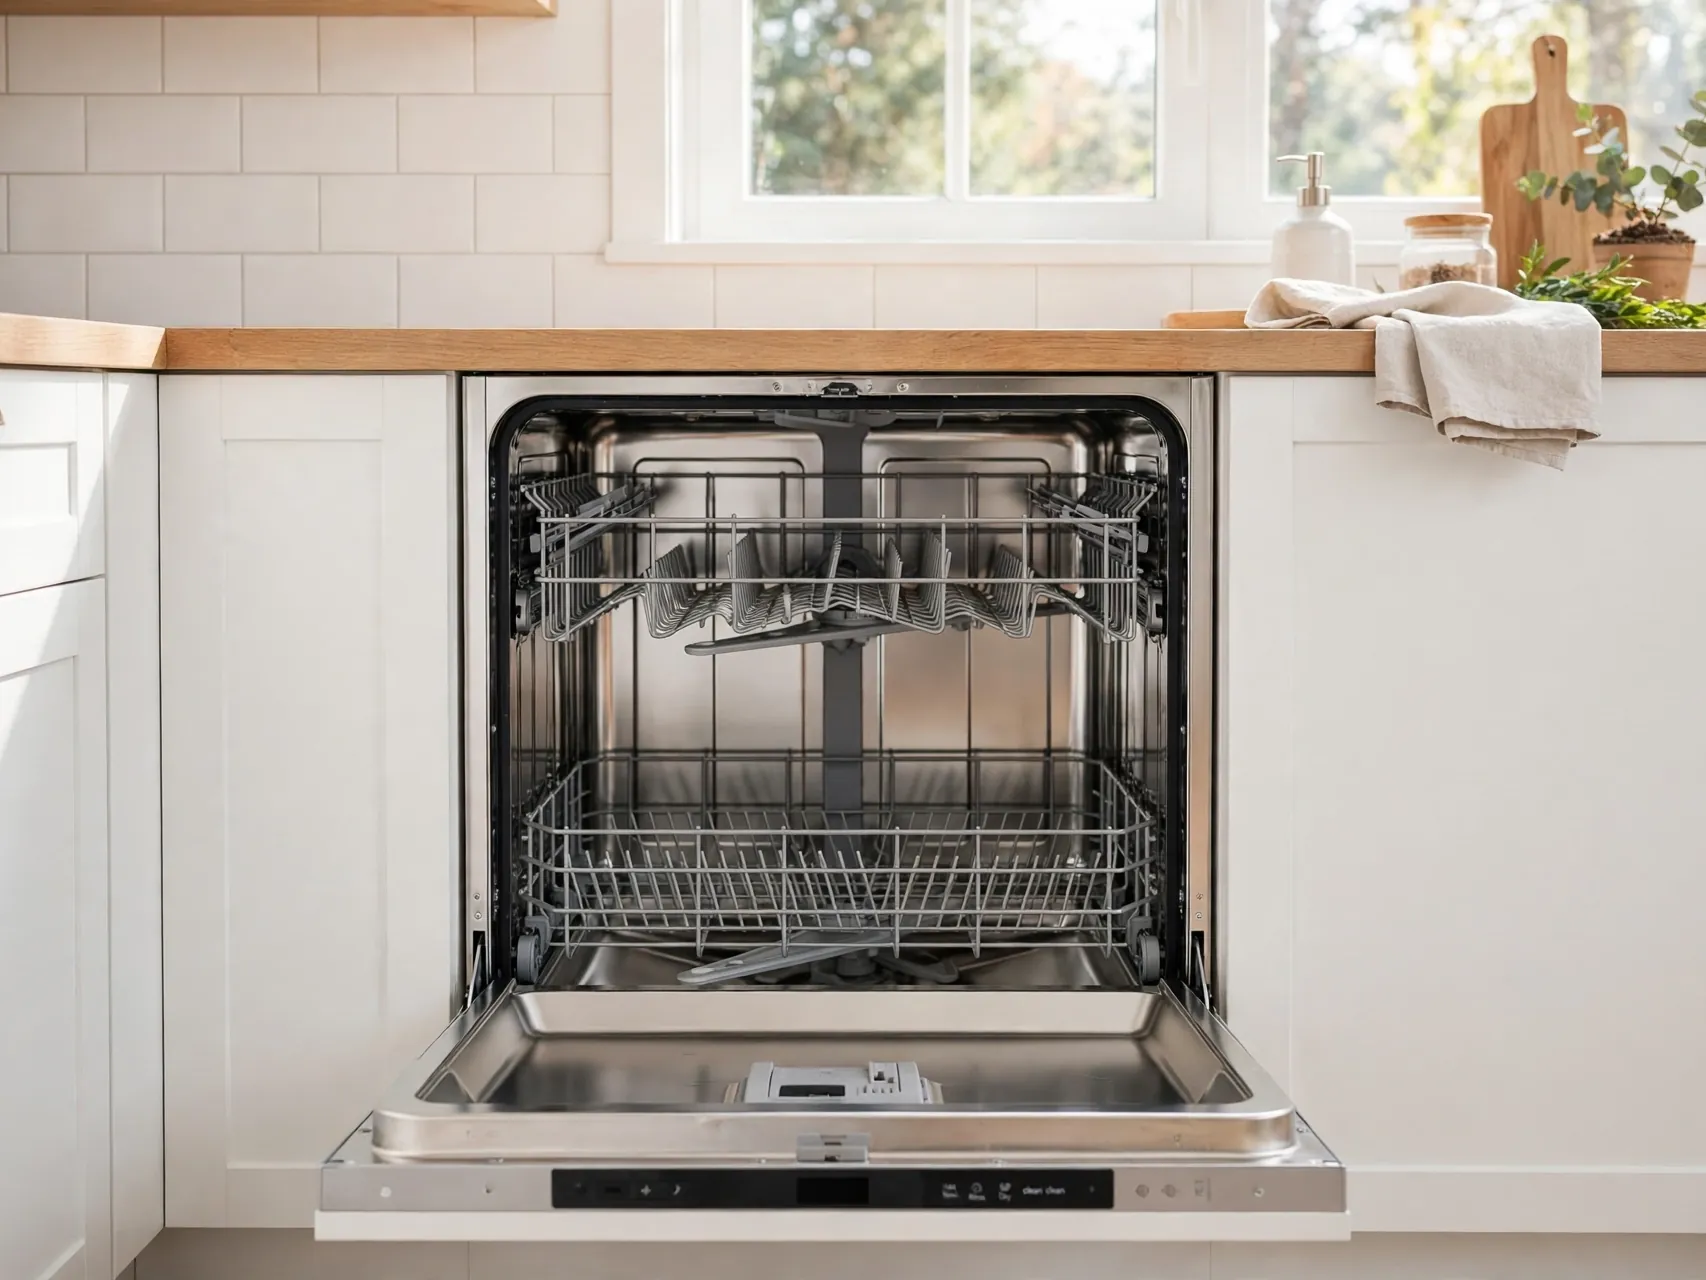
Remove every dish, glass, utensil, and leftover item. Cleaning works only when the tub, racks, and filter are fully exposed. Check the bottom carefully for a stray spoon, a piece of broken glass, a fruit label, or a small bone that slipped through during a wash.
Shake out the utensil holder over the trash as well. Starting with an empty machine keeps the cleaning solution in contact with the surfaces that need it, instead of rewashing a load of already clean dishes and wasting a full hot cycle.
3. Pull Out the Racks and Utensil Holder

Slide out the lower rack completely and set it aside. Many upper racks lift out too, though some models only tilt or adjust, so check your manual before forcing anything. Removing the racks gives you clear access to the filter, spray arms, and tub floor.
While the racks are out, inspect them for cracked coating, rust spots, or stuck food on the tines. Wipe them down with a soapy cloth and rinse. Damaged rack coating can rust over time, so note any spots that may need a rack repair kit or replacement later.
4. Clear Debris From the Tub Floor
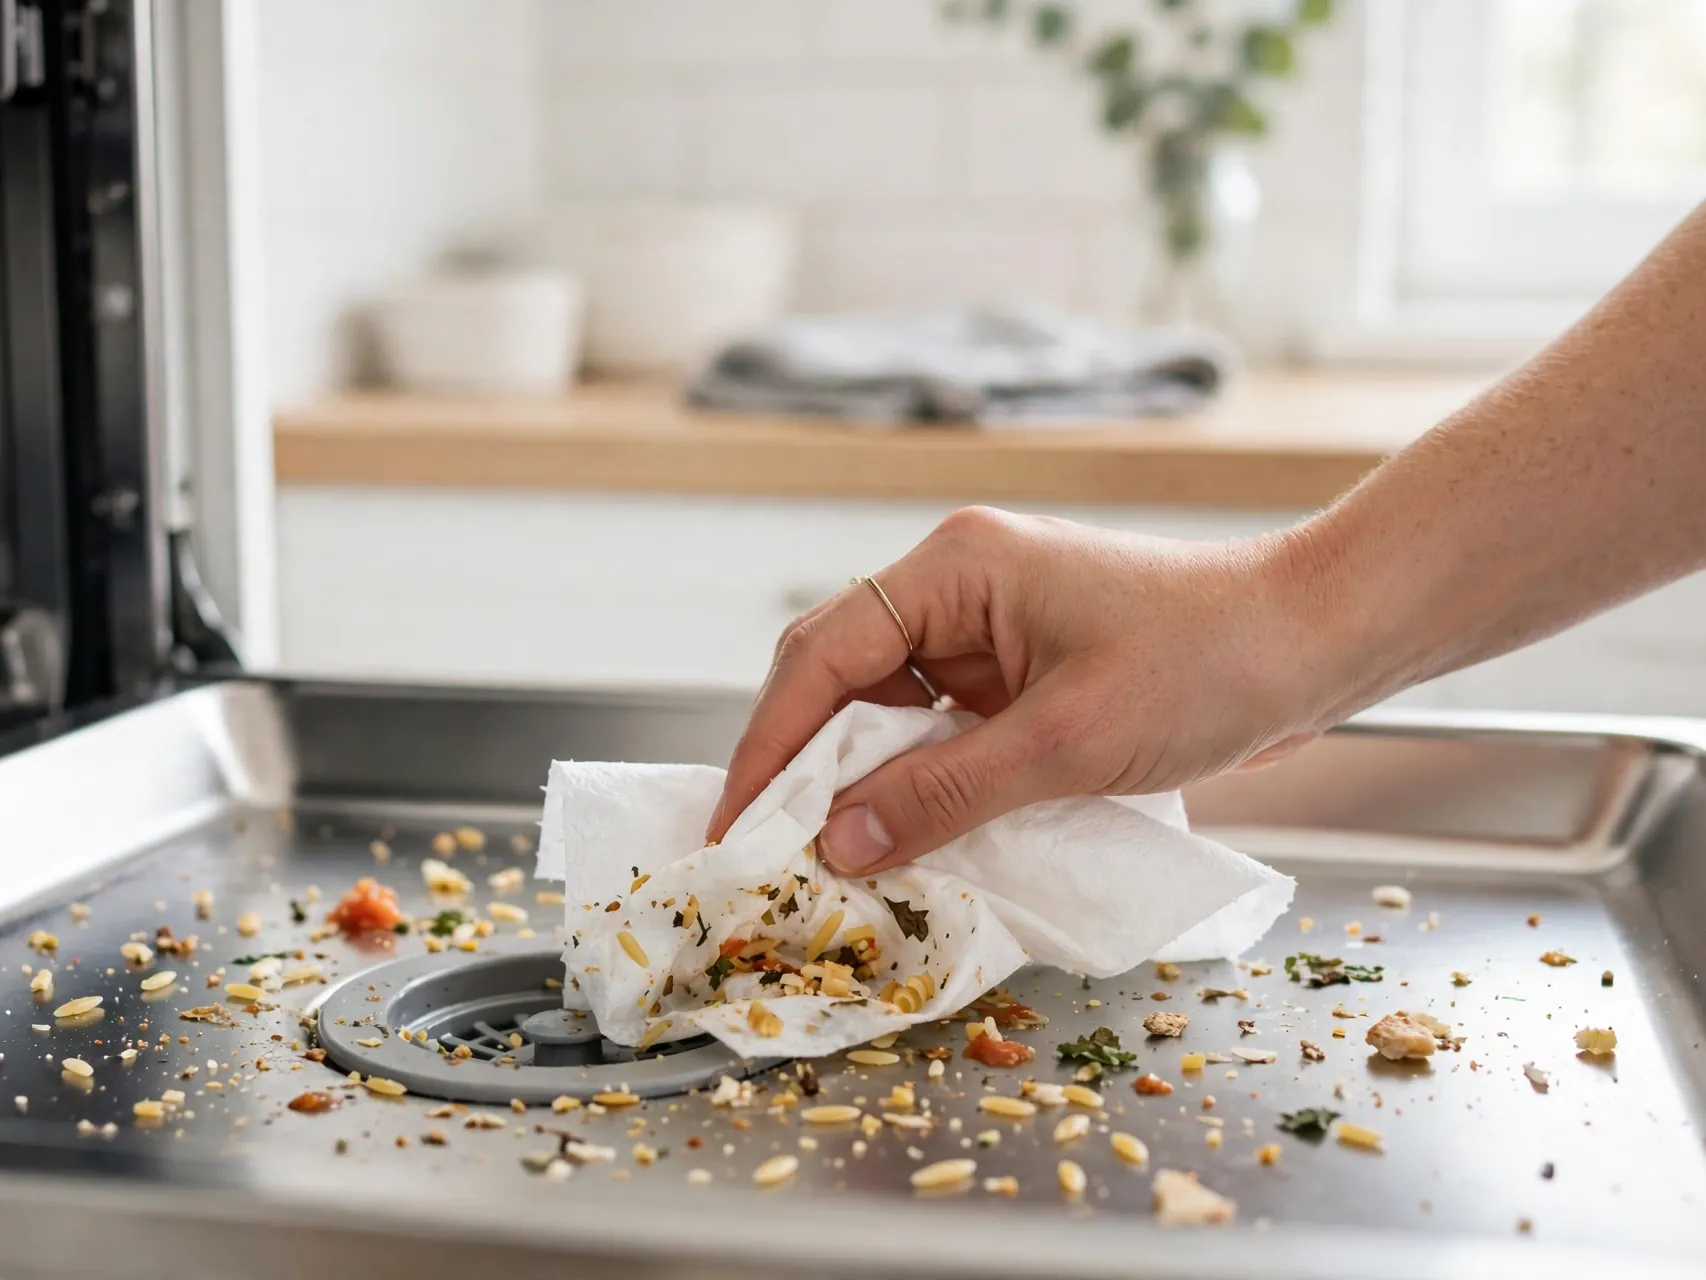
With the racks out, look closely at the bottom of the tub, especially around the drain area. Pick up any food scraps, paper labels, seeds, or bits of glass by hand, using a damp paper towel to grip small slippery pieces safely.
This quick clear out matters because loose debris gets recirculated during the wash and can redeposit on your dishes. It also protects the drain and filter from clogging. Wipe the tub floor with a cloth so you start the deeper steps with a surface you can actually see.
5. Remove and Rinse the Filter

The filter sits at the bottom of most modern dishwashers, usually under the lower spray arm. Twist or lift it out exactly as your manual shows, since designs differ. You may find a cylindrical filter, a flat mesh screen, or both parts together.
Empty any trapped food into the trash, then rinse the filter under warm running water. Most everyday buildup washes away with water pressure alone. This single part is responsible for most poor cleaning results, so give it your full attention before moving on to the next step.
6. Scrub and Soak the Filter Clean
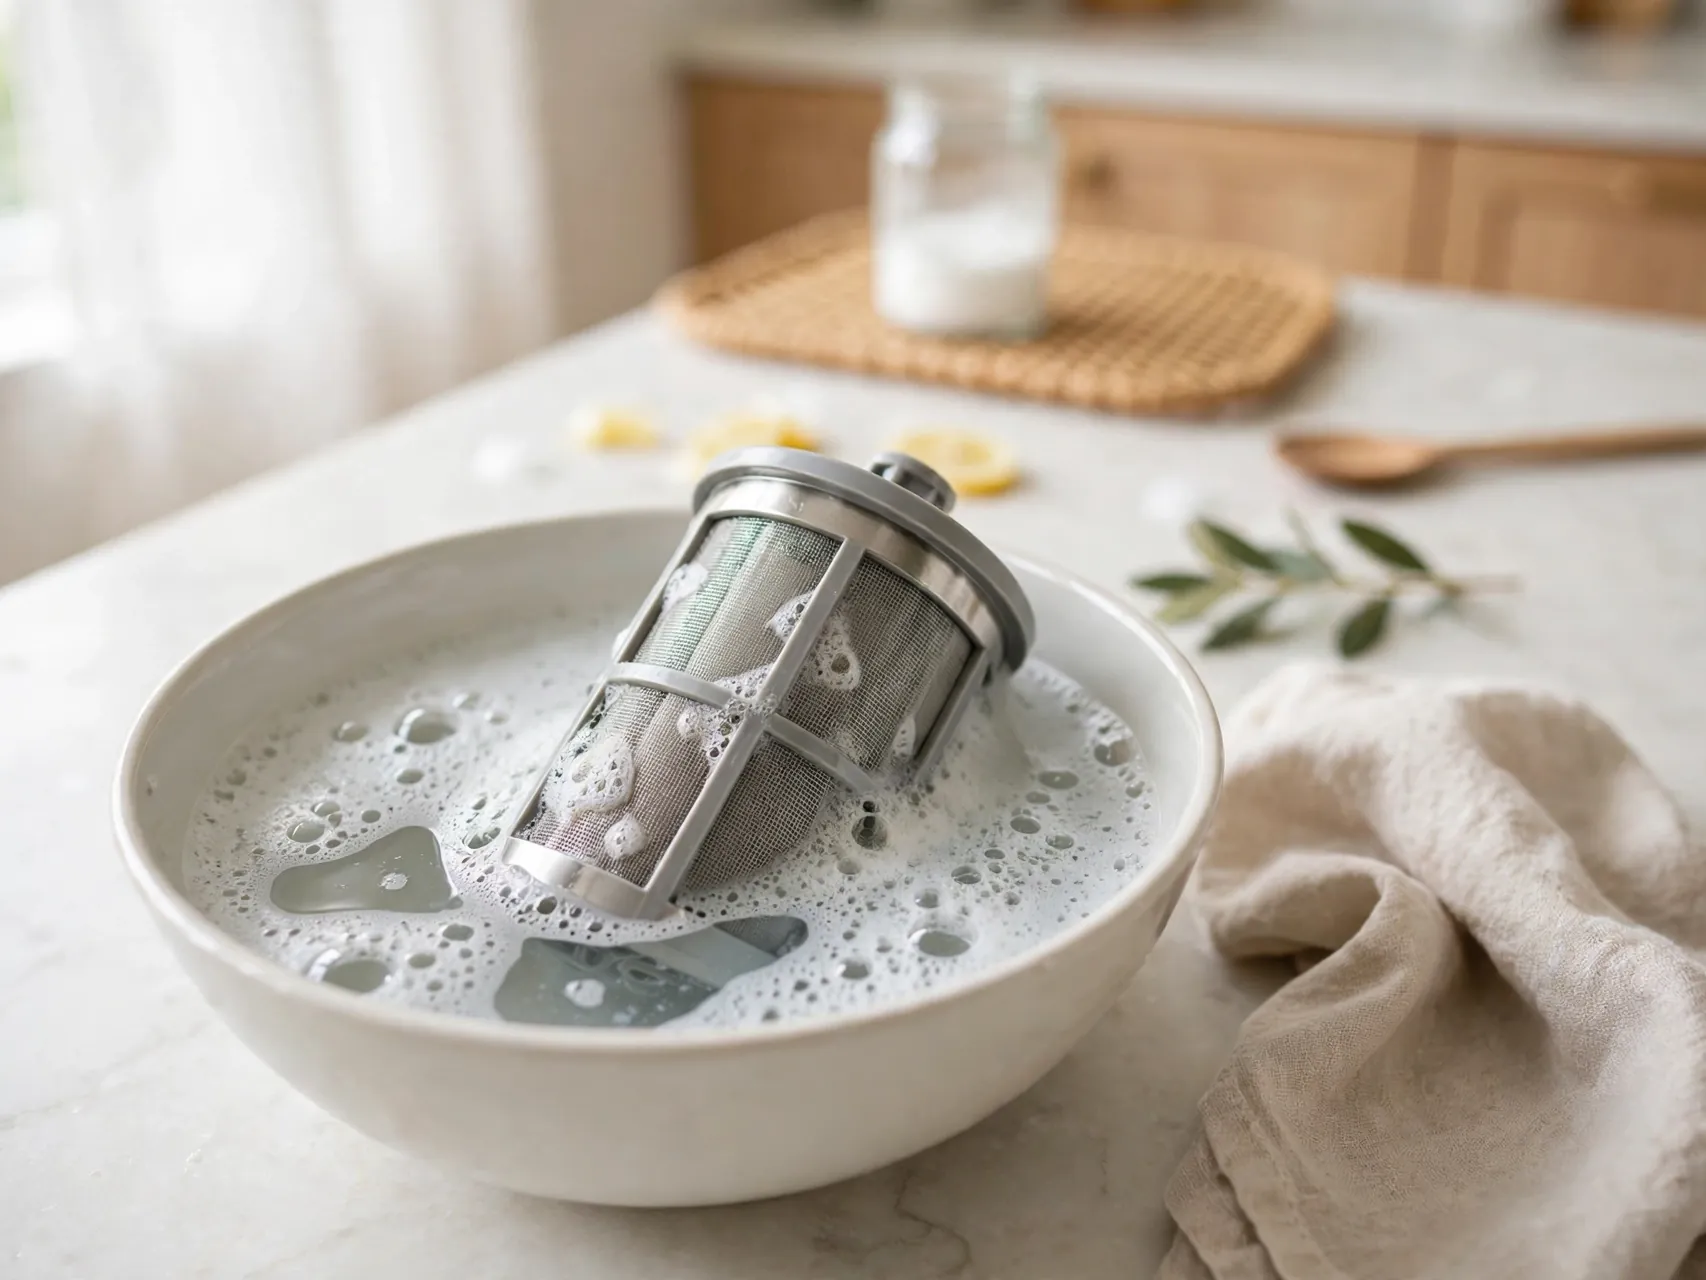
If rinsing is not enough, soak the filter in a sink of warm water with a little dish soap for about 10 minutes. Then scrub gently with a soft brush or old toothbrush to lift grease and fine particles from the mesh without tearing it.
Never use a wire brush on the filter, since damaged mesh lets food pass through and clog spray arms and pumps. Rinse until the water runs clear, let the filter drain, and set it aside to reinstall after you clean the area underneath it.
7. Unclog the Spray Arm Holes
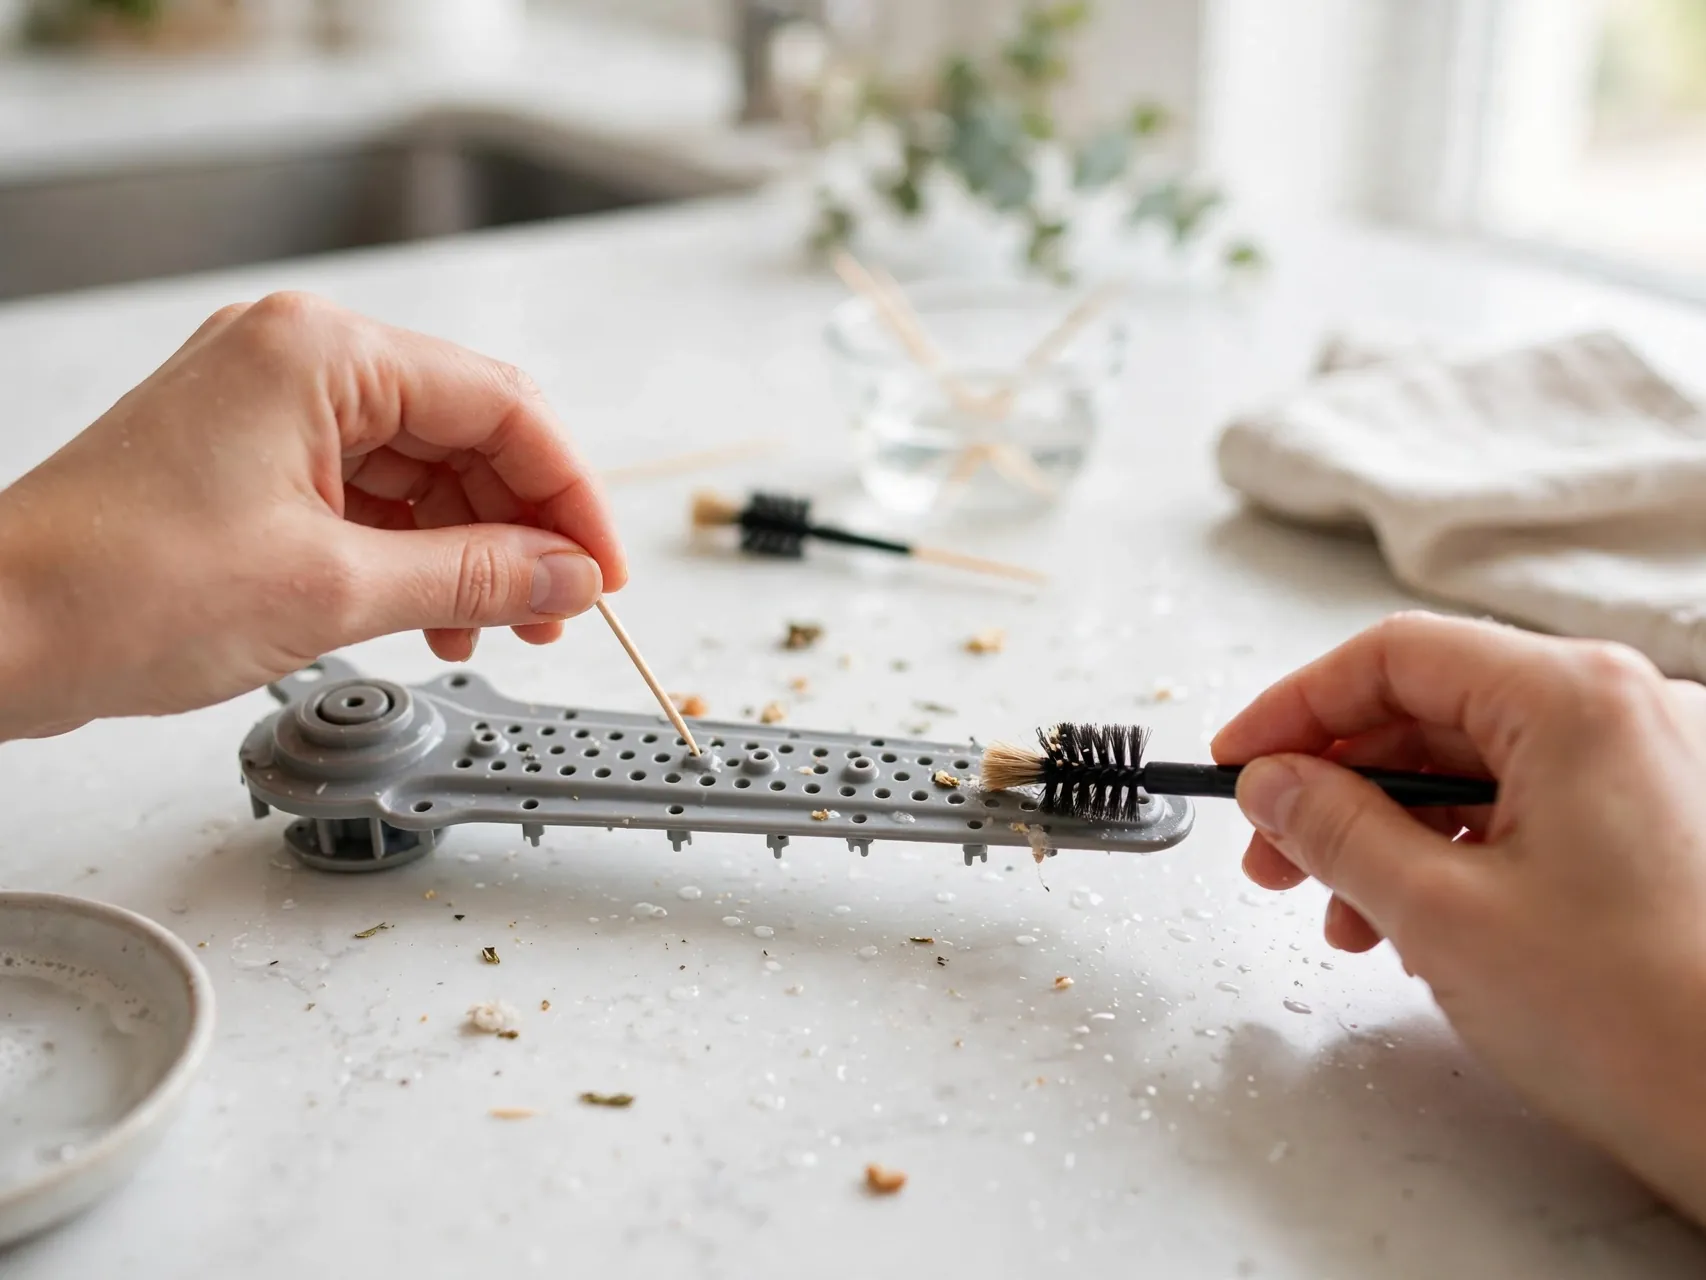
Spray arms spin and shoot water through tiny holes, and those holes clog with mineral scale and food bits. Remove the lower arm, and the upper arm too if your model allows it. Hold each arm up to the light and look for blocked openings.
Push a toothpick or thin wooden skewer gently through each clogged hole, then rinse the arm under the tap to flush loosened debris out. Shake out excess water. Clean spray arms restore strong, even water coverage, which is essential for spotless dishes on both racks.
8. Wipe the Door Gasket and Edges

The rubber gasket around the door, plus the door edges and hinges, sit outside the main wash zone, so grime builds up there quietly. Dip a cloth or soft brush in warm, soapy water and wipe the full seal, the sides of the door, and the area below the door.
Pay attention to the bottom door edge, where a dark line of residue often hides. Be gentle with the gasket, since tearing or stretching it can cause leaks. A clean seal helps the door close tightly and keeps musty smells from lingering after every wash.
9. Scrub the Interior Walls and Door
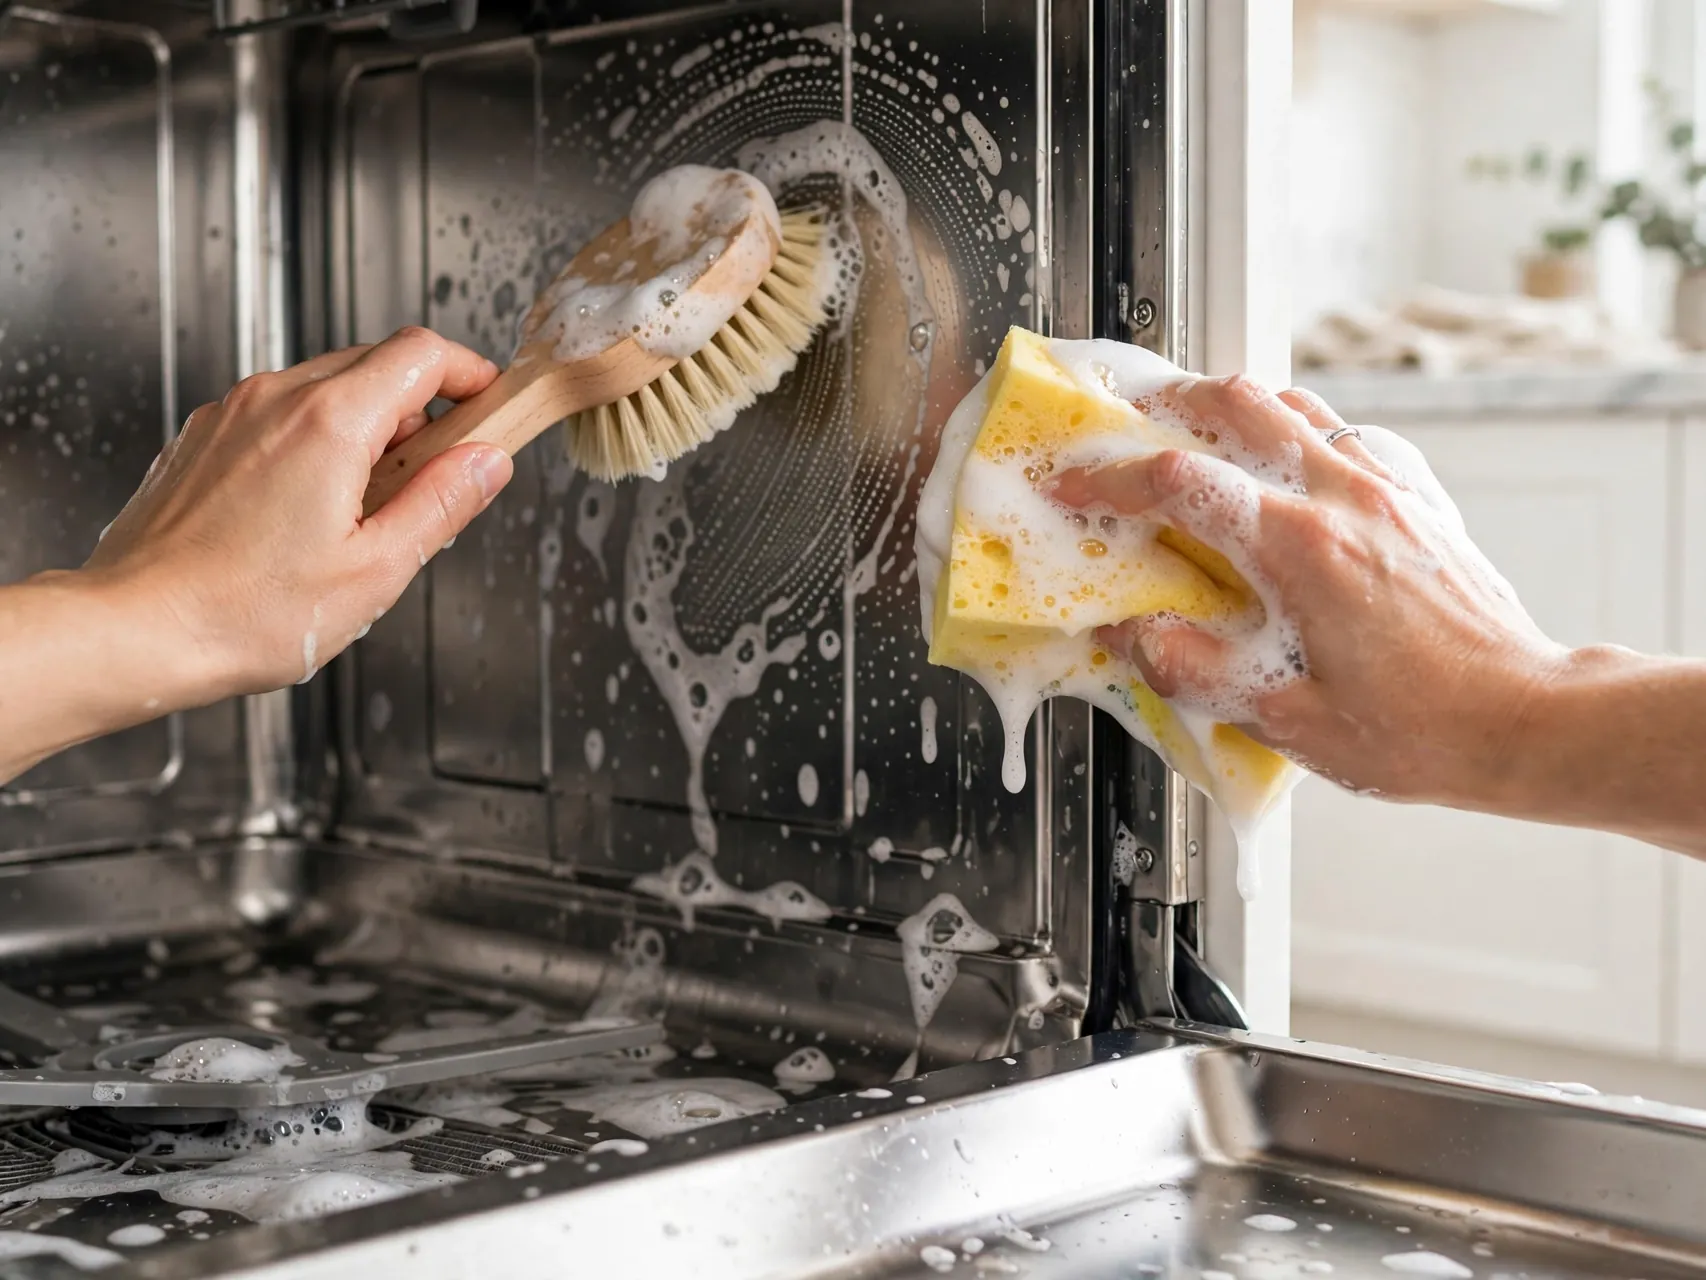
Wipe the interior walls, ceiling, and inside of the door with a soft sponge or microfiber cloth dampened with warm, soapy water. Work into corners and around the detergent dispenser, where soap film and grease collect. For stubborn spots, make a paste of baking soda and a little water and apply it with a soft cloth.
Avoid flooding the door vents or control area with water. Rinse your cloth often so you are lifting grime rather than spreading it. This step removes the dull film that dulls stainless interiors and holds onto odor.
10. Clean the Detergent Dispenser and Rinse Aid Cap
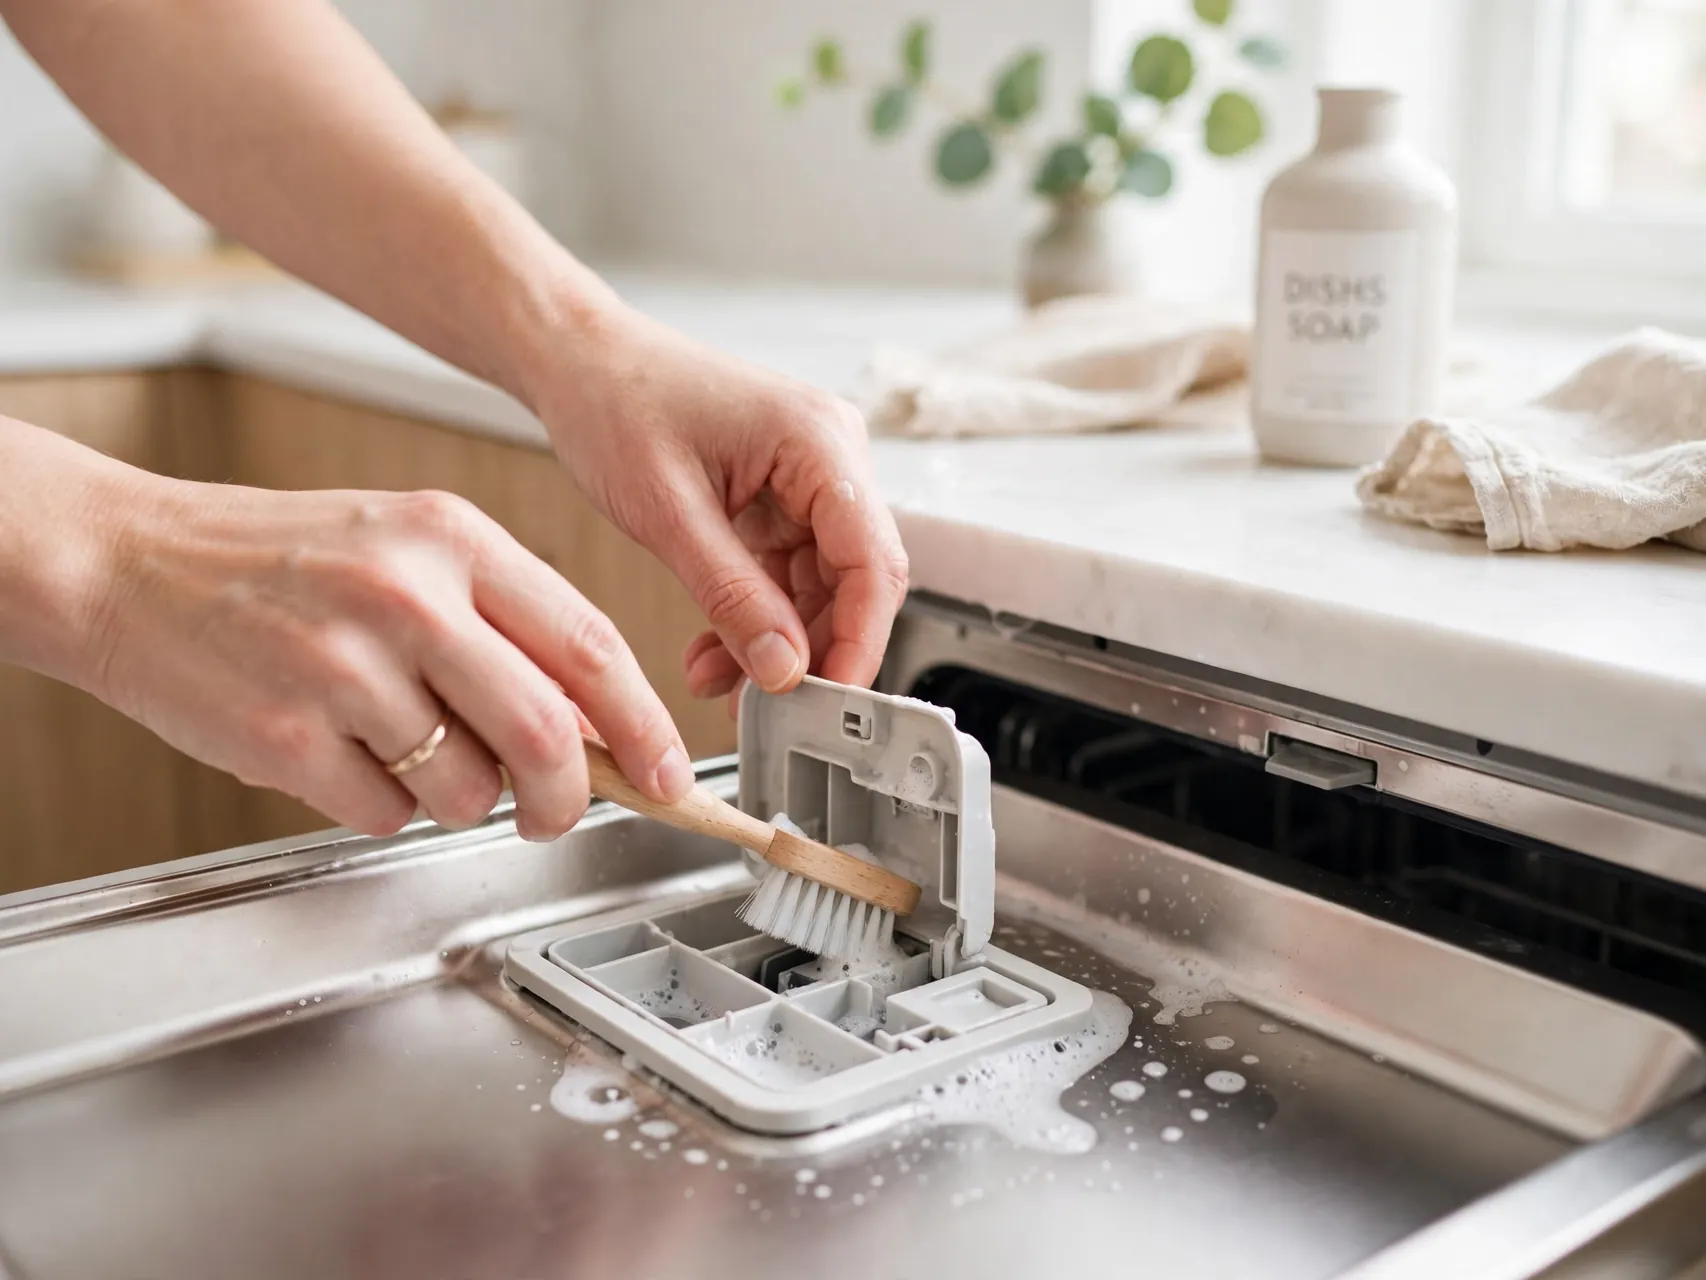
Open the detergent dispenser and wipe out any caked powder or gel residue with a damp cloth. Old detergent buildup can stop the cup from opening properly during a cycle, which leaves dishes half washed. Check that the lid clicks shut and springs open freely.
Wipe the rinse aid cap and refill the reservoir if it is low. Rinse aid helps water sheet off dishes so they dry with fewer spots, so keeping it topped up supports all the cleaning work you are doing today and improves drying on plastics.
11. Wash the Utensil Holder and Rack Details

The utensil holder traps food in its base and between its slots. Soak it in warm, soapy water while you work on other steps, scrub the bottom mesh with your brush, and rinse it well. Check rack tine tips and the small wheels on the racks too.
Food film on these parts can transfer back onto clean cutlery. Let the holder drain fully before putting it back. Taking two extra minutes here removes a surprising amount of the stale smell that people blame on the dishwasher itself.
12. Reinstall the Filter and Spray Arms
Before any wash cycle, put everything back in the right order. Seat the filter exactly as it came out and lock it in place if your model has a locking marker. Running the machine without a secured filter can let debris reach the pump and cause damage.
Refit the spray arms and spin each one by hand to confirm it turns freely without hitting the racks. Replace the racks and utensil holder. A quick spin check now prevents a noisy, uneven wash later and confirms your deep clean is ready for the hot cycles.
13. Run a Hot Vinegar Cycle for Grease

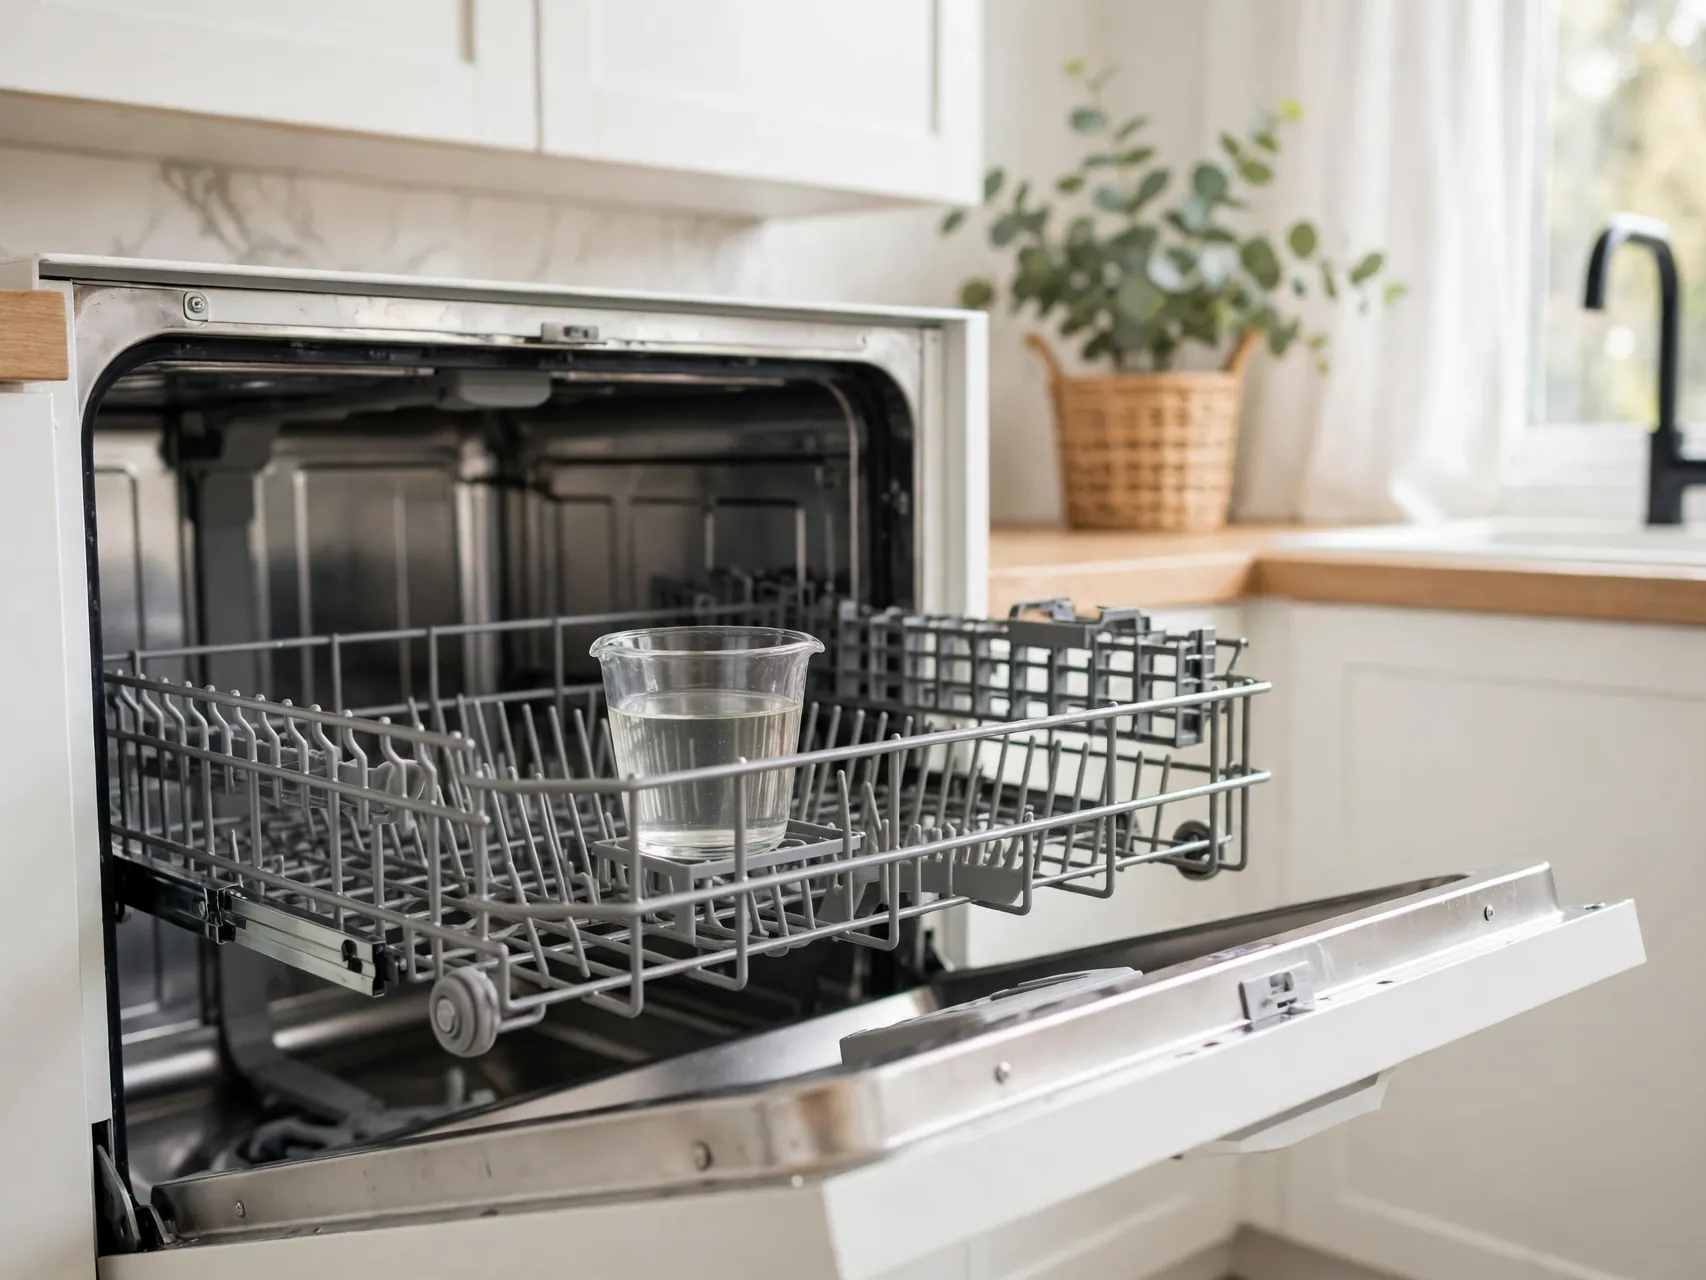
Place one cup of white vinegar in a dishwasher safe bowl or cup upright on the top rack of the empty machine. Run the hottest, longest cycle you have. The vinegar helps loosen grease and light mineral buildup and freshens the interior as the hot water circulates.
Use vinegar only occasionally, not at every wash. Because vinegar is acidic, frequent heavy use can affect rubber hoses and gaskets over time, a caution shared by appliance writers and makers. Never add vinegar at the same time as detergent, and never mix it with baking soda in the same cycle.
14. Follow With a Baking Soda Freshening Cycle

After the vinegar cycle finishes and the tub has cooled a little, sprinkle one cup of baking soda across the bottom of the dishwasher. Run a short, hot cycle. Baking soda gently scrubs as it dissolves and is especially good at lifting lingering odors from the tub.
This two cycle sequence, vinegar first and baking soda second in a separate cycle, leaves the interior bright and neutral smelling. Do not combine them in one cycle, since they neutralize each other and mostly make fizz instead of cleaning power.
15. Polish the Exterior and Controls
While the last cycle runs, clean the outside of the door, the handle, and the control panel. For stainless steel, wipe with a microfiber cloth dampened with warm, soapy water and always follow the direction of the grain. Dry and buff with a clean cloth to avoid water marks.
For plastic or painted fronts, a mild all purpose cleaner works well. Keep moisture away from electronic controls, using a barely damp cloth there. A polished exterior makes the whole kitchen feel cleaner and reminds you that the inside now matches it.
16. Check the Drain and Garbage Disposal Connection
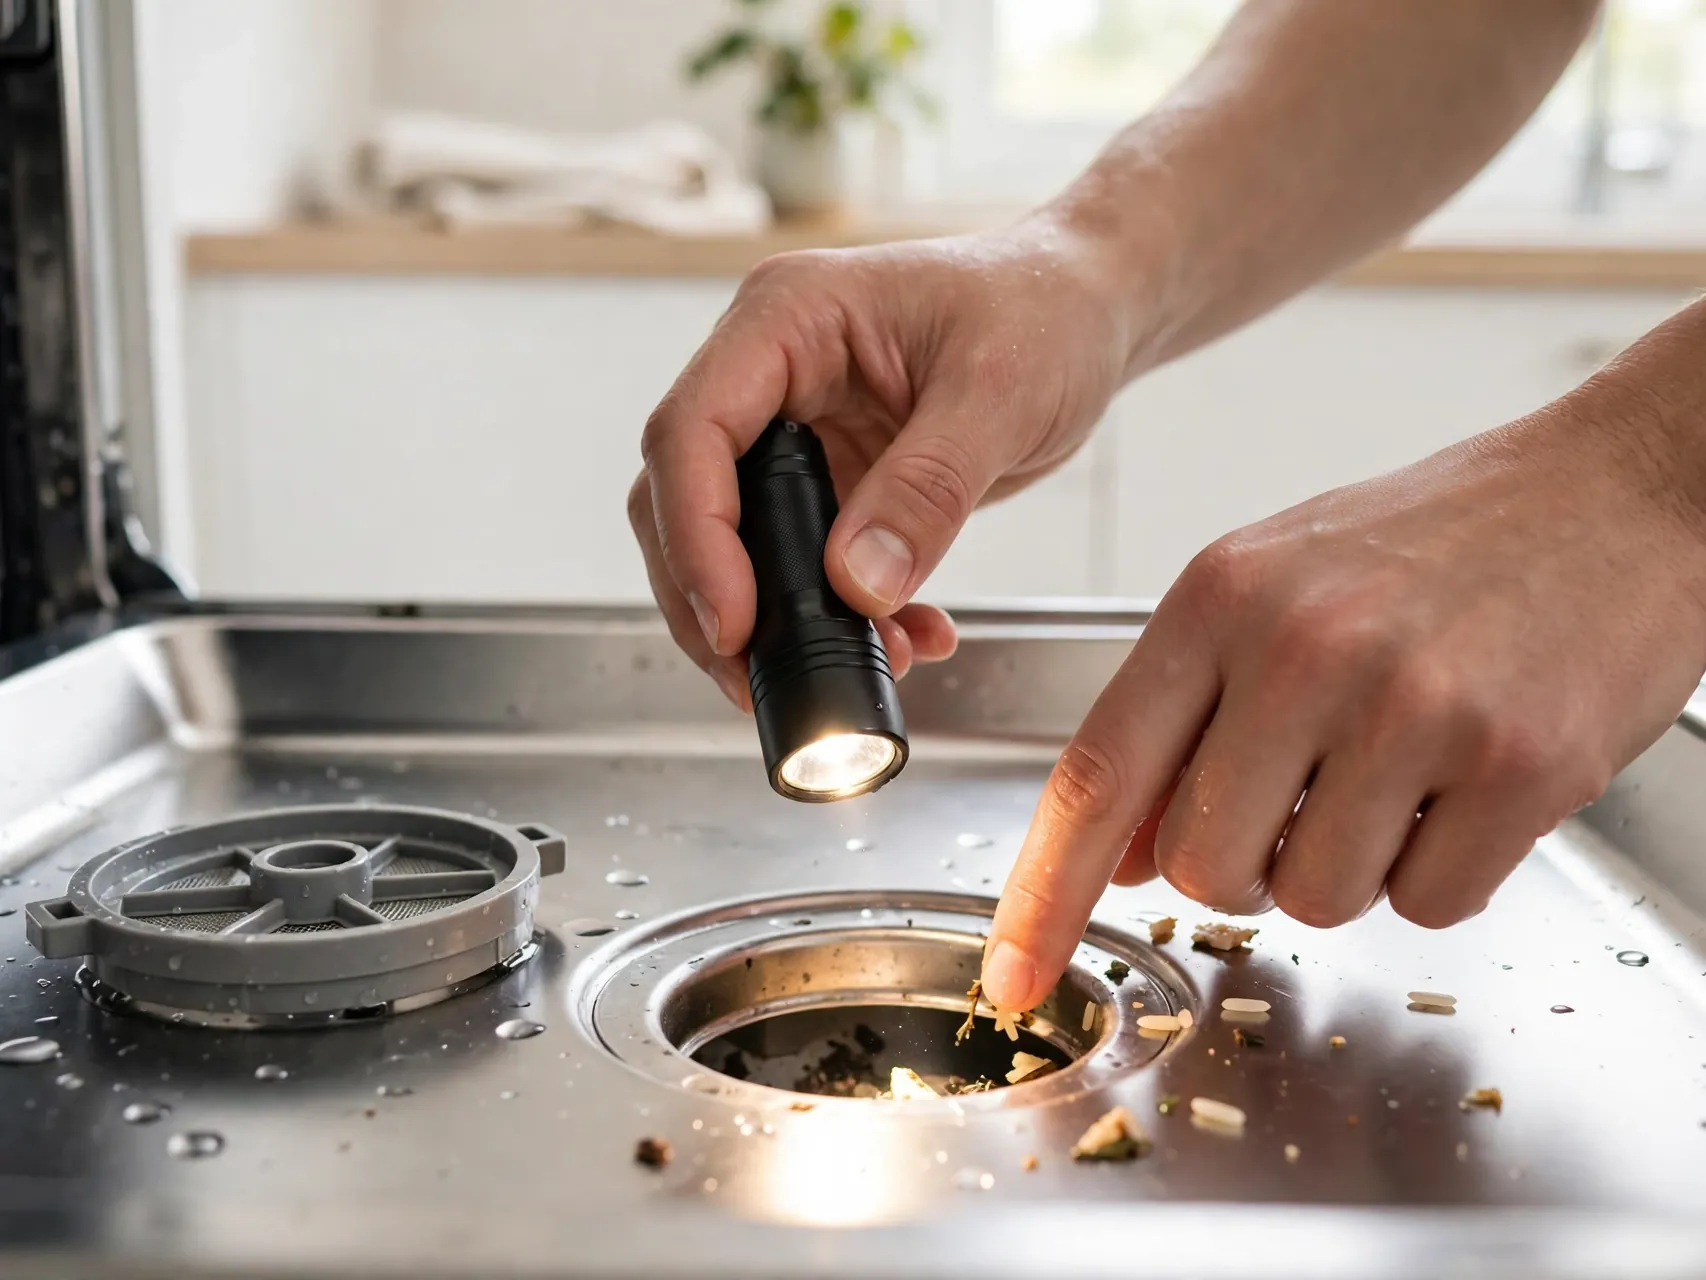
If water pools in the bottom of your dishwasher after cycles, look again at the drain area for a label, seed, or piece of glass you may have missed. In many kitchens the dishwasher drains through the garbage disposal, so run the disposal with cold water to clear any food sitting in it.
If your sink has an air gap fitting on the counter, pop off its cap and check for debris inside. Persistent standing water, gurgling, or slow draining after this check is a sign to call an appliance technician rather than forcing parts.
17. Check Your Hot Water Temperature

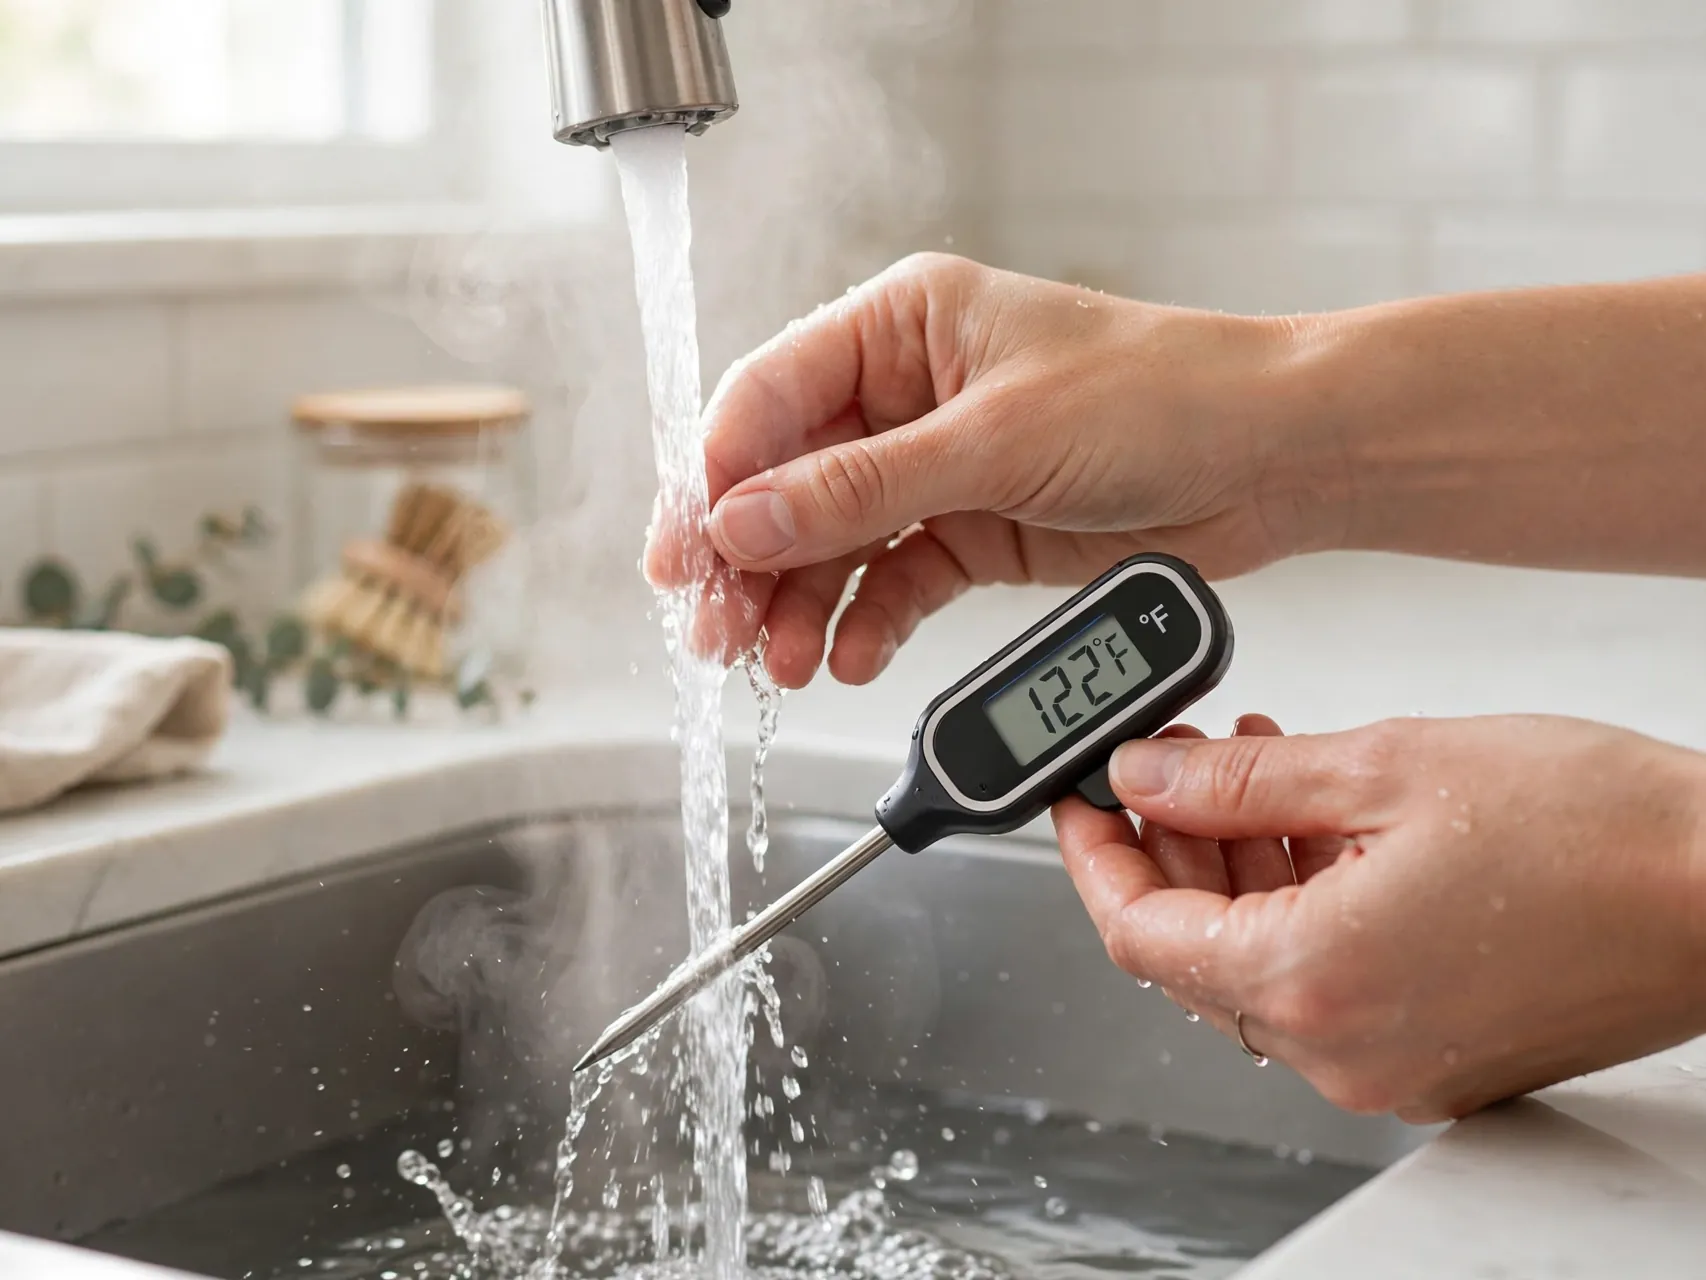
Dishwashers clean best with properly hot water. Many makers recommend a home water heater setting around 120 degrees Fahrenheit, which is hot enough for grease cutting and detergent performance while reducing scald risk in the home. Check your manual for the range your model prefers.
If dishes suddenly clean poorly in winter, slow hot water delivery can be part of the story. Avoid turning the heater up beyond safe household levels to fix a cleaning problem. Instead, use the next step before each load and keep up your monthly machine cleaning routine.
18. Scrape Plates Instead of Pre Rinsing
Modern detergents and sensors work best when plates are scraped, not rinsed spotless. Scrape food into the trash or compost, but leave the thin film of sauce for the detergent enzymes to work on. Fully pre rinsed dishes can lead the sensor to choose a lighter cycle than your load really needs.
Scraping also protects your filter. Big scraps belong in the bin, not in the machine. This habit stretches the time between deep filter scrubs and keeps the drain area cleaner, so your monthly deep clean stays quick and easy.
19. Run Hot Tap Water Before Each Load
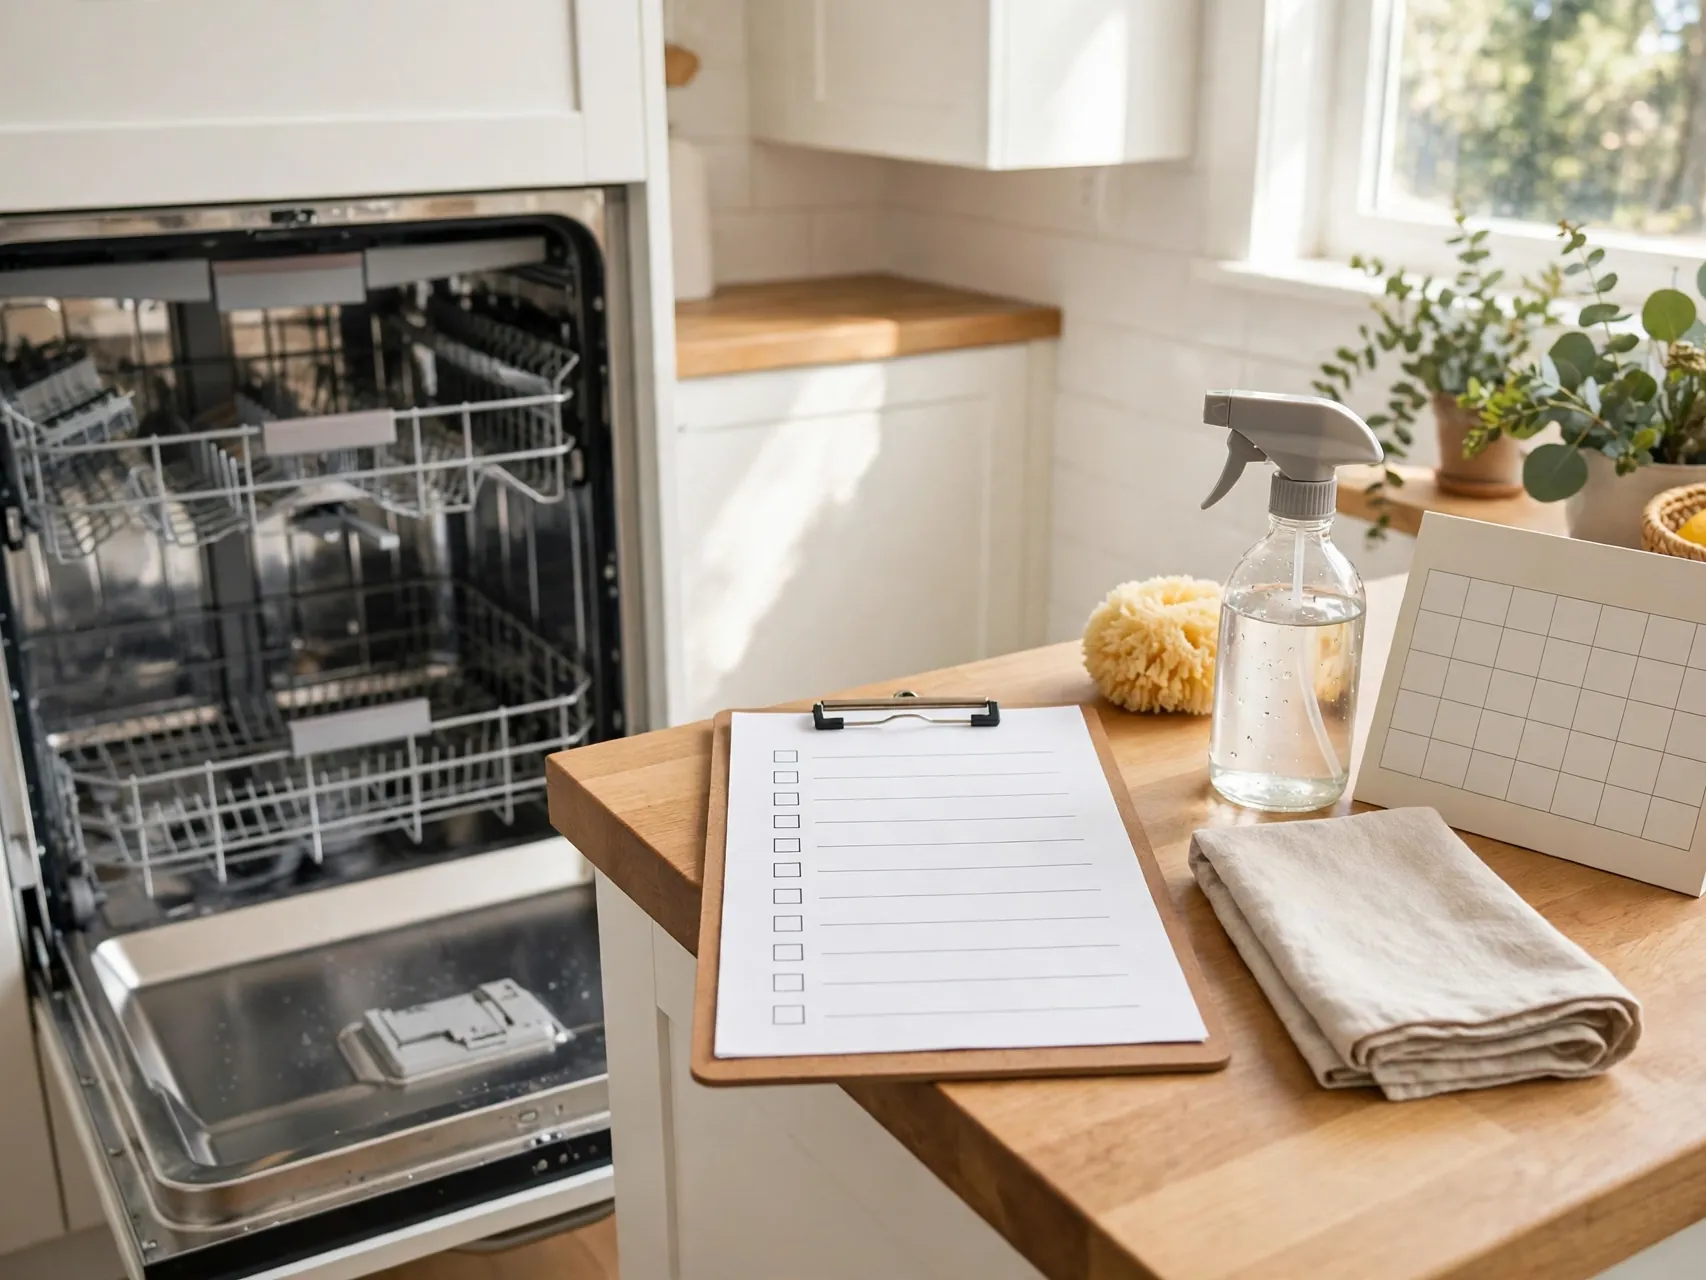
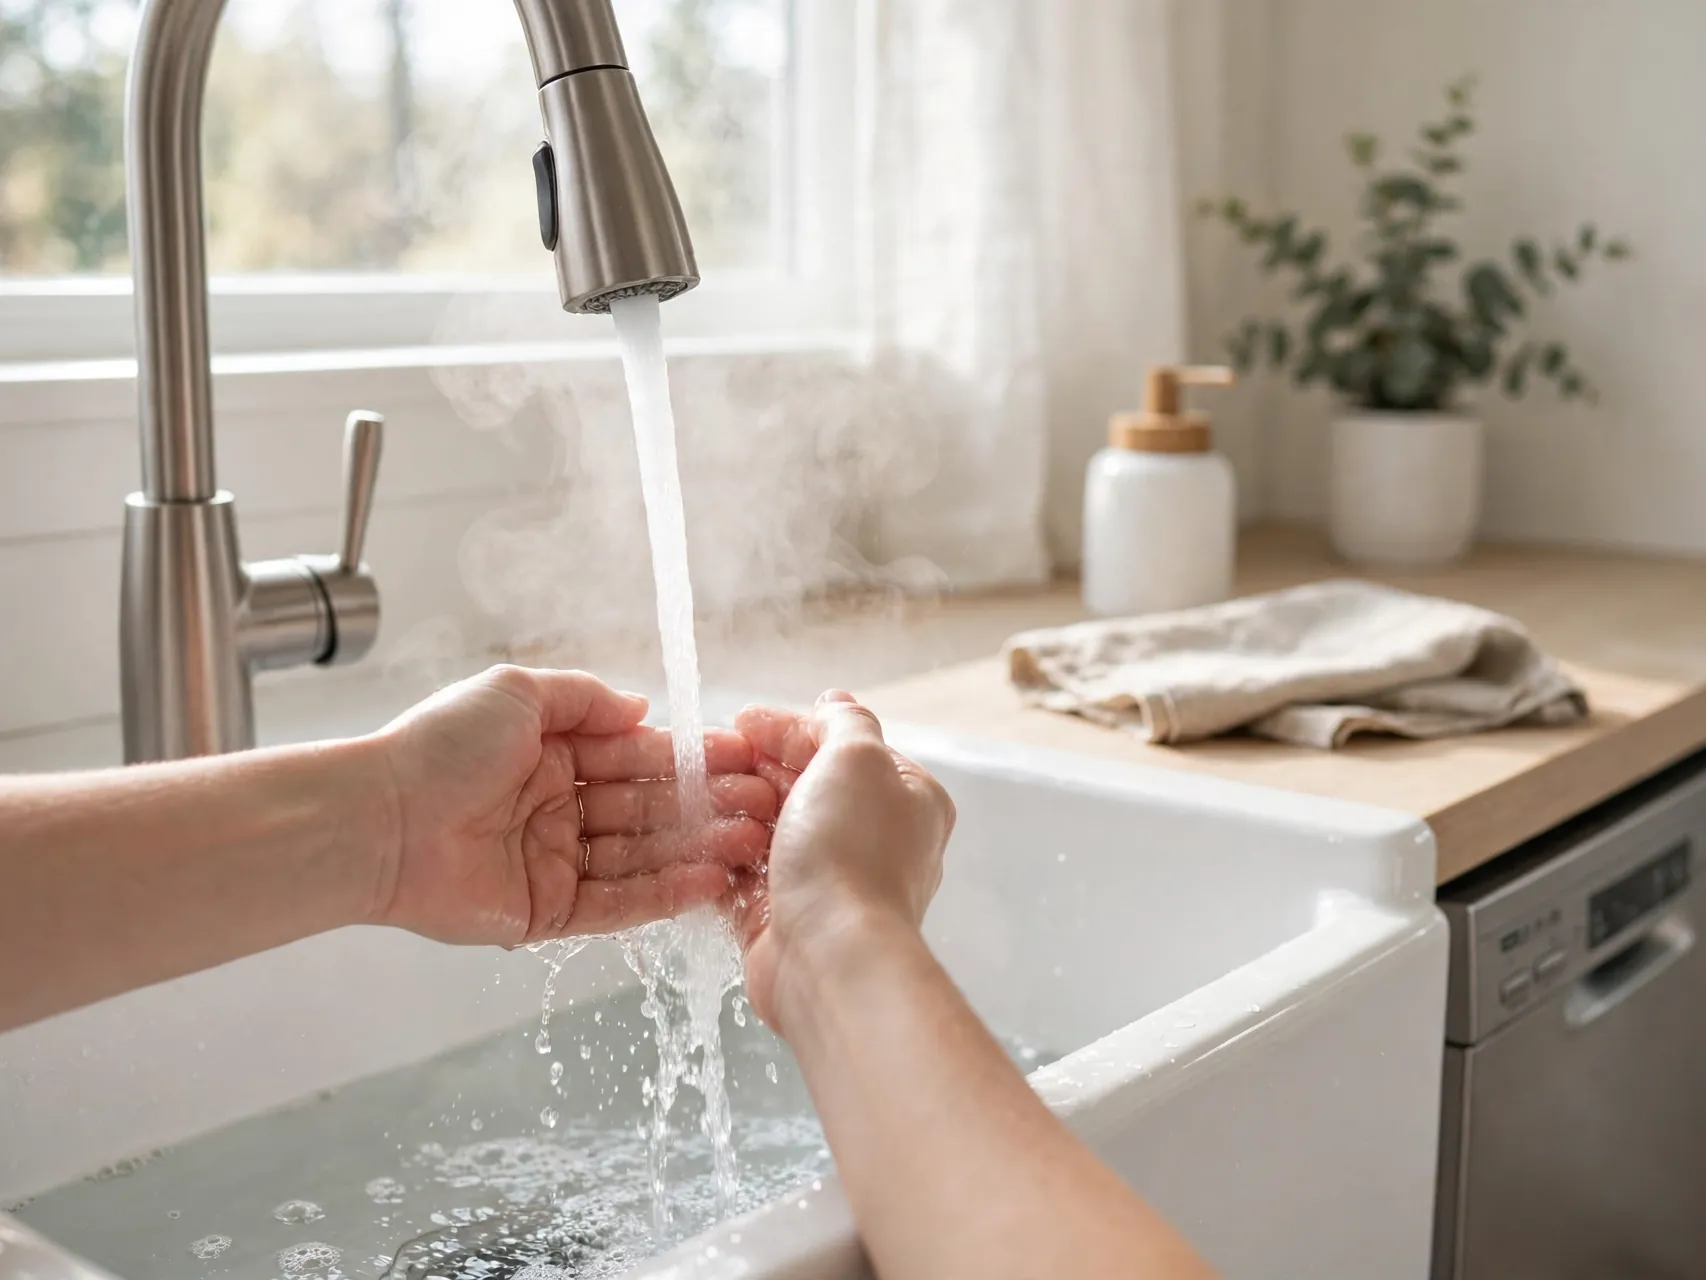
Just before starting a load, run the kitchen tap until the water feels hot. This simple habit means the dishwasher fills with hot water from the first minute instead of starting with the cooled water sitting in the pipes. The result is better grease removal and more reliable detergent dissolving.
It is especially helpful for the first load of the morning. Combined with a clean filter and clear spray arms, hot fill water is one of the easiest upgrades you can give every single wash, with no products to buy and no extra cleaning time.
20. Set a Monthly Cleaning Routine

Put this deep clean on a monthly rhythm so buildup never gets ahead of you. A simple pattern works: week one, wipe the gasket and edges. Week two, rinse the filter. Once a month, do the full routine with spray arms, vinegar cycle, and baking soda cycle described above.
Between deep cleans, leave the door slightly ajar after unloading so moisture escapes and mildew smells do not form. Empty loads promptly for the same reason. A monthly cleaning routine keeps dishes spotless, protects the pump and seals, and saves money on avoidable repairs.
FAQ
How often should you deep clean a dishwasher?
Once a month suits most busy households. If you run the machine daily, cook greasy foods often, or have hard water, clean the filter every two weeks and do the full vinegar and baking soda routine monthly. Light use homes can stretch a full deep clean to every six to eight weeks.
Can you put vinegar and baking soda in the dishwasher together?
No, run them in separate cycles. Vinegar and baking soda neutralize each other on contact, so together they lose most of their cleaning value. Use the vinegar cycle first for grease and buildup, then a short baking soda cycle afterward to freshen and deodorize the tub.
Why do my dishes still smell after washing?
A dirty filter, a clogged spray arm, or grime on the door gasket is the usual cause. Food trapped in the filter recirculates stale water over your dishes. Clean those three parts first, run a hot empty cycle, and leave the door ajar between loads so the interior can dry fully.
Is it safe to use a dishwasher cleaner tablet instead?
Yes, commercial dishwasher cleaners are made for this job and can help with heavy grease and limescale. Follow the product label and your appliance manual, and run the cleaner in an empty machine. You can alternate a cleaner tablet one month with the vinegar and baking soda method the next.
Why are my glasses still cloudy after cleaning the dishwasher?
Cloudiness can come from hard water mineral deposits or from etching, which is permanent dulling caused by very hot water and strong detergent over time. Try rinse aid, confirm your water temperature is in the maker's recommended range, and wash delicate glassware on a gentler cycle. If a vinegar wipe removes the film, it was mineral buildup. If not, it is likely etching.
Key Takeaways
- The filter comes first: A clean filter fixes most gritty dishes and stale smells in one simple step.
- Clear the spray arms: Unclogged holes mean even water coverage and truly spotless dishes on both racks.
- Two cycles, kept separate: Run vinegar first, then baking soda in its own cycle for grease cutting and freshness.
- Do not forget the gasket: Door seals and edges sit outside the wash zone and quietly collect odor causing grime.
- Hot water helps every load: Run the tap hot before starting and keep your heater in the maker's recommended range.
- Make it monthly: A short monthly routine protects your machine and keeps every wash performing at its best.
Love a satisfying kitchen reset? Save this pin for later and share it with a friend whose glasses need rescuing.